


Item no. 1378390
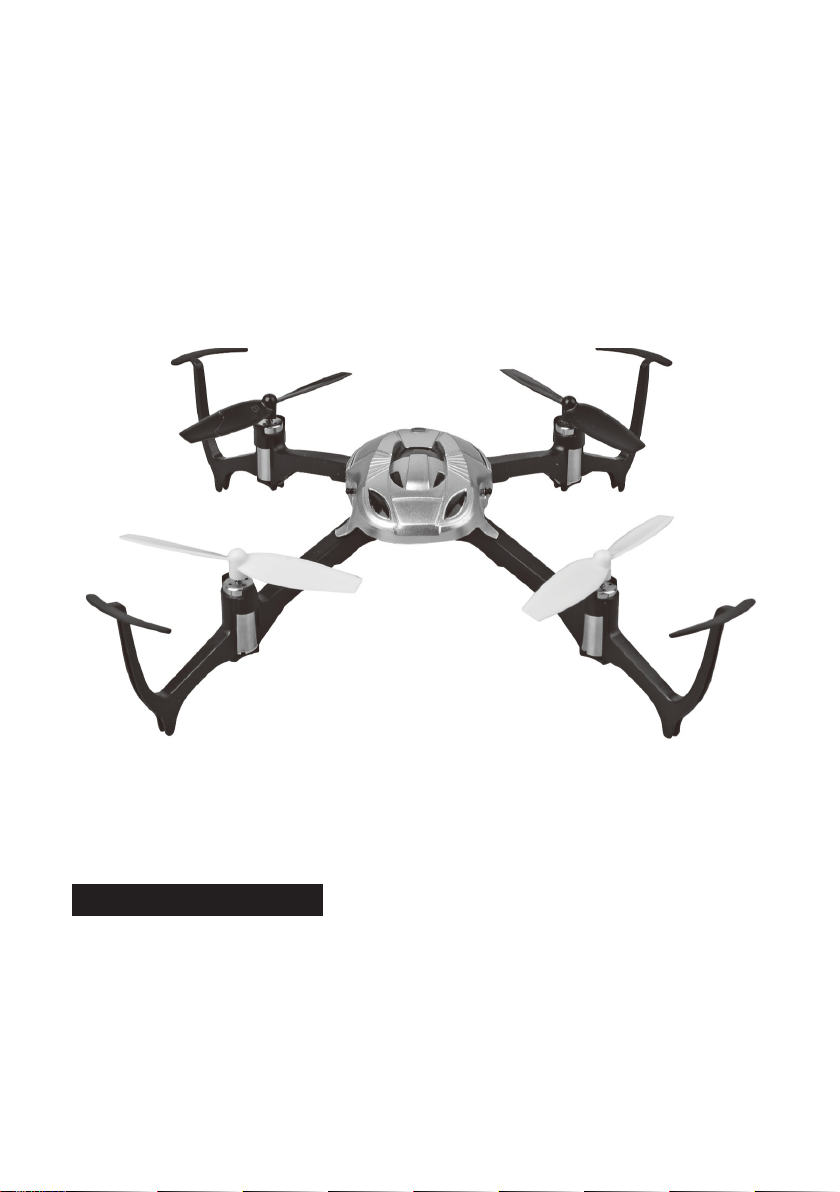
t 3D Quadrocopter Twister RTF
Version 09/15
4 - CHANNEL
QUADROCOPTER
Product code: CG031
INSTRUCTION MANUAL
1. Main Features
1. 4 Drive motors, allowing steady normal and inverted ight
2. Durable construction allowing easy installation and repair
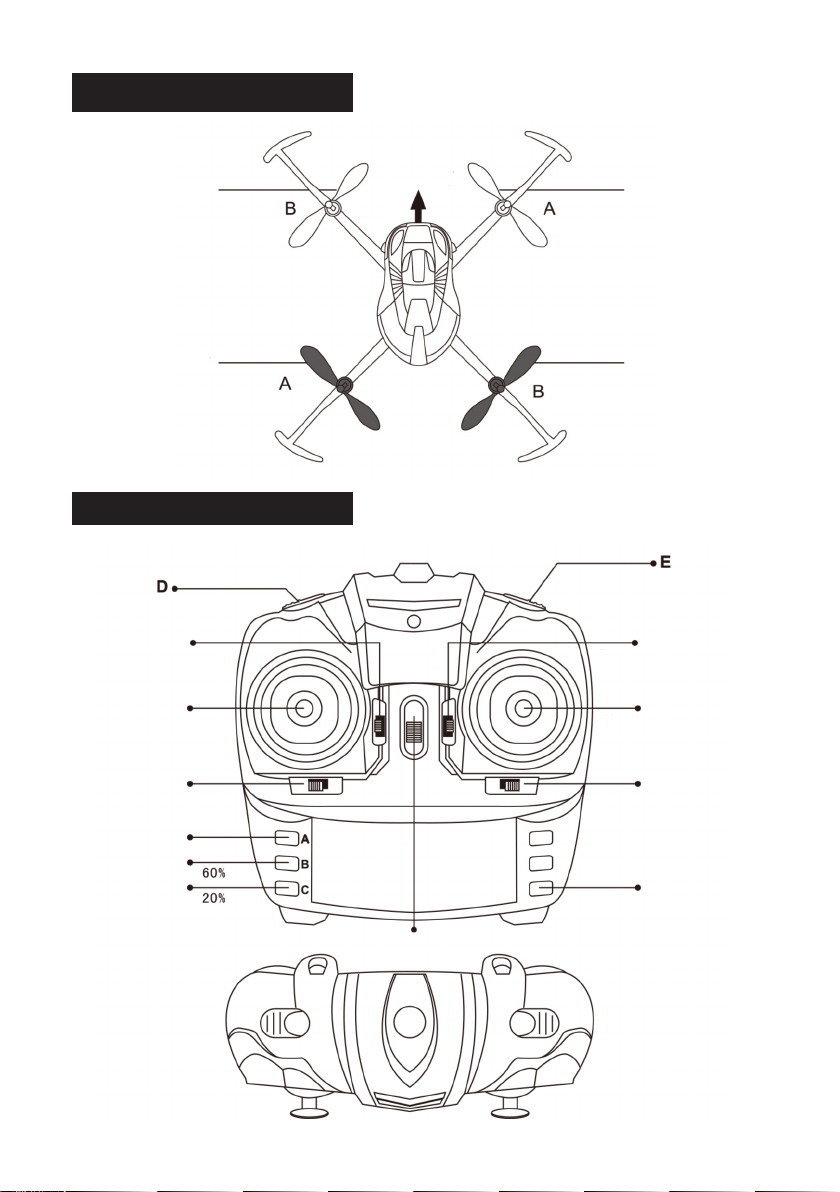
2. Quadrocopter Parts
Front Rotor
Blade (WHITE)
Rear Rotor
Blade (BLACK)
3. Transmitter Controls
(3D Flip button:
Press once, then
Press E)
Throttle Trim
Throttle Stick + Rudder
(Ascend/Descend
Turn Right/Turn Left)
FRONT
Front Rotor
Blade (WHITE)
Rear Rotor
Blade (BLACK)
(Inverted ight: Press once)
Elevator Trim
(Forward/Backward)
Direction Stick
(Elevator+Aileron)
Rudder Trim (Rotation)
Speed adjustment: 100%
Aileron Trim
(Sideways-Left/Right)
Light
Power switch
2 3

4. Safety Precautions
1. Please read these Instructions carefully and follow them when
operating the Quadrocopter.
2. Fly the quadcopter within your range of vision for easier control.
3. Never y the quadcopter in crowded areas or near people or animals,
to prevent damages to property and/or injuries to people.
4. Do not attempt to modify the product.
5. Keep small parts of the product away from small children. Danger of
CHOKING!
6. Do not y the quadrocopter at less than 1-2 metres from objects or
people, to avoid damaging things or injuring people.
7. Do not dispose the batteries in heat (re, electronic heating device,
etc.).
8. Do not operate the quadrocopter in wet conditions (rain, moisture, dust,
fog etc.) to avoid parts malfunctioning.
9. Parental supervision is strongly recommended.
5. Flight Preparation
1. This quadrocopter is suitable for operation in indoor and outdoor
environment. Do not take any risks when operating the product! Your
own safety and that of your environment is solely down to you being
responsible when dealing with the model. Always operate your model
in open spaces. Recommended ying area: minimum 8m x 8m x 4m.
Improper operation may cause serious injury and property damage!
Therefore make sure to keep a sufciently safe distance to persons,
animals or objects during operation.
2. Make sure the batteries of the quadrocopter and transmitter are fully
charged.
3. Turn the transmitter “OFF”. Push the Throttle Stick downwards to the
lowest position. Place the transmitter close to the quadcopter.
4. Connect the charged Li-PO battery to the PCB. LEDs start to icker.
Place the quadrocopter on a level surface and leave it still until binding
is complete. Switch “ON” the transmitter. Binding will begin, then push
throttle stick forward to bind, a single sound will conrm binding is
complete.
5. Check carefully batteries and motors. Make sure all are in a good
condition.
6. Before taking the quadrocopter into operation, ensure that the ight
battery is charged completely and the batteries in the transmitter still
have enough voltage.

6. Installing Transmitter Batteries
1. Slide open the battery Compartment Lid
2. Insert 4 AA batteries, observe correct polarity as indicated. Do not
mix different types of batteries. (Batteries not included)
3. Close the battery compartment lid.
7. Charging the Quadrocopter ight Battery
1. Connect LiPo ight battery to the included USB charger. (as illustrated
below)
2. When the red LED lights up on the USB charger, it indicates that the
charging is complete. When the red LED is off, it indicates that the
charging is ‘in progress’.
Note: only charge LiPo ight battery with USB charger included with this
quadrocopter.
4 5

8. Binding instruction
1. Turn the transmitter “OFF”. Push the Throttle stick downwards to the
lowest position. Place the Transmitter close to the Quadcopter.
2. To install the ight battery, turn the quadrocopter upside down. The Main
PCB is now visible, facing upwards.
3. Push the Battery into the enclosure under the PCB. Connect the
charged Li-PO battery to the PCB.
4. Place the quadrocopter on a level surface with canopy topside up. The
white LED starts to icker. Do Not Move the Quadcopter!
5. Switch “ON” the transmitter. The red LED in the centre of the
Transmitter blinks rapidly, indicating the pairing process is on.
6. When the red LED on the PCB and the LED on the transmitter light up
continuously, the pairing process is complete. Push the Throttle Stick to
the maximum position and then to minimum position.
7. When the Li-Po battery is running out of power. LED will blink and
power to motor will gradually decrease, when motor power decreases,
please safely land the model and recharge the battery.
IMPORTANT: Do not move the quadrocopter during binding phase.
battery pack
battery installation instruction
9. Important Information
1. If quadrocopter constantly drifts without control input, please land the
model and make trim adjustment as needed. Recommended voltage
while trimming is above 4.0 V.
Connect the
battery cable to the
connector cable of
the quadrocopter.

10. Steering sensitivity
There are 3 switch buttons on the transmitter to change the responsiveness
of quadrocopter.
C: 20% = Least Response (For Beginners)
B: 60% = Press to raise the level to 60% (For Skilled users)
A 100% = Press to 100% Highest Response (For Expert Fliers)
11. 3D Flight Techniques
Rolls and ips are advanced ying techniques and should be attempted
only once you have mastered the art of controlling the quadcopter during
normal ight. The response setting should be A 100%.
1. Only perform these advance maneuvers in open space, outdoor, clear
of obstacles and away from people, animals or objects.
(Inverted ight: Press once)
(3D Flip button: Press
once, then Press E)
Throttle Trim
Throttle Stick + Rudder
(Ascend/Descend
Turn Right/Turn Left)
Rudder Trim (Rotation)
speed adjustment: 100%
60%
20%
Elevator Trim
(Forward/Backward)
Direction Stick
(Elevator+Aileron)
Aileron Trim
(Sideways-Left/Right)
light
Power switch
12. Receiver Board Installation
The installation of the Receiver should be done as shown in the diagram
below, otherwise the device will not function correctly.
Left Right
Front
LED socket
Rear
cathode
anode
anode
cathode
cathode
cathode
anode
anode
6 7

Flight Controls
1. Normal ight mode: when Rudder control
moves left, quadrocopter front yaws left.
3. Normal ight mode: when Rudder control
moves right, quadrocopter front yaws right.
5. Normal ight mode: when Elevator
control moves up, quadrocopter ies
forward.
2. Inverted ight mode: when Rudder control
moves left, quadrocopter front yaws left.
4. Inverted ight mode: when Rudder control
moves right, quadrocopter front yaws right.
6. Inverted ight mode: when Elevator
control moves up, quadrocopter ies forward.
7. Normal ight mode: when Elevator control
moves down, quadrocopter front ies
backward.
9. Normal ight mode: when Aileron control
moves left, quadrocopter tilts to left and
ies sideway to the left.
8. Inverted ight mode: when Elevator control
moves down, quadrocopter front ies backward.
10. Inverted ight mode: when Aileron control
moves left, quadrocopter tilts to right and
ies sideway to the Left.

11. Normal ight mode: when Aileron control
moves right, quadrocopter tilts to right and
ies sideway to the right.
13. Spare Parts
12. Inverted ight mode: when Aileron control
moves right, quadrocopter tilts to left and ies
sideway to the right.
CG031-01
blades
CG031-04
motor (CCW)
CG031-07
USB
charger
CG031-02
canopy
CG031-05
main frame
CG031-03
motor (CW)
CG031-06
receiver
board
CG031-08
battery
CG031-09
Propeller
wrench
8 8
 Loading...