

Page 1
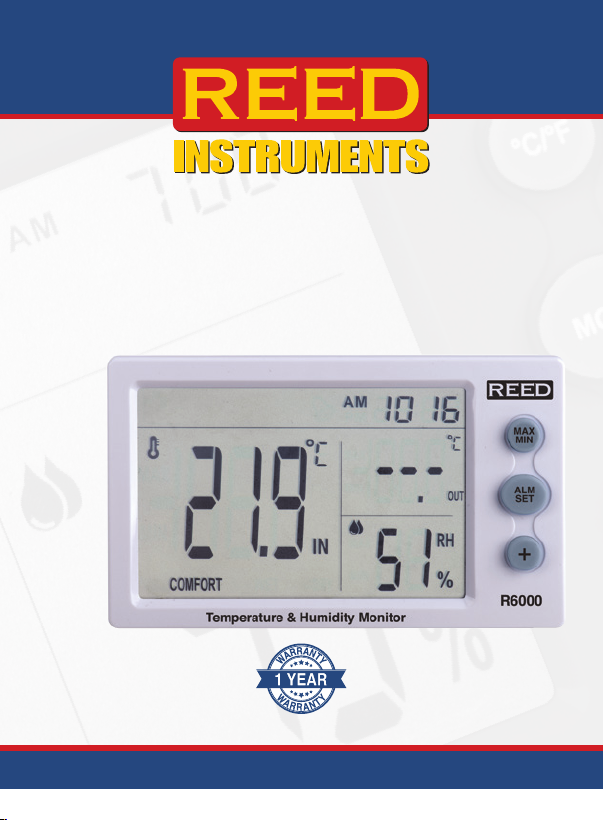
Temperature and
Humidity Meter
R6000
Instruction
Manual
www.GlobalTestSupply.com
Page 2

Table of Contents
Introduction ................................................................................................ 2
Product Quality ........................................................................................... 3
Safety ......................................................................................................... 3
Features ...................................................................................................... 3
Included ...................................................................................................... 3
Specications ............................................................................................. 4
Instrument Description ............................................................................... 5
Display Description .................................................................................... 6
Operating Instructions ............................................................................. 7-8
Powering On the Meter ......................................................................... 7
Clock and Alarm Modes ........................................................................ 7
Setting the Clock ................................................................................... 7
Setting the Alarm ................................................................................... 7
Resetting Maximum and Minimum Readings ........................................ 8
Selecting the Unit of Measure (°C/°F) .................................................... 8
Battery Replacement .................................................................................. 8
Applications ................................................................................................ 8
Product Care .............................................................................................. 8
Product Warranty ....................................................................................... 9
Product Disposal and Recycling ................................................................ 9
Product Support ......................................................................................... 9
Introduction
Thank you for purchasing your REED R6000 Temperature and Humidity
Meter. Please read the following instructions carefully before using your
instrument. By following the steps outlined in this manual your meter will
provide years of reliable service.
www.GlobalTestSupply.com
Page 3

Product Quality
This product has been manufactured in an ISO 9001 facility and has
been calibrated during the manufacturing process to meet stated product
specications.
Safety
Never attempt to repair or modify your instrument. Dismantling your product,
other than for the purpose of replacing batteries, may cause damage that will
not be covered under the manufacturer's warranty. Servicing should only be
provided by an authorized service center.
Features
• Measures indoor/outdoor temperature and humidity
• User selectable unit of measure °F/°C
• Internal memory stores min/max temperature and humidity readings
• Waterproof sensor for outdoor temperature measurement
with 6' (72") cable
• Built-in alarm clock and time display
• Desktop or wall mount
Included
• Sensor Cable
• Battery
www.GlobalTestSupply.com
Page 4

Specifications
Temperature (IN)
Range: 14 to 122°F (-10 to 50°C)
Accuracy: 14 to 32°F (-10 to 0°C): ±3.6°F (2°C)
Resolution: 0.1°F (0.1°C)
Temperature (OUT)
Range: -40 to 122°F (-40 to 50°C)
Accuracy: -40 to 32°F (-40 to 0°C): ±3.6°F (2°C)
Resolution: 0.1°F (0.1°C)
Humidity
Range: 20 to 95%RH
Resolution: 1%RH
Accuracy: 40 to 80% RH: ±5%RH
General Specifications
Humidity Comfort Icons: Wet/Comfort/Dry
Sampling Time: 10 seconds
Temperature Probe Length: 6' (72")
Alarm Clock/ Time Display: Yes
Max/Min Functions: Yes (IN/OUT/RH)
Product Certications: CE, RoHS
Battery: 1 x AAA Battery
Operating Temperature: -10 to 50°C (14 to 122°F)
Dimensions: 5.1 x 1 x 3.1" (130 x 22 x 78mm)
Weight: 3.9oz (110g)
32 to 104°F (0 to 40°C): ± 1.8°F (1°C)
104 to 122°F (40 to 50°C): ±3.6°F (2°C)
32 to 104°F (0 to 40°C): ± 1.8°F (1°C)
104 to 122°F (40 to 50°C): ±3.6°F (2°C)
<40 and >80% RH: ±8%RH
www.GlobalTestSupply.com
Page 5
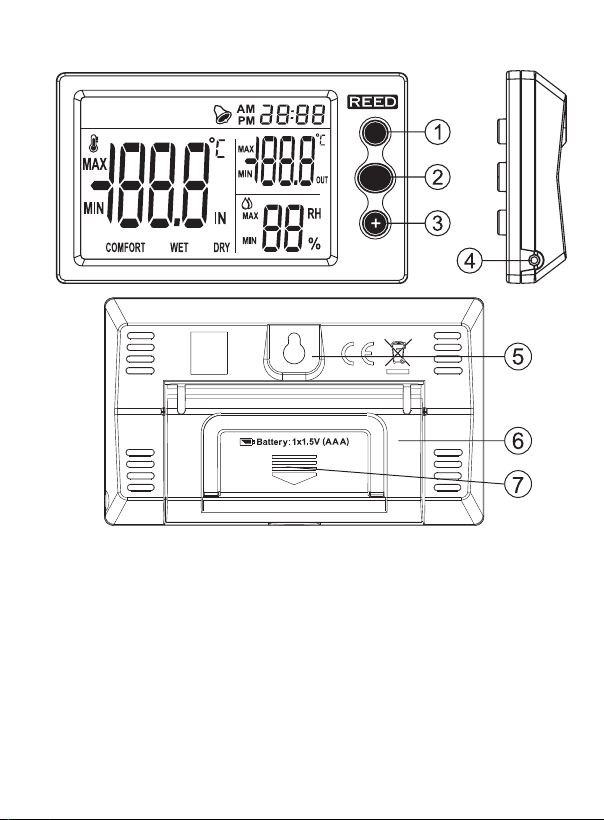
Instrument Description
MAX
ALM
MIN
SET
Temperature & Humidity Monitor
1. MAX/MIN Value Button
2. Alarm/Clock Set Button
3. Increase Digit Button
4. External Probe Input Jack
www.GlobalTestSupply.com
R6000
5. Wall Mounting Hole
6. Kickstand
7. Battery Cover
Page 6
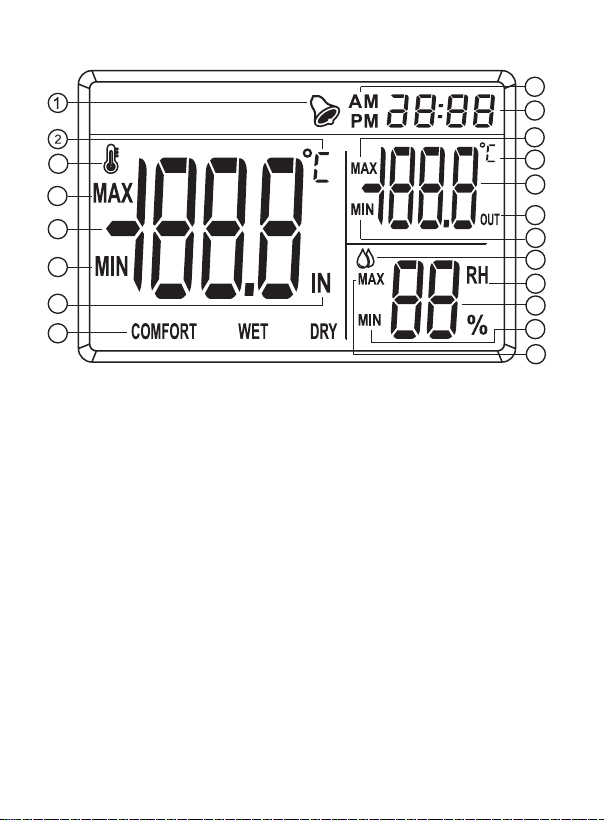
Display Description
3
4
5
6
7
8
9
10
11
12
13
14
15
16
17
18
19
20
1. Alarm Indicator
2. Temperature Unit of
Measure (°C/°F)
3. Temperature Indicator
4. Maximum Temperature Value
Measured by Inner Sensor
5. Current Temperature Value
Measured by Inner Sensor
6. Minimum Temperature Value
Measured by Inner Sensor
7. Inner Temperature Sensor
Indicator
8. Environmental Comfort
Level Indicators
9. AM/PM Indicator
10. Time Indicator
www.GlobalTestSupply.com
11. Maximum Temperature Value
Measured by External Sensor
12. Temperature Unit of
Measure (°C/°F)
13. Temperature Value Measured
by External Sensor
14. External Temperature
Sensor Indicator
15. Minimum Temperature Value
Measured by External Sensor
16. Humidity Indicator
17. Relative Humidity Indicator
18. Humidity Measurement Value
19. Minimum Humidity Value
20. Maximum Humidity Value
Page 7
Operating Instructions
ALM
SET
ALM
SET
ALM
SET
ALM
SET
ALM
SET
ALM
SET
ALM
SET
Powering On the Meter
The display should switch on when the battery is installed. If the display
does not switch on, replace the battery.
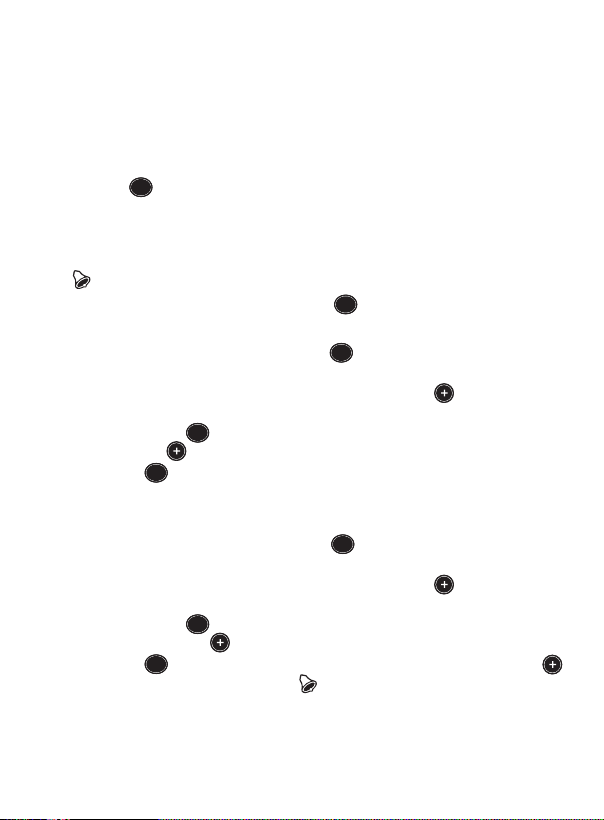
Clock and Alarm Modes
In order to set the clock or alarm the correct mode must be selected by
pressing the
1. When in clock mode the ":" symbol between the hour and minute
will ash.
2. When in alarm mode the ":" symbol appears between the hour and
minute but does not ash. If an alarm is already set the Alarm icon
To toggle between both modes press the
Setting the Clock
When in clock mode, press and hold the
clock minutes will ash.
1. To adjust the minutes, press or press and hold the
desired value is reached.
2. Next, press the
and hold the
3. Press the
off, the clock will be displayed in 24 hour format.
Setting the Alarm
When in alarm mode, press and hold the
clock minutes will ash.
1. To adjust the minutes, press or press and hold the
desired value is reached.
2. Next, press the
press and hold the
3. Press the
button to toggle the Alarm icon
ALM
SET
button.
will also ash to indicate the alarm mode function.
ALM
SET
button.
ALM
SET
button for 2 seconds and the
ALM
SET
button to switch to the hour digit. Press or press
button until the desired value is reached.
ALM
SET
button to toggle the AM/PM indicator on or off. When
ALM
SET
button for 2 seconds and the
ALM
SET
button again to switch to the hour digit. Press or
ALM
SET
button again to set the alarm to on or off. Press the
button until the desired value is reached.
on or off.
button until the
button until the
continued...
www.GlobalTestSupply.com
Page 8

Resetting Maximum and Minimum Readings
Press the MAX/MIN button to toggle between maximum, minimum and
real-time values. To reset maximum or minimum readings press and hold
the MAX/MIN button for 2 seconds in the desired setting. When holding
the button for 2 seconds, a beep will sound indicating the memory has
been cleared.
Selecting the Unit of Measure (°C/°F)
To toggle between °C/°F unit of measure, press and hold the Increase
Digit Button for 3 seconds.
Battery Replacement
When the battery needs to be replaced, open the battery cover by sliding
the cover off in the direction of the arrow (rear of meter). Install a new "AAA"
battery and secure the battery cover.
Applications
• Laboratories
• Greenhouses
• Industrial spaces
• Museums
• Residential and commercial buildings
Product Care
To keep your instrument in good working order we recommend the following:
• Store your product in a clean, dry place.
• Change the battery as needed.
• If your instrument isn't being used for a period of one month or longer
please remove the battery.
• Clean your product and accessories with biodegradable cleaner. Do not
spray the cleaner directly on the instrument. Use on external parts only.
www.GlobalTestSupply.com
Page 9
Product Warranty
REED Instruments guarantees this instrument to be free of defects in
material or workmanship for a period of one (1) year from date of shipment.
During the warranty period, REED Instruments will repair or replace, at no
charge, products or parts of a product that proves to be defective because
of improper material or workmanship, under normal use and maintenance.
REED Instruments total liability is limited to repair or replacement of the
product. REED Instruments shall not be liable for damages to goods,
property, or persons due to improper use or through attempts to utilize the
instrument under conditions which exceed the designed capabilities. In
order to begin the warranty service process, please contact us by phone at
1-877-849-2127 or by email at [email protected] to discuss the
claim and determine the appropriate steps to process the warranty.
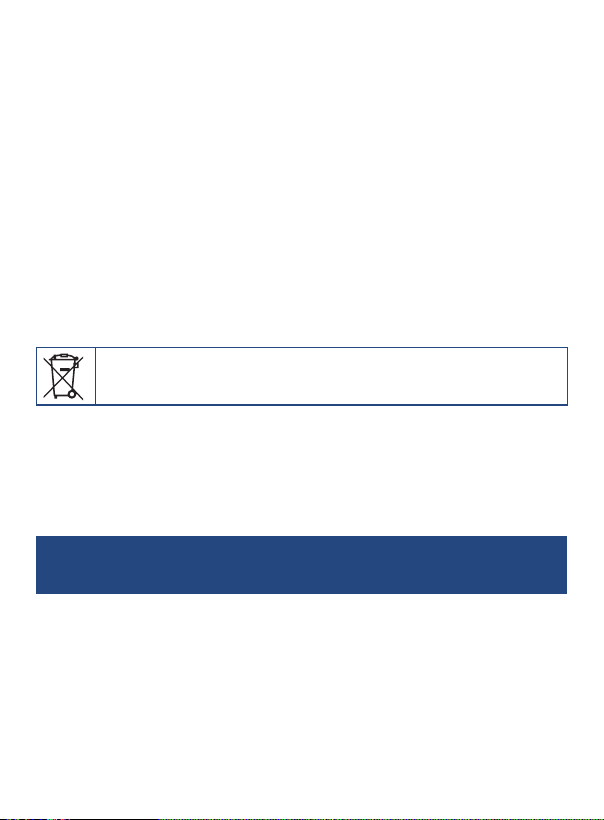
Product Disposal and Recycling
Please follow local laws and regulations when disposing or recycling your
instrument. Your product contains electronic components and must be
disposed of separately from standard waste products.
Product Support
If you have any questions on your product, please contact your authorized
REED distributor or REED Instruments Customer Service by phone at
1-877-849-2127 or by email at [email protected].
Please visit www.REEDINSTRUMENTS.com for the most
up-to-date manuals, datasheets, product guides and software.
Product specifications subject to change without notice.
All rights reserved. Any unauthorized copying or reproduction of
this manual is strictly prohibited without prior written permission
from REED Instruments.
www.GlobalTestSupply.com
Page 10

TEST & MEASURE
WITH CONFIDENCE
CHECK OUT OUR LATEST PRODUCTS!
www.GlobalTestSupply.com
 Loading...