

REDCAT Tremor SG, Tremor ST Instruction Manual
INSTRU C T I O N M A N UAL
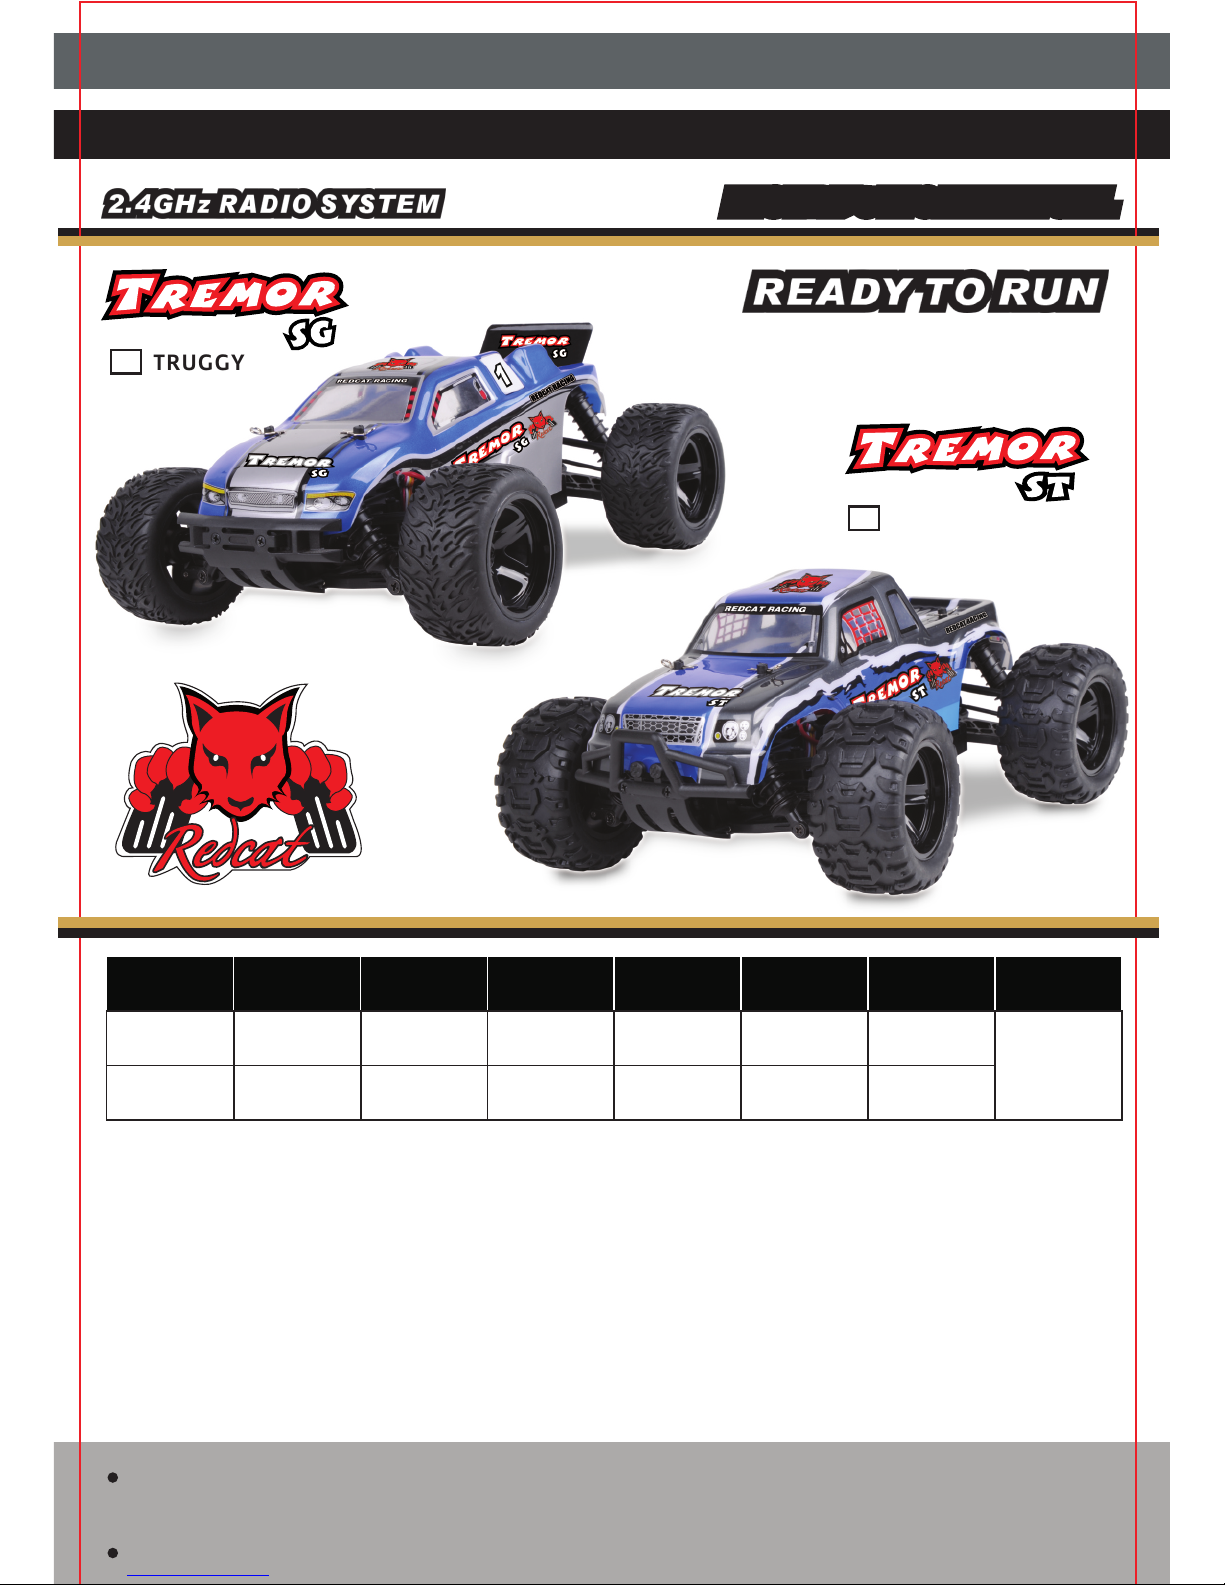
NAME LENGTH WIDTH HEIGHT
WHEELB AS E
WHEEL SIZE
GEAR RATIO
MOTOR &
BATTERY
TREMOR S T
RC 38 0 Motor,
Li-ion Battery
Pack (7.4V,
800mAH)
175mm
175mm
1: 11.44
1: 11.44
265mm 205mm 110mm
70mm(Dia.)
40mm(Width)
270mm 215mm 135mm
80mm(Dia.)
45mm(Width)
Notification: This data is subject to change without notice.
The Redcat Racing Tremor 1/16h Scale series are Ready to Run and include a Li-Ion 7.4V, 800mAH batter y
pack, charger.and charger adapter. Please use the included charger to charge your Li-Ion battery pack.
These vehicles feature a 3-in-1 unit (ESC/receiver/5 wire servo) and a 2.4GHz radio system, which are
considered entry-level hobby grade products and suitable for R/C beginners. Ball bearings and brass
bushings are installed throughout the vehicles.
Many optional parts are available to upgrade your vehicle. Please refer to the part lists or visit
www.redcatracing.com. If you perform a drive train upgrade, you must replace the entire system
(such as motor, ESC, receiver, ball bearings) so that all components are properly matched. Any malfunction
incurred by custom modification or incorrect operation of your vehicle will void your warranty.
This product is not a toy. It is not intended for persons under 14 years of age, unless closely
supervised by an adult.
This manual is subject to change without notice.
TRUGGY
MONSTER TRUCK
TREMOR S G
Please completely read and understand the entire manual before using, assembling and/or
disassembling your remote controlled car.
1/16TH SCALE 4WD ELECTRIC POWERED TRUGGY/MONSTER TRUCK
GENERAL INFORMATION
1
This user's manual contains the instructions you will need to assemble, operate and
maintain your vehicle. We know you are anxious to start driving, but it is very important
that you take time to read the manual even if you are an experienced R/C driver.
Carefully read and follow all instructions in the manual. Failure to follow the instructions
will be considered abuse and/or neglect and may void the warranty.
Your vehicle is designed to run on uneven or rough terrain. However, dust, sand, water and
carpet fibers can lodge in any moving parts and can damage your vehicle if not removed
promptly. Your warranty does not cover damage due to outside elements including sand,
dirt, water or any other debris. You are responsible for the maintenance and safe
operation of this vehicle.
This product is not a toy. It is not suitable for users under 14 years old unless supervised
by an adult.
Never attempt to re-assemble any electronic components. These have been carefully
calibrated at the factory.
Only use Redcat Racing manufactured parts to upgrade your car. If you perform a drive
train upgrade, replace the entire system (Such as motor, ESC/receiver unit and the like) so
that all components are properly matched. Any malfunction incurred by custom
modification will void your warranty.
Before driving your vehicle, please read this manual completely and examine your vehicle
for any defects. Test your remote control to make sure it functions properly and at the
range you plan to run your vehicle.
For best performance, some adjustments may be necessary.
This vehicle requires one battery pack, which is included with the car. The radio controller
requires three AA size batteries (not included). Make sure the vehicle's batteries have a
sufficient charge before driving or possible loss of control may result.
Always remove batteries from the vehicle and the radio controller when not in use.
Please operate your vehicle in an open area free of obstacles. Never operate your vehicle in
crowded street.
This product is fully assembled at factory. Redcat Racing is not responsible for damage
and/or accidents that occur as the result of custom modifications and/or incorrect
operation.
SAFETY INFORMATION
We want you to enjoy your R/C vehicle and to operate it with care. Failure to operate your
vehicle in a safe and responsible manner may result in injury to yourself and others and
may cause damage to proper ty.
2
Read and understand all instructions carefully before use
and assembly/disassembly.
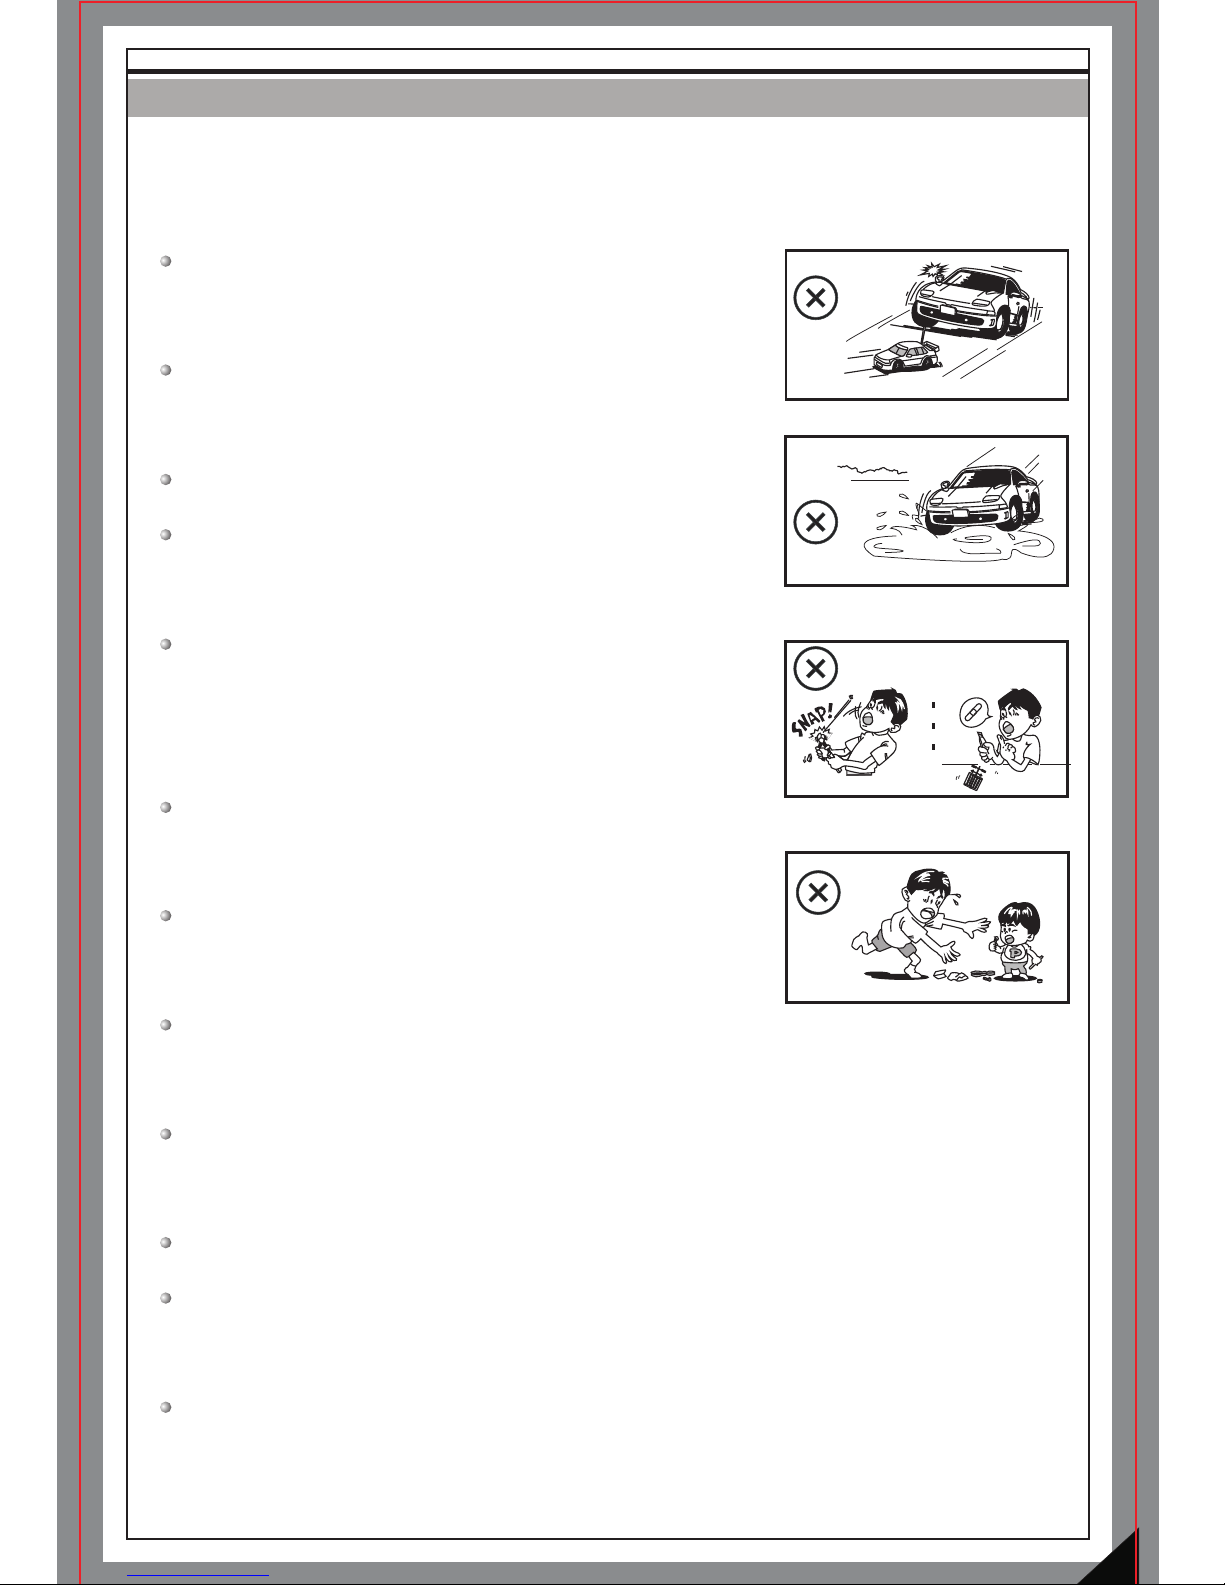
Do not run your vehicle on public roads or any area where
you may encounter pedestrian or vehicle traffic.
Do not operate in a congested area or in crowds.
Do not operate your vehicle with obstructed line of sight,
at night, or near water.
Your vehicle is radio controlled. Radio waves are subject to
interference. Radio interference can cause loss of control
of your vehicle.
Take care not to injure yourself while using tools to adjust
or upgrade your vehicle.
Since the model contains many small parts, keep out of
reach of children while assembling and/or disassembling.
When turning off your model, always turn off the receiver
(3-in-1 unit) first, before turning off the remote control.
Always remove the batteries from your vehicle and the
remote control when not in use.
If your vehicle becomes stuck, release the throttle, then retrieve it by hand.
Do not continue to apply the throttle or you may damage the motor and/or the
ESC/receiver unit.
Turn off your vehicle and discontinue use if it runs erratically. Do not run it again
until the issue has been found and resolved.
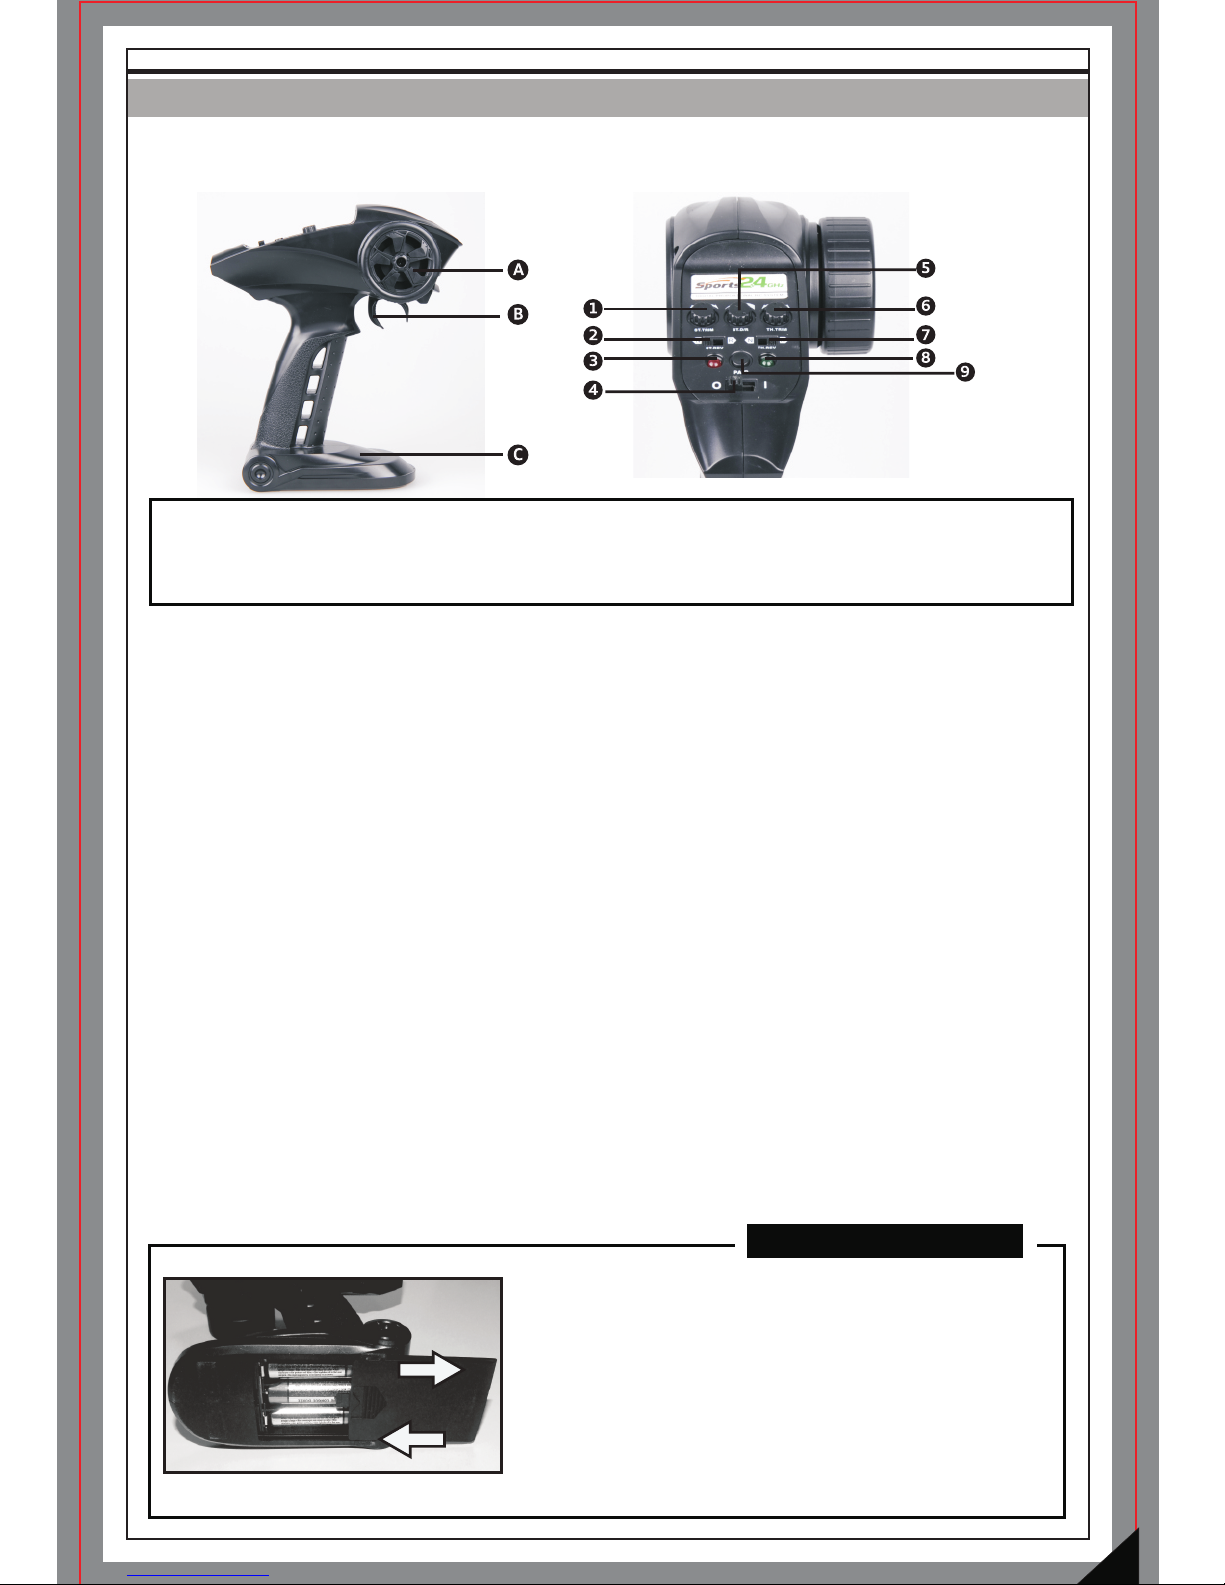
FAMILIARIZING YOURSELF WITH YOUR 2.4GHz RADIO SYSTEM
3
BATTERY INSTALLATION
NOT ES :
A: Steering Wheel
B: Trigger
C: Battery Case
1: Steering Trim
2: Steering Reverse
3: Red Indicator
4: Power Switch
5: Steering Dual Rate
6: Throttle Trim
7: Throttle Reverse
8: Green Indicator
9: Bind(Pair) button
Your car is equipped with the new 2.4GHz radio system. Please read and understand all
instructions below before operating.
Steering Wheel: Proportionally operates the models right and left steering control.
Battery Case: Requires 3pcs of AA size batteries.
Power Switch: Used to turn the radio controller ON/OFF
Steering Dual Rate Dial: Allows you to change the amount of steering servo travel compared
to the amount of physical movement of the steering wheel.
Throttle /Steering Trims: Used to adjust the center trim of the throttle/steering channel.
Steering Reverse: Allows you to electronically switch the direction of steering servo travel .
For example, if you move the steering wheel to the right and the steering ser vo moves to the
left, flip the Steering Reverse Switch to make the steering servo move to the left.
Throttle Reverse : Allows you to electronically switch the direction that the motor operates
in relation to the throttle trigger. For example, if you pull the throttle trigger to accelerate
forward, but the model goes in reverse,
flip the Throttle Reverse Switch to make the model accelerate for ward.
Trigger: Controls the speed and braking ability of your car. Pull it to accelerate, release it to
decelerate, and push it to brake. Pushing it a second time activates the reverse feature.
Indicators: Shows battery power level. Green indicator flashing means battery power is low.
If both red and green indicators are flashing then the radio controller battery is too low to
control the model and you must replace with fresh batteries immediately.
Bind(Pair) button: It is used to bind your 2.4GHz radio system.
1) Slide the battery cover as shown and install 3pcs of
AA size batteries, positioning the polarity as indicated.
2) Replace the batter y cover after batteries are installed.
-Use batteries of same type.
-Remove batteries from the case if not in use.
-Always check the battery power.
-Dispose of exhausted batteries properly.
4
RUNNING YOUR CAR
1
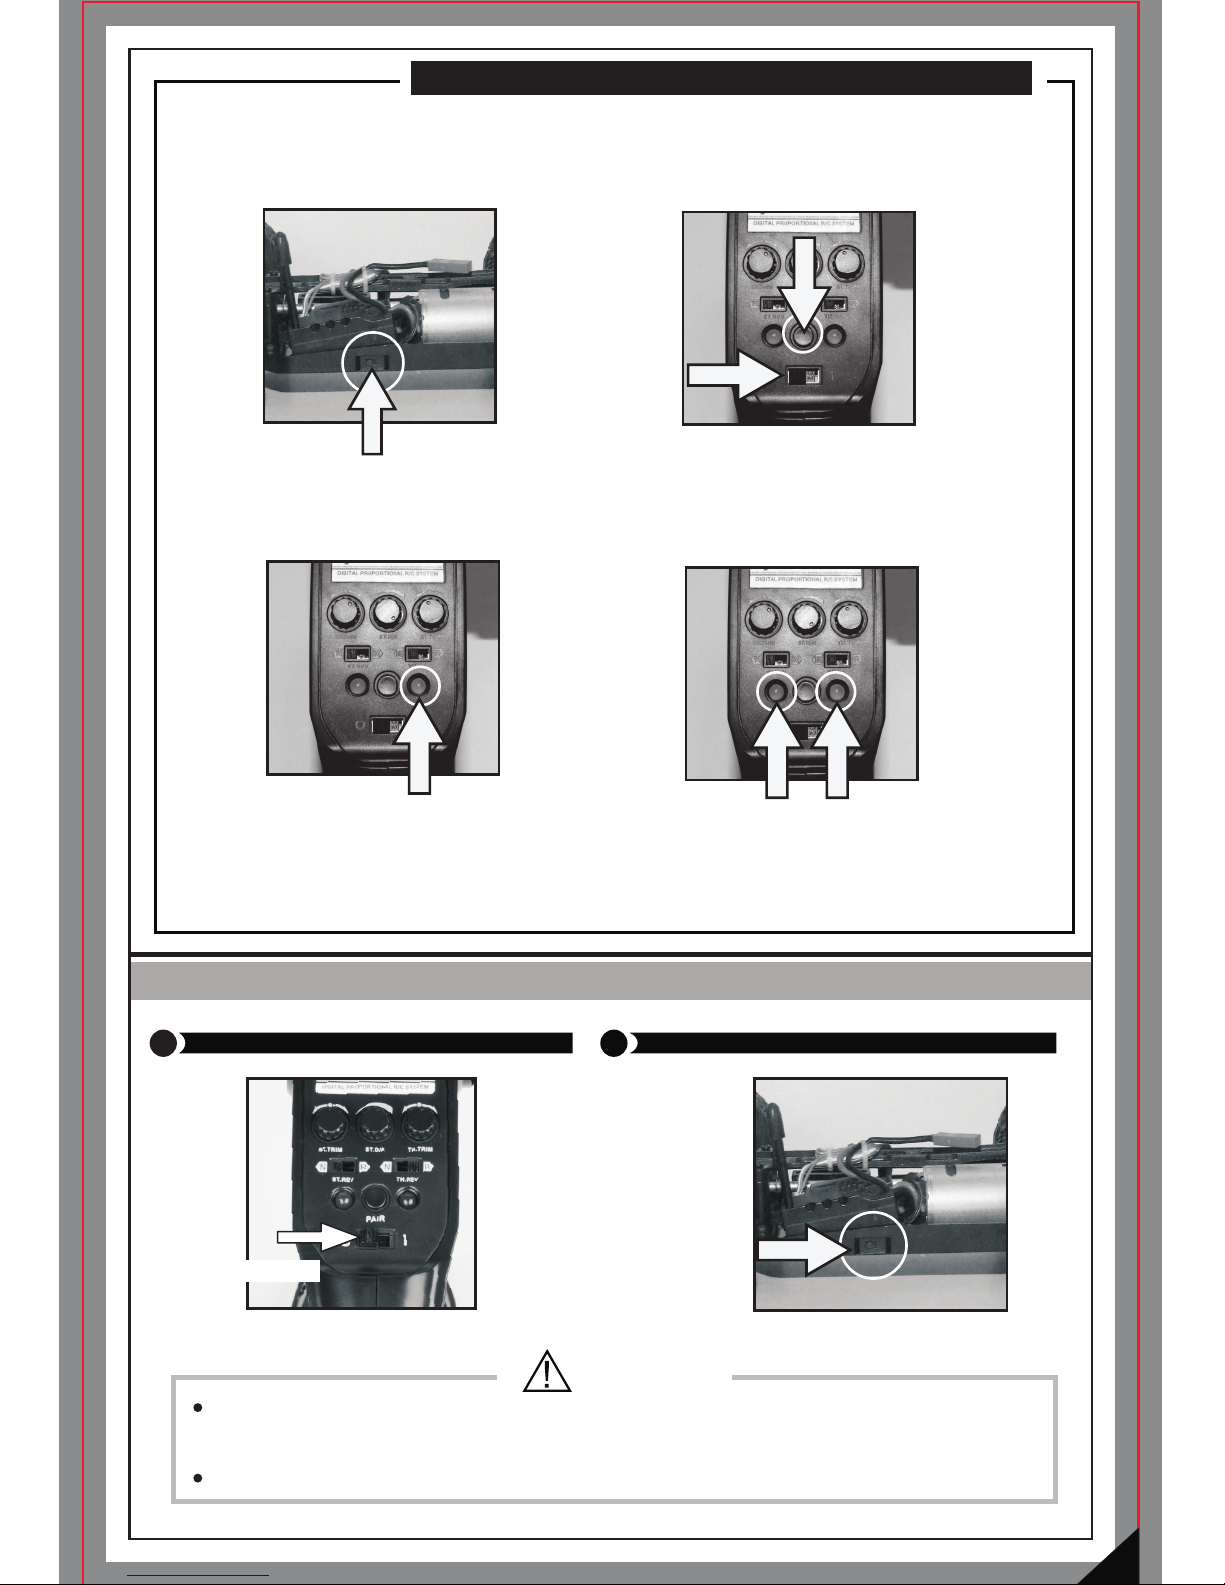
TURN ON THE RADIO CONT ROLLE R
2
TURN ON THE RECEIVER O N YO UR CAR
CAUTION
TO BIND THE RECEIVER TO THE RADIO CONTROLLER
Power Switch
Before running, make sure that the radio controller is bound with the receiver, which has been
done at factory. If the model is not responding to the controller, it is possible that the controller
and receiver are not bound, and you must perform the binding procedure following the
instructions below.
1)Turn on the receiver (3-in-1 unit) using the
power switch located on the side of the car.
(Note: Receiver and ESC are combined inside
the 3-in-1 unit.)
2) Hold the Bind(Pair) key and switch
on the power on the controller.
You must Hold the Bind(Pair) within
5 seconds of turning on the receiver.
3) The green indicator should flash, meaning
that the binding process is being performed.
4) Once both red and green indicator
are lit and not flashing, then your
receiver is bound to your radio
controller. The binding process is
complete.
Before using your car, make sure the radio controller has sufficient battery power.
If the battery power is too low it can lead to the loss of control of your car.
Always turn on the remote controller FIRST, and then the receiver.
5
3
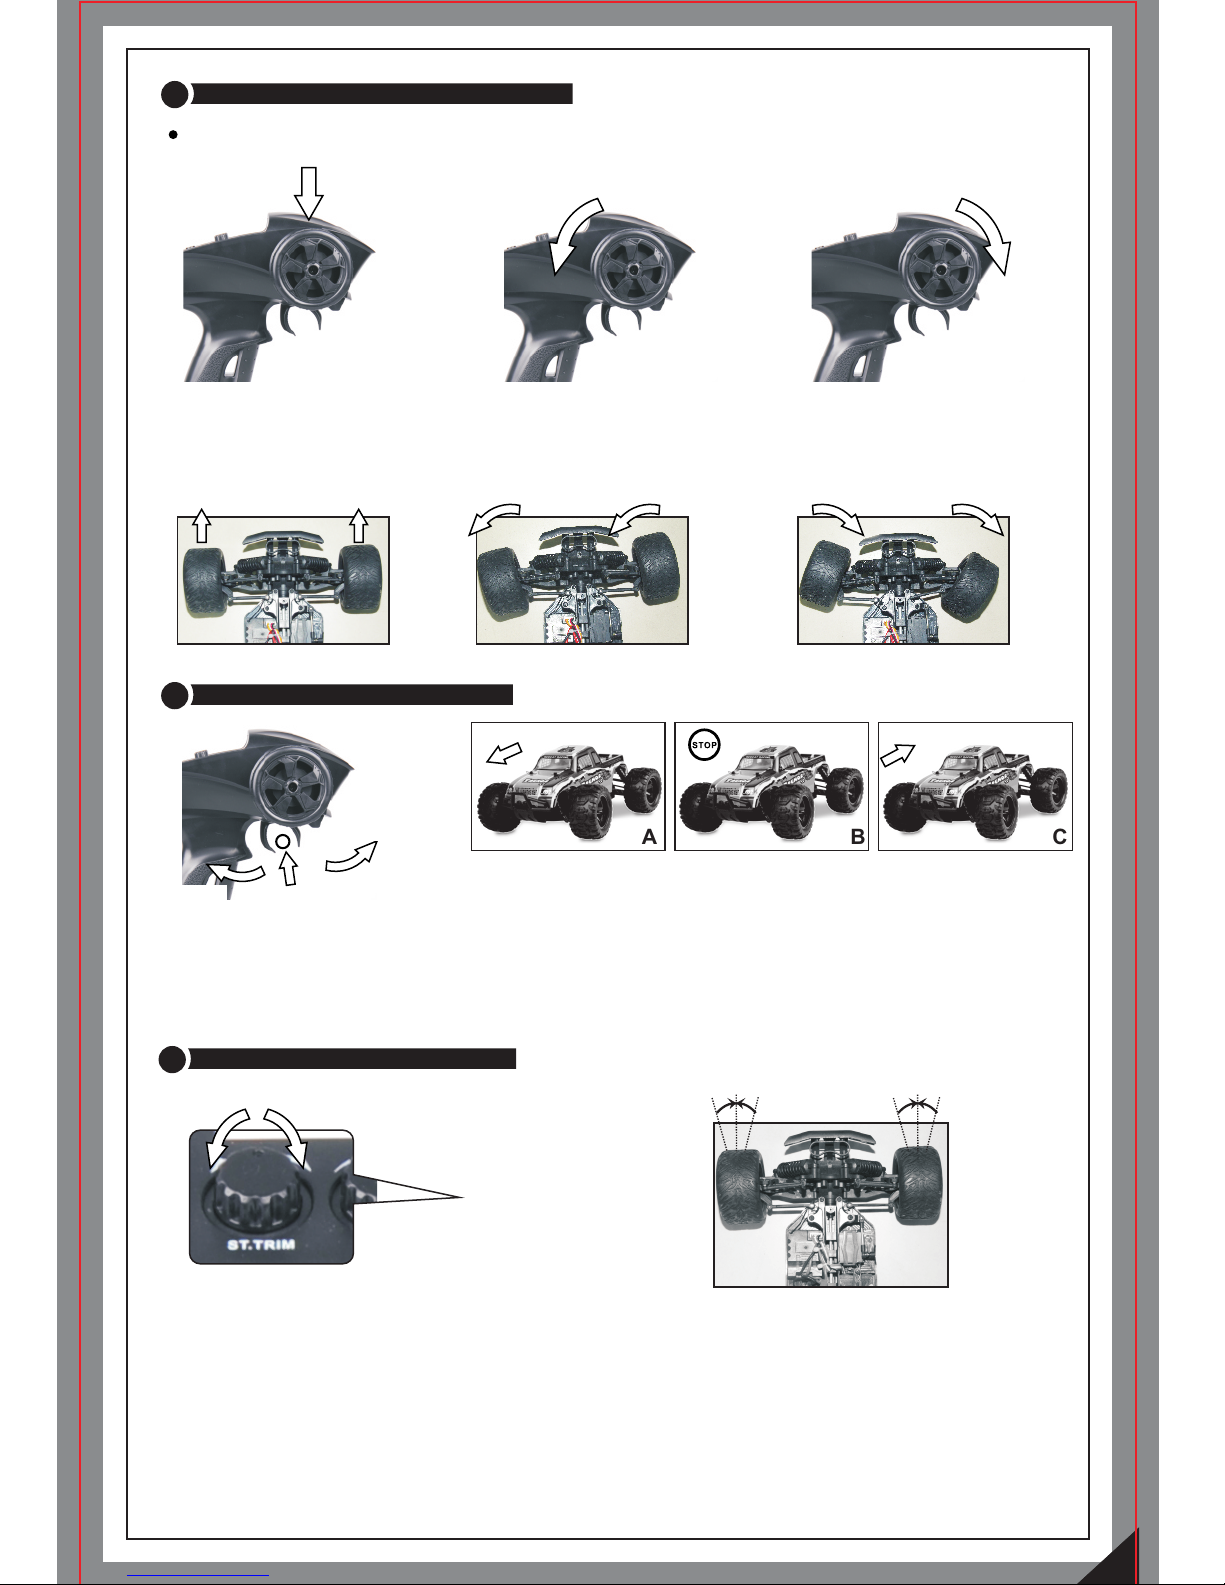
CHECK STEERING PER FORMA NCE
Ensure good steeri ng perf ormance.
4
CHECK TRIGGER RESP ONSE
TURN L EF T TURN R IG HT
5
TO TUNE THE STEERING TRI M
CENT RE
CENT RE
PULL IT
BUCK
PUSH I T
FORWARD
A B
C
STEERING TRIM
1) To kee p the car run ning in a
straight lin e , do not move the
control whee l.(Ke ep it centered)
2) Turn the con trol wheel left to
allow y our vehic le to turn left.
3) Turn the con trol wheel right to
allow y our vehic le to turn right.
A. Pull the trigger back to accelerate, release it to decelerate and
push it forward to brake.
B. To stop accelerating your car, release the trigger to Neutral.
C. Pushing the trigger forward a second time activates the reverse
feature.
Gently pull the trigger to allow your car to accelerate slowly. Meantime, tune the steering
trim to align the front wheels.
 Loading...