

RecorderGear AC50W User Manual
1
1
USER
MANUAL
www.recordergear.com
RecorderGear™ and respective logos are trademarks of
Teton Webstores LLC ©2016 ALL RIGHTS RESERVED
1 Year Warranty
All RecorderGear™ brand products are backed
by our 1 Year Warranty. For full details visit
www.recordergear.com
In order to comply with 18 U.S. Code § 2512 federal law, the audio
recording function has been removed from the AC50W. You can rest
assured that this device is 100% legal to use in the USA.
Please be familiar with your country and state surveillance laws before
using this product. RecorderGear products are sold NOT for illegal use
and are sold for their intended legal use only.

4
5
6
7
7
12
15
19
31
33
35
38
40
Table of
Contents
AC50W Diagram
Quick Set-up
1. Start/Stop Recording To a Memory Card
2. Download FUVISION APP
3. FUVISION Account Setup
4. Connect iOS/Android Device to AC50W WiFi
5. Connect AC50W to Home/Business WiFi
6. About the FUVISION App
7. Motion Detection Mode
8. Email Account Set-up
9. Motion Trigger Email Alerts
10. Device Settings
Specications

4

5
IMPORTANT
To use the AC50W as an IP camera and view video remotely,
you MUST complete steps 2-5 and 6f.
Quick
Set-up
A. Insert Micro SD Card:
If you wish to record video to an SD card, please
insert a memory card. This device can support
up to 64GB micro SD card. Without a memory
card inserted you will still be able to view the live
video feed, receive email alerts, and record video
to your iOS/Android Device.
B. Power Device On/O:
To power on, plug the AC50W into a 110V-240V
power outlet. The AC50W will automatically start
recording to the SD card. To power o, unplug it
from the power outlet; it will stop recording and
the current recording will be saved.
C. Install iOS/Android APP:
The FUVISION App can be found on the Google
Play and App Store. Visit your preferred store and
download the APP.
D. Device/Camera ID and Password:
The AC50W Camera ID and Password can be
found on the sticker on the back of the AC50W.

6
1Start/Stop
Recording To a
Memory Card
A. Make sure an SD card is inserted in the AC50W
(not included).
B. Plug the AC50W into a 110V-240V power
outlet. It will power on and automatically begin
to record video to the SD card.
C. Loop Recording: When the memory card is
full, the AC50W automatically starts recording
over the oldest video les; it will continue to
record even if the memory card becomes full.
D. Video les are recorded in 50mb (about 2 min
15 sec) segments to avoid large les sizes. This
interval can be adjusted using the FUVISION App
(refer to section 10e).
E. To stop recording, unplug your AC50W from
the power outlet. This stops the recording and
the le currently being recorded is saved to the
memory card.

7
2Download
FUVISION APP
3FUVISION
Account Setup
Please follow the instructions and make sure you
have successfully completed this section before
proceeding.
A. Visit the App Store for iOS devices or the
Google Play store for Android devices.
B. Search for the APP “FUVISION”.
C. Download and install on your iOS/Android
Device.
You will need to set-up a user account in order to
use the FUVISION APP.
A. Make sure your iOS/Android device is
connected to Wi-Fi or cellular network.

8
B. Open the “FUVISION” APP and tap “Create
Account”. [see pic #1 below]
pic 1
9
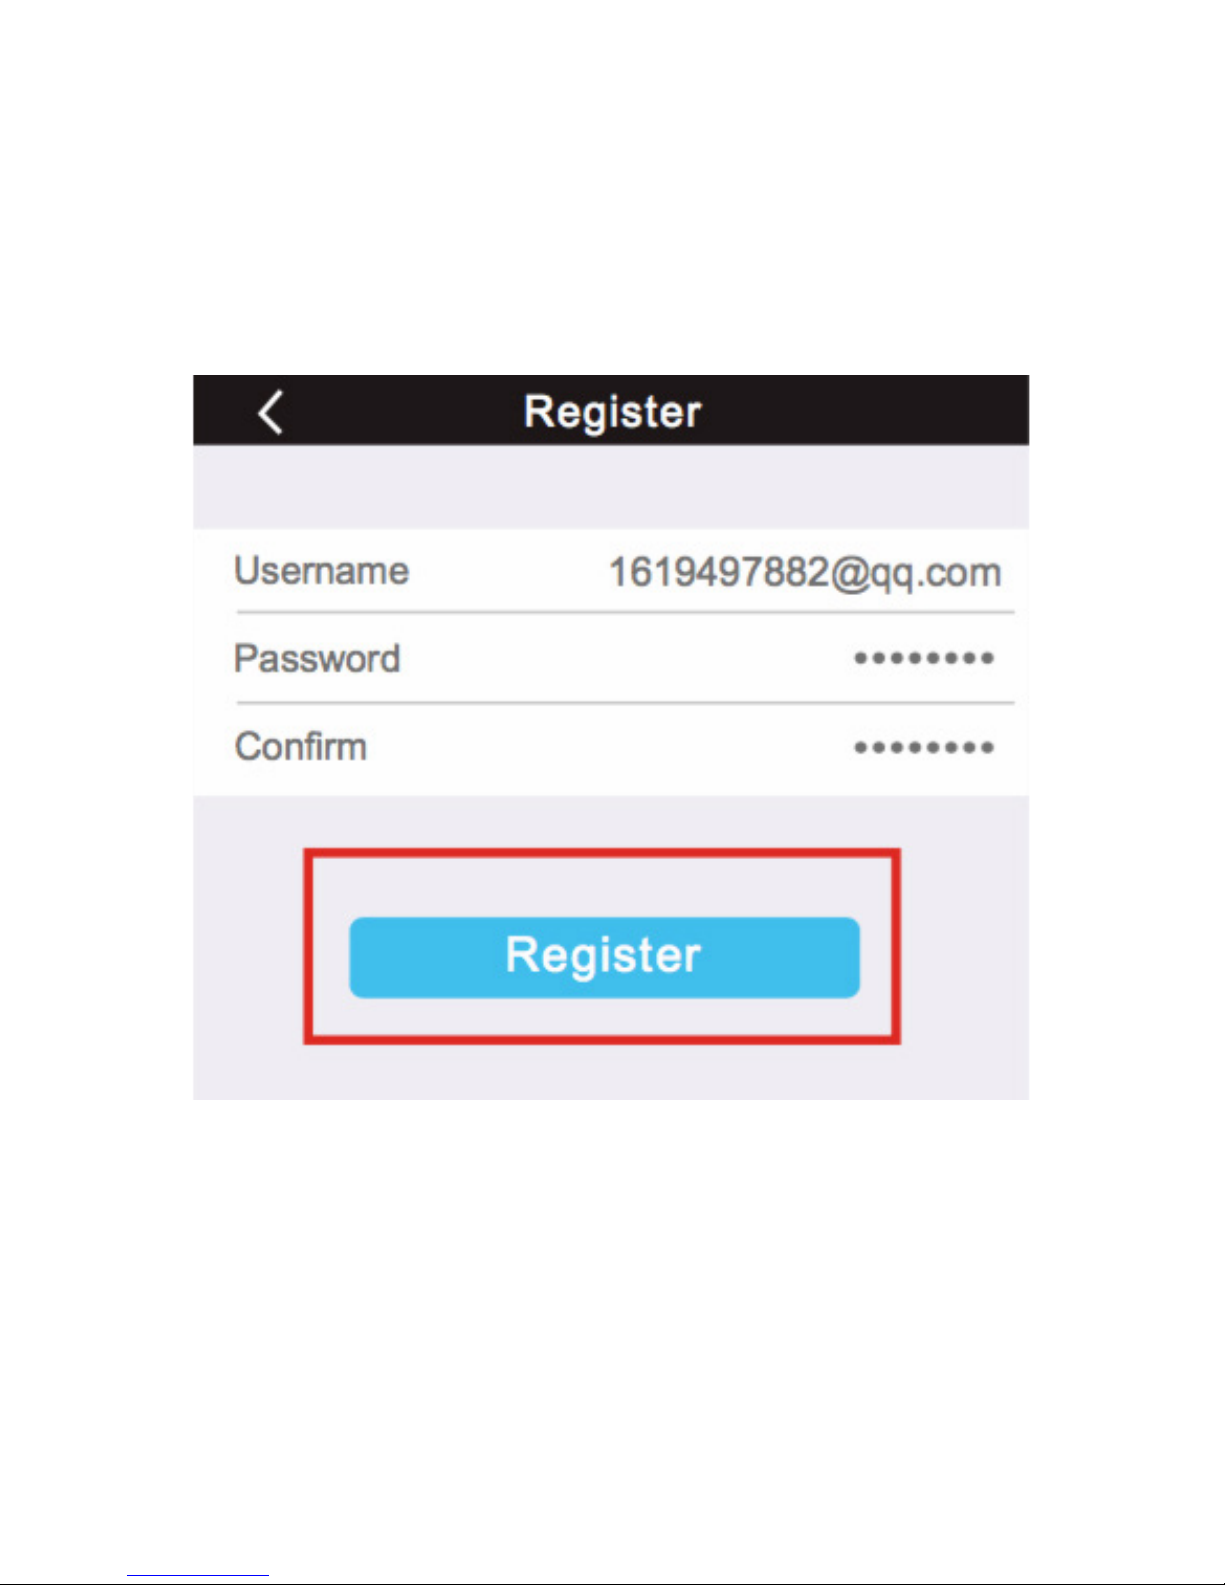
C. Fill in all the necessary information and click
“register” to complete the account creation
process. [see pic #2 below]
pic 2
10
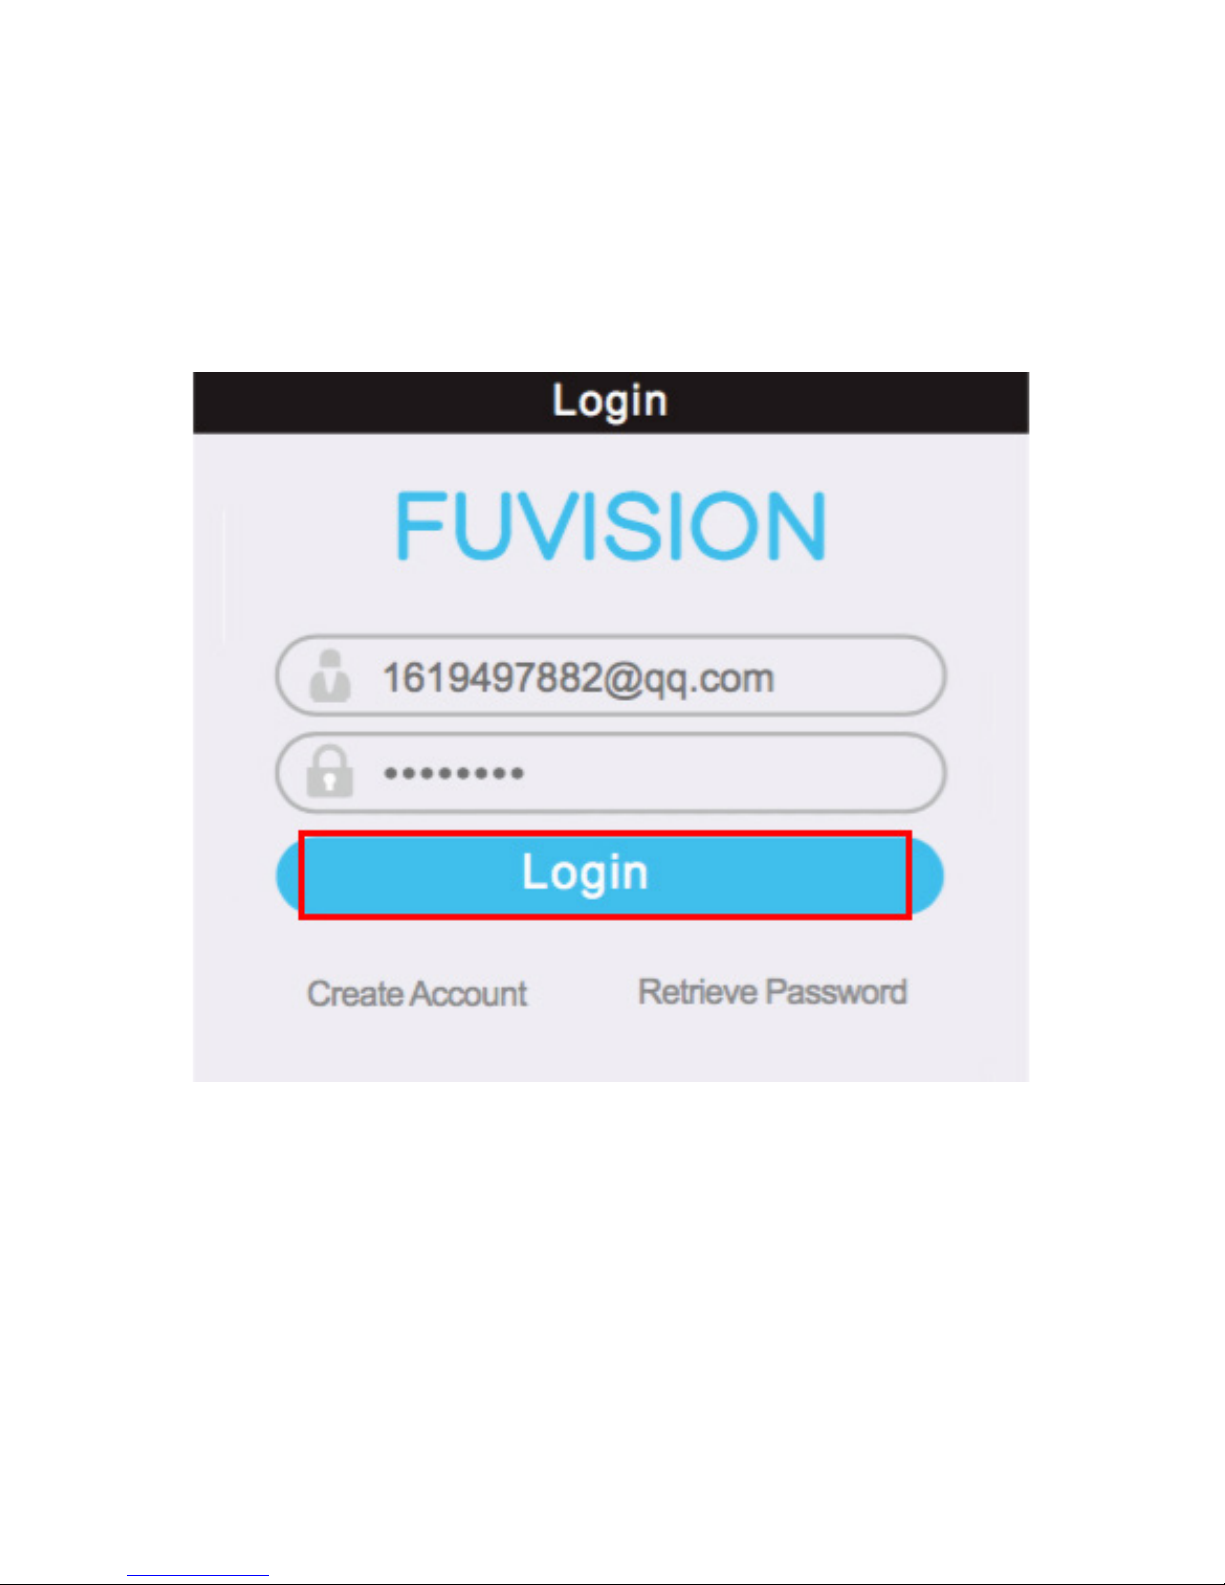
D. Next, tap “login”. [see pic #3 below]
E. After you login, you will see the “Device List”
screen. No devices are listed yet because we still
need to connect to the AC50W’s WiFi signal (see
step 4).
pic 3

11
Note: If you already created an account but lost
the password, simply enter in the registered
email address and tap “Retrieve password”; Go to
your email account to access the new password.
If you do not receive an email with the new
password, please check your “JUNK” mail box.
[see pic #4 below]
pic 4

12
4Connect iOS/
Android Device to
AC50W WiFi
In this step, you will learn how to connect your
iOS/Android device to the WiFi signal of the
AC50W camera.
A. Take note of your camera ID and password on
the back sticker of the AC50W.
B. Plug the AC50W to your desired wall outlet to
turn it on. Wait up to 2 minutes for the device to
turn on and be ready for use.

13
C. Open the WiFi menu in your iOS/Android
device settings; then select your camera ID Wi-Fi
network (example name: ET890911089) This is
the Wi-Fi signal that your AC50W is transmitting.
The default password is “9999”. Note: There is a 2
minute WiFi setup delay time the rst time you
connect the AC50W to your iOS/Android device.
[see pic #5 below]
pic 5
 Loading...