


RDL RU-RA3R Datasheet
ACCESSORIES
Model RU-RA3R
Rack adapter for RACK-UP series
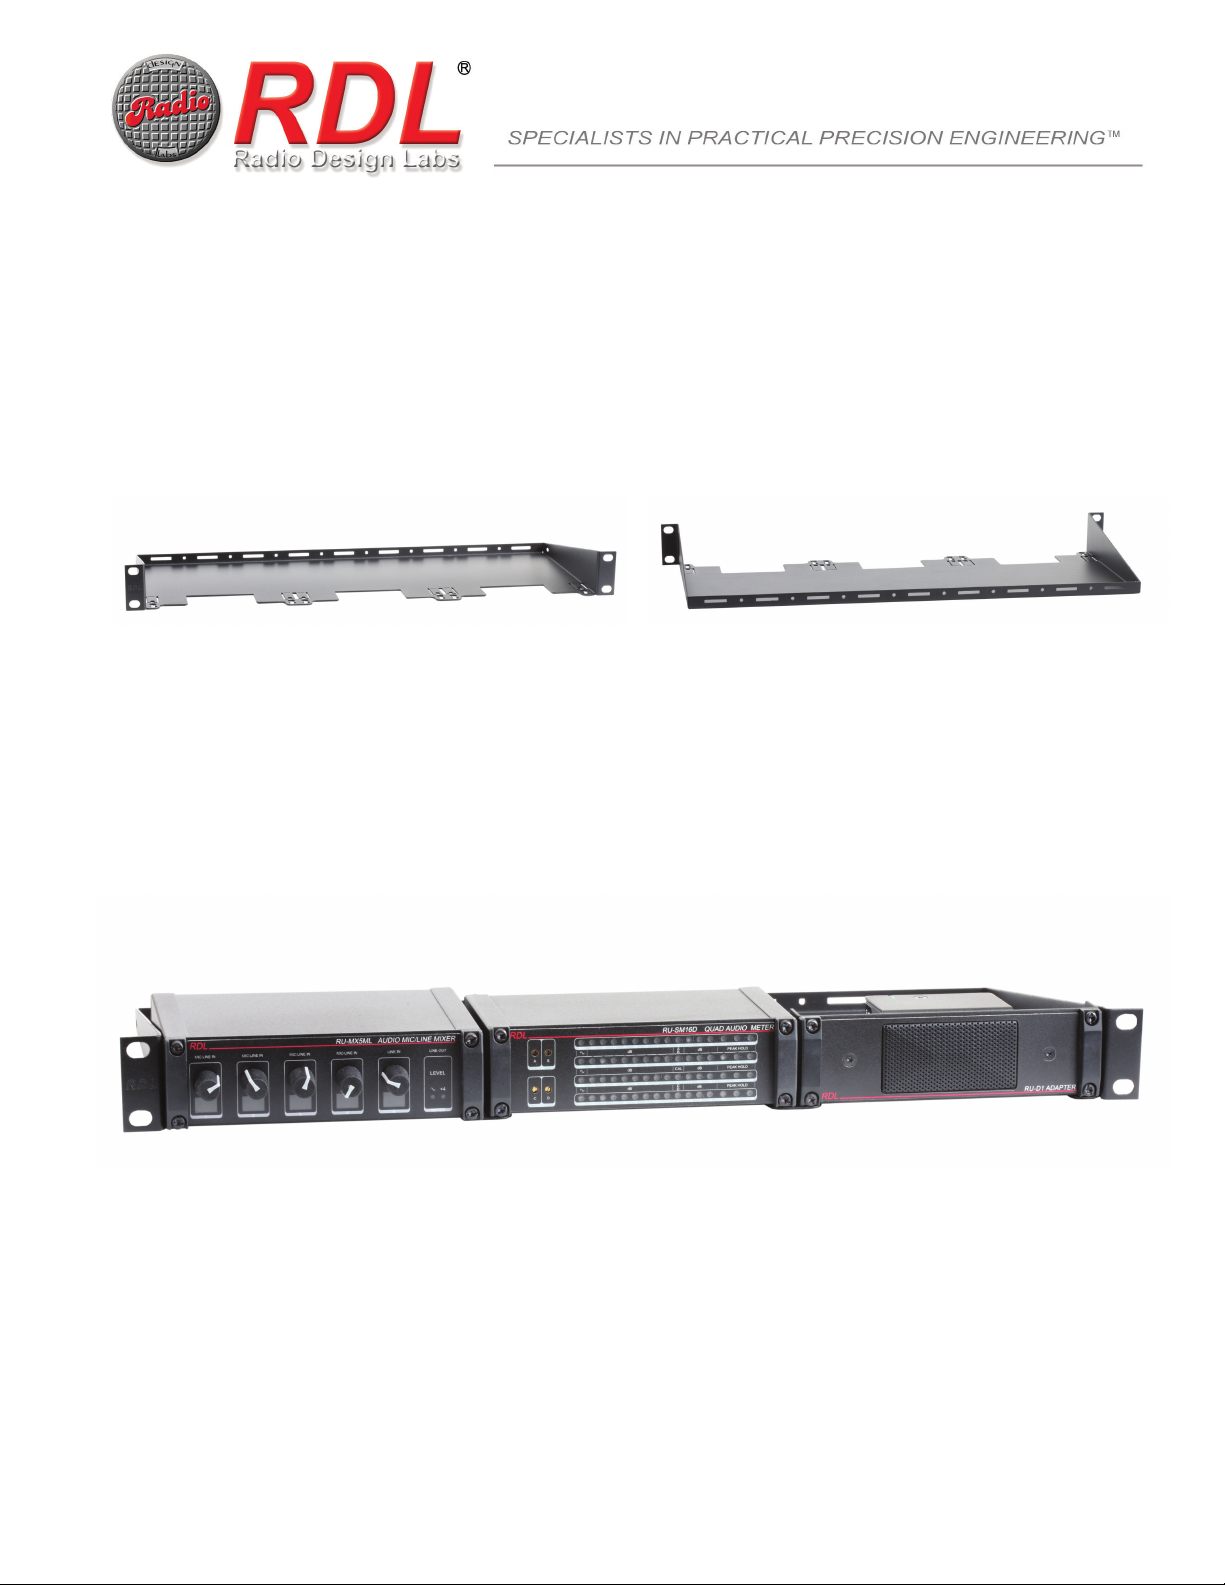
The RU-RA3R rack mounts 3 RACK-UP modules in fixed or mobile installations. Metal RACK-UP series products drop into the chassis,
slide into position and are secured by tightening two screws provided with the RACK-UP product or accessory.
Front
Rear
With Product Installed
(RU-MX5ML, RU-SM16A and RU-SP1 Available Separately)
RDL • 659 6th St. • Prescott, AZ., USA 86301 • (928) 443-9391 • FAX (928) 443-9392 • www.rdlnet.com
ACCESSORIES
Model RU-RA3R
Rack adapter for RACK-UP series
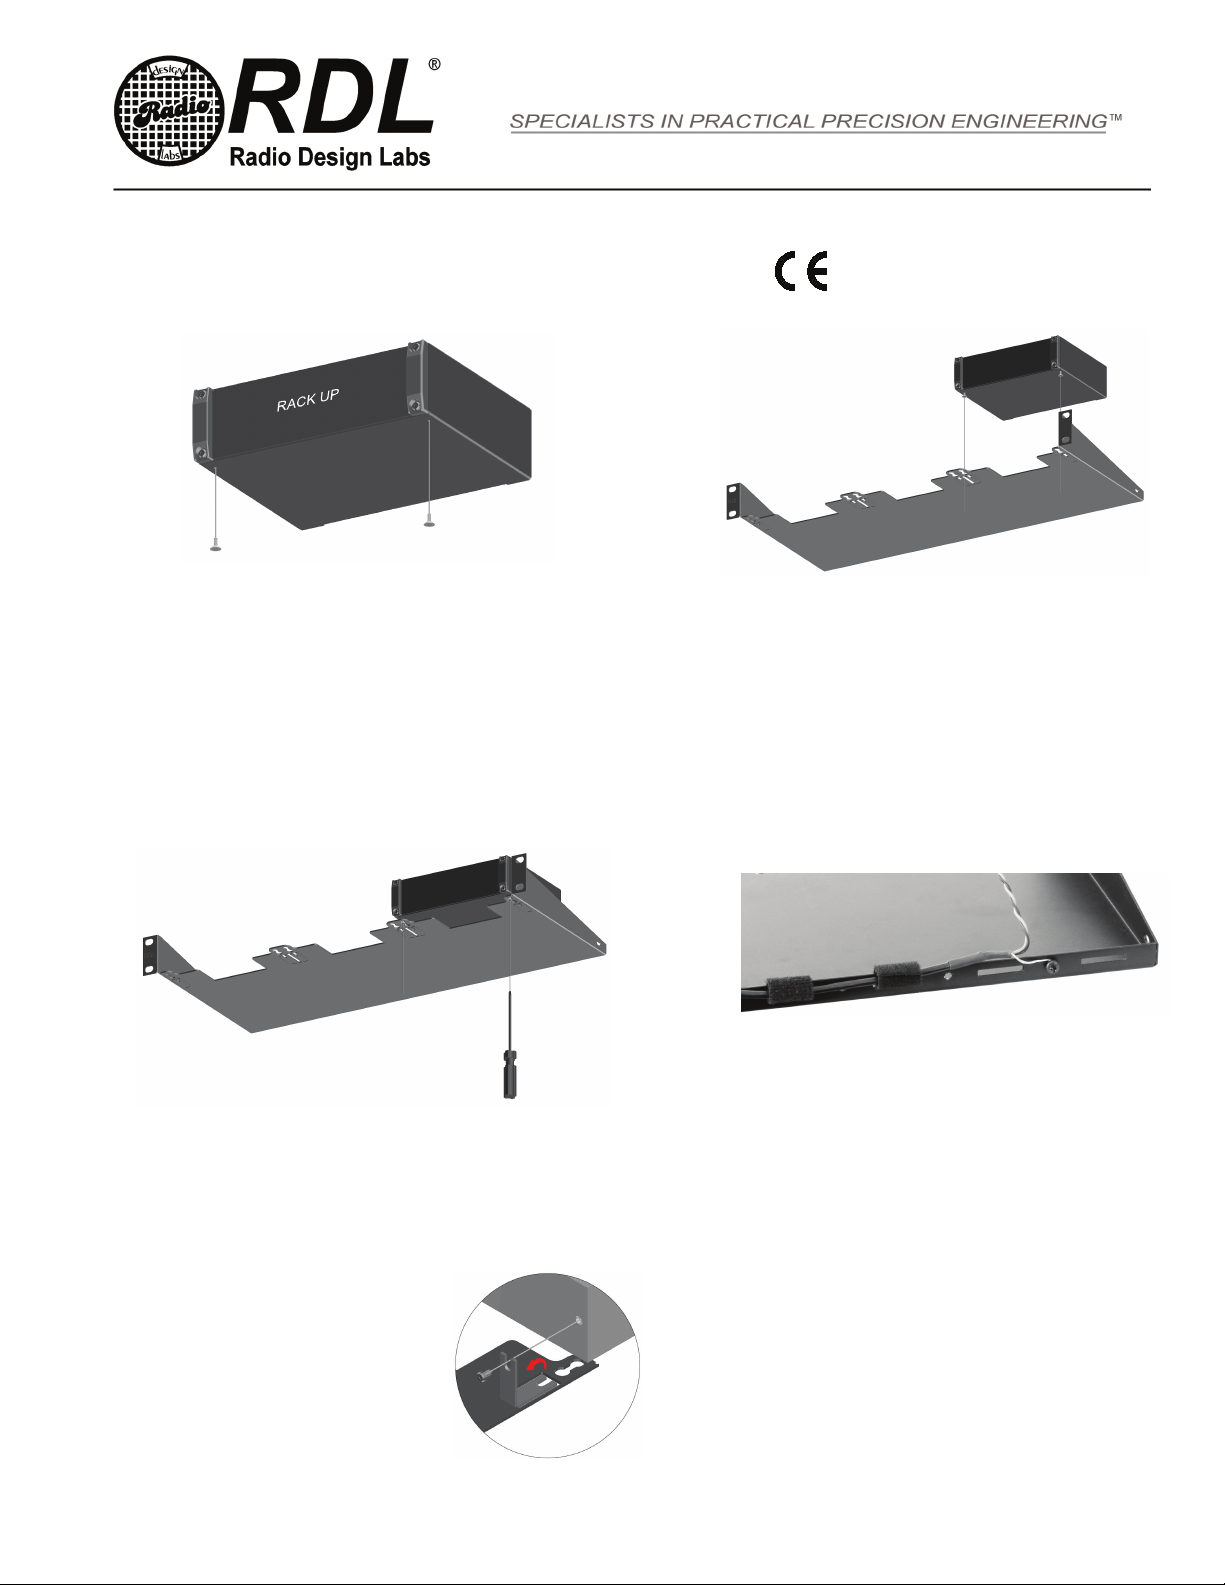
STEP #1
Start the screws into the bottom of the RACK-UP unit but
do not install them all the way.
Installation/Operation
Declaration of Conformity available from rdlnet.com.
Sole EMC specications provided on product package.
Specications are subject to change without notice.
(Bottom View)
STEP #2
Place the RACK-UP unit onto the chassis. The screw heads
will pass through the rear position in the cutout.
891-3152A
(Bottom View)
STEP #3
Slide the unit forward until the screws are seated in the
forward position of the cutout. Tighten the screws to
secure the unit in the chassis.
Radio Design Labs Technical Support Centers
U.S.A. (800) 933-1780, (928) 778-3554; Fax: (928) 778-3506
Europe [NH Amsterdam] (++31) 20-6238 983; Fax: (++31) 20-6225-287
If desired use the rectangular cut outs in the chassis to secure
wiring with hook and loop fastener or wire-ties. The small
holes can be used for ground wire attachment.
NOTE: When installing a RACK UP product that is in a
plastic box start by removing the screws from the back
of the RACK UP. Bend the tabs on the mounting unit up
at a 90° angle. Secure the unit to the mounting chassis
using the screws.