

Page 1
INSTRUCTION MANUAL
MODEL: SSRFR
REFRIGERATOR
CAUTION: Read a nd f oll ow al l s afety rules and op erati ng i nstr ucti ons bef or e first us e of
this product, and please keep this information in a safe place for future reference.
Page 2

Contents
Important…………………………………………….2
Product Safety
Electrical Safety
Connection to Power Supply
Disposal of Used Appliance
Features………………………………………………3
Before Putting Into Use……………………………4
Position the Fridge
Instructions for Use
Using Your Frid ge…………………………………..4
Guidelines for Use of Your Fridge
Temperature Dial
Holiday Periods
For Longer Holiday Periods
Maintenance and Cleaning………………………...5
Automatic Defrosting of the Appliance
Cleaning of the Appliance
Water is leaking from the Appliance
Noise
Replacing the Bulb
Technical Specification
Trouble-Shooting Guide……………………………7
The Appliance Fails to Operate After Connecting to Electrical Power Supply
Continuous Operation of the Cooling System
Ice Formation on the Inner Rear Wall
Page 3

IMPORTANT
Product Safety
The mains lead of this product is not replaceable by the user. If the mains lead is damaged,
it must be replaced by an authorized dealer.
The appliance must be properly connected to an electrical power supply. (See: Connection
to Power Supply)
Always disc onnect the app li ance f rom the p ower sup ply bef or e cleani ng th e ap pl iance, or
attempting repairs.
WARNING: Repairs should be performed by qualified service personnel only.
Do not defr ost the ap plianc e with other electri c app liances ( for ex ample a hair dryer) and
never attempt to scrape or remove ice/frost with sharp objects.
The cooling system of the appliance is filled with refrigerant and oil, so when the appliance
is damaged, handle it with care and dispose of it in compliance with environmental
protection safeguards.
Electrical Safety
WARNING!
Read these safety instructions thoroughly before connecting this product to the
mains supply.
Before sw itching on, make sure that the v oltage of your el ectrici ty supply is the same as
that indic ated on the r ati ng p l at e. Thi s product is designed to op er ate on 115 V AC 60 Hz.
Connecting it to any oth er pow er sourc e may cause dam age. This pr oduct is f itted w ith a
non-rewirable plug
WARNING: Instructions to avoid the risk of fire, electric shock, or injury to persons.
WIRING INSTRUCTIONS
For our p ersonal saf ety, this ap pliance m ust be earthed. I n the event of a malf unction or
breakdown, earthing will reduce the risk of electric shock by providing a path of least
resistance for electric current. The plug must be plugged into an appropriate wall outlet that
is installed and wired in accordance with all existing local codes and ordinances. Consult a
qualifi ed electrician or s erviceman if the wir ing instruction is not clearly under stood or if
doubt exists as to whether the appliance is properly earthed.
Connection to Power Supply
Connect the ap pliance pow er c or d and p l ug to a pr operly earthed wal l outl et. The r equired
nominal voltage and f req uency are i ndicated on the rating plate ( inside the unit or on th e
exterior rear of the unit).
Page 4

WARNING: Do not use an extension cord.
If the power cord is too short, have a qualified electrician install an outlet near the appliance.
If the power cord is damaged, have it replaced by an authorized service center.
WARNING!
There are no user-serviceable parts inside - always refer to qualified service personnel.
This unit is not designed to be installed in an RV or used with an inverter.
Allow 3" clearance between back of fridge and wall for adequate ventilation.
Disposal of Used Appliances
DANGER:
Risk of child entrapment. Before you throw away your old refrigerator or freezer:
1. Take off the doors.
2. Leave the shelves in place so that children may not easily climb inside
WARNING!
Take great care if small children are present. If in doubt, fit a proprietary child safety device.
When your ap pliance finall y wears out, disp ose it in a safe and har mless manner. If the
appliance i s equi pped w ith a door lock that ca nnot b e opened from the inside (lock bolt) ,
make sur e the lock is remov ed, disabled or destr oyed before b eing discarded. This w ill
prevent children accidentally locking themselves inside the appliance and suffocating.
The cooling system of the ap pliance is f illed with ref rigerant and insul ating sub-stances
which should be separately treated and processed.
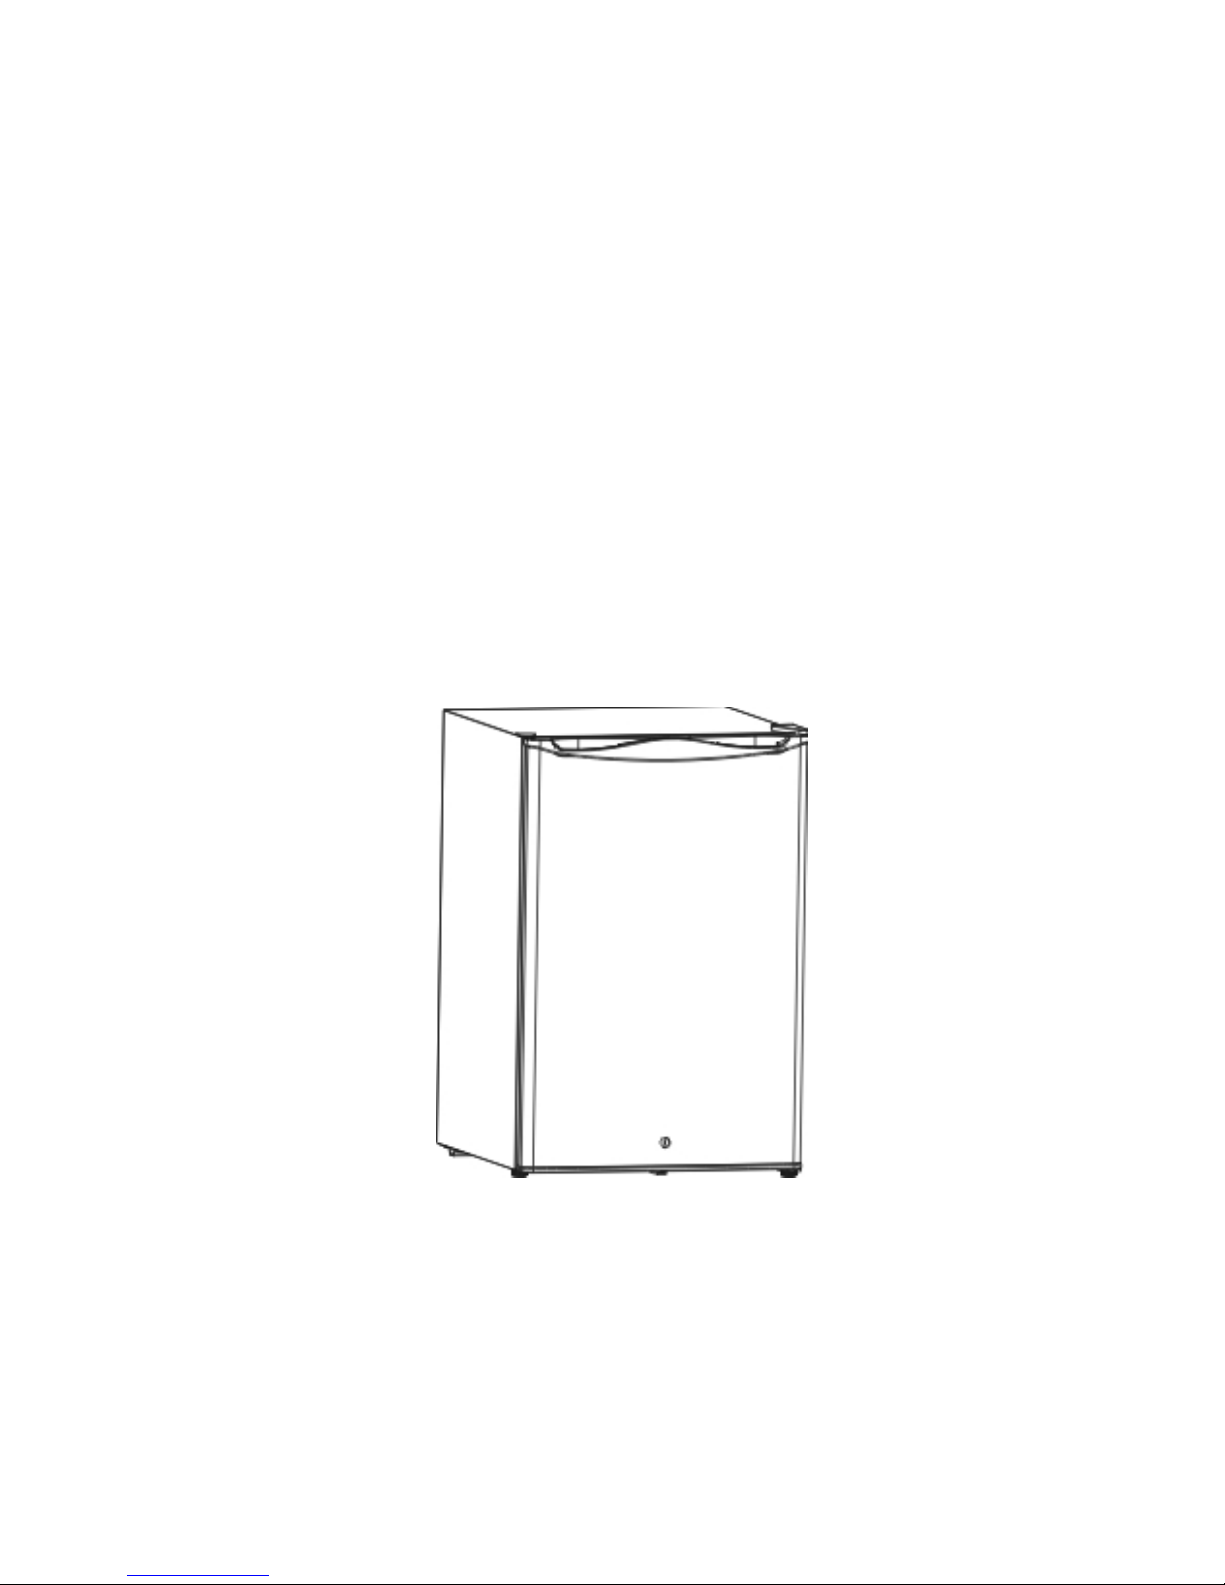
Features
① Door ② Rack Of Door ③ Upper Hinge Part ④ Shelf
⑤ Thermostat ⑥ Crisper Drawer ⑦ Adjust able Leg
Page 5

Before Putting Into Use
Carefully remove your Fridge from the box. You may wish to retain the packaging for future
use.
Position the Fr idge:
-On a stable flat surface
-Where it has sufficient ventilation
-Close to a mains supply socket
Before connec tion the ap pliance to elect rical pow er supply, leave it to s tand for about 2
hours, which will reduce the possibility of malfunctions in the cooling system due to
transport handling.
Remove any packaging materials and tape from the inside of the fridge before use.
If young children are present, we recommend that a simple safety catch is fitted to
eliminate the possibility of children becoming trapped inside.
Behind the appliance should be at least 3 inches.
There should be at least 3 inches between both sides of the chiller and other article.
Make sure that the fridge is stable. Use the leveling feet to correct any instability.
Ensure that t he mains pow er cable is not plac ed where it can be inadv ertently pulled or
pinched.
Wipe the inside of the fridge with a damp cloth and the outside with a soft dry cloth.
Plug into the mains supply and switch the socket on.
Adjust the t emperatur e control between 1 and 7 as desired to star t the cooling process.
Refer to the following sections for temperature control.
Adequate ventilation must be provided so that any radiated heat cannot reach the
appliance.
Using Your Frid ge
Guidelines for Use of Your Fridge
. Beverages should be stored upright in sealed containers to avoid leakage.
. Do not overload - always allow room for cold air to circulate around the contents.
. Do not open the door unnecessarily or leave the door ajar.
. D o not cover the shelves with any materi al such as alum inum foi l as this wil l impede air
circulation within the cabinet.
. Set the t hermostat f rom higher to lower settings as soon as pos sible ( depends on how
loaded the appliance is and ambient temperatures etc.)
. Ice and f r ost l ayer s i nc r ease e ner gy consump ti on, s o c lean the app l ianc e as soon as the
frost layer is 3-5mm thick.
Temperature Dial
The temperature dial is located at the top of the fridge cabinet.
The '0' position is off.
Page 6

Turn the dial clockwise to reduce the temperature. Aligning the arrow with 7 on the dial will
produce the l ow est tem per ature. Note that you do n ot nee d to hav e the tem p er ature at i ts
lowest sett ing for normal oper ation. The op timum storage tem peratur e is app roximatel y 6
degrees cent igrade (bet ween 3&4 on the di al). The rear of the fr idge is coolest, near t he
refrigerating element. If in doubt, check the temperature with a fridge thermometer.
Holiday Periods
For short holiday periods, leave the f ridge on at its norm al temperature control setting.
Check the da tes on any peri shable foodst uffs (especiall y meat/fish and m ilk all of whi ch
can spoil quickly).
For Longer Holiday Periods:
. Remove the food from the fridge
. Disconnect from the mains supply
. Clean the fridge
. Prop the door open to prevent the formation of condensation, mold or odors
Maintenance and Cleaning
Automatic Defrosting of the Appliance
There is no need to defr ost the chiller, bec ause ice depositi ng on the inner back wall i s
defrosted automatically.
Ice Build up on the inner back wall during the compressor operation will defrost
automati cally (when the comp ressor has cycled off ). Defrost water will drain out passing
through the drain situated above the compressor, from where it evaporates.
Cleaning the Appliance
Disconnect the power supply before cleaning the appliance.
Do not use coarse or aggressive cleaning agents as you may damage the surface.
Clean the exterior with water and detergent.
Remov e the detachable accessor ies in the int erior of the applianc e and clean w ith wat er
and liquid detergent. Plastic parts cannot be washed in dishwasher.
Wash the interi or of the app liance wi th lukewarm water, adding one or two spoonfuls of
vinegar.
After cleaning, connect the appliance to power supply and reload it.
Water is leaking from the Appliance
If the disc harg e w ater out let i s clogg ed, or the def r ost w ater drips ov er t he channel, w at er
will leak from the appliance.
Clean the clogged outlet
Manually defrost the increased ice layer (see ice formation on the inner rear wall).
Page 7

Noise
Cooling in this appliance is made possible by cooling the system using a compressor,
which w ill produc e certain noi se level s. How noi sy the ap pliance dep ends on w here it is
placed, how it is used and how old the appliance is.
During the operation of the compressor the noise of the liquid is heard and when the
compr ess or i s not op er ati ng , the r ef rigerant flow is heard. Thi s i s a normal condi t ion and it
has no influence whatsoever on the life span of the appliance.
After starti ng the appl iance, the op eration of the com pressor and the refr igerant f low may
be louder, whi ch does not m ean that s om ethi ng i s wrong wi th the app li ance and i t has no
influence on the life span of the appliance.
Gradually the noise will reduce.
Sometimes unusual and l ou der n oi s e may be heard. This noise i s often a conseq uenc e of
inadequate installation.
The appliance must be leveled and installed on a firm solid base/floor.
The appliance should not touch the wall or kitchen units standing next to it.
Replacing the Bulb
1. Switch off the fridge before replacing the bulb.
2. Remove the lamp cover.
3. Unscrew the bulb, and replace with a new one.
4. Replace the lamp cover.
5. Wait 5 minutes and switch the fridge back on.
Technical Specification
Model
SSRFR
Rated Voltage (V)
115V
Rated Frequency(Hz)
60Hz
Rated Input Power (W)
85W
Noise dB(A)
39
Protective Classification Of Electric
Shook Resistance
I
Size(WxDxH)
21.65 x 22 x 32.67 in
Totel Capacity
130L
Refrigerant R134a
Climate Category
N
Net Weight 25
Page 8

Trouble-Shooting Guide
Sometimes you may come across minor problems that in m ost cases do not require a
servic e call and can be easil y elim inated. The pr oblem may hav e resulte d fr om imp roper
handing and / or installation of t he appliance. Pl ease refer to the b elow trouble-shooting
guide to assis t you in i denti fying th e pos sib le c ause and sol utio n to your pr obl em. S hould
the problem still persist after completing these check-points, contact the nearest authorized
service agent in your area for assistance.
The Appliance Fails to Operate After Connecting to Electrical Power Supply
Check if the power cord is properly connected.
Check the power supply in the electrical outlet. (blown fuse / circuit breaker).
Make sure the appliance is switched on. (thermostat knob in operating position)
Continuous Operation of the Cooling Sy stem
The door is frequently opened or left open for too long.
The door is not properly closed (the door may sag; the gasket may be polluted or
damaged).
Perhaps you may have overloaded the appliance.
The reason may be inadequate ventilation of the compressor (assure adequate air
circulation).
Ice Formation on the Inner Rear Wall
As long as the defrost water r uns to the c hannel an d thr ough the outlet to the dr ai n pan on
the compressor, automatic defrosting of the appliance is assured.
In case the ice formation on the inner back wall is increased (3-5in.), ice should be
manuall y defr osted. Set the therm ostat knob to STOP ( 0 ) posi tion and leave the door
open. Never use electric devices for defrosting and do not scrape the ice or frost layer with
sharp objects.
After defrosting is complete, turn the knob to desired position and close the door.
The cause of increased ice formation may be one of the following:
. the door does not seal well (clean the gasket if it is contaminated, or replace it is
damaged)
. the door is frequently opened or left too long
. the food stored in the appliance was warm.
. the food or dish is touching the inner back wall.
 Loading...