

Page 1
TYPHOON Plus Manual
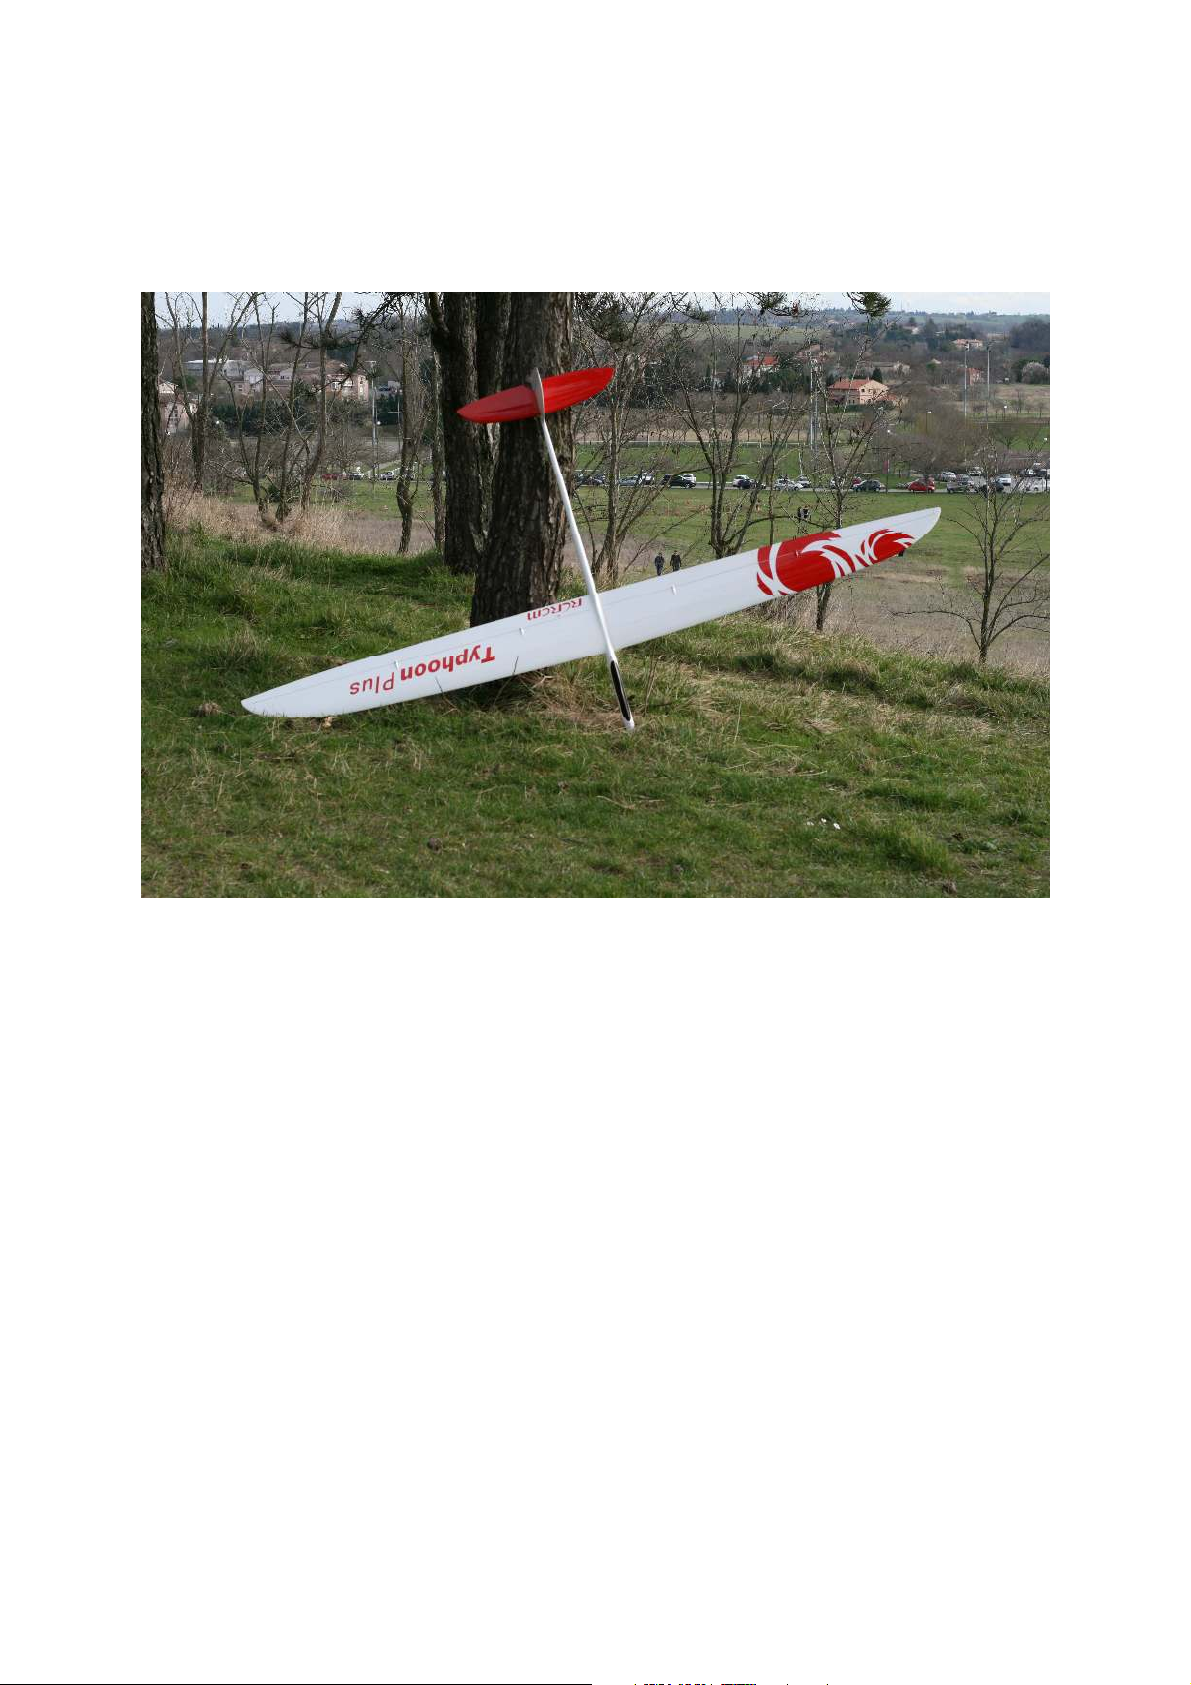
TYPHOON Plus is the big brother of the typhoon 2m. with a wingspan of
2m90, it’s a f3f glider. The quality of construction allows it to fly ballast
and go fast without any problem. You have as much fun to fly this
version of the typhoon thanks to its maneuverability and kindness in
flight.
Page 2
Before building
The workspace must be clean and clear.
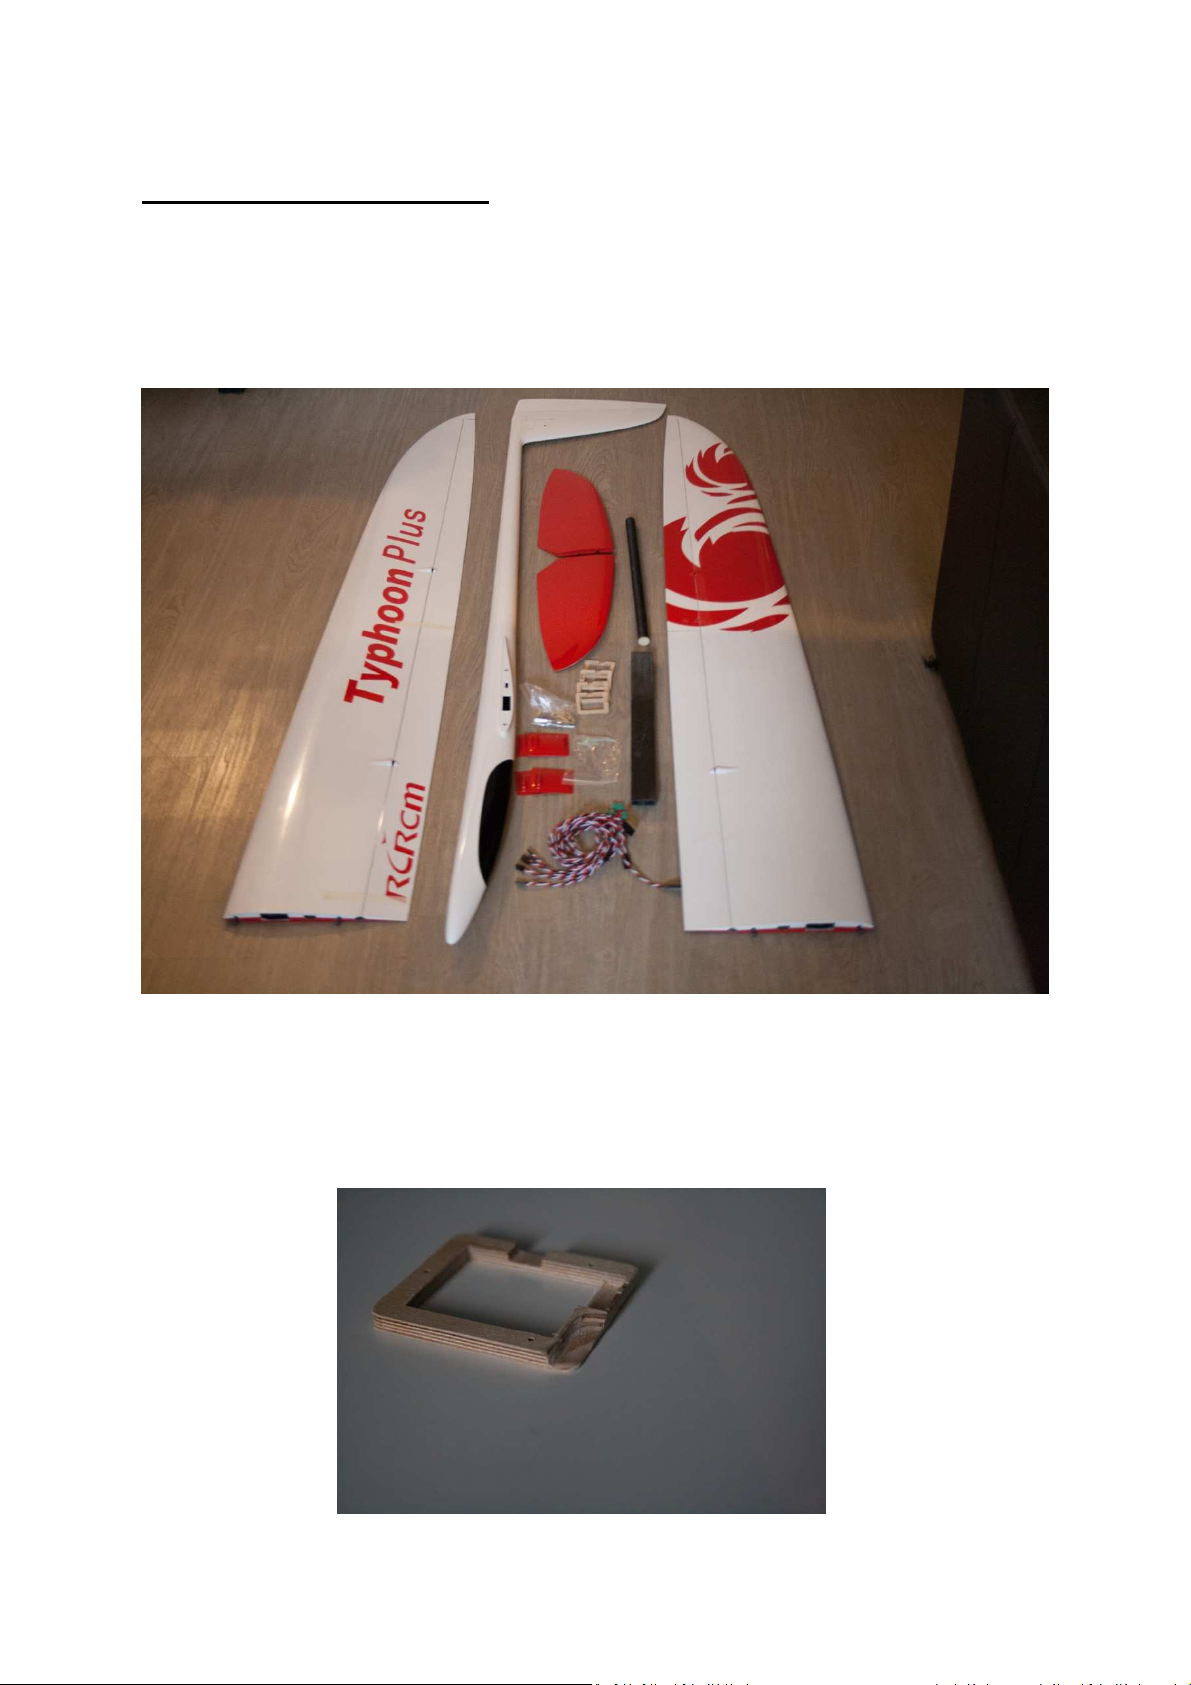
Check the assembly of the different components. It may be that the wing
joiner is too tight, It will free after a few flights. If it is too tight sand
delicately.
On the wings,
- Realize a groove to pass the rod on the servos supports provided in the
kit.
the job is to:.
Page 3
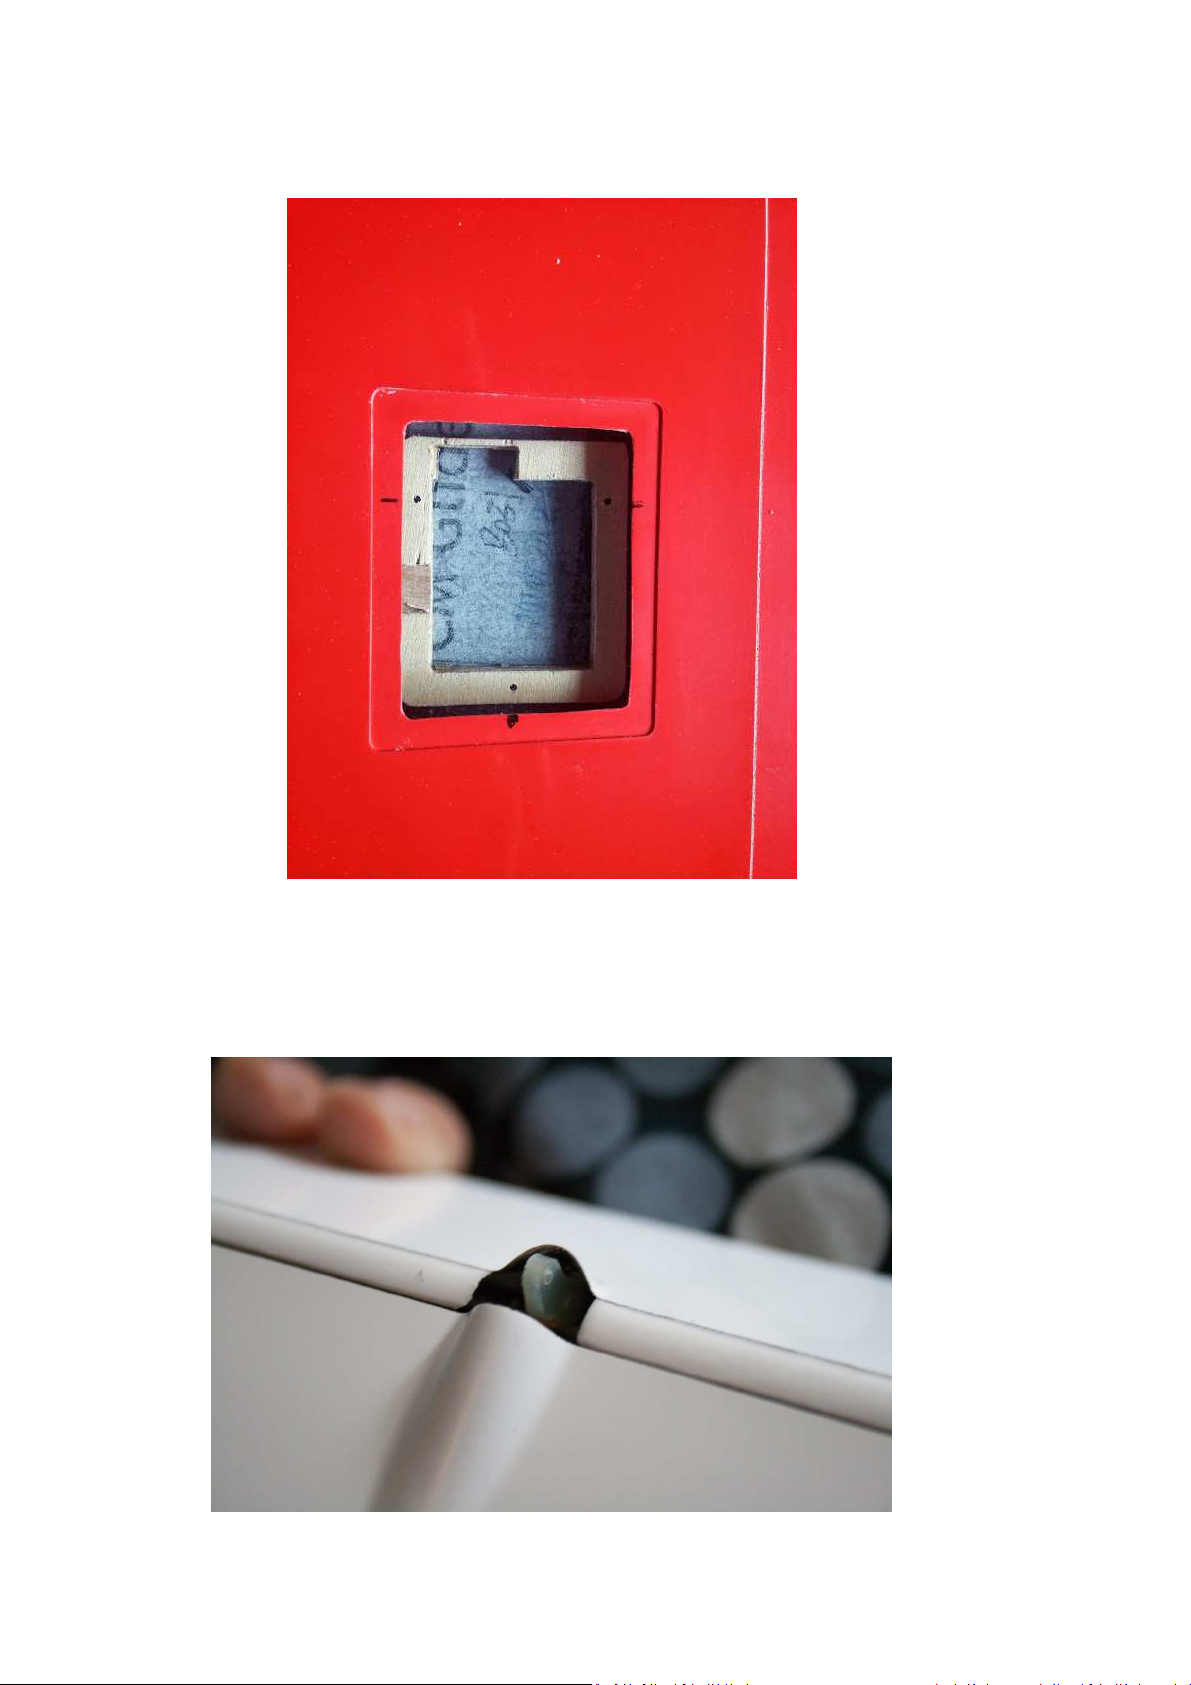
- Glue the servos supports flap and aileron if you use slim wing servos.
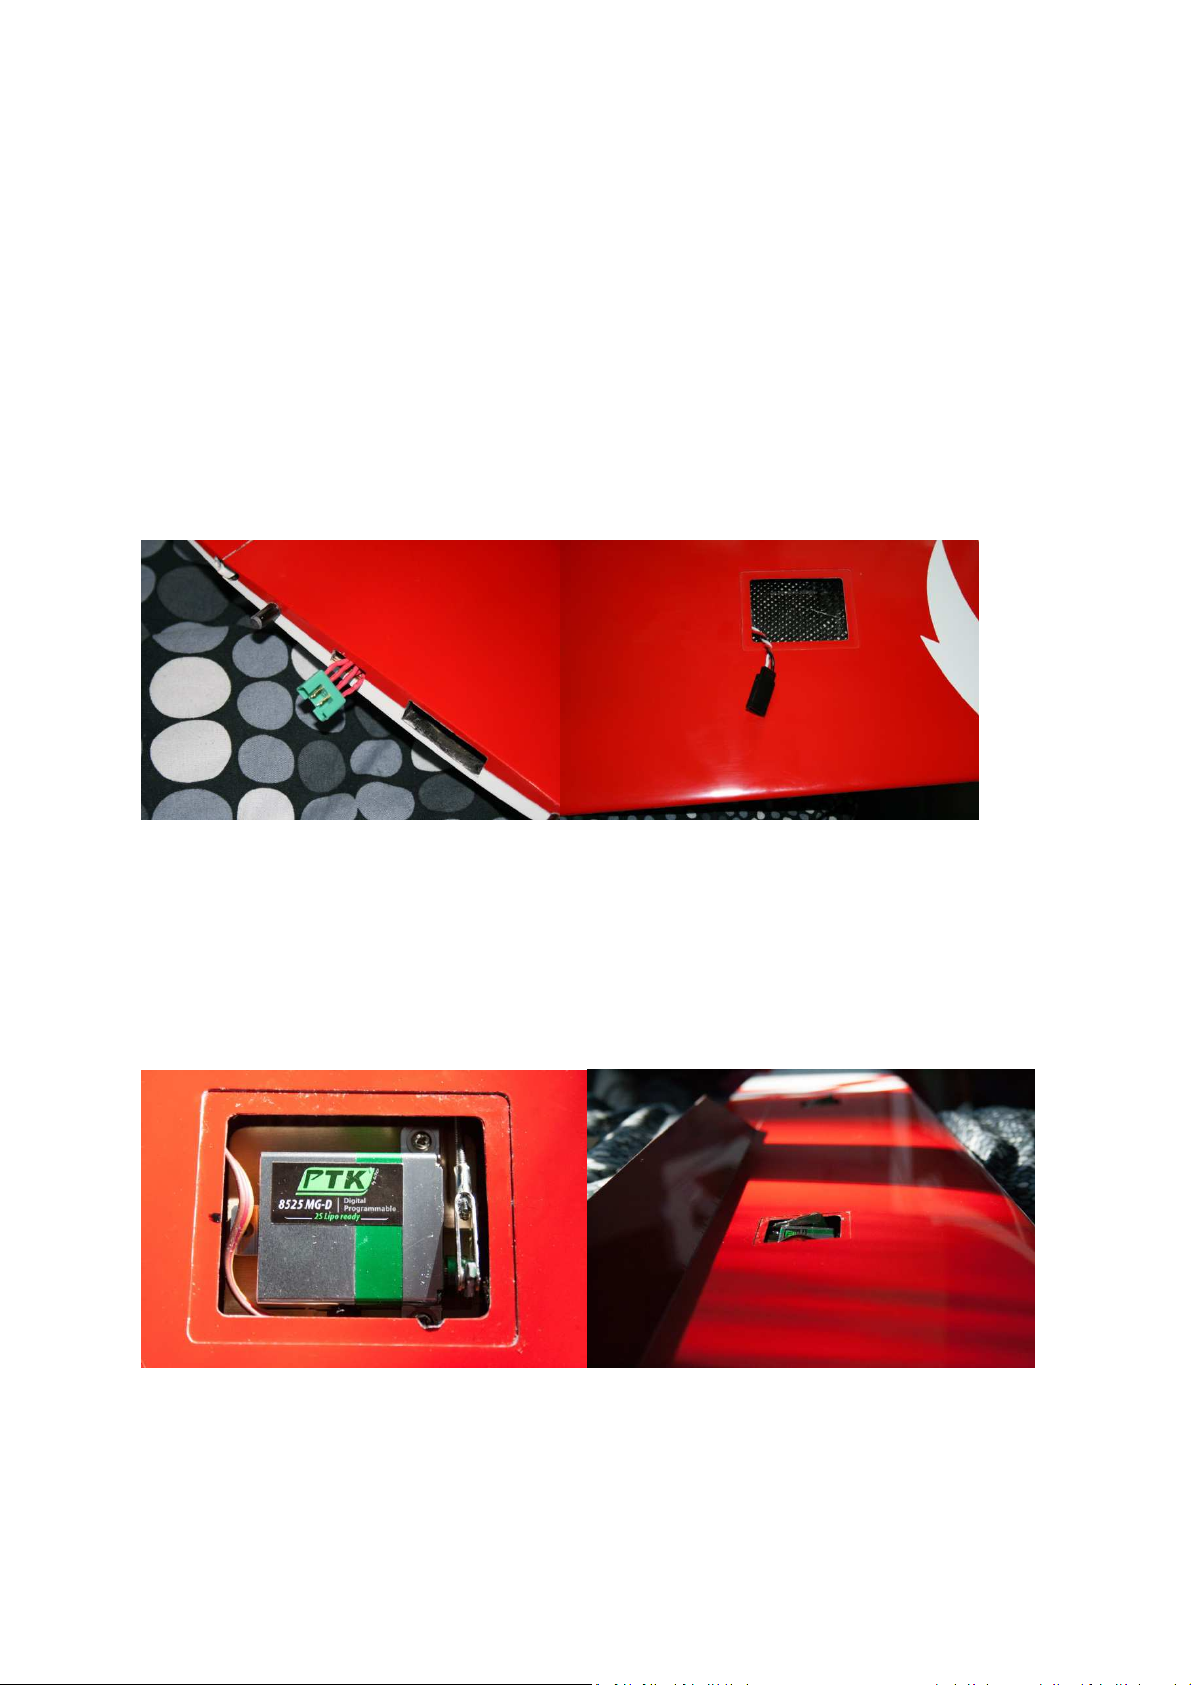
- Glue the horns of aileron and flap. Pierce delicately spar control surface
to increase gluing.
Page 4
Take your time and do several dry installation.
Once near, if necessary, to the cyano pointed to test the amplitude
control surfaces.
Supports servos can be glued with epoxy 5min and the
horns will be glued to the cyano or with a mixture of epoxy and silica.
-Pass the cables through the holes planned. (To facilitate this step can
make use of a piano wire) then solder the plugs.
Before installing the servos, put in neutral for the aileron servos. Provide
an offset of 20 ° for the flap servos. This is to be a large movement of the
flaps.
You can now install the servos and connect the rods. Favor a
mechanical adjustment.
To lock the rod or the operating clearance is too high, you can add a
drop of cyano on the spreader and the horn.
Page 5
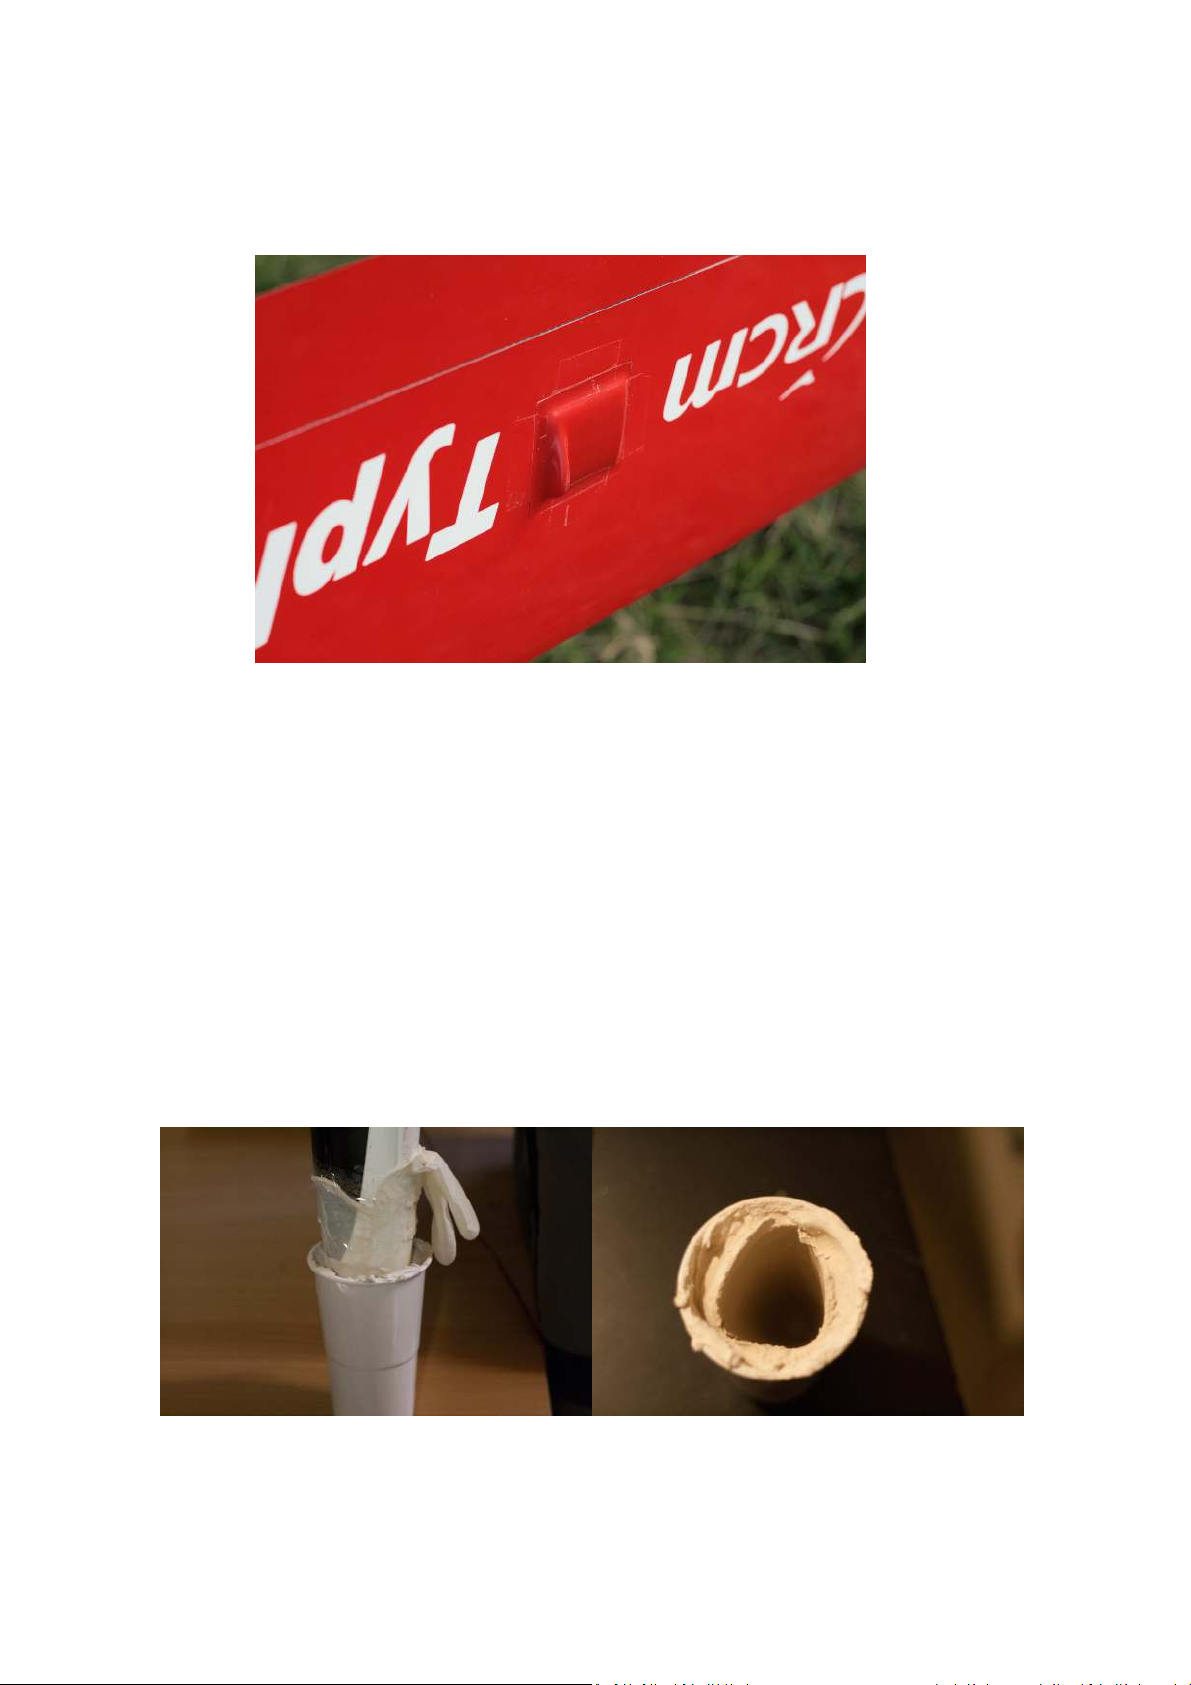
You can now set up the servos caches.
The wing is now complete !!!
Go to the fuselage !!
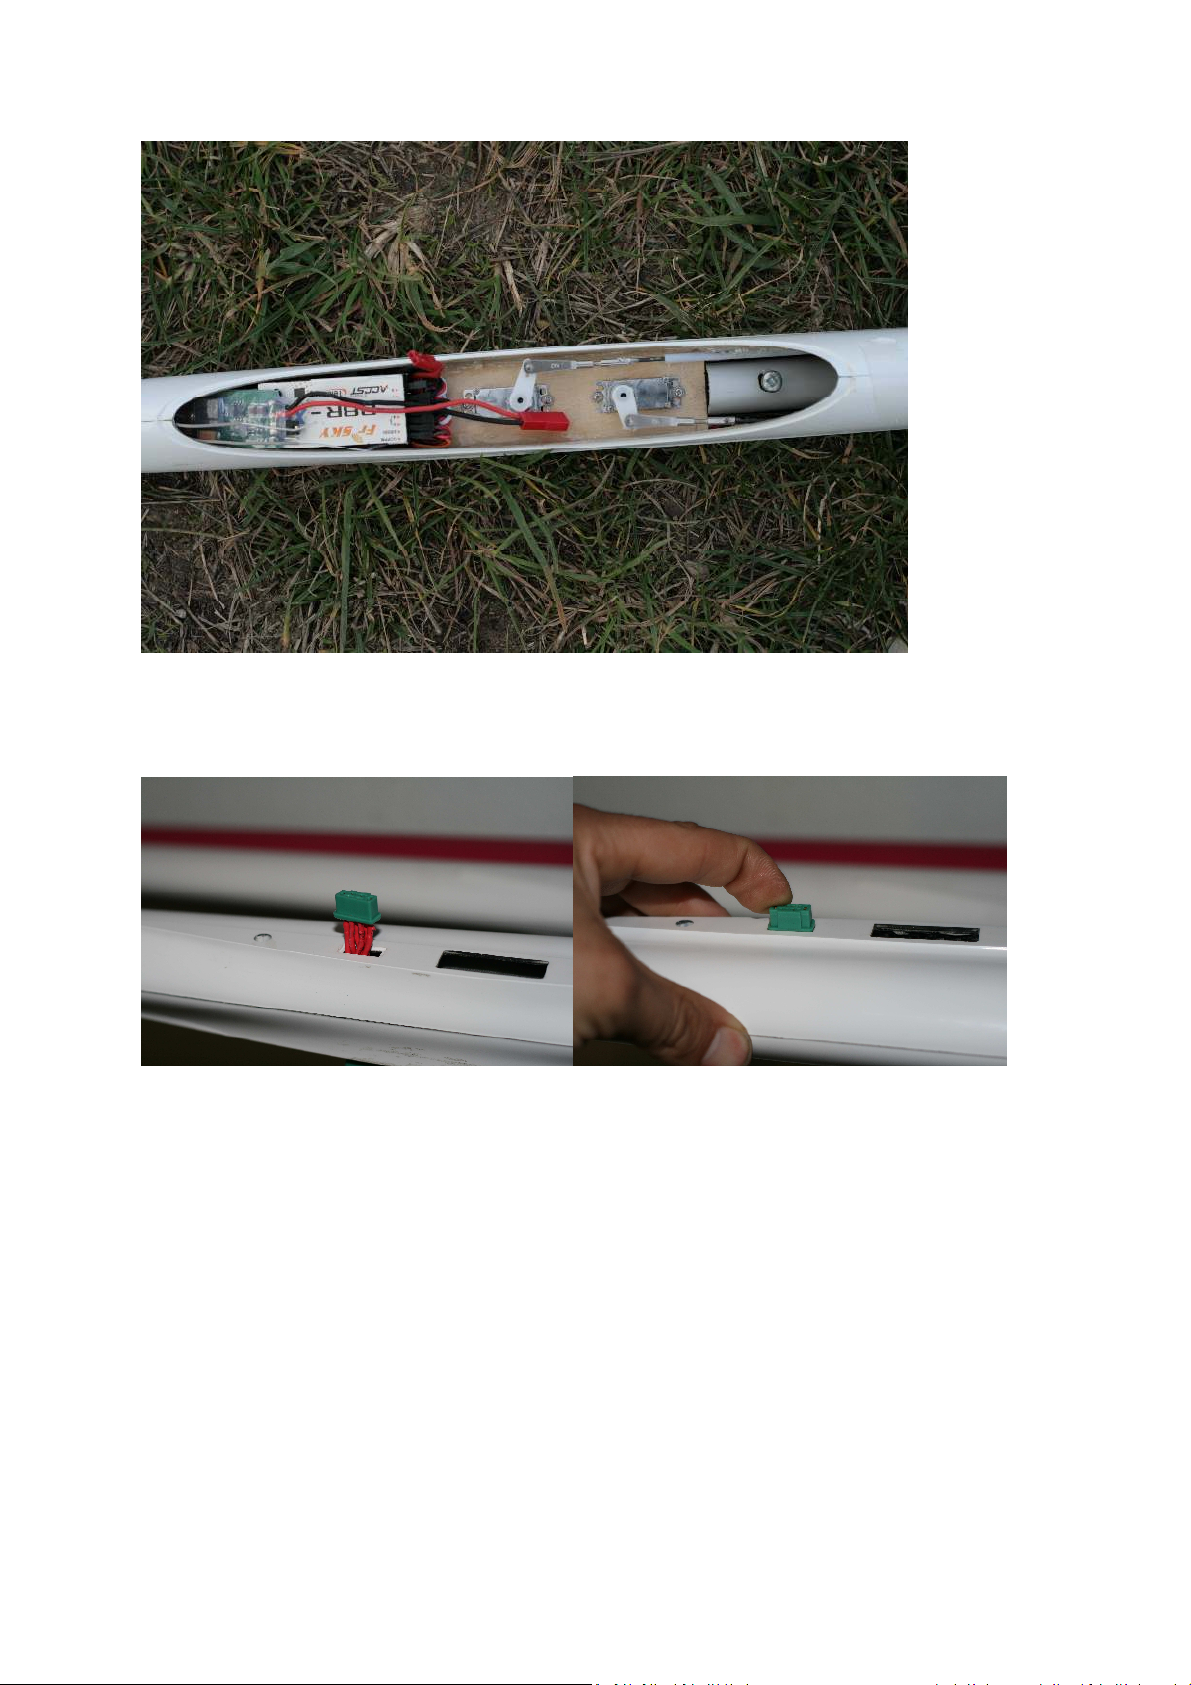
Typhoon + reclame many centering lead. To save the place, we will be
molded the plumb.
Take a latex glove, place it on the Typhoon + nose. Fill a plastic cup with
plaster and dip the Typhoon + nose. Once dry, remove the fuselage.
Page 6

To get started easily. First paste the horn rudder. Same as for the wing,
don't hesitate to dig the spar and glue the clevis on the carbon rod.
The installation of the fuselage has no particular problem. Take the time
to reflect on the servos used and their location. same for the battery.
The servoplate will paste it epoxy 24 hours with silica. Predict the
location of the ballast tube and it locks. In the photo, he was chosen to
stick a M4 nut in the tube. A screw will block the ballasts.
Page 7
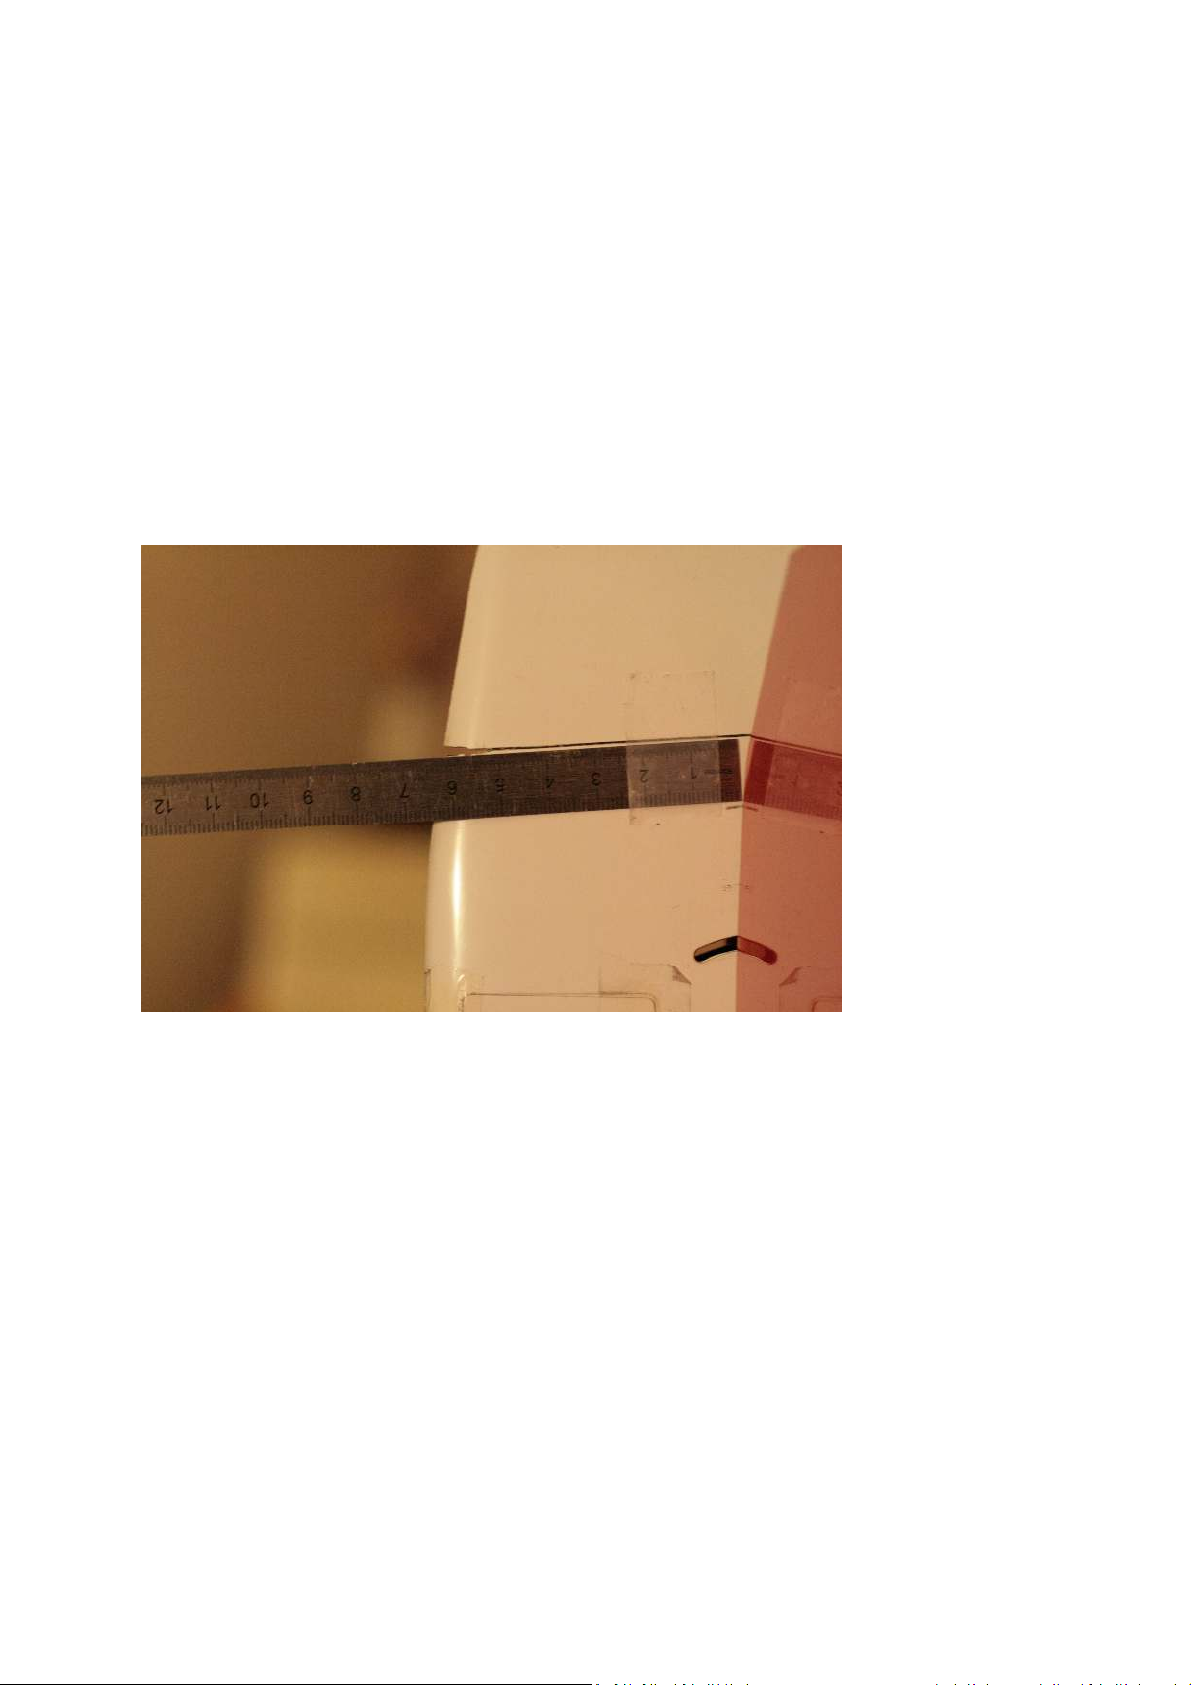
Depending on the habits you can stick the MPX connectors on the fuselage and
wings. The easiest way is to just paste, the safest is to paste only one side.
Page 8
SETTING of the first flight.
The settings are a matter of taste. Here is a starting point for a first flight
without worry.
Control surface movements and CG settings
C/G = 102-104 mm from Leading Edge to start. Move back slowly in small
increments to further improve control responses.
Neutral position of elevator.
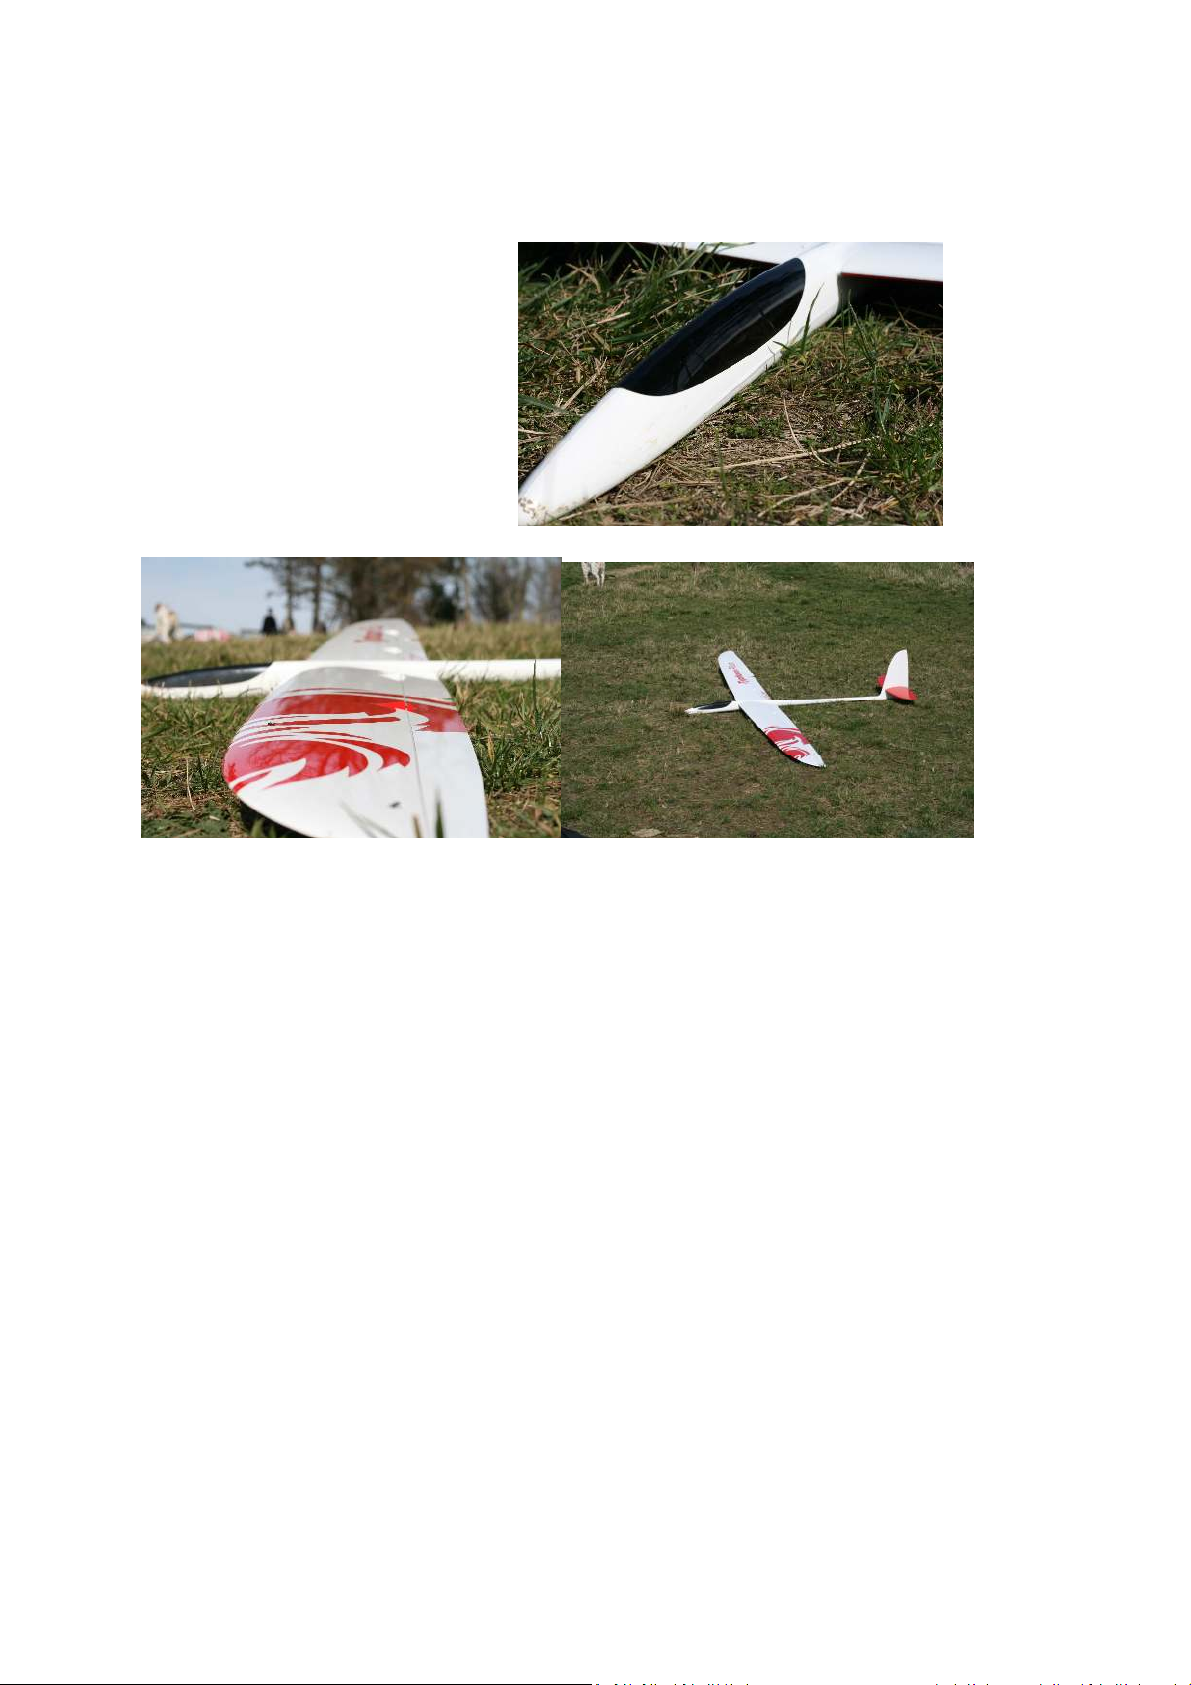
Control surface settings: All dimensions are measured at the root of the
control surface and at the trailing edge.
Elevator: +12mm + / -12 mm
Rudder: +15mm / -15mm
Ailerons: +25mm / -15mm
Flap -> ailerons +8mm /-5mm
Snap Flap : Flap : 5mm , Ailerons (aligned with flap)
Page 9

Thermal :
Flap : 3 mm down
Ailerons aligned with flap
Butterfly :
Flap : as much as possible
Ailerons : -6mm
Elevator : -8mm (depends on the working range of flaps)
CONGRATULATION !!! INSTALLATION
IS NOW COMPLETE !
Page 10
GOOD
FLIGHTS !!!!!
 Loading...