

RCA RS2622 Owner’s Manual
This device complies with Part 15 of the FCCRu_es.Operation
issubject to the following two conditions: (1) Thisdevice may
not causeharmful inter ference, and (2) this device must
accept any interference received, including interference that
may cause undesired operation.
In accordance with FCCrequirements, changes or modifica-
tions not expressly approved by Thomson multimedia Inc.
could void the user's authority to operate this product.
This device generates and usesradio frequency (RE}energy,
and if not installed and usedpropedy, this equipment may
causeinterference to radio and television reception.
If this equipment does causeinterference to radio or televi-
sion reception (which you can determine by unplugging the
unit}, try to correct the interference by one or more of the fol-
lowing measures:
• Re-orient the receiving antenna (that is,the antenna for the
radio or televislon that is "receiving" the interference},
• Move the unit away from tbe equipment that is receMng
interference.
• P_ugthe unlt into a differeut wall outlet so that tbe unlt
and the equipment recelving inter ference are on different
branch circuits.
If these measures do not eliminate the interference, please
consult your dealer or an experienced radio/televislon techni-
dan for additiona_ suggestions_ Also, the Federa_
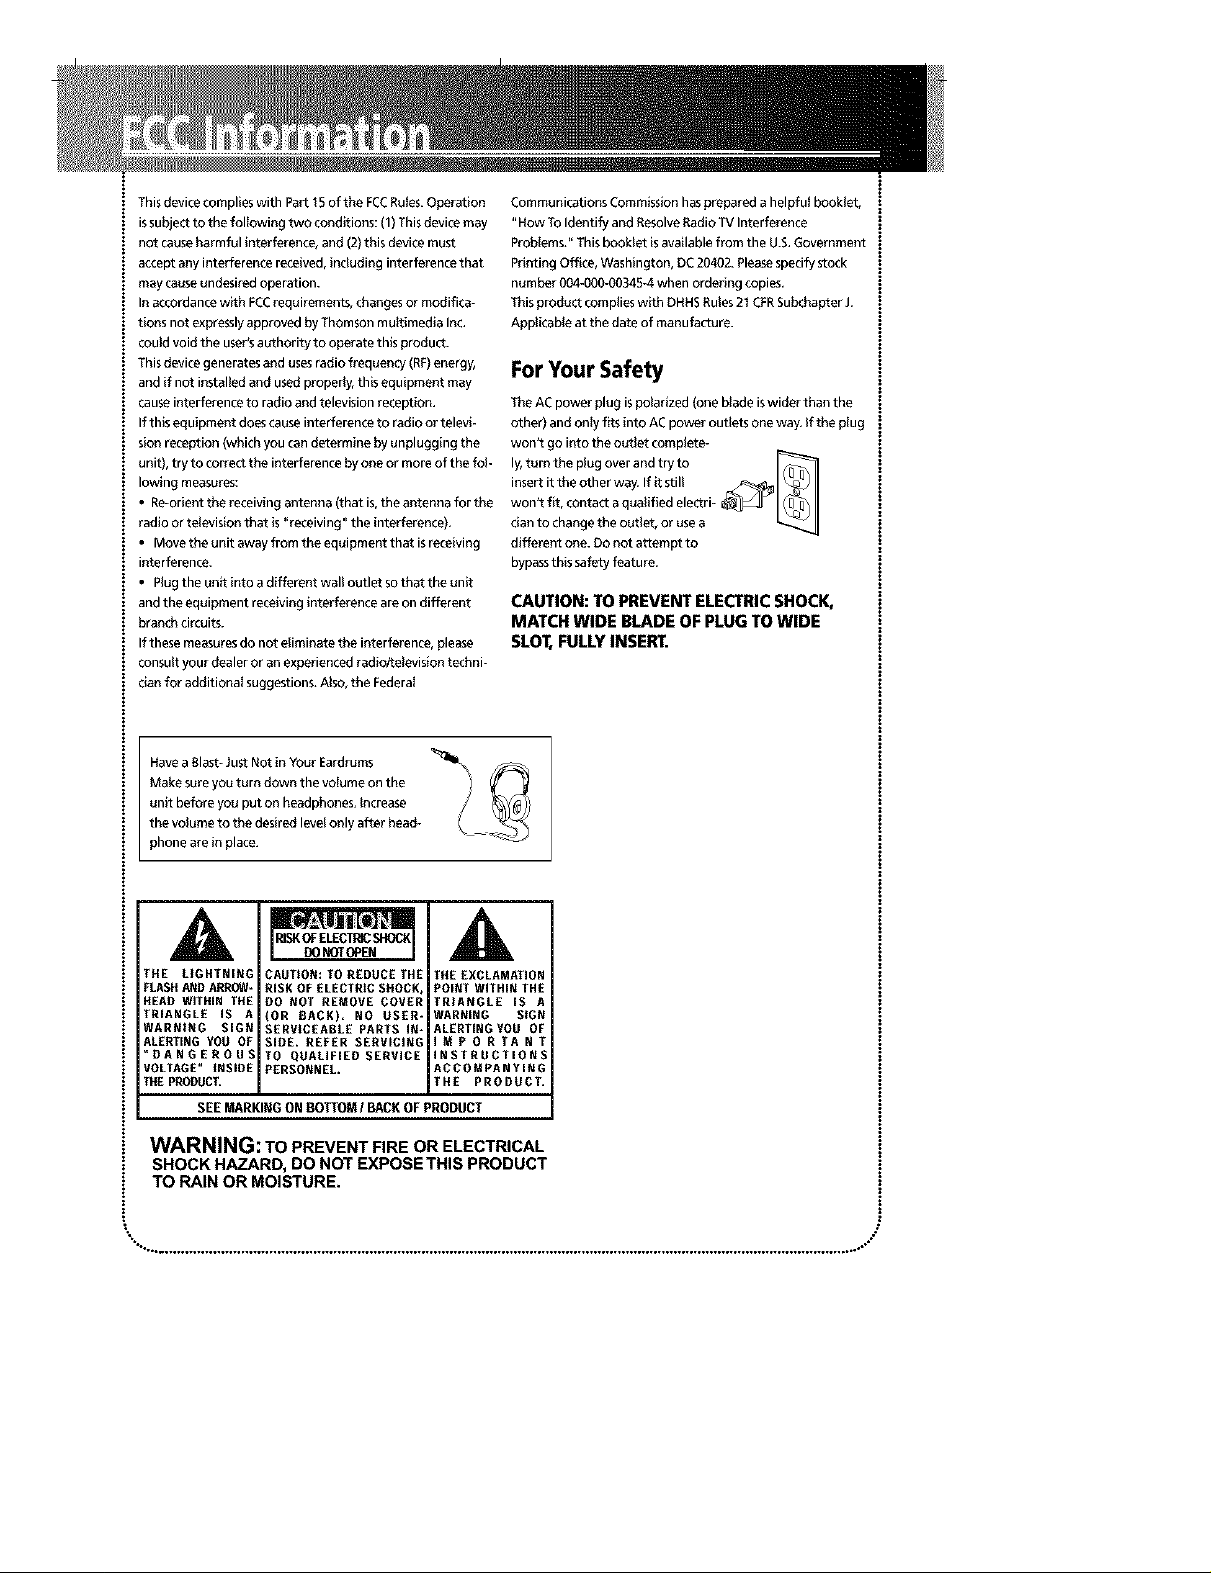
Havea Blast- Just Not in Your Eardrums
Make sure you turn down the volume on the
unit before you put on headphones, Increase
the volume to the desired level only after bead-
phone are in place,
Communications Commission has prepared a helpful booklet,
"How To Identify and Resolve RadioTV htterference
Problems_" This booklet isavailable from the U.S.Government
Printing Office, Washington, DC 20402. Please specify stock
number 004-000-00345-4 when ordering copies.
This product complies with DHHS Rules21 CERSubchapter J.
Applicable at the date of manufacture.
ForYour Safety
The AC power plug is polarized {one blade iswider than the
other} and only fits into AC power outlets one way. If the plug
won't go into the outlet complete-
insert it the other way. If it still
ly_turn the plug over and try to i_ I_11_
won't fit, contact aqualified electri-
cian to change the outlet, or use a _J
different one. DO not attempt to
bypassthis safety feature.
CAUTION: TO PREVENTELECTRICSHOCK,
MATCH WIDE BLADE OF PLUGTO WIDE
SLOT,FULLYINSERT.
A
THE LIGHTNING
FLASHANDARROW-
HEAD WITHIN THE
TRIANGLE IS A
WARNING SIGN
ALERTINGYOU OF
"DANGEROUS
VOLTAGE" INSIDE
THEPRODUCT,
SEE MARKING ON BOITOM / BACKOF PRODUCT
WARNING: TO PREVENT FIRE OR ELECTRICAL
SHOCK HAZARD, DO NOT EXPOSETHIS PRODUCT
TO RAIN OR MOISTURE.
CAUTION: TO REDUCE THE
RISK OF ELECTRIC SHOCK,
DO NOT REMOVE COVER
(OR DACK) NO USER-
SERVICEABLE PARTS IN*
SIRE. REFER SERVICING
TO QUALIFIED SERVICE
PERSONNEL.
THE EXCLAMATION
POINT WITHIN THE
TRIANGLE IS A
WARNING SIGN
ALERTING YOU OF
IMPORTANT
INSTRUCTIONS
ACCOMPANYING
THE PRODUCT.
! For Your Records
In the event that service should be required, you may need
both the model number and the seria_number, tn the space
i below, record the date and place of purchase, and the serlaI
number:
Mode! NO,
Remote Control No.
Date of Purchase
P_aceOf Purchase
Serial No.
i Service Information
i Thisproductshouldbe servicedonlybythosespeciallytrained
in appropriate servicing techniques, For instructions on how to
obtain service, refer to the warranty included in this Guide.
Technicalspecification
PowerSupply: 120V-60Hz
Powerconsumption: 135Watts
_MPORT£R
Comercia_izadora Thomson de M_xico, S.A. de C.V.
Miguel de Cervantes Saavedra 57
Col. Ampllaci6n Granada
C.P. 11529 Mexico D.R
Telefono: (55)25 81 53 20
RFC:CTM-980723-KS5
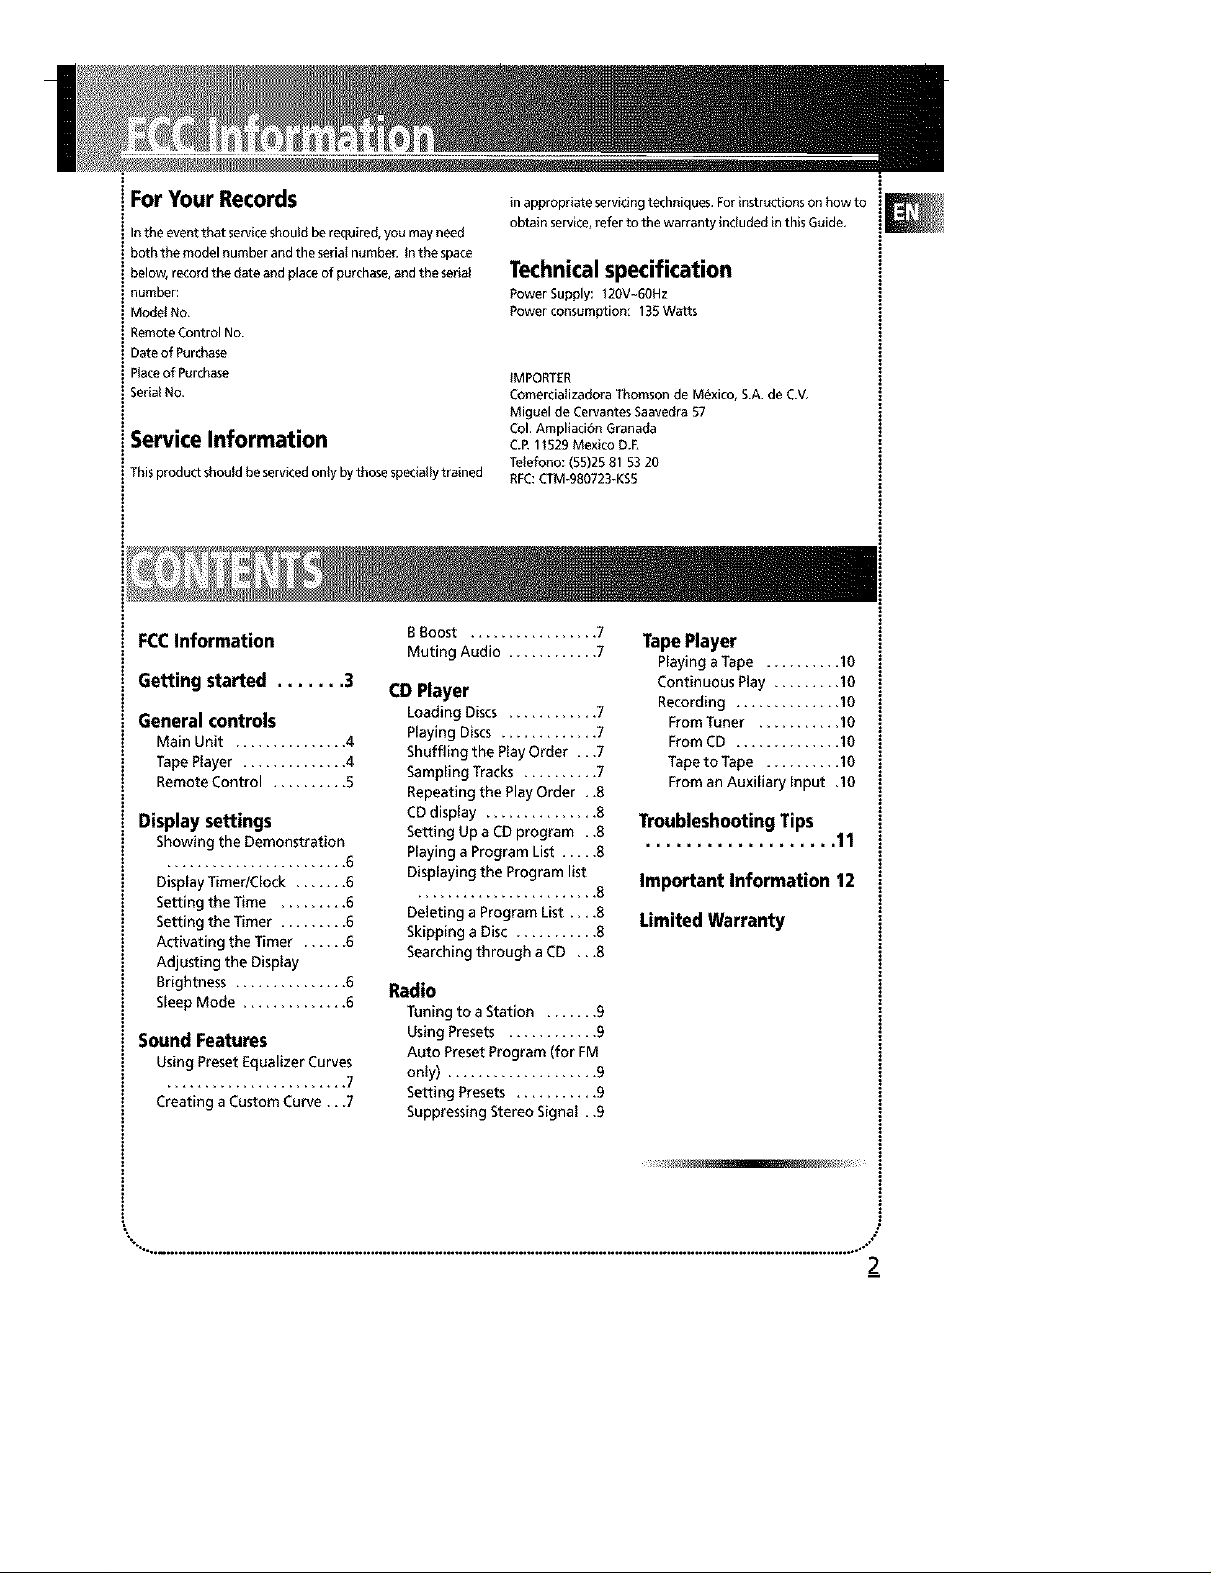
FCCInformation
Getting started ....... 3
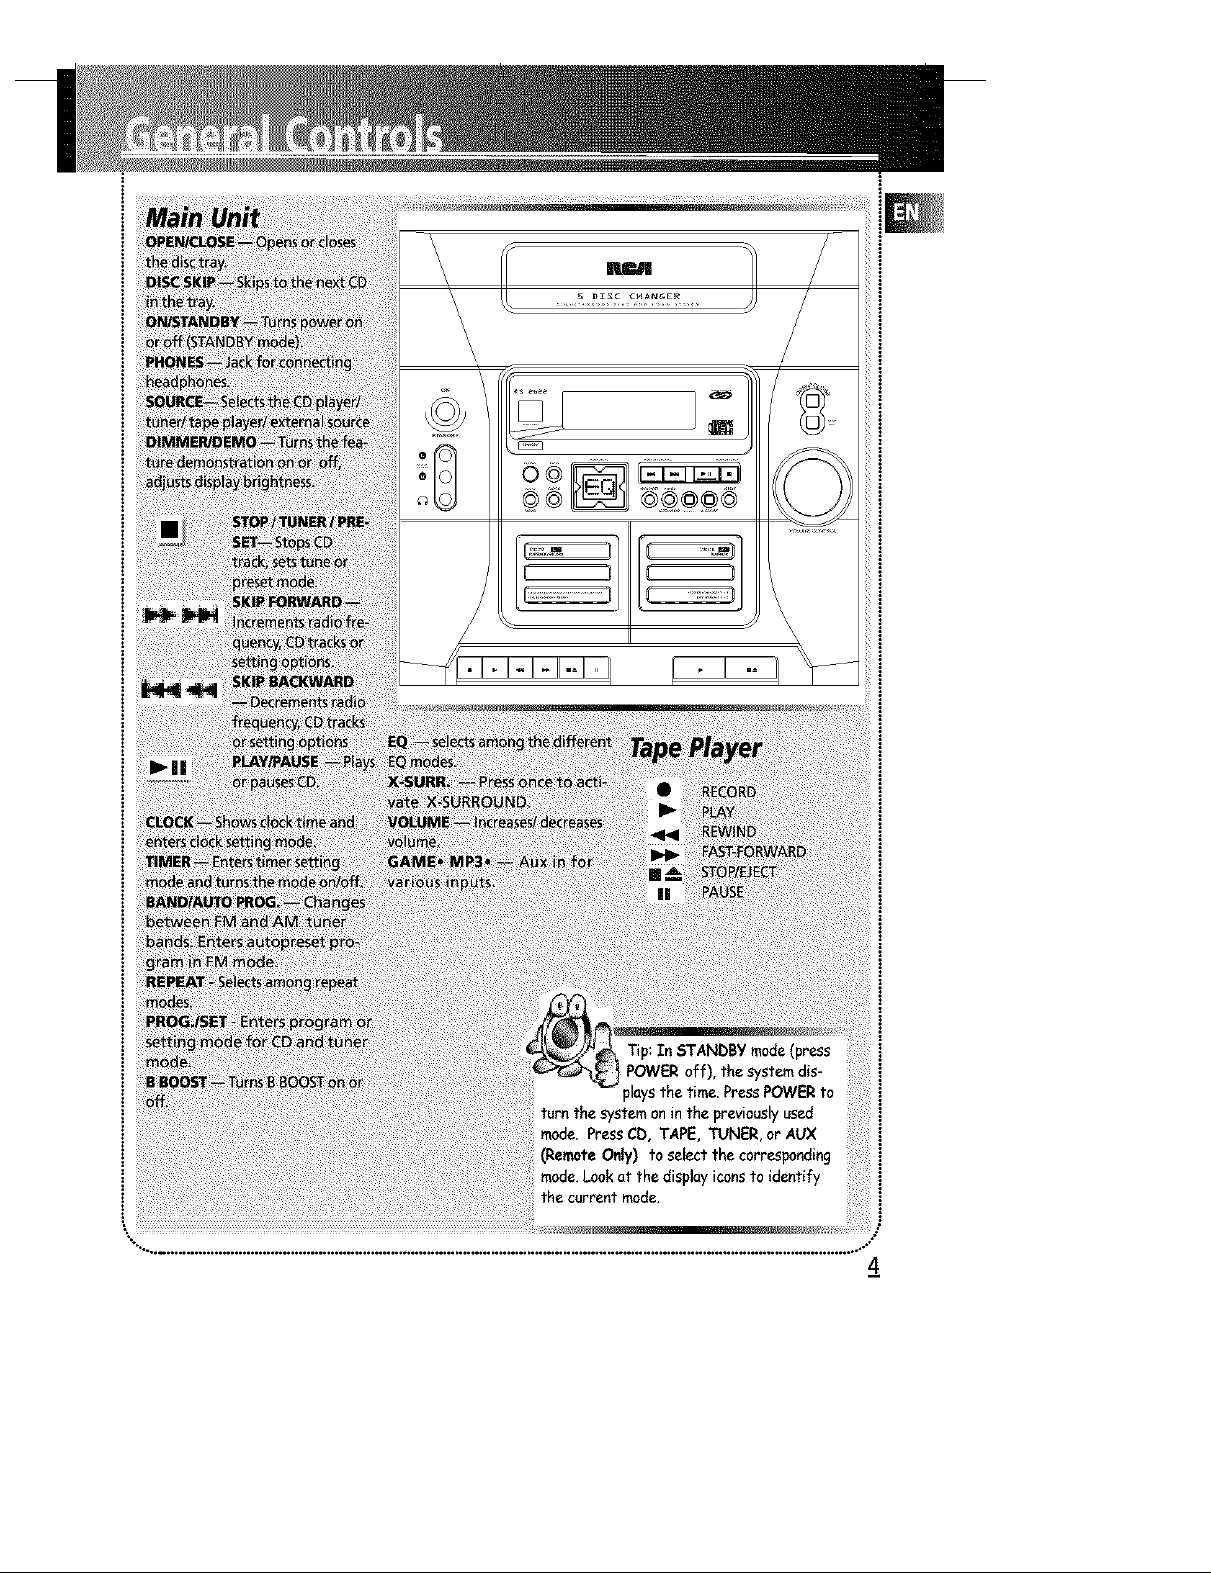
Generalcontrols
Main Unit ............... 4
Tape Player .............. 4
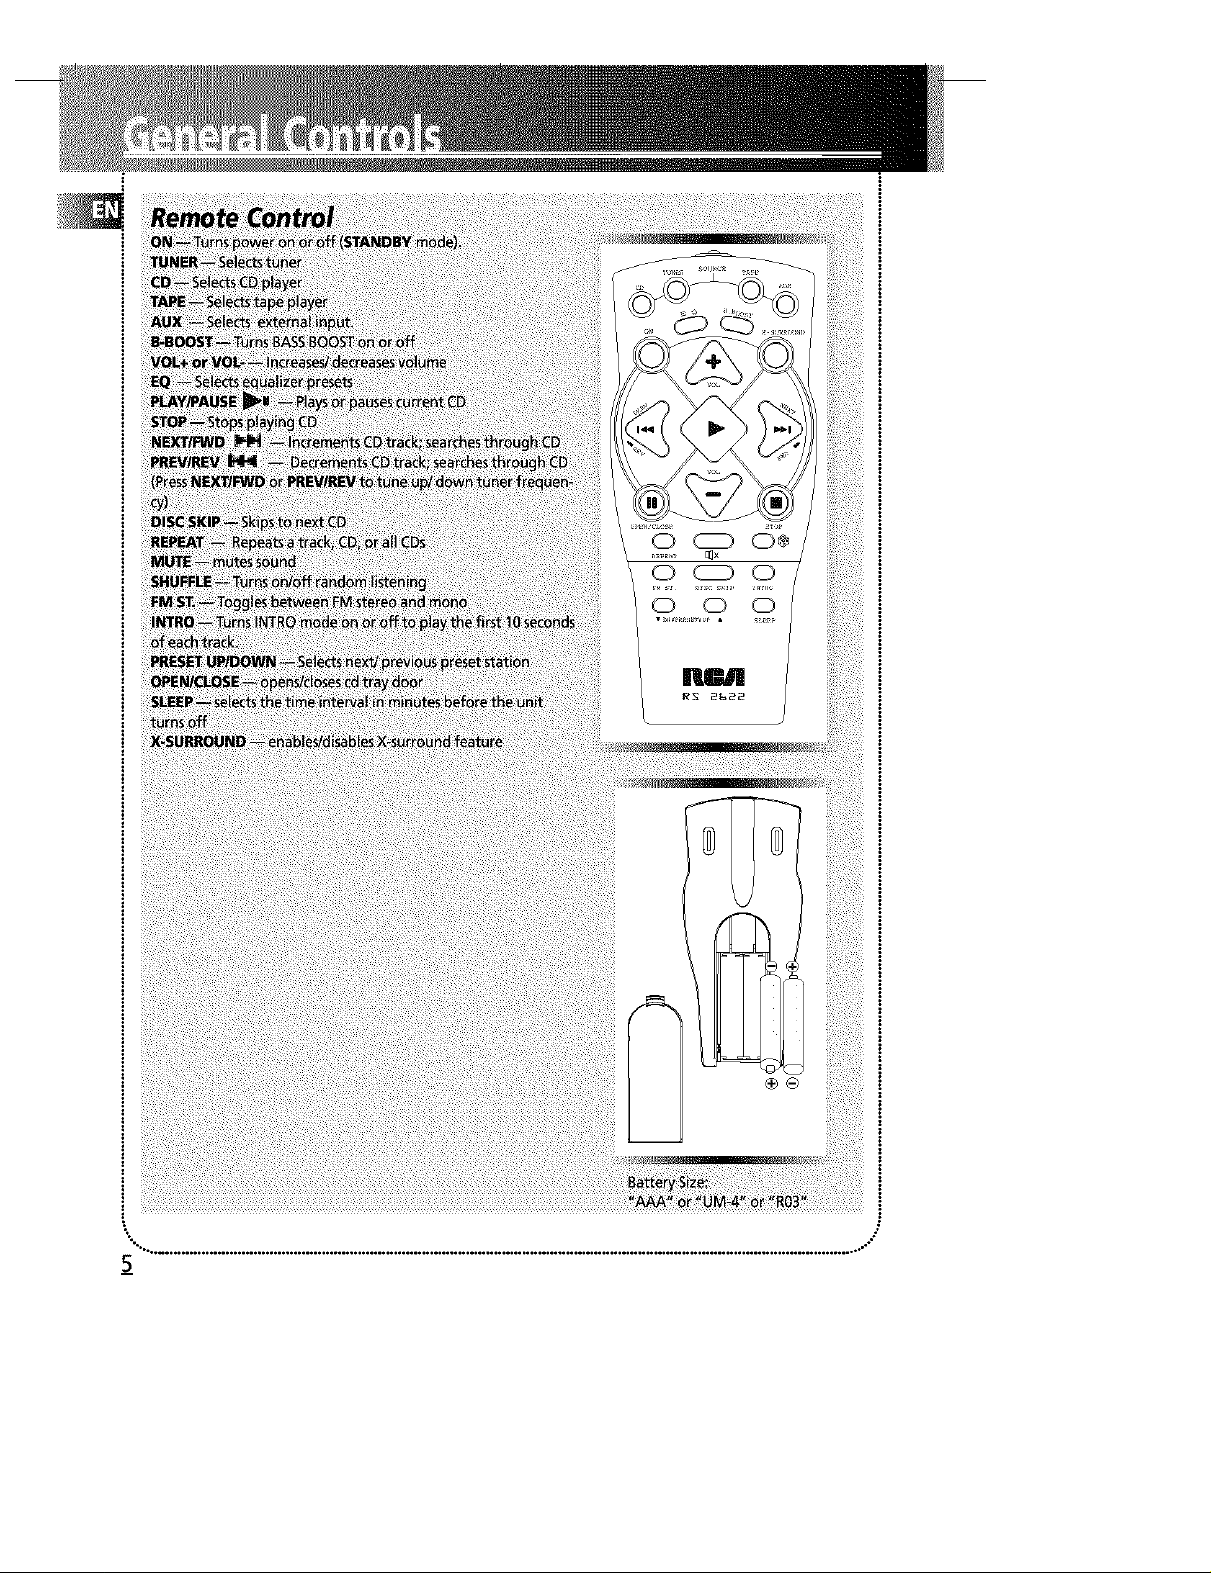
Remote Control .......... 5
Displaysettings
Showing the Demonstration
........................ 6
Display Timer/Clock ....... 6
Setting the Time ......... 6
Setting the Timer ......... 6
Activating the Timer ...... 6
Adjusting the Display
Brightness ............... 6
Sleep Mode .............. 6
SoundFeatures
Using Preset Equalizer Curves
........................ 7
Creating a Custom Curve., .7
BBoost ................. 7
Muting Audio ............ 7
CDPlayer
Loading Discs ............ 7
Playing Discs ............. 7
Shuffling the Play Order ,..7
Sampling Tracks .......... 7
Repeating the Play Order . .8
CDdisplay ............... 8
Setting Up a CD program . .8
Playing a Program List ..... 8
Displaying the Program list
........................ B
Deleting a Program List.,..8
Skipping a Disc ........... 8
Searching through a CD ,..8
Radio
Tuning to a Station ....... 9
Using Presets ............ 9
Auto Preset Program (for FM
only) .................... 9
Setting Presets ........... 9
Suppressing Stereo Signal . .9
TapePlayer
Playing a Tape .......... 10
Continuous Play ......... 10
Recording .............. 10
From Tuner ........... 10
From CD .............. 10
Tape to Tape .......... IO
From an Auxiliary Input ,10
TroubleshootingTips
................... 11
Important Information 12
Limited Warranty
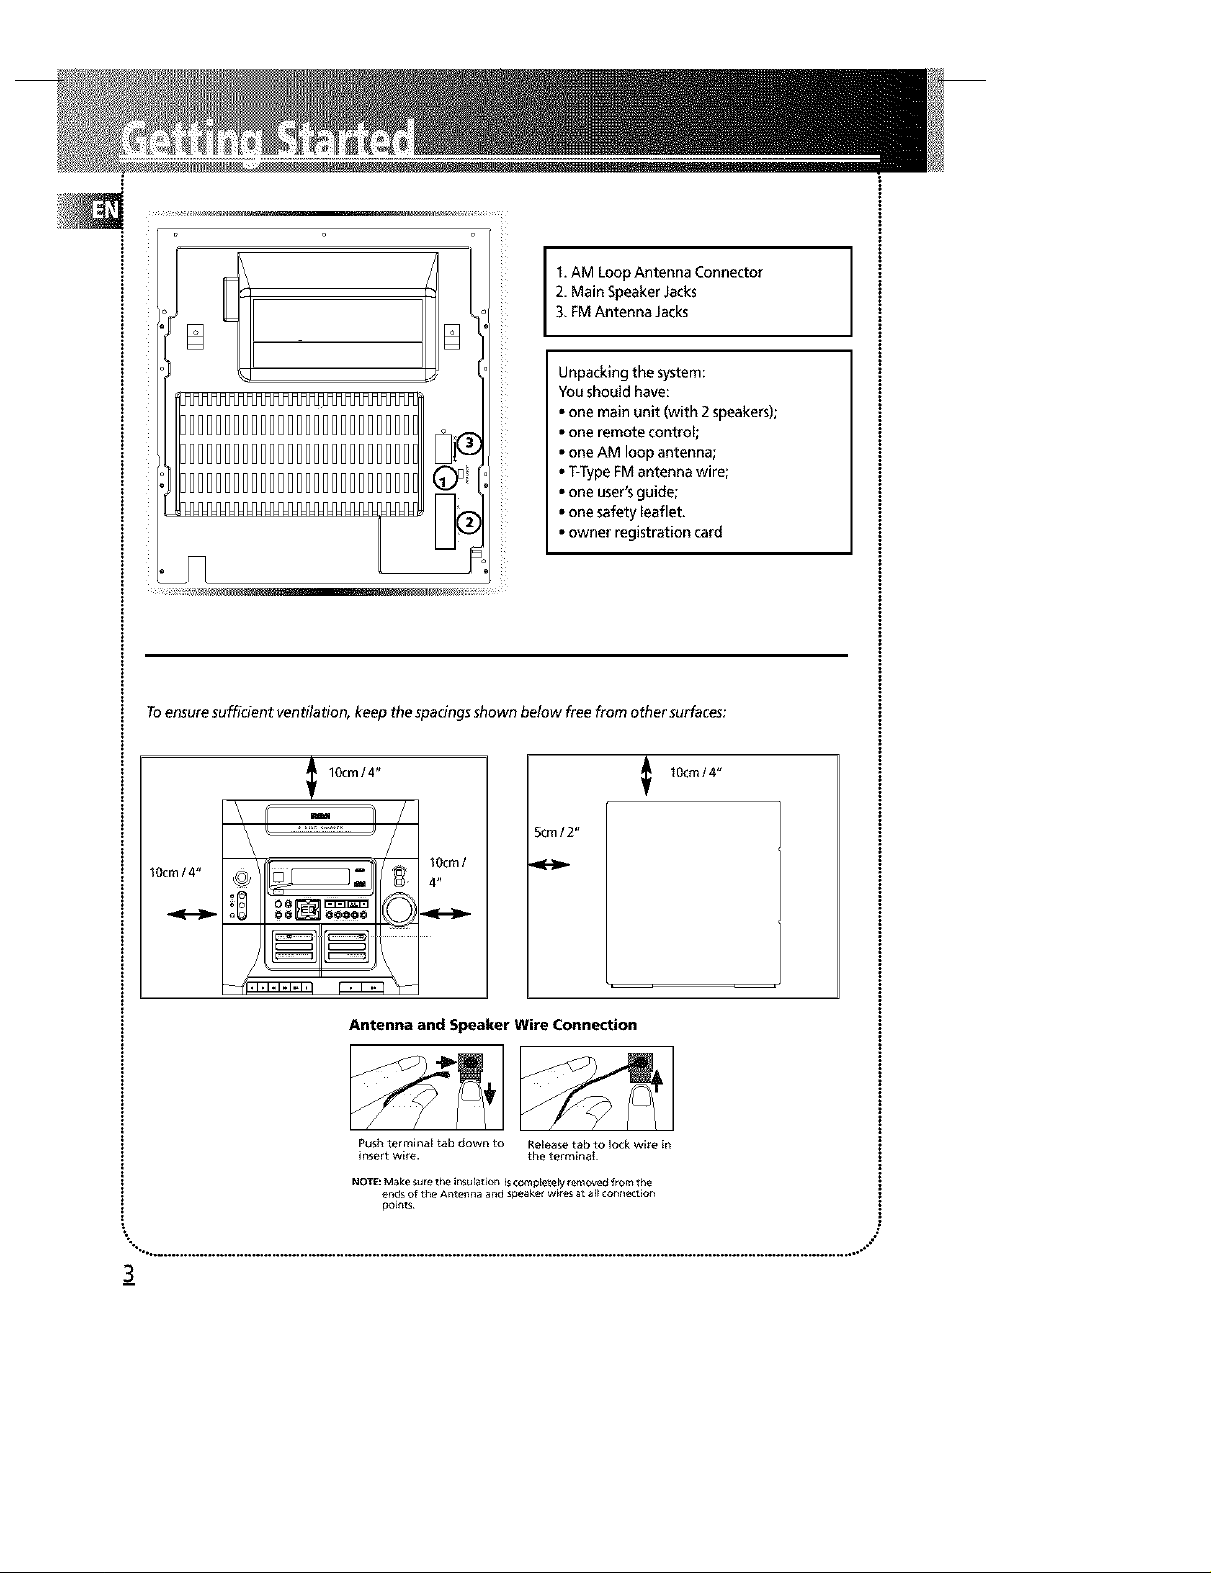
I. AM Loop Antenna Connector
[
Toensure sufficient ventilation, keep the spacings shown below free from other surfaces:
2, Main Speaker Jacks
3, FM Antenna Jacks
Unpacking the system:
You should have:
• one main unit (with 2 speakers);
• one remote control;
• one AM loop antenna;
• T-TypeFMantenna wire;
• one user's guide;
• one safety leaflet.
• owner registration card
3_
10cm/4"
\ m
\ ...........
\
!0 °°
10cm/4"
5cm/ 2"
10cm/
Antenna and Speaker Wire Connection
PUShterminal tab down to Release tab to lock wire in
insert wire. the terminal
NOTE: Make sure the insolation is completely removed from the
ends of the Ante_na and _peaker wi_es at all con_e_t_on
10cm/ 4"
mode. Look at the display icons to identify
the current mode.
4_
 Loading...