

RCA F27741, F36758, F36756, G32751 Owner's Manual
N UAL
C
0
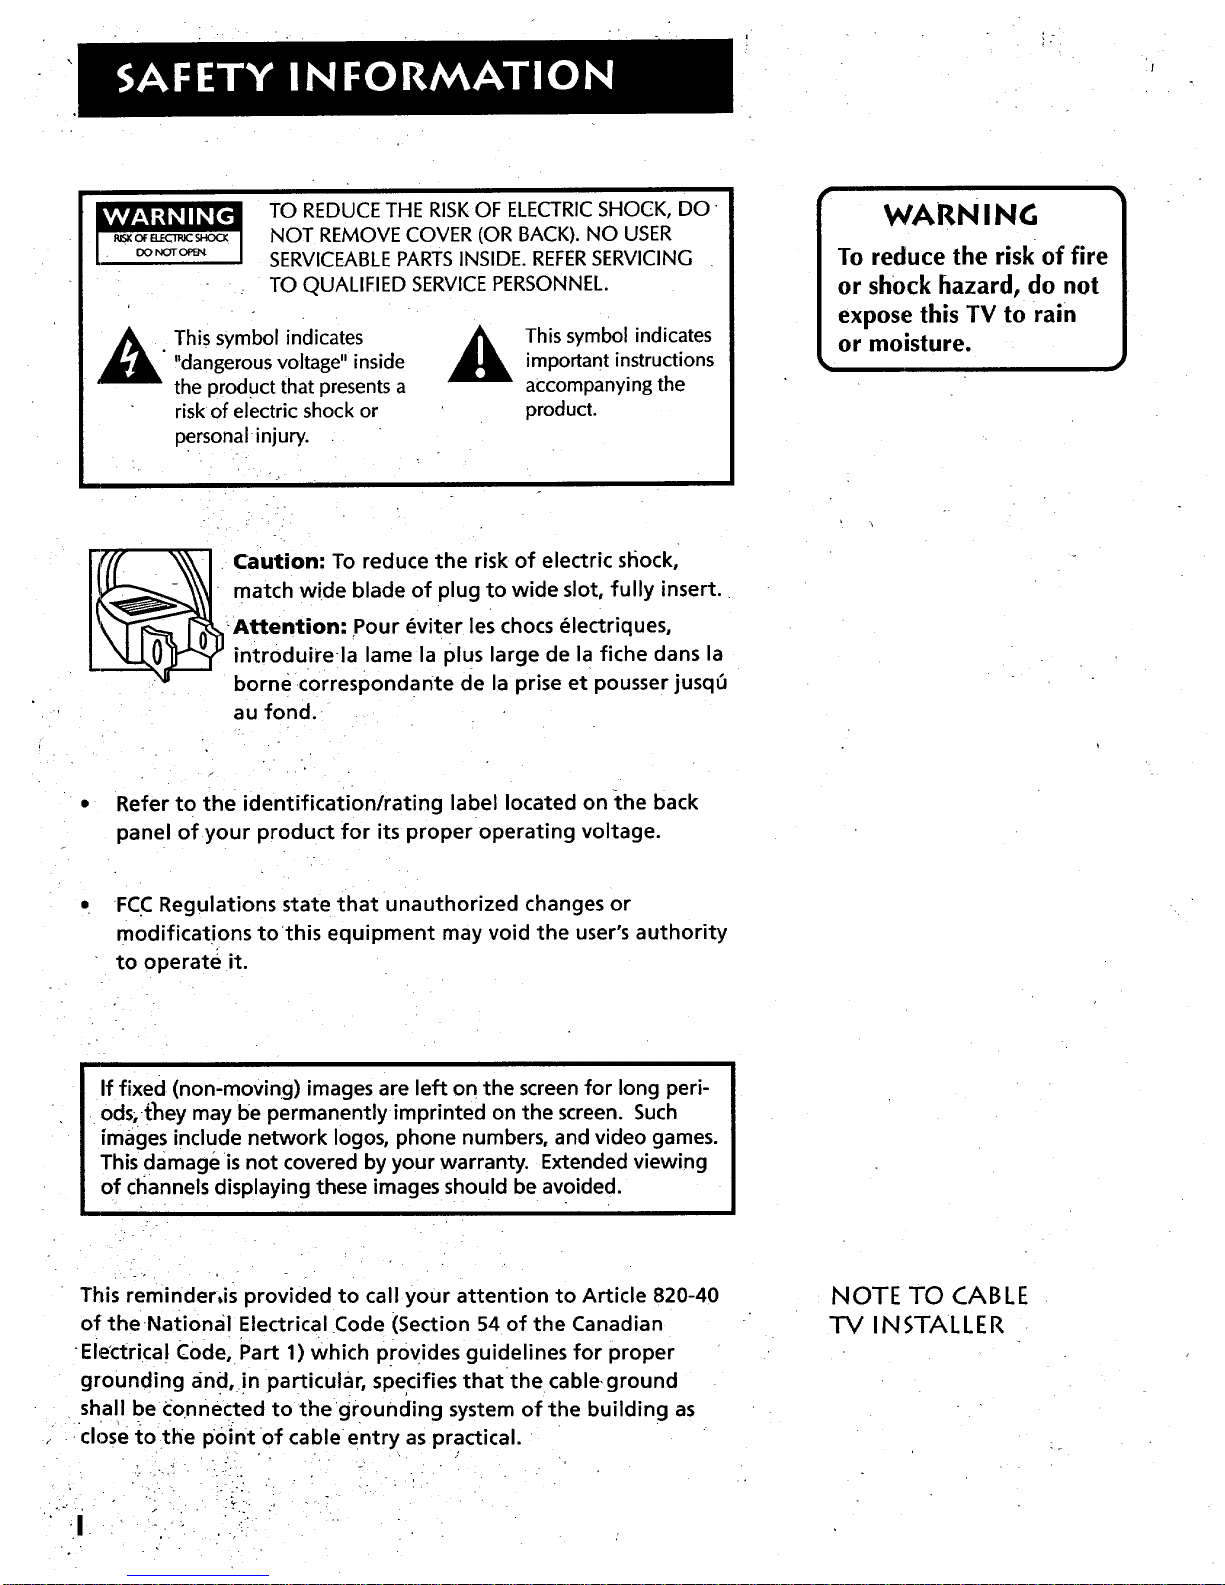
WARNING
[_ aution: To reduce the risk of electric shock,
match wide blade of plug t° wide slot, fully insert.
_Attention: Pour _viter les chocs _lectriques,
introduire la lame la plus large de la fiche dans la
borne correspondante de la prise et pousser jusq6
au fond.
• Refer to the identification/rating label located on the back
panel of your product for its proper operating voltage.
FCC Regulations state that unauthorized changes or
modifications tothis equipment may void the user's authority
to operate it.
if fixed (non-moving) images are left on the screen for long peri-
ods, t_ey may be permanently imprinted on the screen. Such
images include network Iogos, phone numbers, and video games.
This damage is not covered by your warranty. Extended viewing
of channels displaying these images should be avoided.
This reminder, iS provided to call your attention to Article 820-40
of: theNational Electrical Code (Section 54 of the Canadian
Electrical Code, Part 1) which p[0vides guidelines for proper
grounding and,!n particular, specifies that the cable, ground
shall be connected to the grounding system of the building as
close to the point of cable entry as practical.
. .. . .
. - • .
. ," _ . ,
_ . ."
NOTE TO CABLE
TV INSTALLER
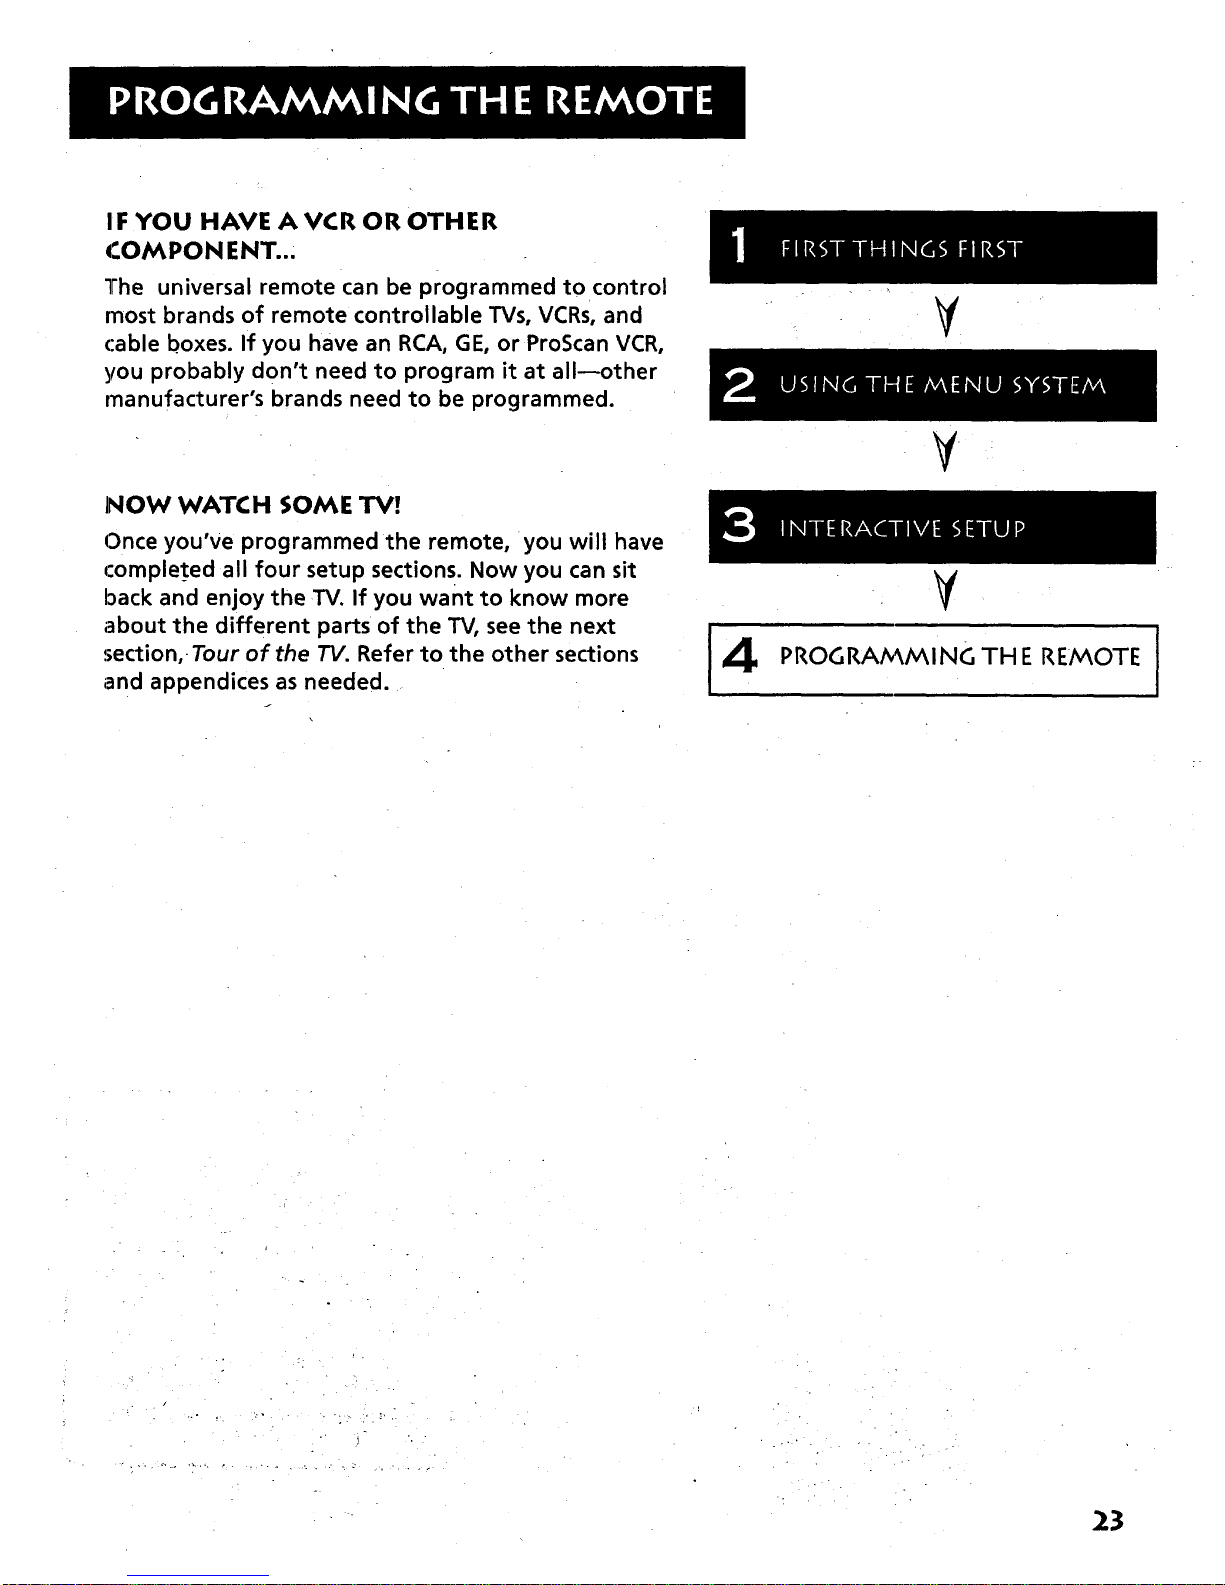
First Things First ....................................................... 3
Using the Menu System ........................................... 7
"the Menu Rule: Point and Select ........................................................ 8
What is Point and Select? ..................................................................... 8
]Menus and Control Panels ................................................................. 10
Interactive Setup .................................................... 15
Entering Setup ..................................................................................... 16
Auto Channel Search .......................................................................... 16
Set the Time ..... .................................................................................... 17
Label the Channels .............................................................................. 18
Set the VCR1 Channel ........................................ ................................. 19
Set the DVDNCR2/LD Channel .......................................................... 20
Set the DSS/CABLE Channel ............................................................... 21
Programming the Remote ..................................... 23
About Programming the Remote .................................................... 24
Programming the Remote to Control a VCR ................................... 24
Programming the Remote to Control a Laserdisc Player ............... 26
Programming the Remote to Control an Audio Device: ................ 26
Programming the Remote to Control a ProScan, RCA0
or GE Brand DSS®Receiver .......................................................... 27
Programming the Remote to Control a Satellite
or Cable Box ................................................................................. 27
Using the Remote to Control a Device .......................... ................... 28
Tour of the TV .......................................................... 29
Remote Buttons ................................................................................... 30
Back Panel ............................................................................................ 32
Front Panel ........................................................................................... 34
Channel Marker ................................................................................... 35
Quick Reference ...................................................... 37
Audio Menu ................................................................ ....................... ..38
Picture Quality Menu ........................................................ ;................. 39
Screen Menu ........................................................................................ 40
Time Menu ............................................................................................ 41
Channel Menu ........................................................ .,............................. 42
Setup ..................................................................................................... 45
Advanced Features ................. ................................ 47
PIP (Picture-in-Picture) Operation ..................................................... 48
Closed Captioning ............................................................................... 50
On-screen Program Details ................................................................ 52
Choosing an Audio Processor ............................................................ 53
Appendix A: TV Connections ................................. 55
Things to Do Before Connecting Components ................................ 55
TV and MONO VCR (Connection A) .................................................. 56
TV and STEREOVCR (Connection B) ................................................. 57
TV, VCR and Laserdisc Player (Connection C) .................................. 58
TV and (2) VCRs (Connection D) ........................................................ 59
TV and I_aserdiscPlayer(Connection E)............................................. 61
_/and DSS®Receiver (Connection F) ............................................... 62
_J, VCR, and DSS® Receiver (Connection G) .................................... 63
TV, VCR, DSS" Receiver, and Laserdisc Player (Connection H) ....... 64
_J, (2)VCRs, and DSS® Receiver (Connection I) ..................... .......... 66
Appendix B: Connecting Other Components. ..... 68
Connecting External Speakers ........................................................... 68
Connecting Audio Components ........................ .............................. .. 69
Connecting a Camcorder ..................................................... ............... 70
Appendix C:
Appendix D:
Appendix E:
Troubleshooting Tips .......... ............ 72
Limited Warranty ............................ 74
Care and Cleaning ........................... 75
Accessories .............................................................. 76
Index ......................................................................... 79
DSS® is a registered trademark of DirecTV, Inc., a unit of Hughes Electronics Corporation
2

HI, MY NAME IS SCOTT...
...and i wrote this user manual. You're probably
'saying to yourself, "so you're the guy." Well, laugh if
you must, but it's my job to see that you have a
rewarding user manual experience. No, really.
I1
FIRSTTHINGS FIRST
ARE YOU KIDDING? AN 80-PAGE
INSTRUCTION BOOK?
Back in the old days, you bought a TV, stuck some
rabbit ears on it, and sat back and enjoyed test
patterns and bad sitcoms_ Now, TVs are more like
computers than radios, and you have to jump
through a few hoops to get the TV up and running.
Don't worry, it sounds more complicated than it is.
v
¥
READ THE FIRST FOUR CHAPTERS
These chapters cover the four big hoops: get the TV
out of the boxand hooked up, learn to move
through the menu system, run the interactive setup
routine, and program the remote to control your
VCR and other stuff. That's about thirty pages' worth
of user manual stuff.
The rest of the manual should be used as reference
material. You can thumb through these sections
whenever you ge t some time. !f you have a specific
question, refer to the table of contents or the index.
CHECK OUTTHE NOTES IN THE TEXT
I've sPent a lot of time pestering the people who
made your TV: engineers, designers, product
managers--you name it, I corneredthem. In the
process, I've gotten some great advice about how to
tweak the TV. I've passed on as many of these tips as
I could, so keep an eye out for notes in the text.
_The road map onthe first pageof 1
, • leach of the four main chapters is
lto let you know where you are in
the setup process.
3
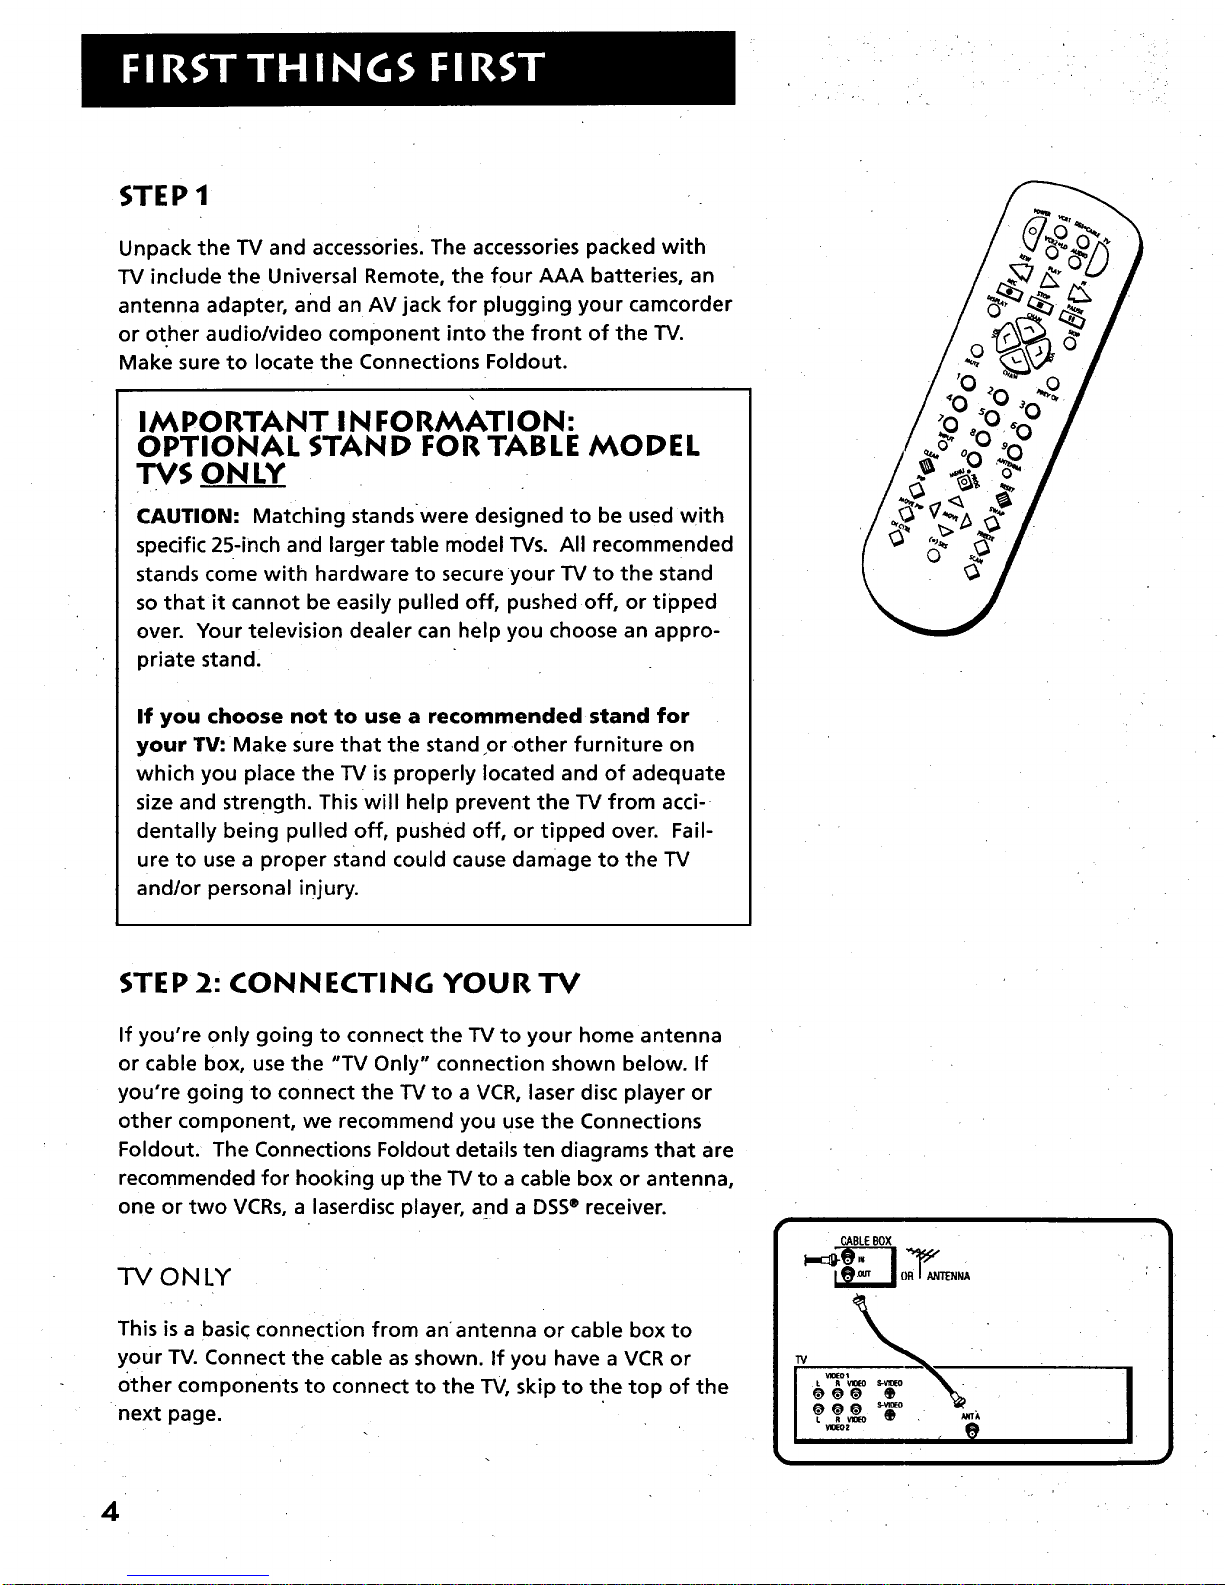
STEP 1
Unpack the TV and accessories. The accessories packed with
TV include the Universal Remote, the four AAA batteries, an
antenna adapter, and an AV jack for plugging your camcorder
or other audio/video component into the front of the TV.
Make sure to locate the Connections Foldout.
IMPORTANT I N FORMATION:
OPTIONAL STAND FOR TABLE MODEL
TVS ONLY
CAUTION: Matching standswere designed to be used with
specific 25-inch and larger table model TVs. All recommended
stands come with hardware to secure your TV to the stand
so that it cannot be easily pulled off, pushed off, or tipped
over. Your television dealer can help you choose an appro-
priate stand.
If you choose not to use a recommended stand for
your TV: Make Sure that the stand or other furniture on
which you place the TV is properly located and of adequate
size and strength. This will help prevent the TV from acci-
dentally being pulled off, pushed off, or tipped over. Fail-
ure to use a proper stand could cause damage to the TV
and/or personal injury.
STEP 2: CONNECTING YOUR TV
If you're only going to connect the TV to your home antenna
or cable box, use the "TV Only" connection shown below. If
you're going to connect the TV to a VCR, laser disc player or
other component, we recommend you use the Connections
Foldout. The Connections Foldout details ten diagrams that are
recommended for hooking up the TV to a cable box or antenna,
one or two VCRs, a laserdisc player, and a DSS® receiver.
ONLY
This is a basic connection from an antenna or cable box to
your TV. Connect the cable as shown. If you have a VCR or
other components to connect to the TV, skip to the top of the
next page.
CABLEBOX
out
IF_._ 0R_ANTENNA
L R _ _ , ANTA
v_eoz _
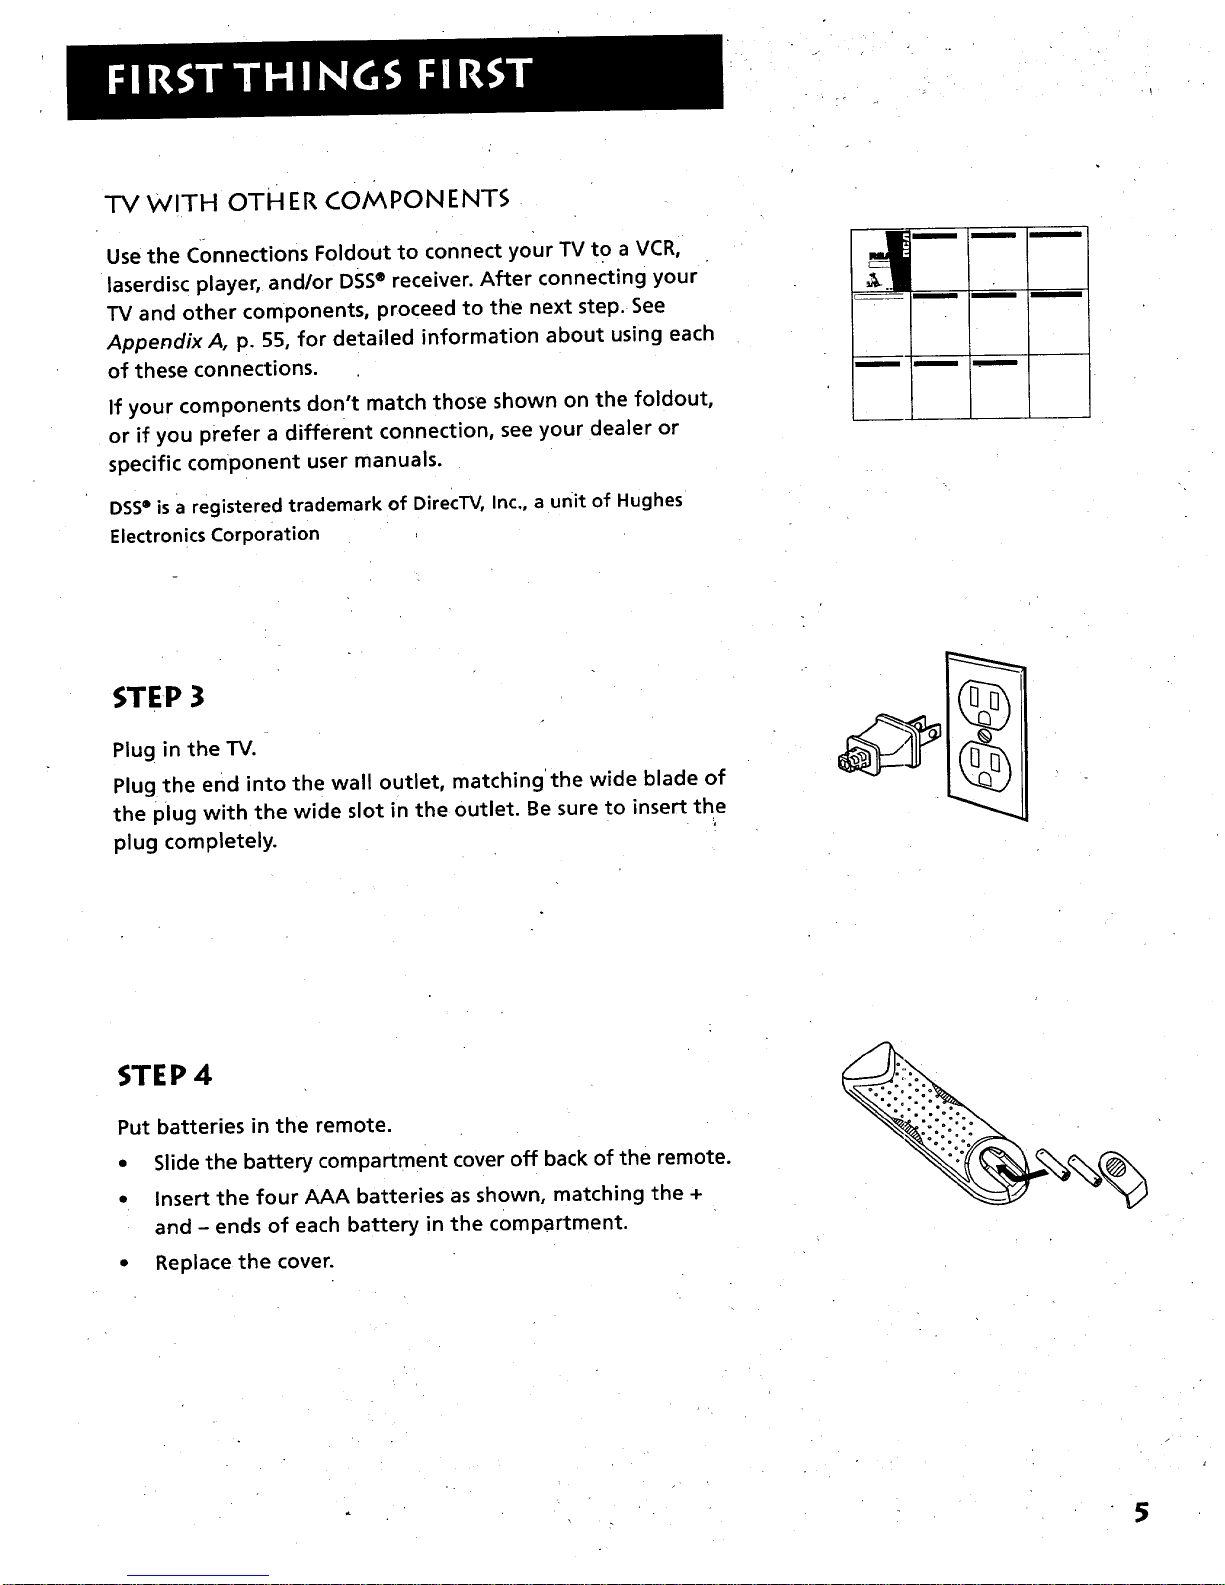
TV WITH OTHER COMPONENTS
Use the Connections Foldout to connect your TV to a VCR,
laserdisc player, and/or DSS® receiver. After connecting your
TV and other components, proceed to the next step. See
Appendix A, p. 55, for detailed information about using each
of these connections.
If your components don't match those shown on the foldout,
or if you prefer a different connection, see your dealer or
specific component user manuals.
DSS• isa registered trademark of DirecTV, Inc., a unit of Hughes
ElectronicsCorporation
i n m
Ii in
STEP 3
Plug in the TV.
Plug the end into the wall outlet, matching'the wide blade of
the plug with the wide slot in the outlet. Be sure to insert the
plug completely.
STEP 4
Put batteries in the remote.
• Slide the battery compartment cover off back of the remote.
• Insert the four AAA batteries as shown, matching the +
and - ends of each battery in the compartment.
• Replace the cover.
5
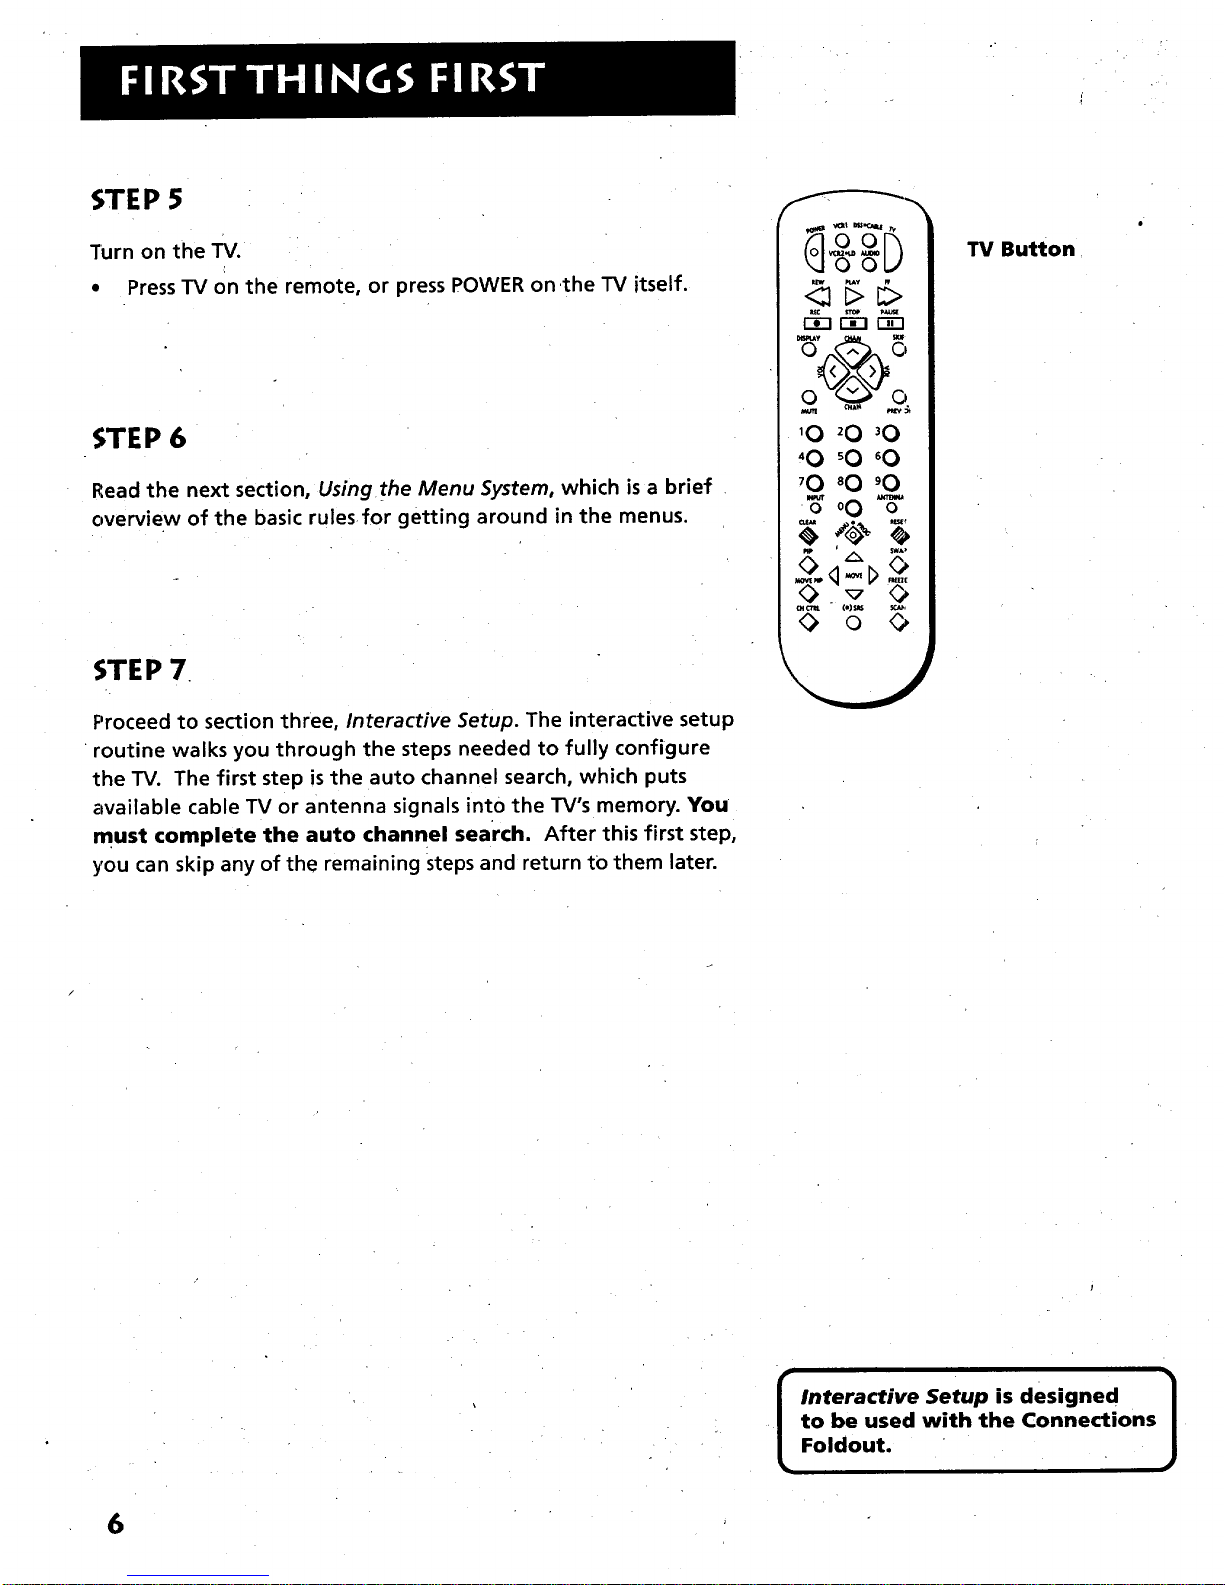
STEP 5
Turn on the TV.
• Press TV on the remote, or press POWER on,the TV itself.
STEP 6
Read the next section, Using the Menu System, which is a brief
overview of the basic rules for getting around in the menus.
STEP 7
Proceed to section three, Interactive Setup. The interactive setup
routine walks you through the steps needed to fully configure
the TV. The first step is the auto channel search, which puts
available cable TV or antenna signals into the TV's memory. You
must complete the auto channel search. After this first step,
you can skip any of the remaining steps and return to them later.
TV Button
Interactive Setup is designed
to be used with the Connections
Foldout.
)
6
ONE RULE TO REMEMBER
You controland customize the TV by making
changes to various control panels in the menu
system. The great thing is, you only need to know
one rule: point and select.
2
V
USING THE MENU SYSTEM
V
¥
If you want a lot of cool features,
you have to use some kind of
menuing system. Look at it this
way: you only need to know
one rule.
7
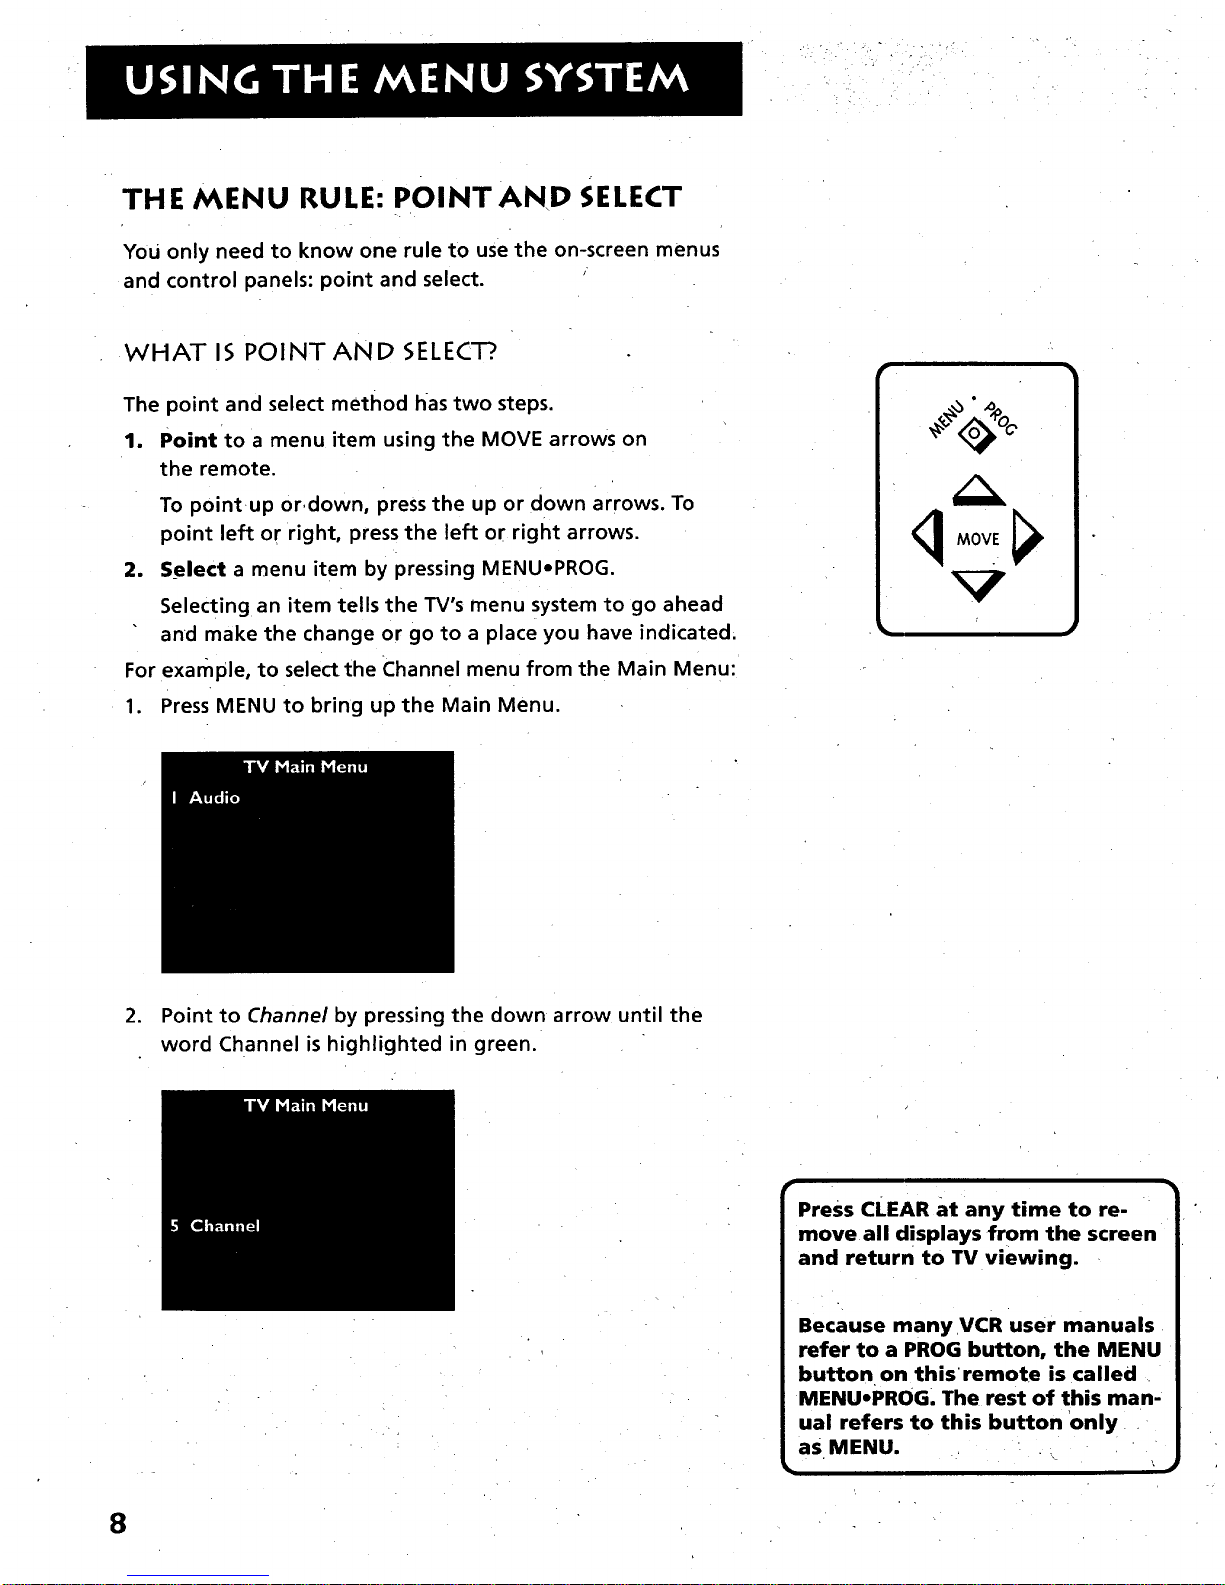
THE MENU RULE: POINTAND SELECT
You only need to know one rule to use the on-screen menus
and control panels: point and select.
WHAT 15 POINT AND SELECT?.
The point and select method has two steps.
1. Point to a menu item using the MOVE arrows on
the remote.
To pointup or,down, press the up or down arrows. To
point left or right, press the left or right arrows.
2. Select a menu item by pressing MENU-PROG.
Selecting an item tells the TV's menu system to go ahead
and make the change or go to a place you have indicated.
For example, to selectthe Channel menu from the Main Menu:
1. Press MENU to bring up the Main Menu.
2. Point to Channel by pressing the down arrow until the
word Channel is highlighted in green.
Press CLEAR at any time to re-
move all displays from the screen
and return to TV viewing.
8
Because many VCR user manuals
refer to a PROG button, the MENU
button on thisremote is called
MENU-PROG. The rest of this man-
ual refers to this button 0nly
as MENU.
J
_
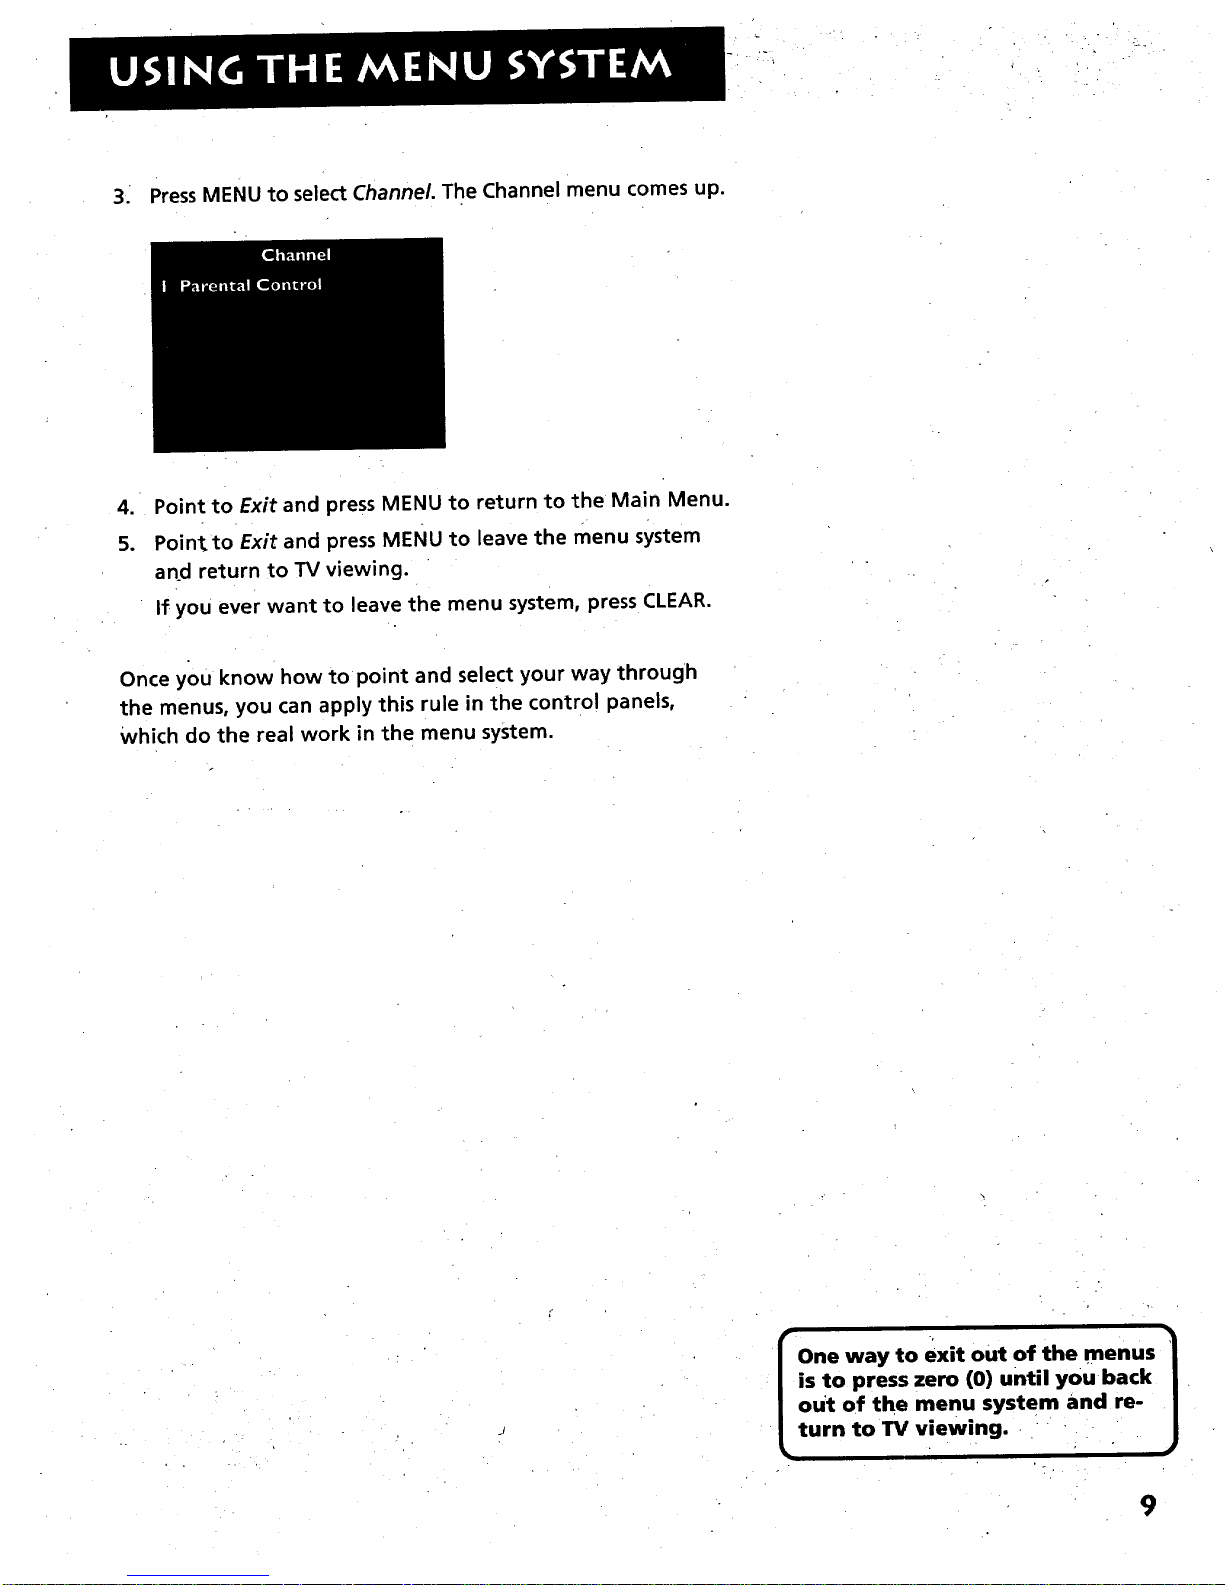
3. PressMENU to select Channel. The Channel menu comes up.
.
5.
Point to Exit and press MENU to return to the Main Menu.
Point to Exit and press MENU to leave the menu system
an_d return to TV viewing.
If you ever want to leave the menu system, press CLEAR.
Once you know how to point and select your way through
the menus, you can apply this rule in the control panels,
which do the real work in the menu system.
I One way to exit out of the menus !
is to press zero (0) until youback |
out of the menu system and re- |
turn to TV viewing. J
9
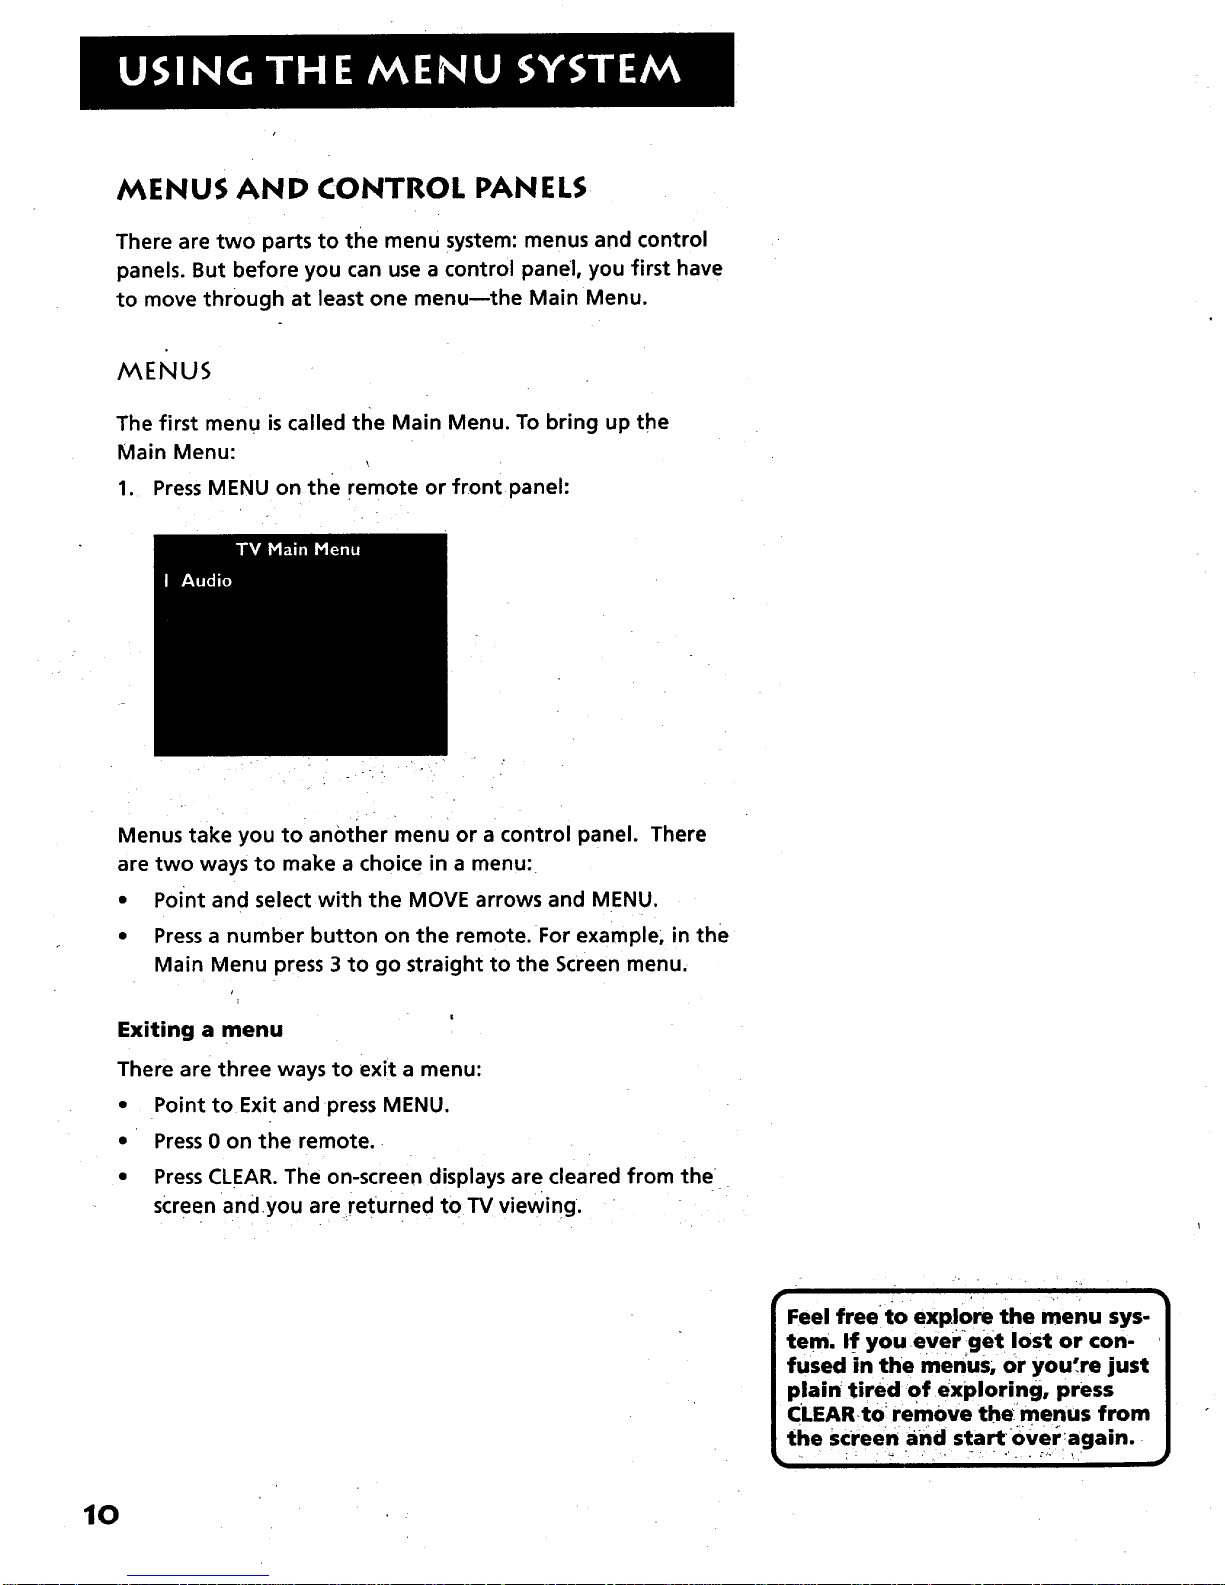
MENUS AND CONTROL PANELS
There are two parts to the menu sYstem: menus and control
panels. But before you can use a control panel, you first have
to move through at least one menu--the Main Menu.
MENUS
The first menu is called the Main Menu. To bring up the
Main Menu:
1. Press MENU on the remote or front panel:
Menus take you to another menu or a control panel. There
are two ways to make a choice in a menu:
• Point and select with the MOVE arrows and MENU.
• Press a number button on the remote. For example, in the
Main Menu press 3 to go straight to the Screen menu.
Exiting a menu
There are three ways to exit a menu:
• Point to Exit and press MENU.
• Press 0 on the remote.
• Press CLEAR. The on-screen displays are cleared from the
screen andyou are returned to TV viewing.
Feel free to explore the menu sys-
tem. If you ever get !ost or con
fused in the menus; or you're just
plain tired Of exploring, press
CLEARto iremove the'.menus from
the Screen and startover:again.
l
10
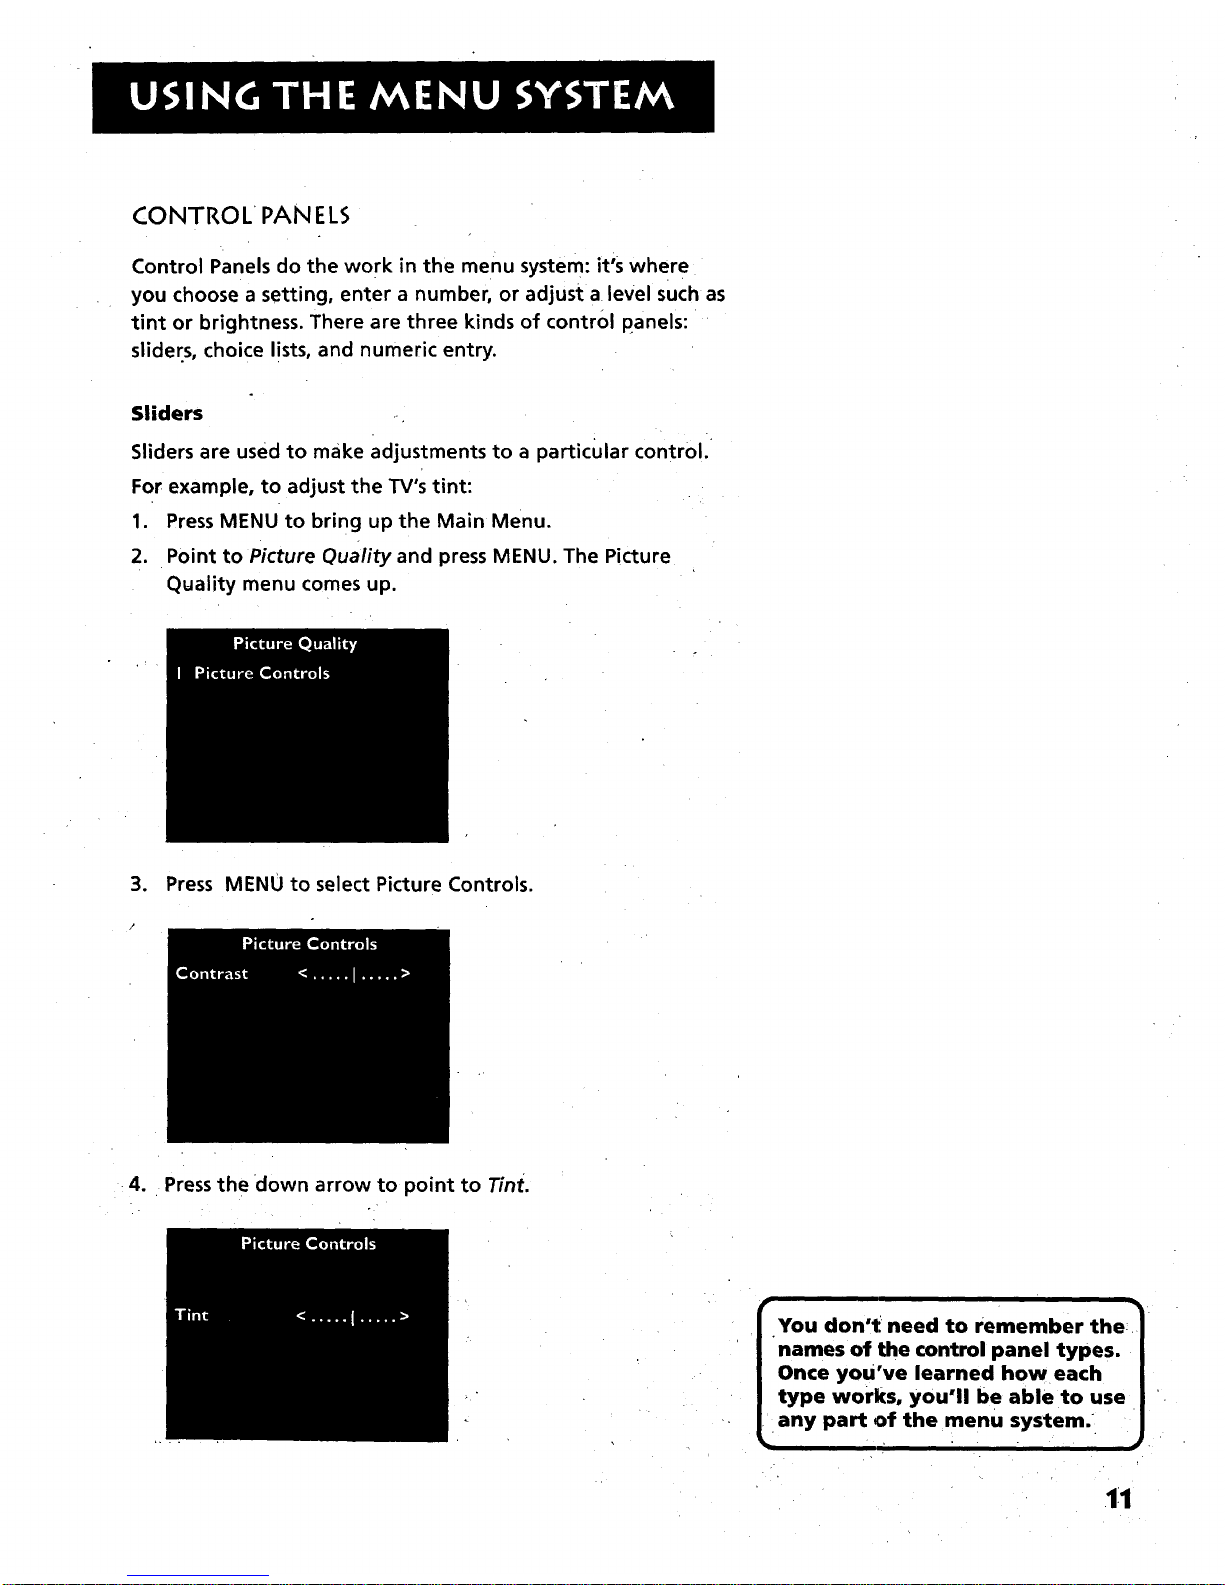
CONTROL PAN ELS
Control Panels do the work in the menu system: it's where
you choose a setting, enter a number, or adjust a level such as
tint or brightness. There are three kinds of control panels:
sliders, choice lists, and numeric entry.
Sliders
Sliders are used to make adjustments to a particular control.
For example, to adjust the TV's tint:
1. Press MENU to bring up the Main Menu.
2. Point to Picture Quality and press MENU. The Picture
Quality menu comes up.
3. Press MENU to select Picture Controls.
/
4. Press the down arrow to point to Tint.
You don't need to remember the:
names of the control panel types.
Once you've learned how each
type works, you'll be able to use
any part of the menu system.
11
5. Press the right or left arrow to adjust the indicator line.
Notice that the picture changes as you adjust the tint.
Now that you know how the Tint slider works, you know how
all sliders work.
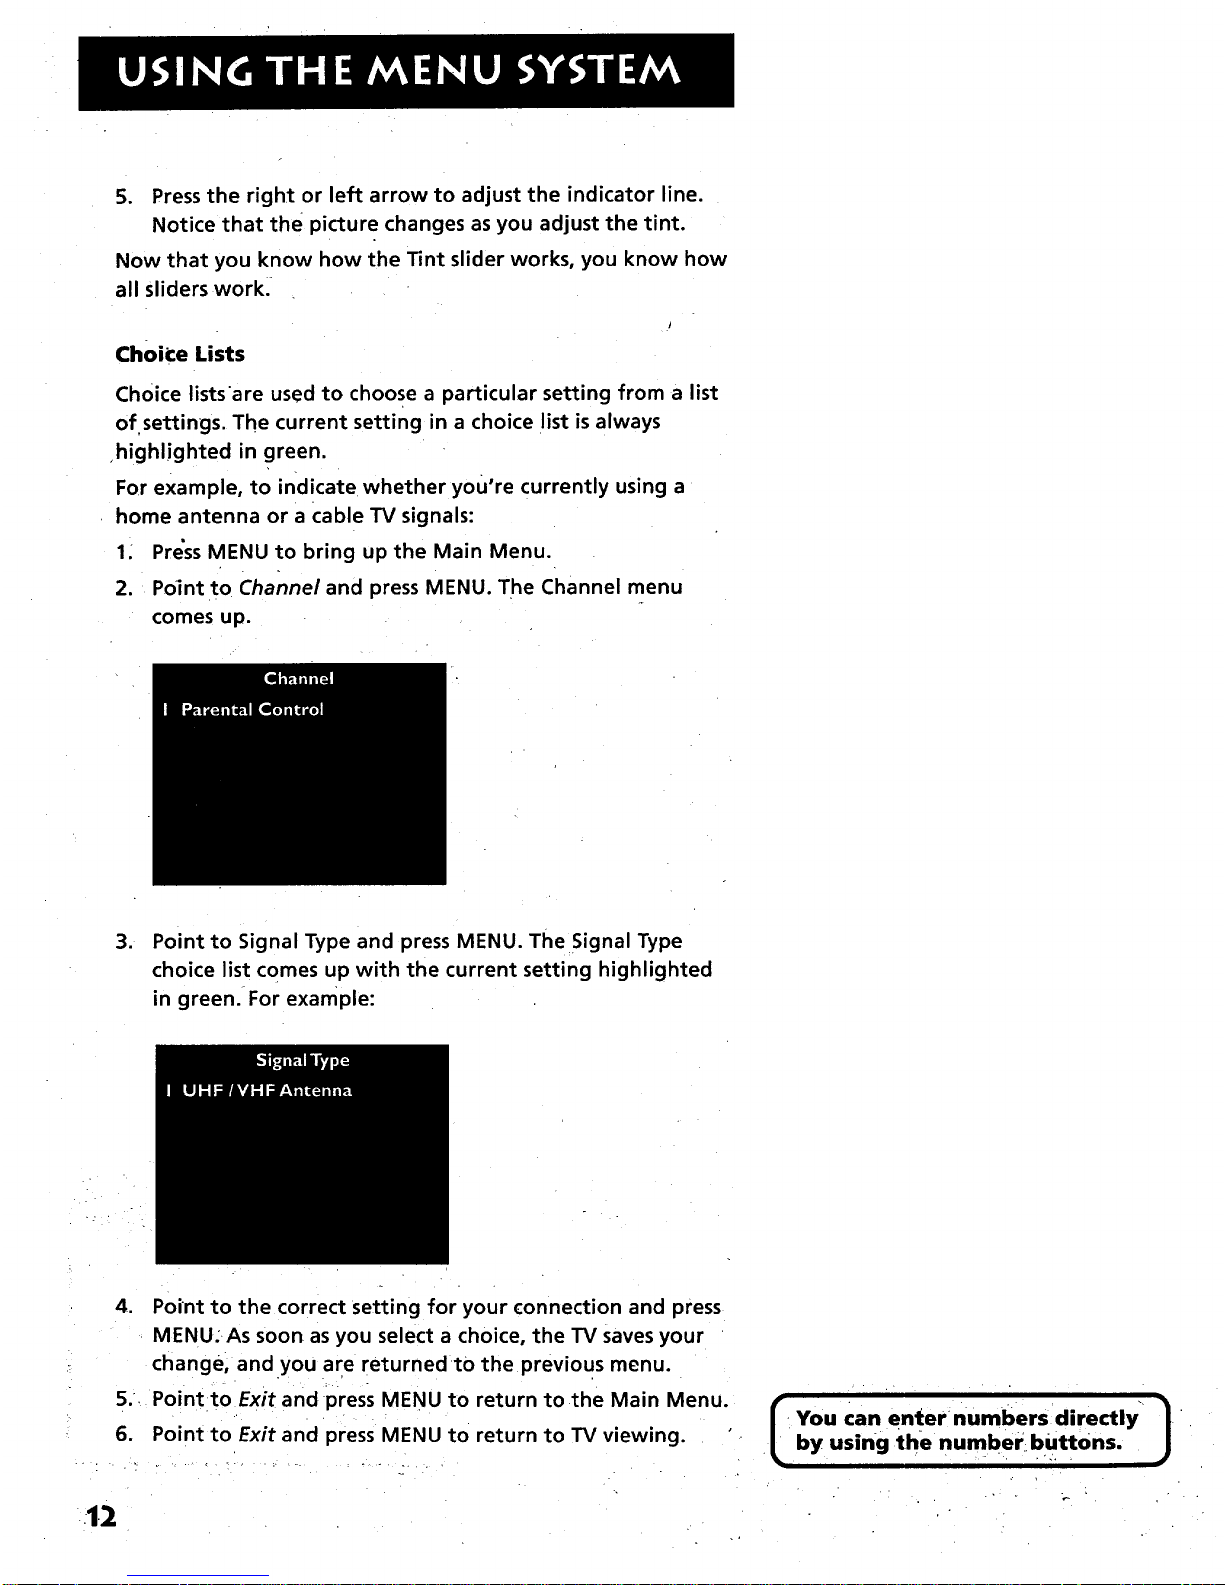
Choice Lists
Choice listsare used to choose a particular setting from a list
of settings. The current setting in a choice list is always
highlighted in green.
For example, to indicate whether you're currently using a
home antenna or a cable TV signals:
1. Press MENU to bring up the Main Menu.
2. Point to Channel and press MENU. The Channel menu
comes up.
. Point to Signal Type and press MENU. The Signal Type
choice list comes up with the current setting highlighted
in green.-For example:
4. Point to the correct setting for your connection and press
MENU: As soon as you select a choice, the TV saves your
change, and you are returned to the previous menu.
5.. Point to Exit and press MENU to return to the Main Menu.
6. Point to Exit and press MENU to return to TV viewing.
12
[ ]
You can enter numbers directly
by using the number: buttons.
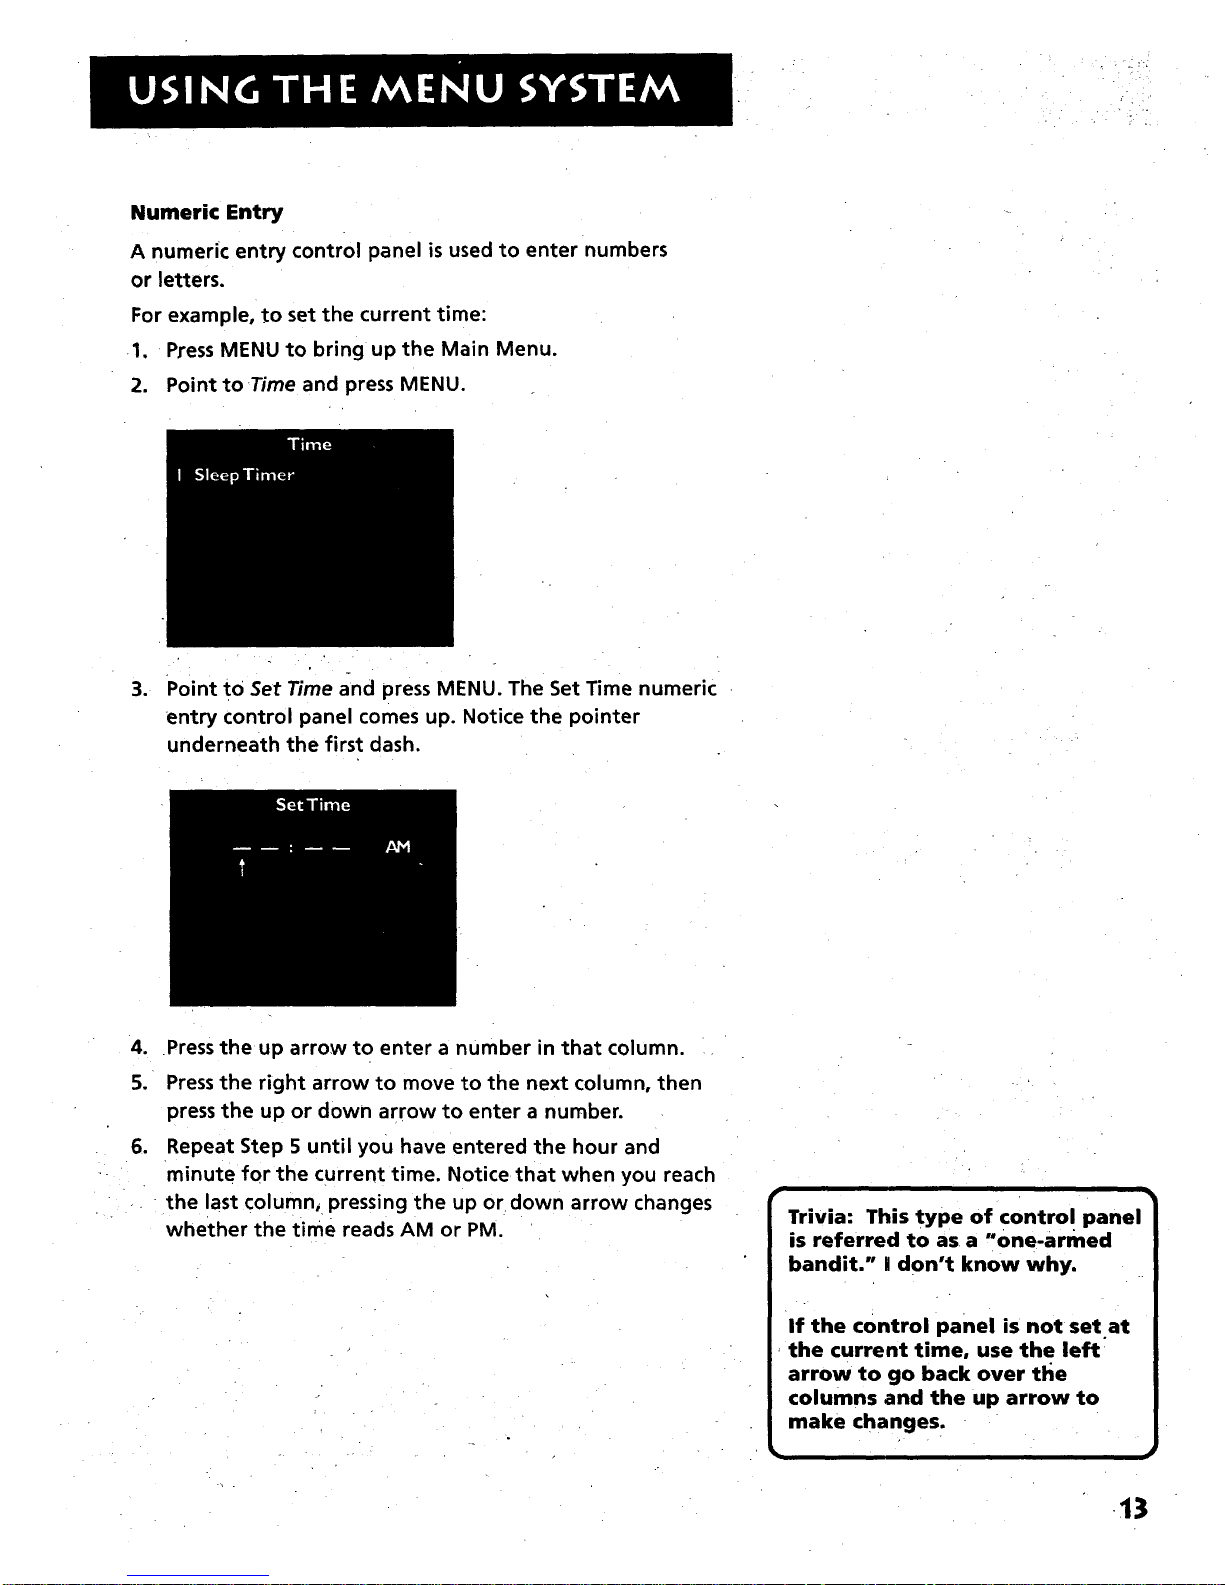
Numeric Entry
A numericentrycontrol panelisusedto enter numbers
or letters.
Forexample,to set the current time:
1. Press MENU to bring up the Main Menu.
2. Point to Time and press MENU.
.
Point tO Set Time and press MENU. The Set Time numeric
entry control panel comes up. Notice the pointer
underneath the first dash.
.
5.
.
Pressthe up arrow to enter a number in that column.
Pressthe right arrow to move to the next column, then
press the up or down arrow to enter a number.
Repeat Step 5 until you have entered the hour and
minute for the current time. Notice that when you reach
the last column, pressing the up or down arrow changes
whether the time reads AM or PM.
Trivia: This type of control panel
is referred to as a "one-armed
bandit." | don't know why.
If the control panel is not set at
the current time, use the left
arrow to go back over the
columns and the up arrow to
make changes.
13

14 "
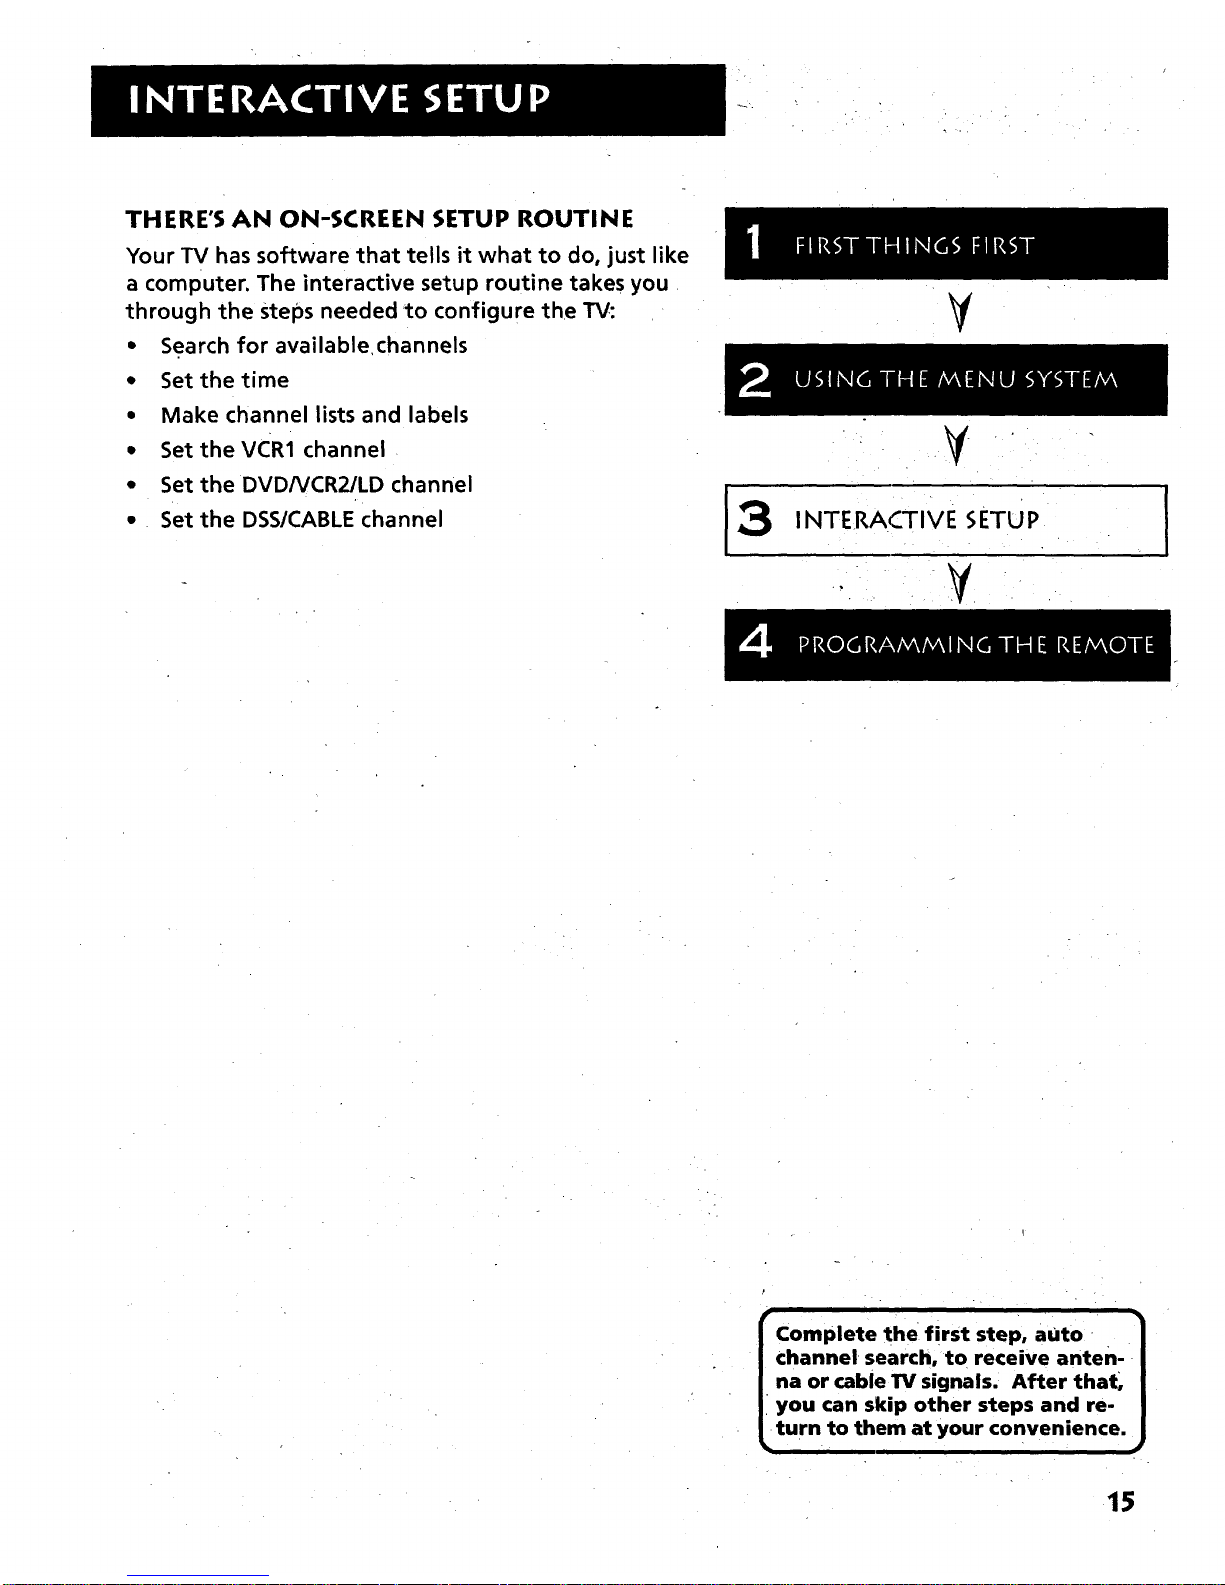
THERE'S AN ON-SCREEN SETUP ROUTINE
Your TV has software that tells it what to do, just like
a computer. The interactive setup routine takes you
through the steps needed to configure the TV:
• Search for available channels
* Setthetime
• Make channel lists and labels
• SettheVCR1 channel
• Set the DVDNCR2/LD channel
• Set the DSS/CABLE channel
V
¥
INTE RACTIVE SETU P
• ¥
I omplete the first step, auto
channel •search, to receive anten-
na or cable TV signals. After that,
you can skip other steps and re-
turn to them at your convenience.
15
f i .. .
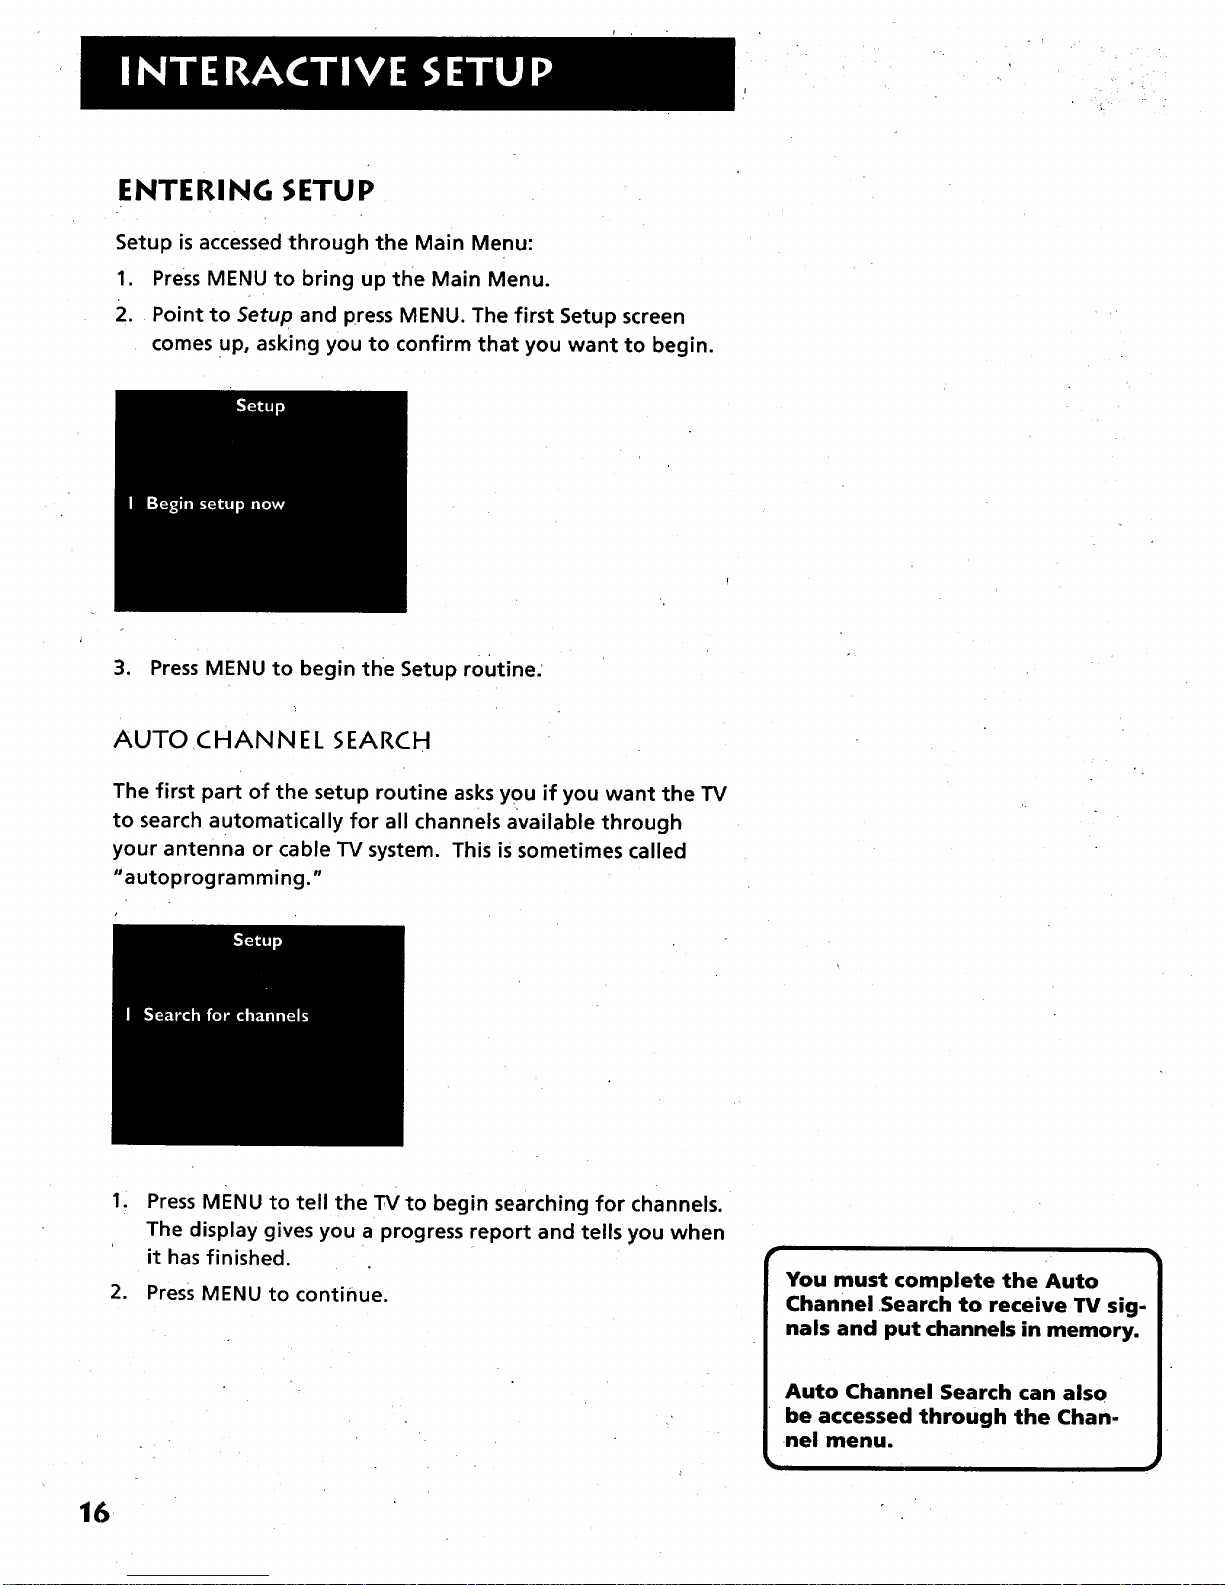
ENTERING SETUP
Setup is accessed through the Main Menu:
1. Press MENU to bring up the Main Menu.
2. Point to Setup and press MENU. The first Setup screen
comes up, asking you to confirm that you want to begin.
3. Press MENU to begin the Setup routine.
AUTO CHANNEL SEARCH
The first part of the setup routine asks you if you want the TV
to search automatically for all channels available through
your antenna or cable TV system. This is sometimes called
"autoprogramming."
. Press MENu to tell the "IV to begin searching for channels.
The display gives you a progress report and tells you when
it has finished.
2. Press MENU to continue,
i
You must complete the Auto
Channel Search to receive TV sig-
nals and put channels in memory.
Auto Channel Search can also
be accessed through the Chan-
nel menu.
16
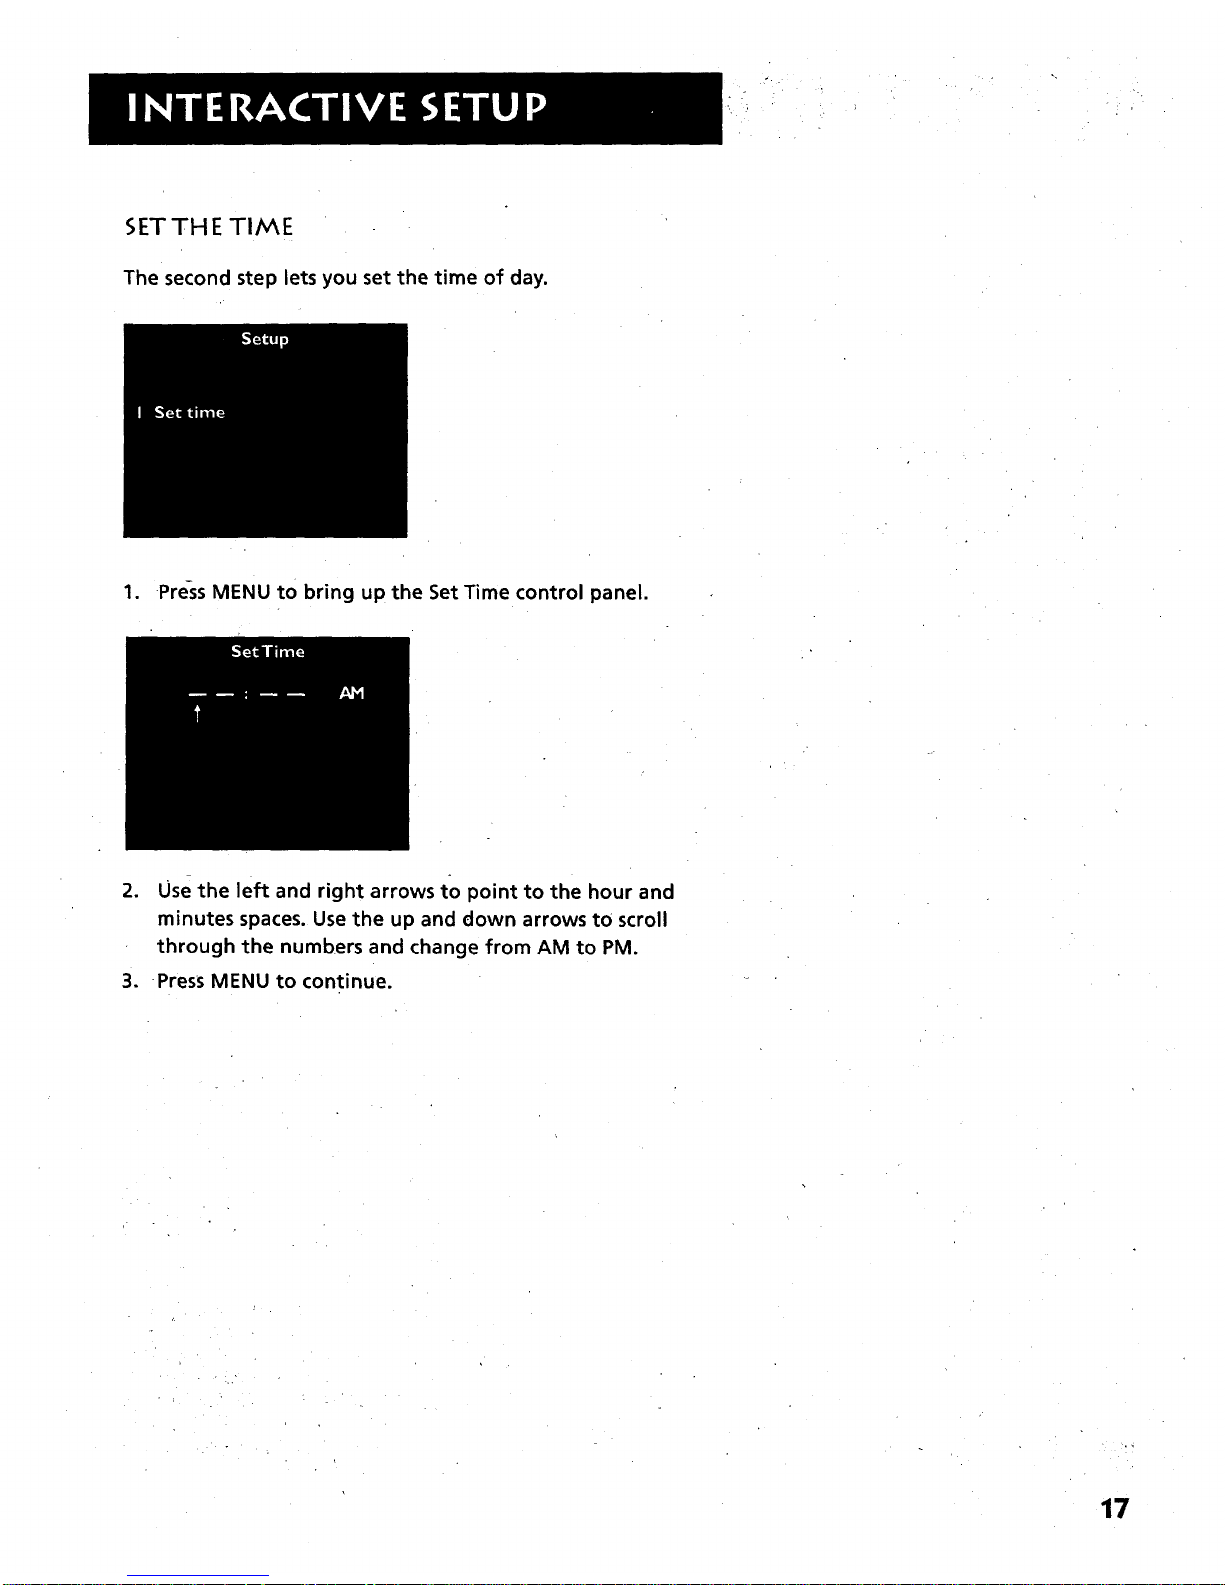
5ETTHE TIME
The second step Letsyou set the time of day.
1. Press MENU to bring up the Set Time control panel.
.
.
Use the left and right arrows to point to the hour and
minutes spaces. Use the up and down arrows to scroll
through the numbers and change from AM to PM.
Press MENU to continue.
17
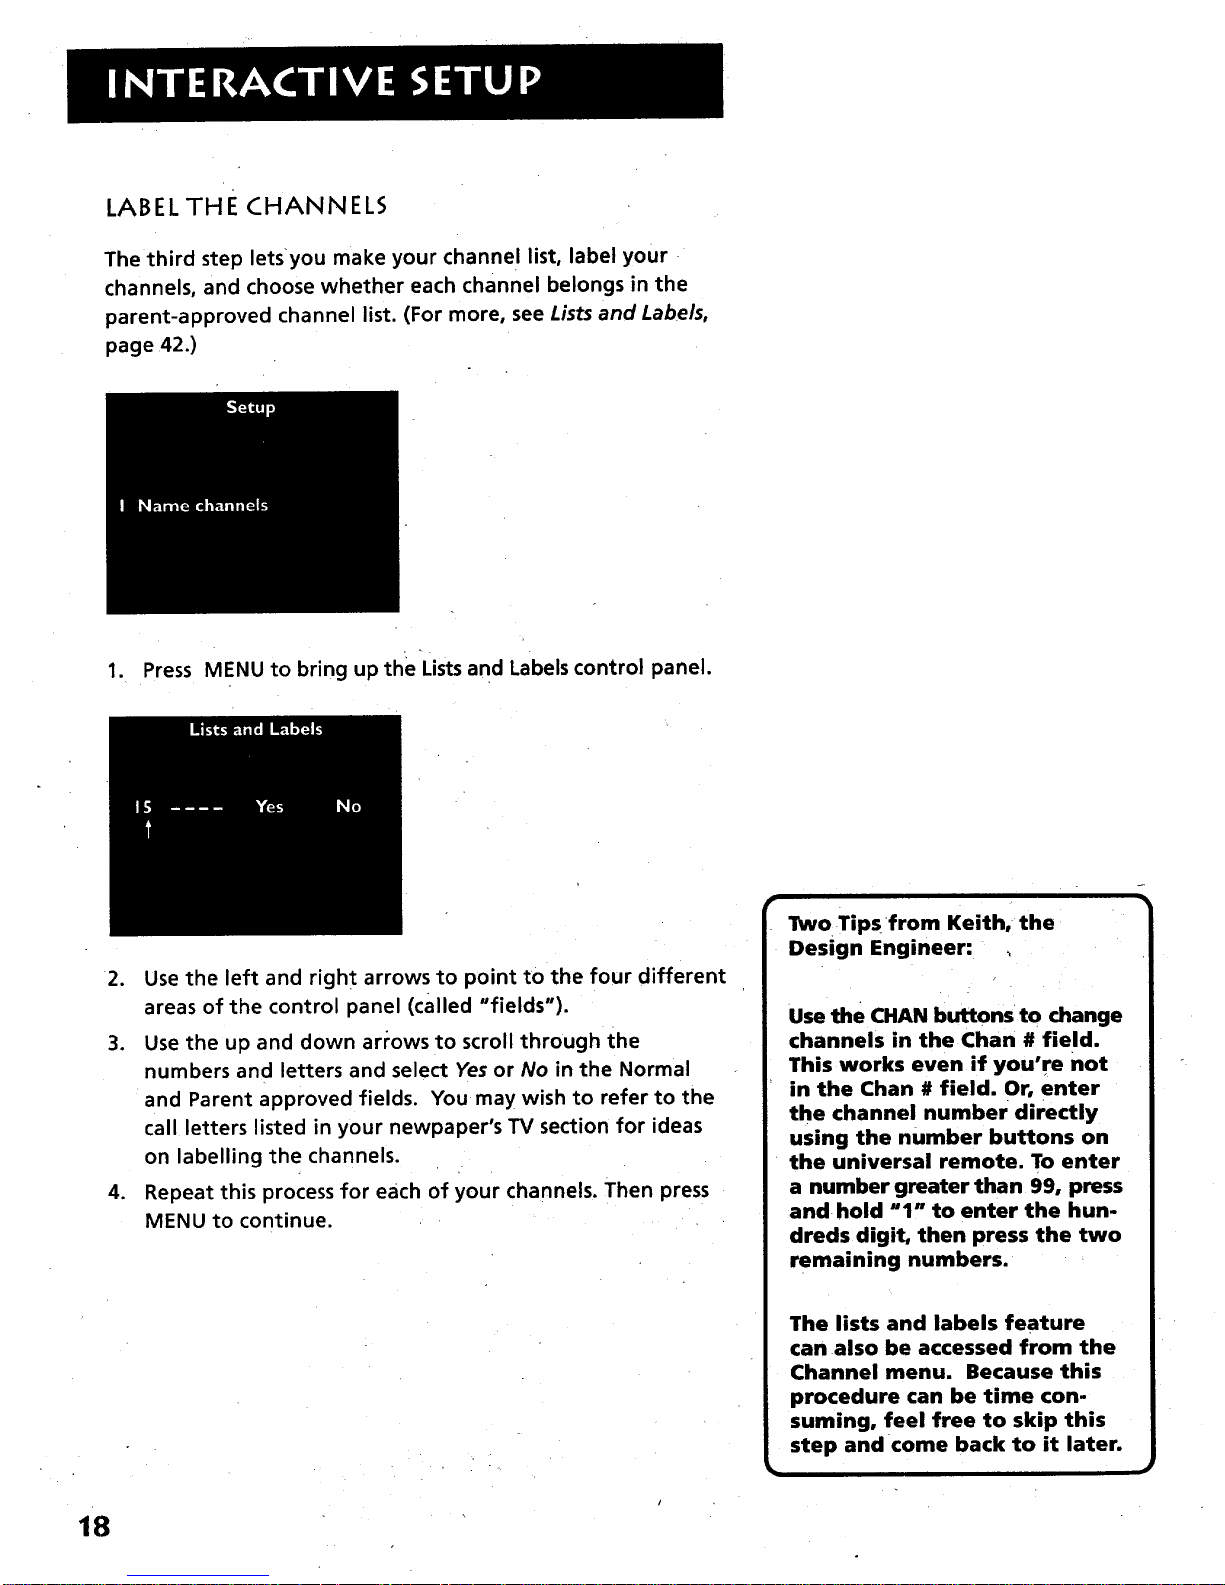
LABEL THE CHANNELS
The third step letsyou make your channel list, label your
channels, and choose whether each channel belongs in the
parent-approved channel list. (For more, see Lists and Labels,
page 42.)
1. Press MENU to bring up the Lists and Labels control panel.
2. Use the left and right arrows to point to the four different
areas of the control panel (called "fields").
3. Use the up and down arrowsto scroll through the
numbers and letters and select Yes or No in the Normal
and Parent approved fields. You may wish to refer to the
call letters listed in your newpaper's TV section for ideas
on labelling the channels.
4. Repeat this process for each of your channels. Then press
MENU to continue.
Two Tips from Keith, the
Design Engineer:
Use the CHAN buttons to change
channels in the Chan # field.
This works even if you're not
in the Chan # field. Or, enter
the channel number directly
using the number buttons on
the universal remote. To enter
a number greater than 99, press
and hold "1" to enter the hun-
dreds digit, then press the two
remaining numbers.
The lists and labels feature
can also be accessed from the
Channel menu. Because this
procedure can be time con-
suming, feel free to skip this
step and come back to it later.
18
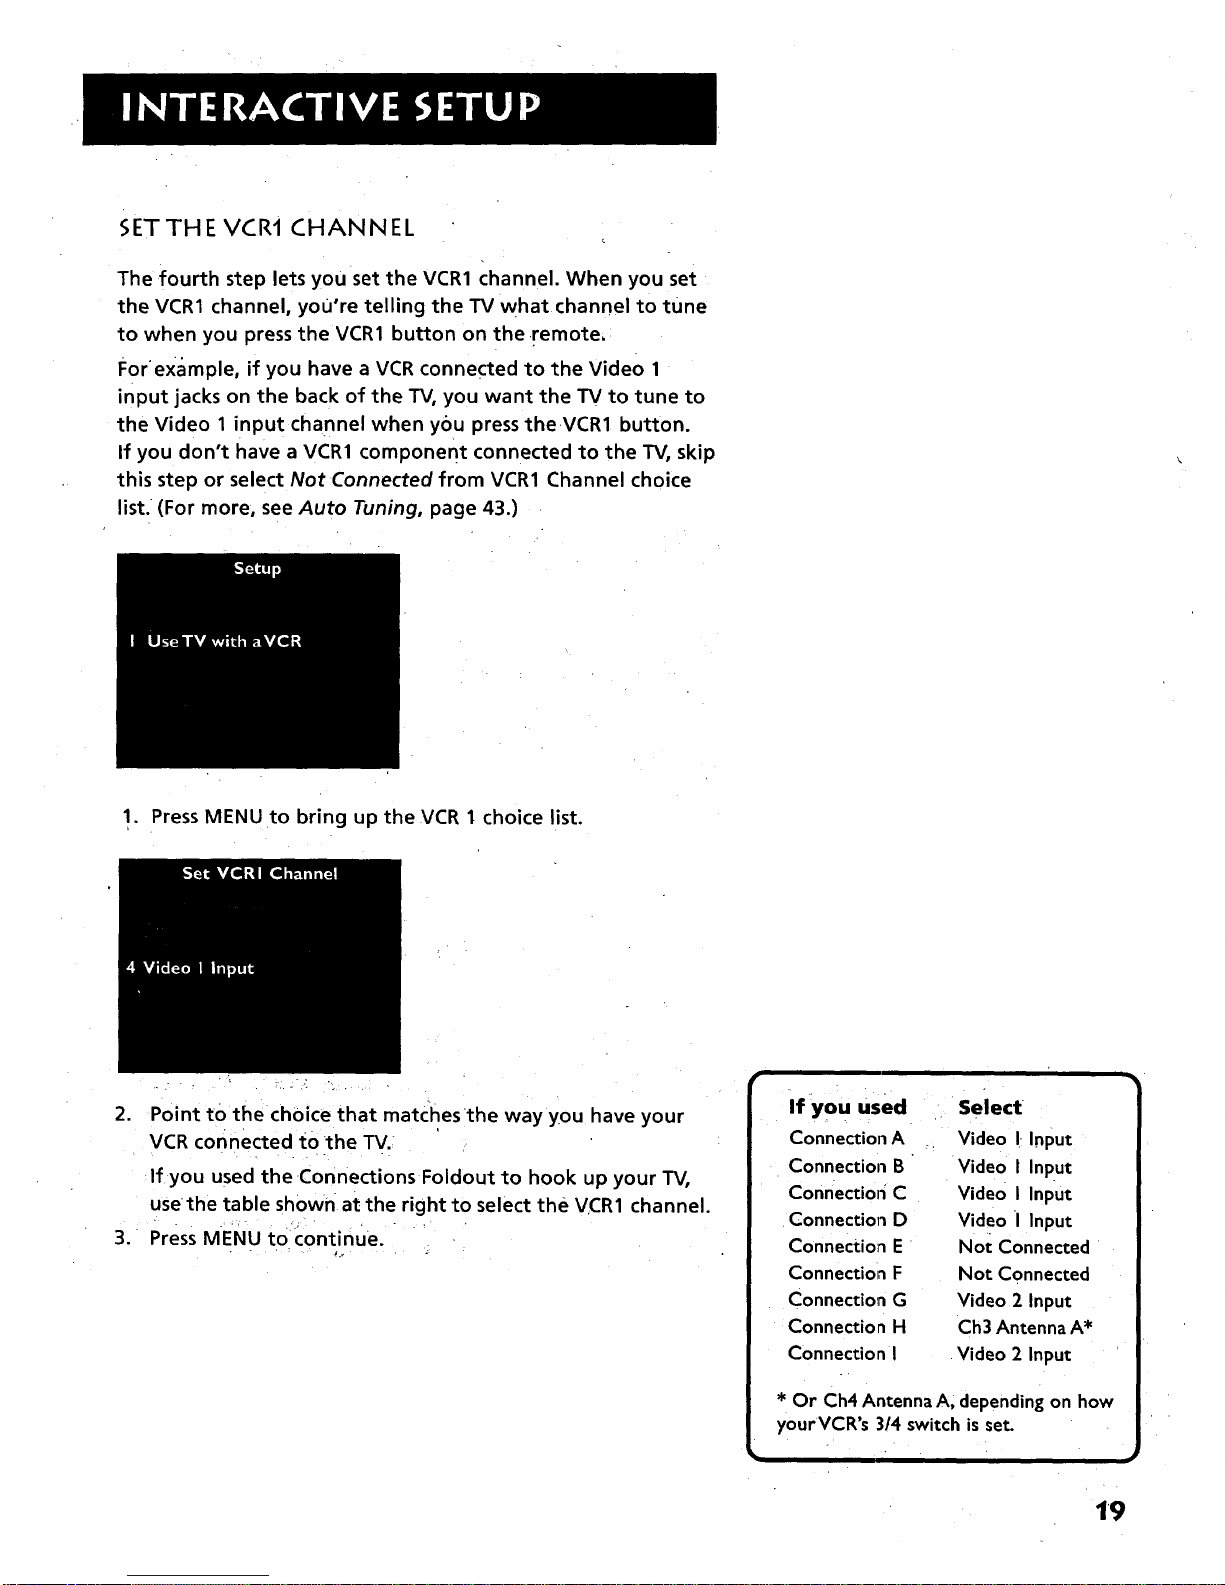
SETTHE VCR1 CHANNEL
The fourth step lets you set the VCR1 channel. When you set
the VCR1 channel, you're telling the TV what channel to tune
to when you press the VCR1 button on the remote,
Forexample, if you have a VCR connected to the Video 1
input jacks on the back of the TV, you want the TV to tune to
the Video 1 input channel when you press the VCR1 button.
If you don't have a VCR1 component connected to the TV, skip
this step or select Not Connected from VCR1 Channel choice
list. (For more, see Auto Tuning, page 43.)
1. Press MENU to bring up the VCR 1 choice list.
2. Point tO thechoice that matchesthe way you have your
VCR connected to the TV.:
If you used the Connections Foldout to hook up your TV,
usethe table shown at the right to select the VCR1 channel.
3. Press MENU t0continue.
If you used
Connection A
Connection B
Connection C
Connection D
Connection E
Connection F
Connection G
Connection H
Connection I
Select
Video I Input
Video I Input
Video I Input
Video i Input
Not Connected
Not Connected
Video 2 Input
Ch3 Antenna A*
Video 2 Input
* Or Ch4 Antenna A, depending on how
yourVCR's 3t4 switch is set.
19
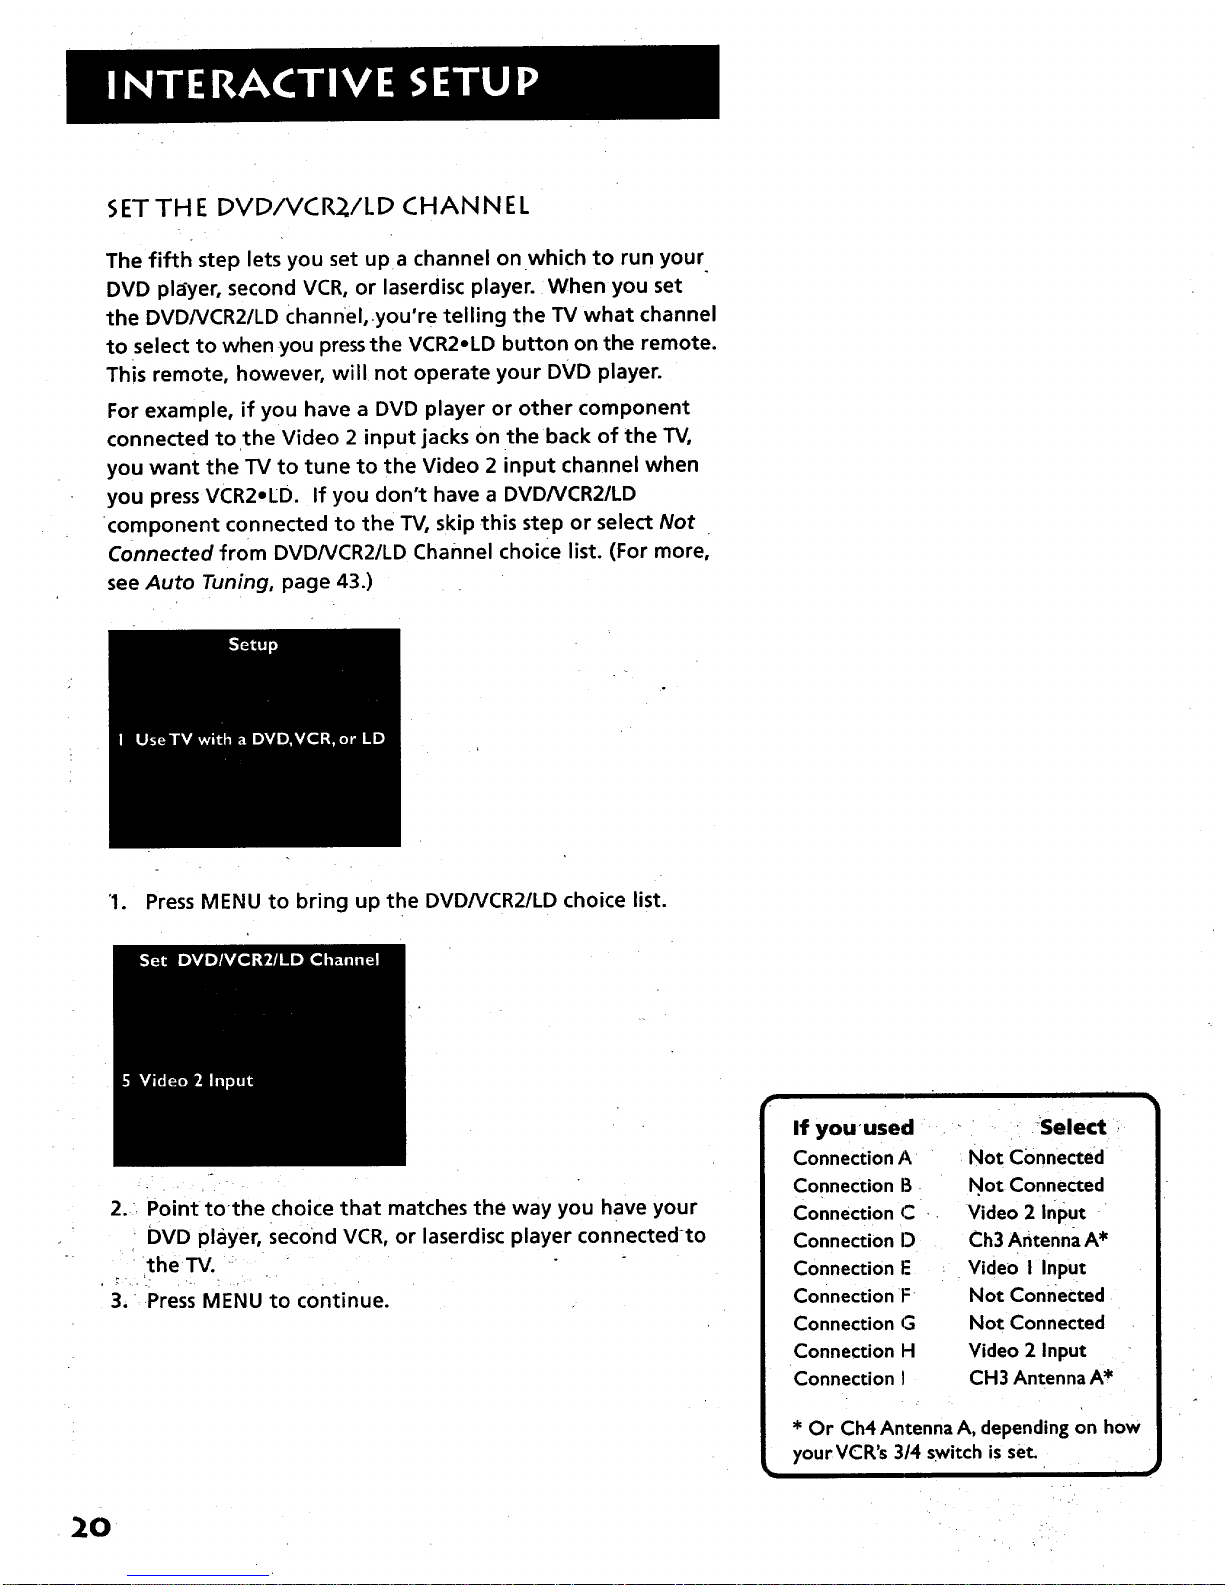
5ETTHE DVD/VCR_/LD CHANNEL
The fifth step lets you set upa channel on which to run your
DVD player, second VCR, or laserdisc player. :When you set
the DVD/VCR2/LD Channel, you're telling the TV what channel
to select to when you press the VCR2oLD button on the remote.
This remote, however, will not operate your DVD player.
For example, if you have a DVD player or other component
connected to the Video 2 input jacks on the back of the TV,
you want the TV to tune to the Video 2 input channel when
you press VCR2°ED. If you don't have a DVD/VCR2/LD
component connected to the TV, skip this step or select Not
Connected from DVDNCR2/LD Channel choice list. (For more,
see Auto Tuning, page 43.)
'1. Press MENU to bring up the DVDNCR2/LD choice list.
2. Point tothe choice that matches the way you have your
• DVD player, Second VCR, or laserdisc player connected-to
' the TV. '
3, Press MENU to continue.
C__ Not Connected I
Connection B " Not Connected J
C_: _ Video 2 input J
C__ Ch3 Antenna A* I
0o, ,np0 I
_n F Not Connected J
ConnectionG Not Connected " I
ConnectionH Video21nput - I
* O_pe_nding on how I
yourVCR's _4_switch is set_ J
0 :
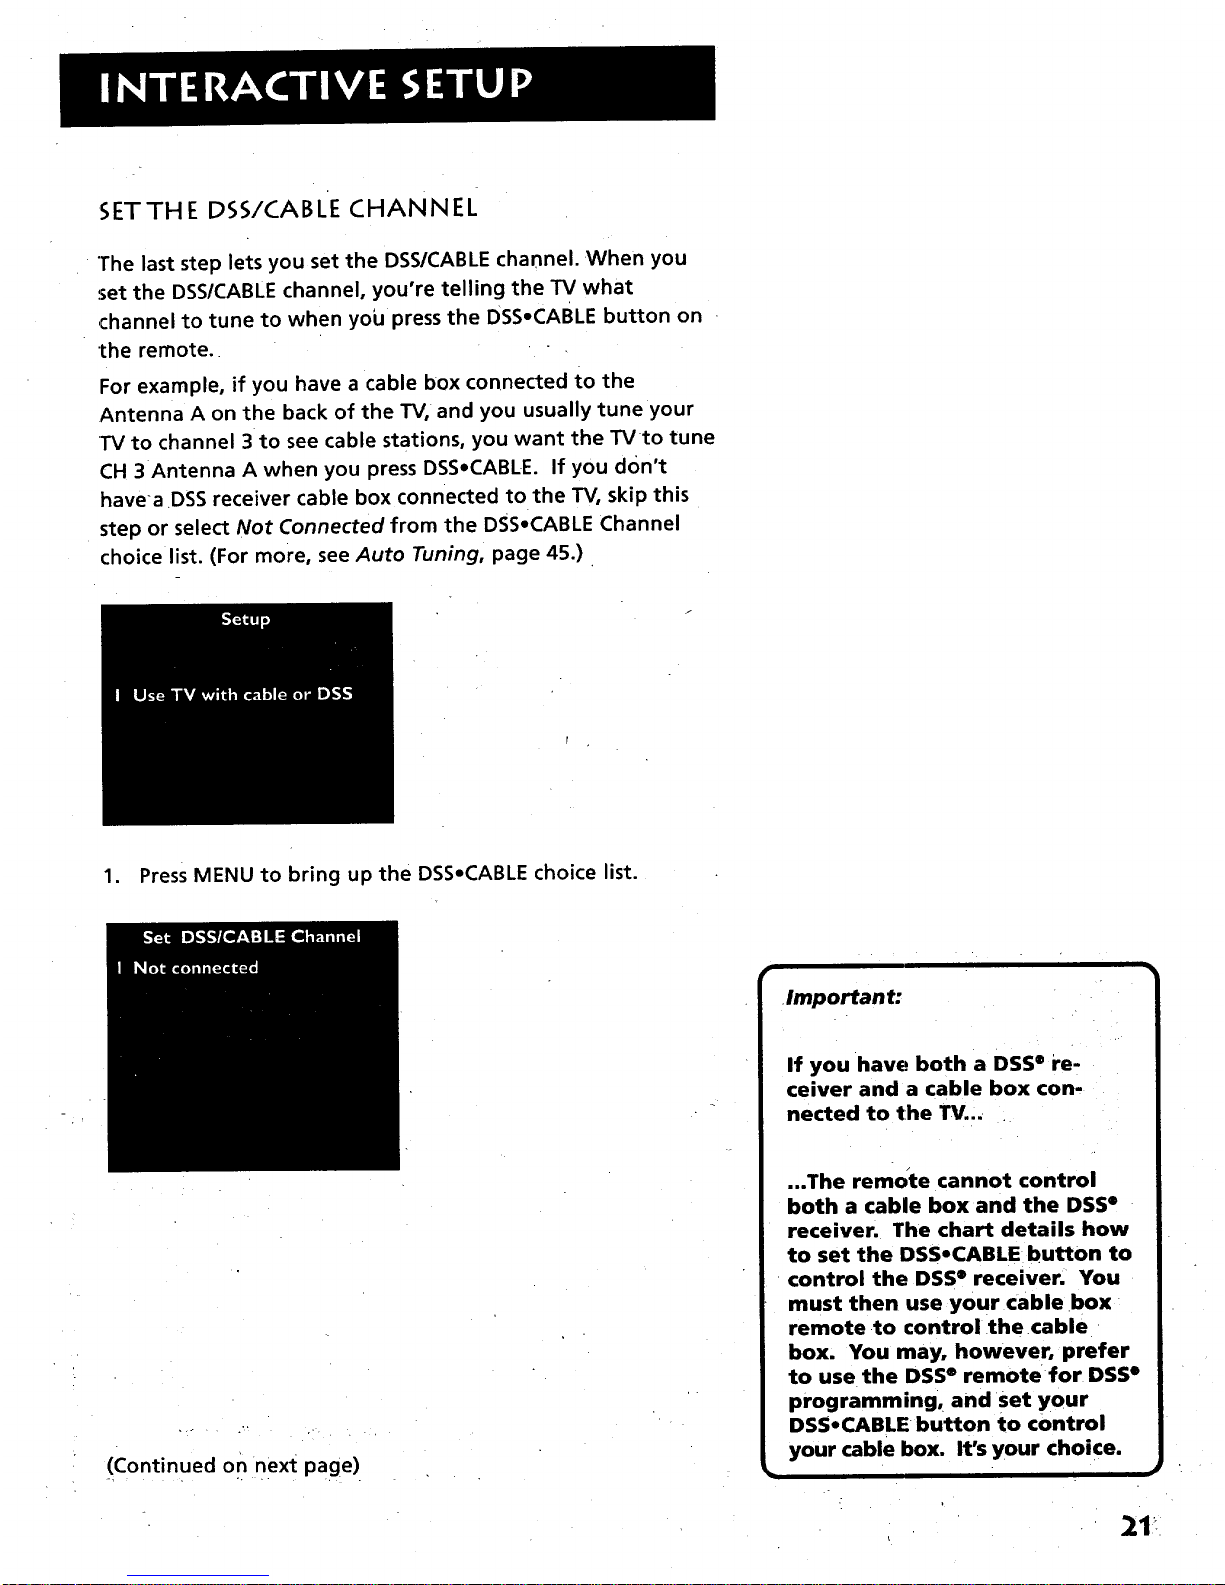
5ETTHE DSS/CABLE CHANNEL
"Thelast step lets you set the DSS/CABLE channel. When you
,.setthe DSS/CABLE channel, you're telling the TV what
channel to tune to when yoiJ press the DSSoCABLE button on
the remote. -
For example, if you have a cable box connected to the
Antenna A on the back of the TV, and you usually tune your
TV to channel 3to see cable stations, you want the TVto tune
CH 3 Antenna A when you press DSSoCABLE. If you don't
have-a DSS receiver cable box connected to the TV, skip this
step or select Not Connected from the DSS0CABLE Channel
choice list. (For more, see Auto Tuning, page 45.)
1. Press MENU to bring up the DSSoCABLE choice list.
(Continued on next page)
Importan t:
If you have both a DSS® re-
ceiver and a cable box con,
netted to the TV...
...The remote cannot control
both a cable box and the DSS °
receiver. The chart details how
to set the DSSoCABLE button to
control the DSS° receiver. You
must then use your cable box
remote to control the cable
box. You may, however, prefer
to use the DSS ® remote for DSS °
programming, and set your
DSSeCABLE button to control
your cable box. It's your choice.
m
21'-
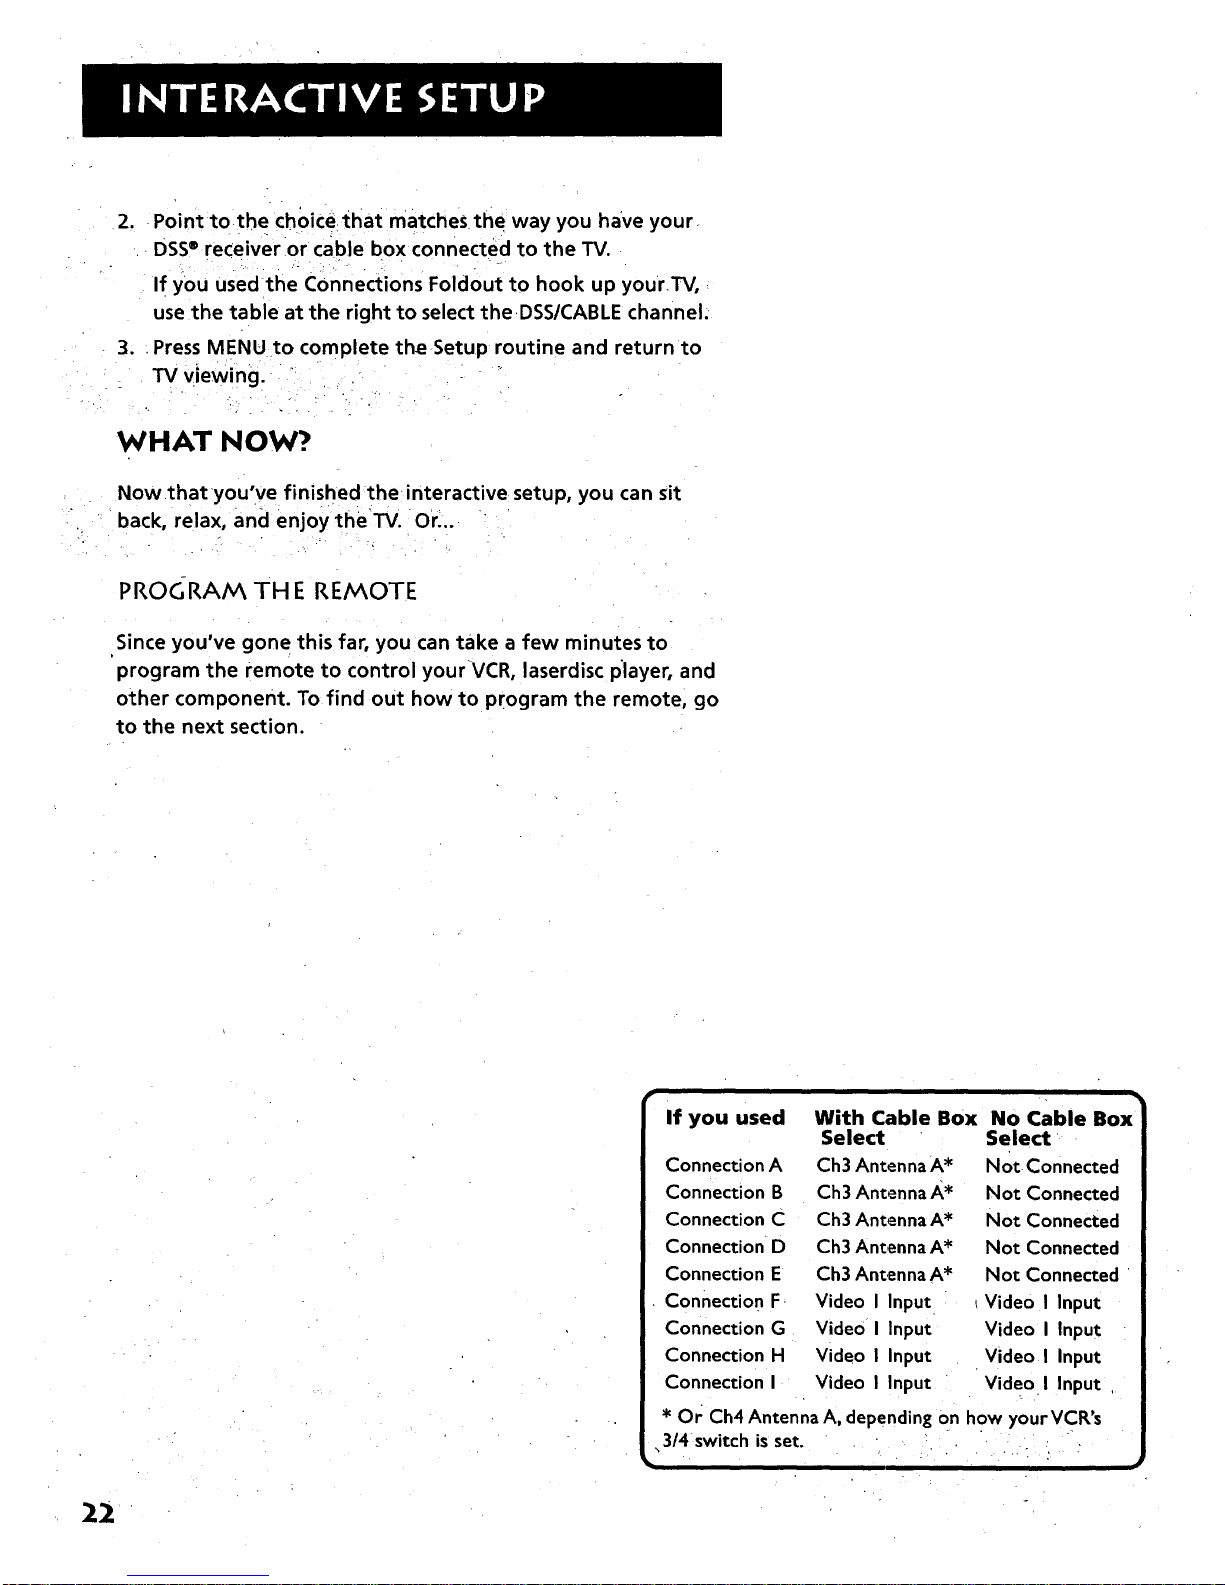
,
Point to the choice that matches the way you have your
DSS®receiver or cable box connected to the TV.
- . . .-- . .
ff you used the Connections Foldout to hook up your.TV,
use the table at the right to select the DSS/CABLE channel.
,
Press MENU to complete the Setup routine and return to
TV viewing.
WHAT NOW?
Nowthat you've finished the interactive setup, you can sit
back, relax, and enjoy theTV. Or...
PROC, RA/V_ TH E REMOTE
Since you've gone this far, you can take a few minutes to
program the remote to control yourVCR, laserdisc p'layer, and
other component. To find out how to program the remote, go
to the next section.
If you used With Cable Box No Cable Box
Select Select
Connection A Ch3 Antenna A* Not Connected
Connection B Ch3 Antenna A* Not Connected
Connection C Ch3 Antenna A* Not Connected
Connection D Ch3 Antenna A* Not Connected
Connection E Ch3 Antenna A* Not Connected
Connection F Video I Input Video I Input
Connection G Video I Input Video I Input
Connection H Video I Input Video I Input
Connection I Video I Input Video I Input
Or Ch4 Antenna A, depending on how yourVCR's
3/4 switch is set.
22
IF YOU HAVE AVCR OR OTHER
I'OMPON ENT...
The universal remote can be programmed to control
most brands of remote controllable TVs, VCRs, and
cable boxes. If you have an RCA, GE, or ProScan VCR,
you probably don't need to program it at all--other
manufacturer's brands need to be programmed.
NOW WATCH SOME "rv!
Once you've programmed the remote, you will have
completed all four setup sections. Now you can sit
back and enjoy the TV. If you want to know more
about the different parts of the TV, see the next
section, Tour of the TV. Refer to the other sections
and appendices as needed.
./
14
PROGRAMMING TH E REMOTE
23
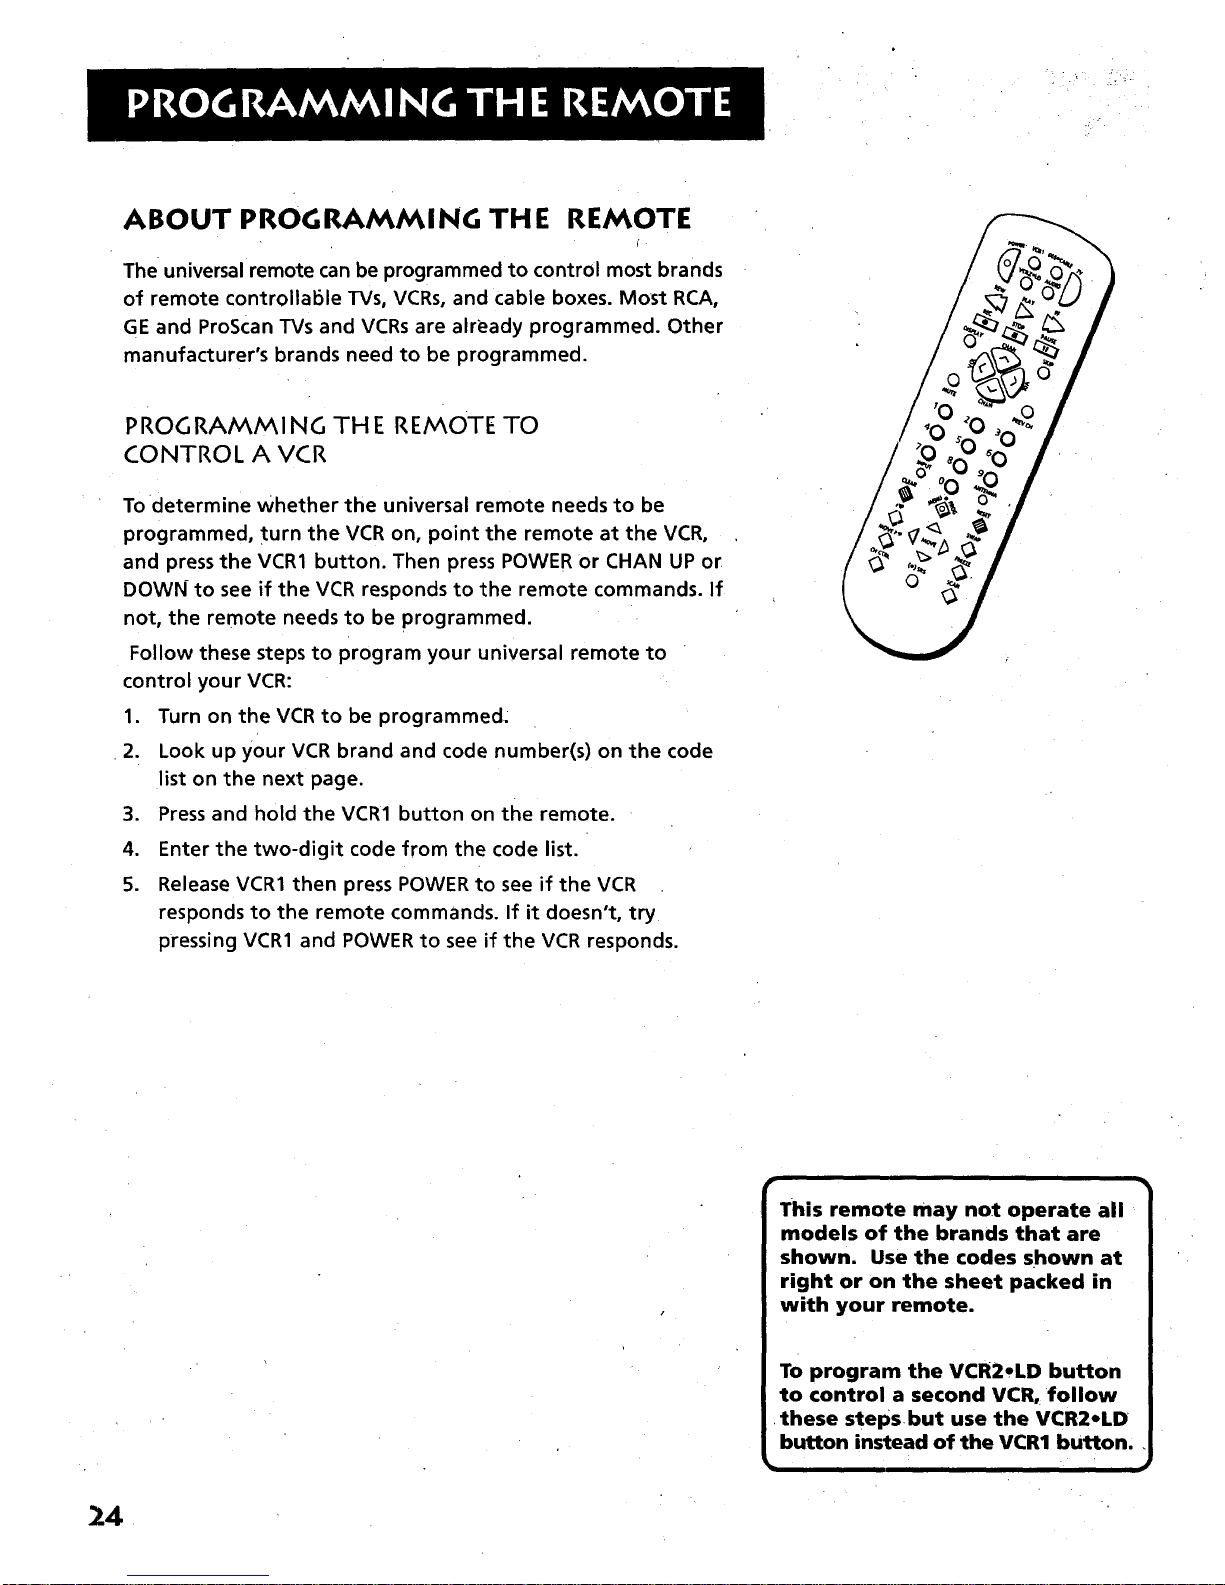
ABOUT PROGRAMMING THE REMOTE
The universal remote can be programmed to control most brands
of remote controllable TVs, VCRs, and cable boxes. Most RCA,
GE and ProScan TVs and VCRs are already programmed. Other
manufacturer's brands need to be programmed.
PROGRAMN_I NG TH E RE/v_OTE TO
CONTROL A VCR
To determine whether the universal remote needs to be
programmed, turn the VCR on, point the remote at the VCR,
and press the VCR1 button. Then press POWER or CHAN UP or
DOWN to see if the VCR responds to the remote commands. If
not, the remote needs to be programmed.
Follow these steps to program your universal remote to
control your VCR:
1. Turn on the VCR to be programmed:
2. Look up your VCR brand and code number(s) on the code
list on the next page.
3. Press and hold the VCR1 button on the remote.
,
5.
Enter the two-digit code from the code list.
Release VCR1 then press POWER to see if the VCR
responds to the remote commands. If it doesn't, try
pressing VCR1 and POWER to see if the VCR responds.
r •
This remote may not operate all
models of the brands that are
shown. Use the codes shown at
right or on the sheet packed in
with your remote.
To program the VCR2,LD button
to control a second VCR, follow
these stepsbut use the VCR2,LD
button instead of the VCR1 button,
24
 Loading...