

Page 1

Communications Systems
INSTRUCTION MANUAL
RCA P25 Handheld Radio
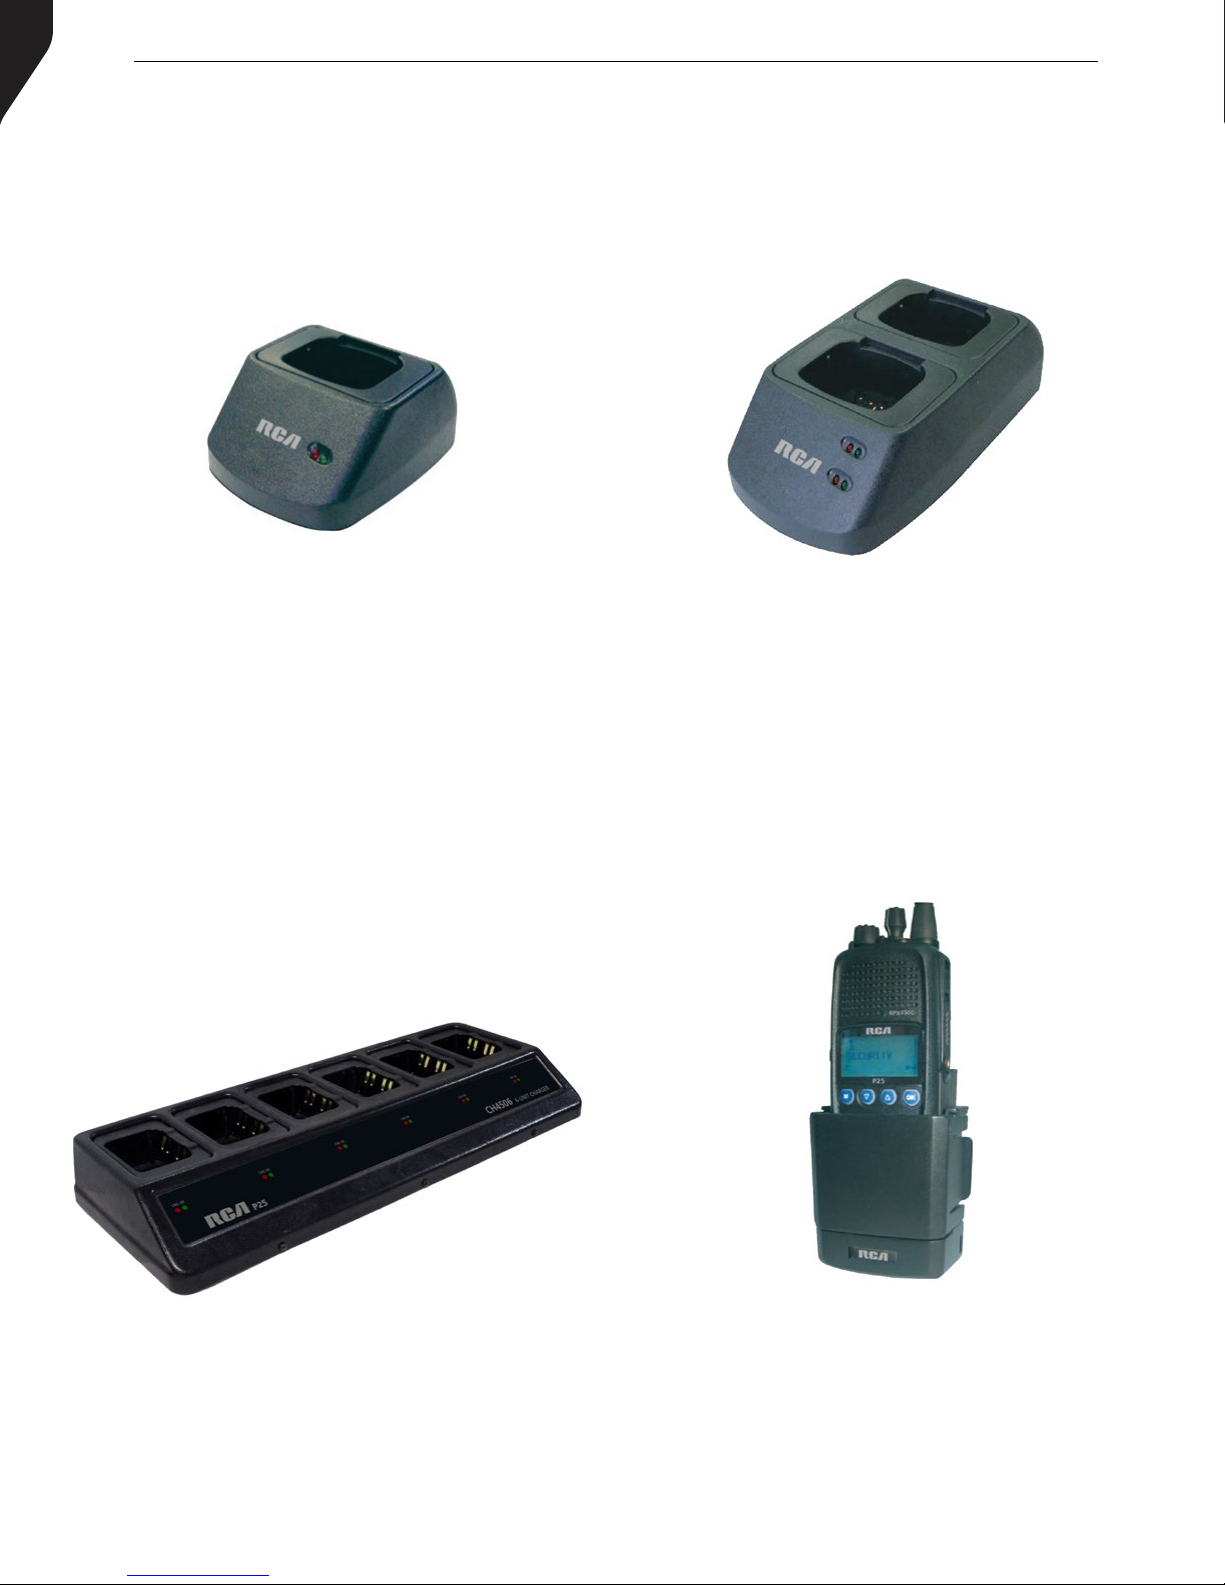
BATTERY CHARGERS
CH4501 PKG
Single Unit Charger (120V AC)
CH4502 PKG
Dual Unit Charger (120V AC)
CH4506 PKG
Six Bank Charger (120V AC)
VCH4501
Single Unit Vehicle Charger (12V DC)
Page 2
2
RCA P25 Handheld Radio Battery Chargers
CH4501 PKG
Single Unit Charger (120V AC)
CH4502 PKG
Dual Unit Charger (120V AC)
CH4506 PKG
Six Bank Charger (120V AC)
VCH4501
Single Unit Vehicle Charger (12V DC)
Copyright © 2015 RCA Communications Systems
Page 3

RCA P25 Handheld Radio Battery Chargers
3
DESCRIPTION
These chargers consist of a main charging station and power
supply. The charging stations can accommodate either a
radio with an attached battery or a battery alone. In multiunit chargers, batteries can be charged simultaneously in any
charger pocket.
FEATURES
» Single, Dual and Six Bank 120V AC chargers and Single
Unit vehicle 12V charger for RCA Portable Radios
» Rapid charge - Charge times between 1 and 3 hours
» Short circuit and temperature protection
» Desktop design on 120V AC chargers
SAFETY PRECAUTIONS
1. To ensure proper and reliable operation, please place the
chargers on a at and stable surface.
2. Charge only approved rechargeable Li-ion batteries for
RCA Portable Radios. Unapproved batteries may fail or
rupture, possibly causing personal injury and/or damage.
3. Use of unauthorized accessories may result in risk of re,
electric shock or personal injury.
4. Pull the plug rather than the cord when disconnecting the
chargers in order to prevent damaging the plug and cord.
5. Do not use the charger if it has been broken or damaged,
as it may cause re or personal injury.
6. Do not connect any metal or electrically conductive
materials to the contacts in the charging holders; this may
cause electric shock, personal injury or damage.
OPERATIONAL GUIDELINES
1. This charger is not suitable for outdoor use. Use only in
dry, clean conditions.
2. Connect the equipment only to an approved power supply
of the correct voltage (as specied below).
3. The receptacle to which this charger is connected should
be close and easily accessible.
4. When using a charger, the ambient temperature around
the power supply equipment must not be above 104°F
(40°C) or below 23°F (–5°C). Chargers are designed to
charge only within the listed temperature range. (Battery
capacity will decrease under extreme temperatures.)
5. If the battery has not been used for long period of time,
charging will be required to restore the battery to its
original capacity.
6. Output voltage from the power supply must not exceed
the charger voltage rating.
7. Make sure the power supply cable is located where it will
not be stepped on, tripped over, or subjected to water,
damage, or mechanical stress.
8. Battery life will be reduced if the radio is on when placed
in the charger.
9. Batteries should not be left in a charger for prolonged
periods, i.e. 3 day weekend, as this will reduce the life of
the battery.
10. When not in use, disconnect the charger’s power supply
cord from the electrical receptacle.
7. Do not, under any circumstances, disassemble the chargers
or attempt to replace any components. Disassembling the
charger may result in damage to the charger and may
cause risk of further damage, electric shock or re. Charger
warranty is void if the charger has been disassembled by
unauthorized personnel.
8. To reduce the risk of damage or electric shock, disconnect
the charger from the power source before attempting any
maintenance or cleaning.
Copyright © 2015 RCA Communications Systems
POWER SUPPLY REQUIREMENTS
Battery charger requires an RCA DC power supply. The
charger is only warranted when used together with RCA
power supplies. Unexpected behavior may result if non-RCA
power supplies are used with this product.
Page 4

4
CHARGER OPERATION
RCA P25 Handheld Radio Battery Chargers
PLEASE NOTE - Be sure to charge the battery before
using the radio for the rst time.
1. Insert the electrical connection into a 120V AC or 12V
DC outlet. Plug the power cord into the receptacle on
the charger. The Red Light Emitting Diode (LED) on the
charger will ash briey. The charger is now in standby
mode.
2. Turn your radio off.
3. Place the battery pack, or the radio with the battery
attached, into the charging pocket on the charger. Be sure
the groove on each side of the battery is aligned with the
corresponding ribs on each side of the charging unit.
4. When the battery/radio is properly inserted into the
charger, the LED will be solid red, indicating that the fast
charging process has been initiated.
5. When the battery pack is fully charged, the charger will
show a solid green LED. (see Table 1 below).
For best performance, charge a new battery 12 to 14
hours before initial use.
Table 1. Charge Status LED Indications. Charge State
LED States
Red LED Green LED
Battery absent Off Off
Fast Charge On Off
Charge Complete Off On
Charge suspended
(High or Low Temp)
1 Hz Flashing Off
NOTES
These devices comply with part 15 of the FCC Rules.
Operation is subject to the following two conditions:
(1) These devices may not cause harmful interference
(2) These devices must accept any interference received,
including interference that may cause undesired operation
The manufacturer is not responsible for any radio or television
interference caused by unauthorized modications to this
equipment. Such modications could void the user’s authority
to operate the equipment..
www.rcacommunicationssystems.com
© 2015 RCA Communications Systems. All rights reserved.
Communications Systems
Copyright © 2015 RCA Communications Systems
 Loading...