

RBP-414B-RX7
Page 1 of 2 10/19/17 (RA)
13000 TEMPLE AVE. CITY OF INDUSTRY, CA 91746 1-800-237-7506
HARDWARE INCLUDED
RECOMMENDED TOOLS
1
Driver Side RX7 Side Step
12
8mm x 24mm x 2mm Flat Washers
1
13mm Socket or Wrench
1
Passenger side RX7 Side Step
12
8mm Lock Washers
12
8-1.25mm x 30mm Hex Bolts
STEP 1 — Remove any old steps or factory installed “Rock Rails” and hardware from vehicle.
STEP 2 — Start installation on the passenger/right front side of the vehicle. Locate and remove the (2) factory
hex bolts covering the mounting location on the body panel, (Figure 1). NOTE: Temporarily hold up in position
the passenger side RX7 Step to help determine the correct mounting locations.
STEP 3 — Move along the body panel to the center and rear mounting locations and repeat Step 2, (Figure 2).
STEP 4 — Select the Passenger side RX7 Step. Line up the welded Brackets on the Step with the threaded
inserts on the body panel. With assistance, use (6) 8mm Hex Bolts, (6) 8mm Lock Washers and (6) 8mm Flat
Washers to attach the (6) slots on the Brackets to the (6) threaded inserts, (Figures 3—6). Do not tighten.
STEP 5 — Once the step is fully installed, adjust and align the RX7 Step to the vehicle and fully tighten
hardware.
STEP 6 — Repeat Steps 1—5 to install the driver side RX7 Step assembly.
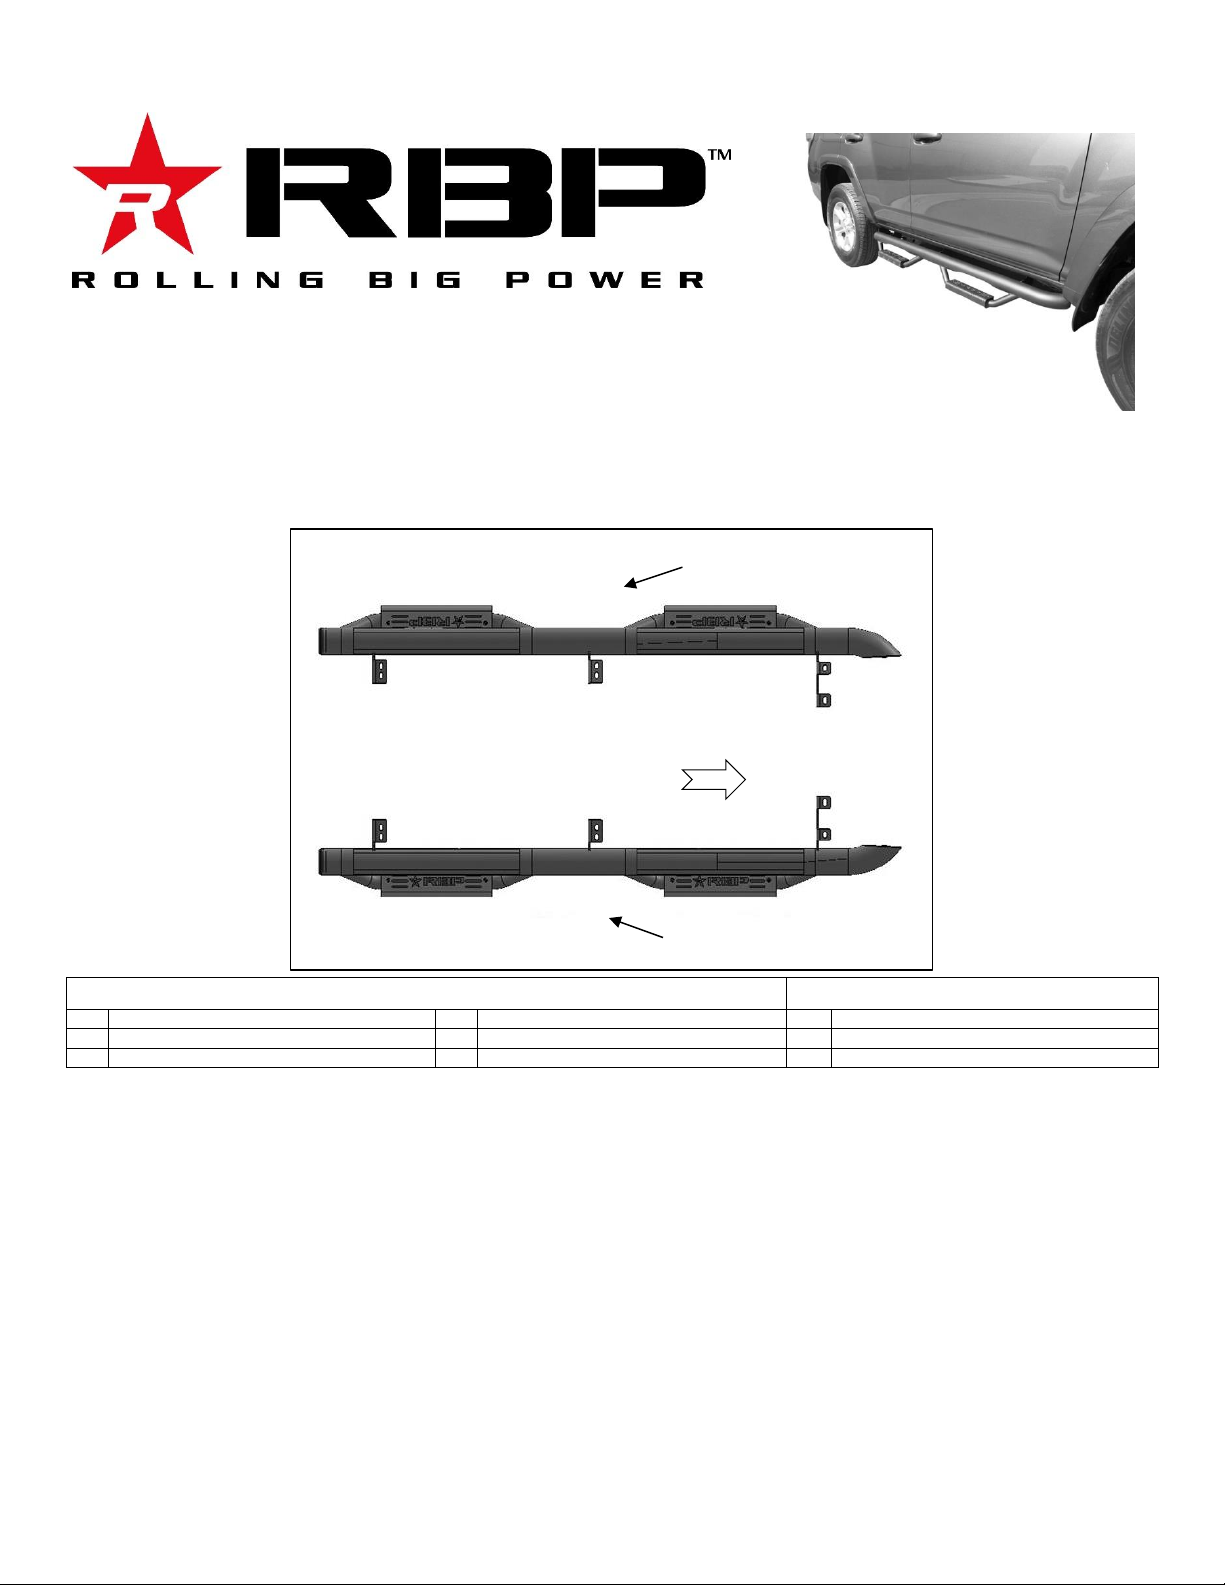
Driver/left side
RX7 step
Front of
Vehicle
Passenger/right
side RX7 step

RBP-414B-RX7
Page 2 of 2 10/19/17 (RA)
13000 TEMPLE AVE. CITY OF INDUSTRY, CA 91746 1-800-237-7506
Do periodic inspections to the installation to make sure that all hardware is secure and tight.
Driver Side Installation Pictured
(Fig 1) Passenger side Front Mounting Location
Front
(Fig 2) Passenger side Rear Mounting Location
Rear
(Fig 5) Passenger side Center
welded Bracket installed
Front
Front
(Fig 3) Passenger side Front welded
Bracket illustrated with hardware
(Fig 4) Passenger side Front
welded Bracket installed
Front
(Fig 6) Passenger side Rear
welded Bracket installed
(2) 8mm Hex Bolts
(2) 8mm Lock Washers
(2) 8mm Flat Washers
Rear
Remove (2) factory hex bolts
Remove (2) factory hex bolts
(2) 8mm Hex Bolts
(2) 8mm Lock Washers
(2) 8mm Flat Washers
 Loading...