

RBH Sound IMPRESSION SERIES Owner's Manual
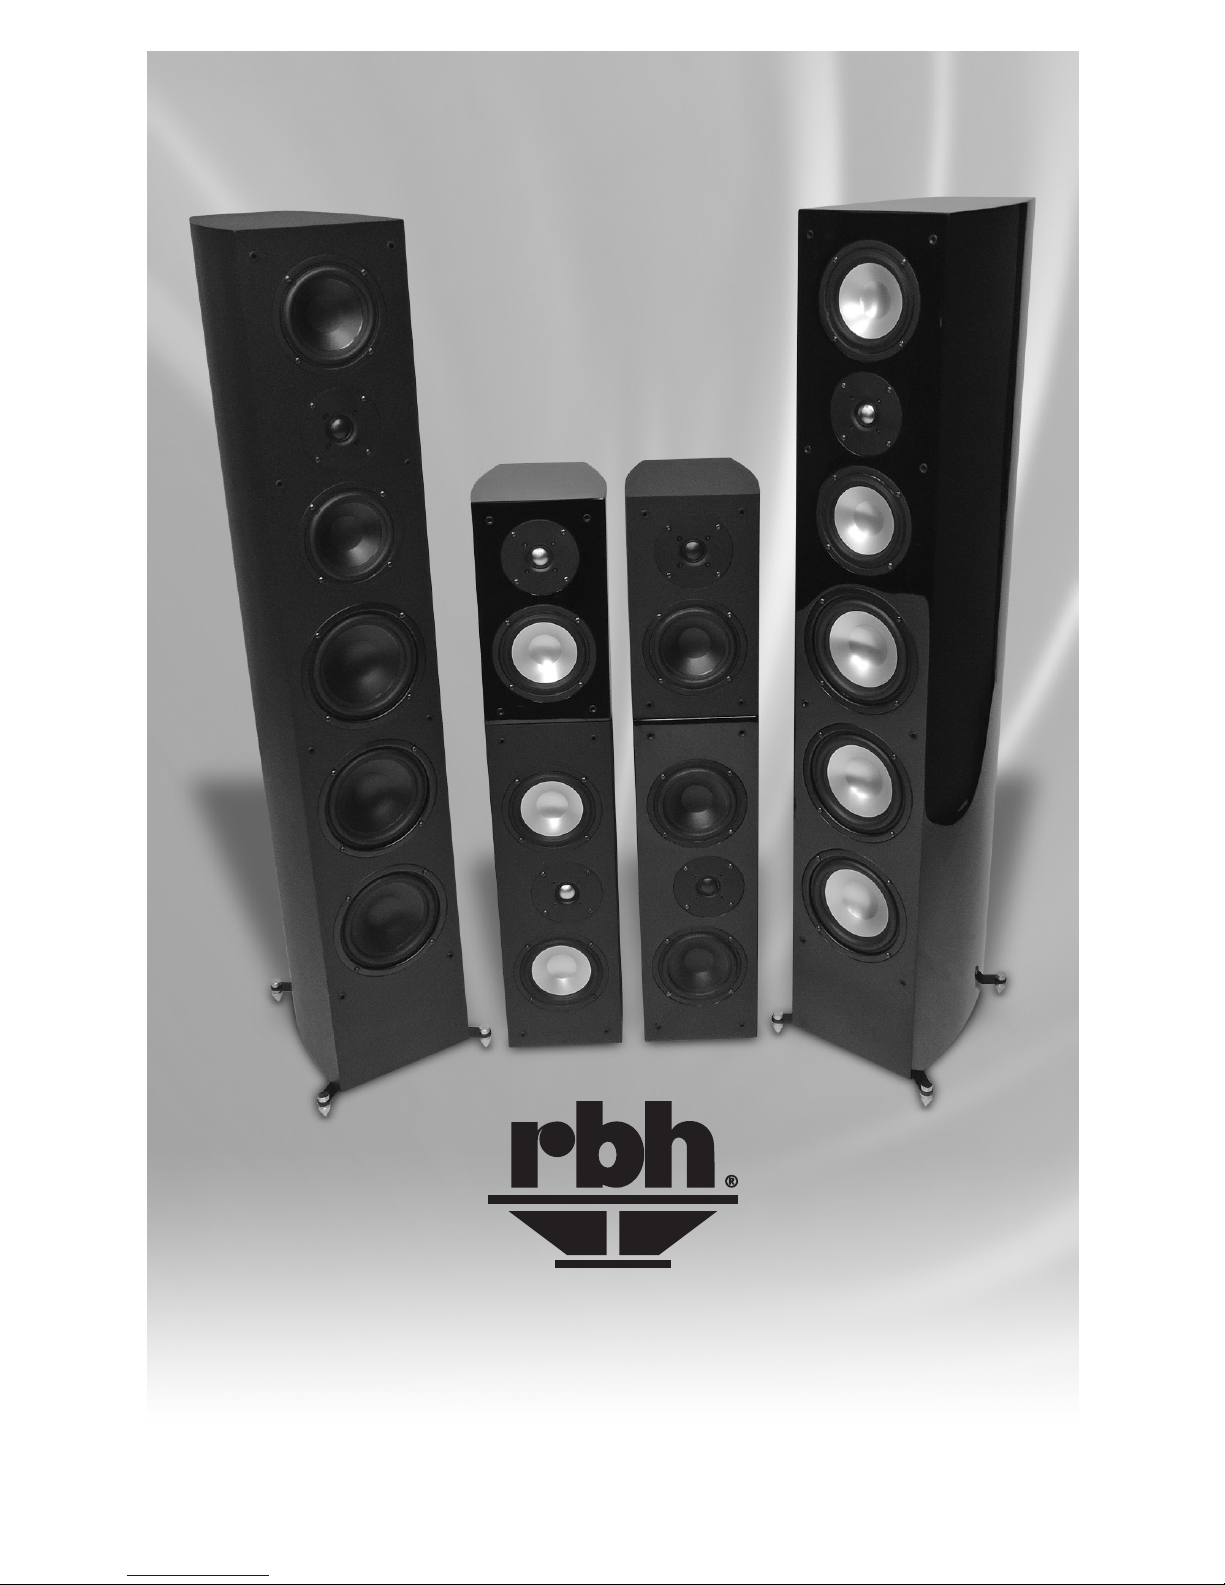
IMPRESSION SERIES
Owner’s Manual
FREESTANDING SPEAKERS
Impression Series 2 Owner’s Manual
BREAK-IN PERIOD
Allow several hours of listening time to adequately break-in your Impression Series
speaker. As your speaker breaks-in during the first few hours of listening, the driver
suspension will loosen. Following this initial break-in period, there will be an increase in
low-frequency response, improved definition, and increased clarity and detail.
INTRODUCTION
SPEAKERS
Congratulations on your purchase of Impression Series speakers! The Impression Series is
the result of many years of research and development dedicated to producing high quality
products for home audio and home theater systems
This manual contains features, setup recommendations and specifications for the
Impression Series speakers. It is recommended you thoroughly read through the material
contained in this manual before connecting your speakers. Doing this will ensure you have
a good understanding of how to setup your speakers for optimum performance and allow it
to provide you years of listening enjoyment.
R-55
R-5E
R-515
R-5
R-55E
R-515E

Impression Series 3 Owner’s Manual
To maintain your speaker and/or subwoofer appearance, we recommend carefully wiping
it with a clean, damp soft cloth. To help clean dust from the grille cloth, we recommend
using a vacuum with a brush attachment.
CARE AND CLEANING
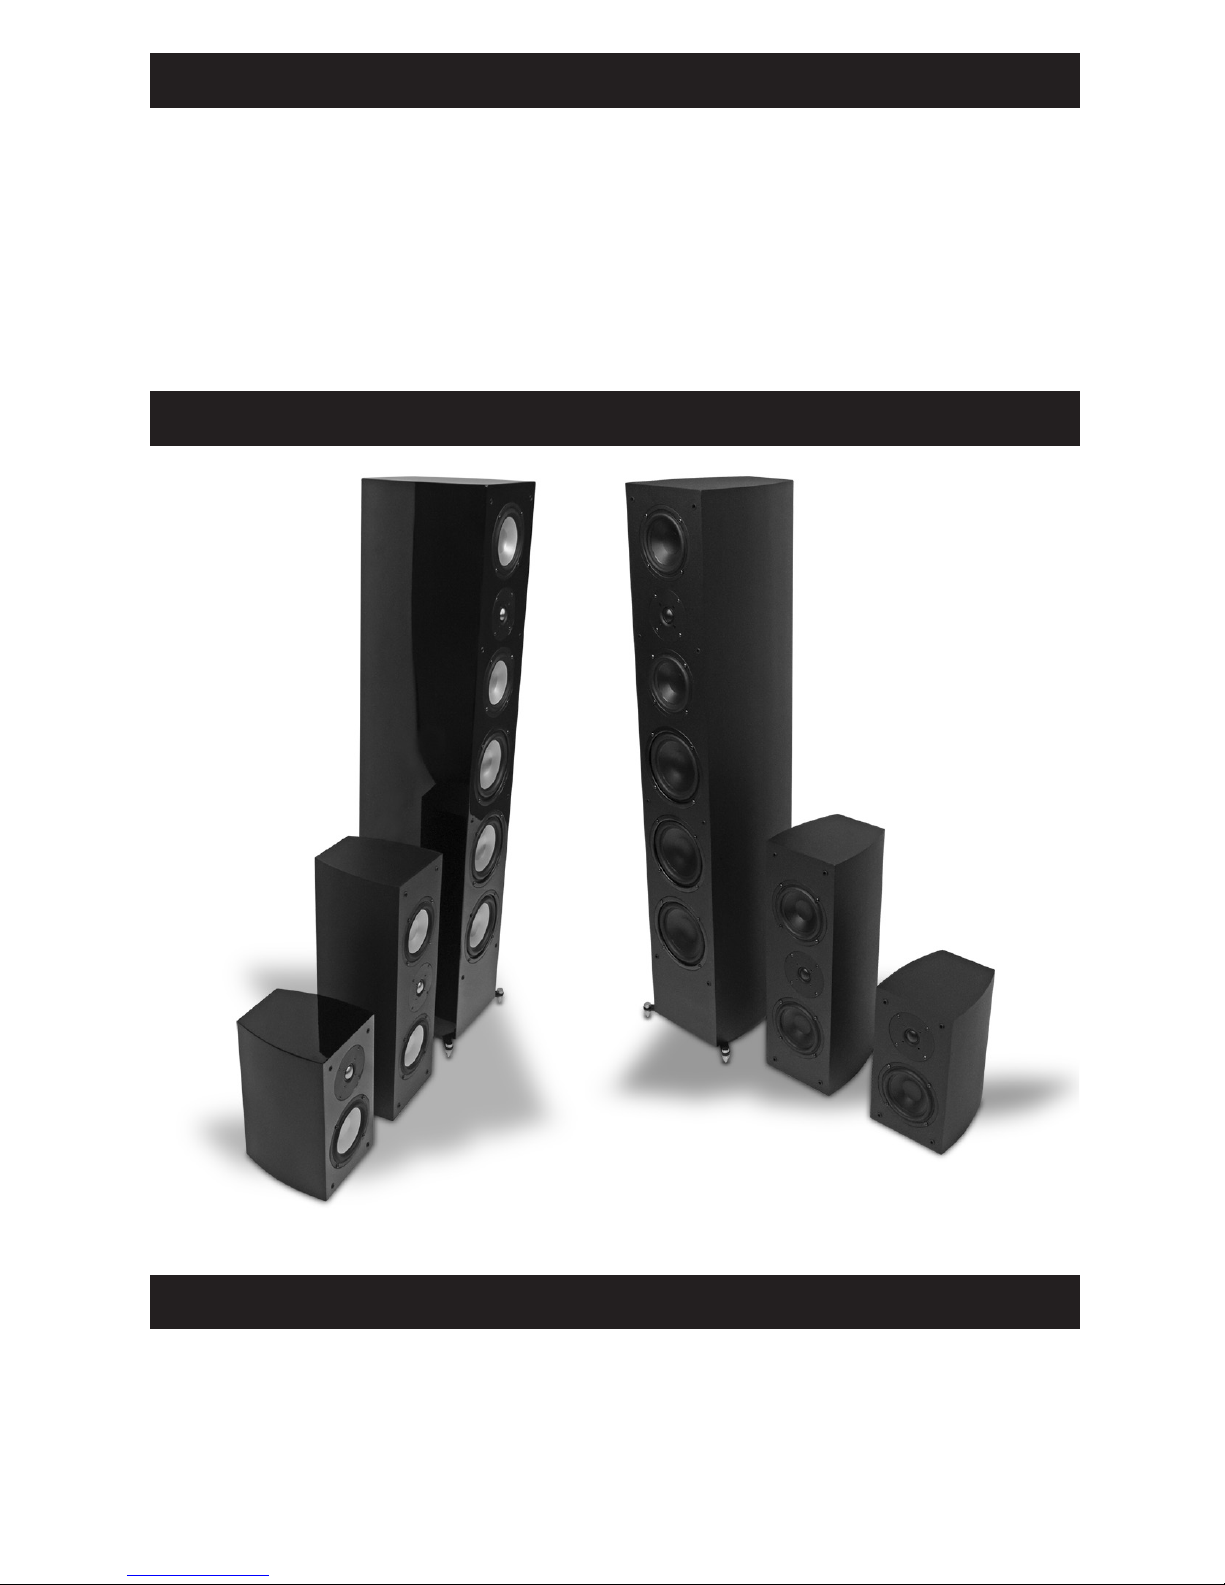
FEATURES
The Impression Series includes a sleek tower, an LCR/surround channel, along with an
elegantly matched bookshelf speaker. The cabinets are constructed from medium density
fiberboard (MDF) because of its inert properties which, combined with the beautiful
curved cabinet shape, prevent sound coloration accomplished via minimized cabinet
diffraction. The finish is offered in a stealthy phantom black, this satin finish is designed
for dark theater rooms where reflections are not ideal, and it also resists scratches,
scrapes, and smudges. A gorgeous high-gloss black finish is also available, made to
complement any decor.
The Impression Series Standard: Features poly-mica coned mid-range woofers, resisting
flexing and contribute to the accurate reproduction of the audio signal, providing
excellent sound quality. The high quality 1-inch fabric-dome dome tweeter delivers
smooth upper-mid and high frequencies, and higher power handling is achieved through
the use of magnetic liquid cooling. To protect the tweeter against being over-driven, a
self-resetting poly-switch (DC current limiting device) is incorporated in the crossover
network. High quality crossover networks allow each speaker to operate at its optimal
performance. 5-way binding posts ensure solid electrical connections and accept a variety
of wire gauge. Available in satin black and high-gloss black.
The Impression Series Elite: Features aluminum-coned mid-range woofer drivers.
Aluminum is extremely light and rigid which provides a noticeable improvement in speed
and tonal accuracy and thus presents true, clean life-like audio reproduction. Combined
with a 1-inch highly accurate aluminized nano-silk tweeter the result is amazing,
uncolored sound, especially for a speaker line at this price. Higher power handling is
achieved through the use of magnetic liquid cooling in the tweeter. To protect the
tweeter against being over driven, a self-resetting poly-switch is also incorporated in the
crossover network. High quality crossover networks allow each speaker to operate at its
optimal performance. 5-way binding posts ensure solid electrical connections and accept a
variety of wire gauge. Available in satin black and high-gloss black.
Impression Series 4 Owner’s Manual
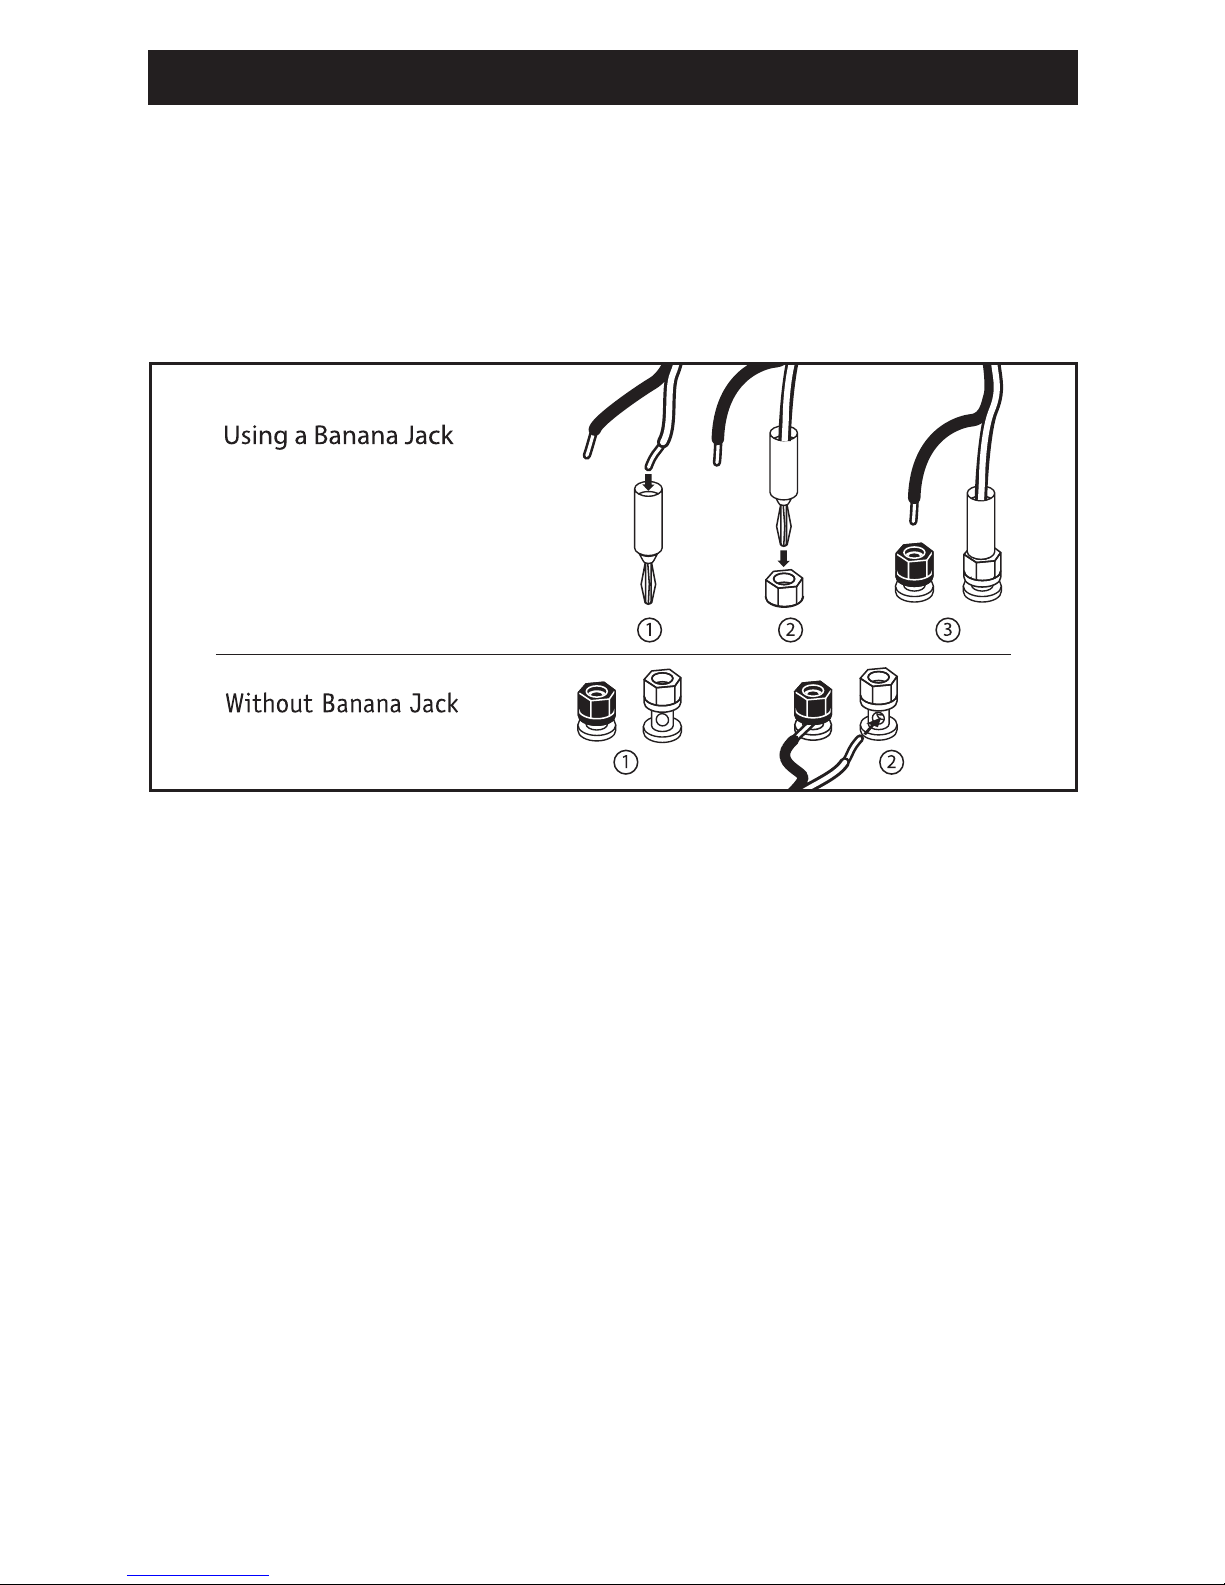
ATTACHING SPEAKER WIRES
If using a banana jack, attach the matching positive or negative wire and push directly into
binding post top hole.
If not using a banana jack, simply loosen the binding nut to allow the hole in the side of
the terminal to become exposed. Strip ¼-inch of the insulation from the end of the speaker
wire and insert the exposed wire end into the now exposed hole in the side of the terminal.
Tighten the binding nut by turning the nut clockwise until the speaker wire is secured.
Repeat for the other speaker wire(s) as necessary.
 Loading...