

rba RBA8851-137-PP, RBA8851-137-SS Installation, Operation And Maintenance Instructions
INSTALLATION, OPERATION AND MAINTENANCE INSTRUCTIONS
SYDNEY | MELBOURNE | BRISBANE | PERTH | AUCKLAND
Australia 1300 788 778 www.rba.com.au | New Zealand 0800 722 111 www.rbagroup.co.nz
1
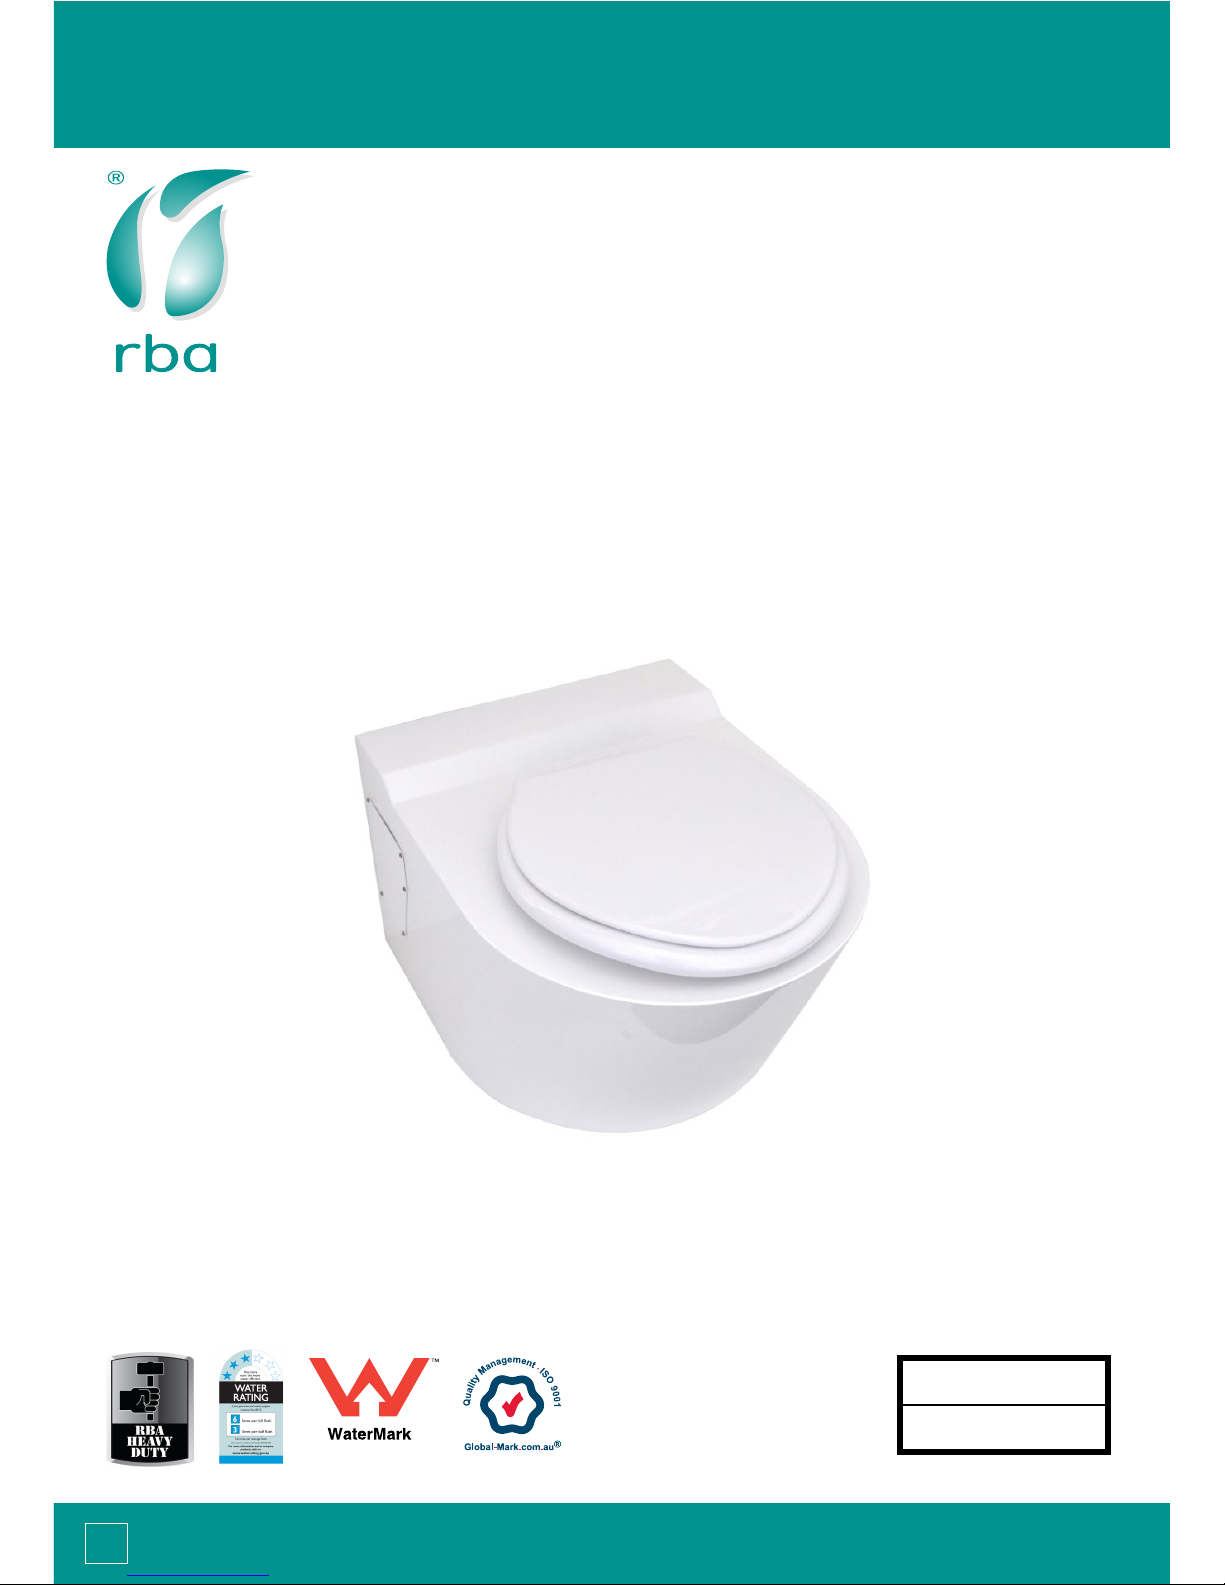
Bariatric Toilet RBA8851-137-PP
RBA8851-137-SS
Date
28/09/17
Model
Bariatric Toilet
Supercedes all previous
Lic. # WMKA-00291

INSTALLATION, OPERATION AND MAINTENANCE INSTRUCTIONS
SYDNEY | MELBOURNE | BRISBANE | PERTH | AUCKLAND
Australia 1300 788 778 www.rba.com.au | New Zealand 0800 722 111 www.rbagroup.co.nz
2
Components
“P” Trap Stainless Steel Pan “S” Trap converter
Security bit
Pre-installation
Installation should be in accordance with local authority and statutory requirements,
and as per these installation instructions.
Pan is “wall faced” and should preferably be xed to a masonry wall with
suitable wall anchors provided by others. Supplied with “S” trap converter to
allow either “S” or “P” conguration.
Flushing device should be –
Fowler Tasman Mk 2 (or Stylus Symphony) cistern
Caroma Invisi II (Inceiling mount recommended)
Sloan Dual Flush Valve
Installation
1. If not pre-formed, make sufcient penetrations through the wall, as
determined from the drawing, to allow the 100 mm waste pipe, 50 mm
ush pipe, and, if necessary, 12 mm xing rods to pass through. If front
xed, suitable wall anchors supplied by others.
2. Determine oor mounting location by mocking up.
3. Fit a 100 mm pan collar to the outlet with sufcient 100 mm pipe to extend
through the wall. (Alternately the waste and ush pipes may be preplumbed
and the pan pushed onto the pipework.) If “S” trap conguration
is required, location of oor penetration should be centred 220mm from
nished wall.
4. Similarly t a 50 mm keeseal to the pan inlet with sufcient pipe, as
provided by the cistern manufacturer, to extend through the wall.
5. Push the pan into position and secure the pan to the wall & oor (xings by
others).
6. Make the necessary connections to the waste, and install the cistern and
connect according to the manufacturers instructions.
7. Check for leaks and correct ush volumes, 6 litres full ush and 3 litres half
ush.
 Loading...