

Page 1
INSTALLATION, OPERATION AND MAINTENANCE INSTRUCTIONS
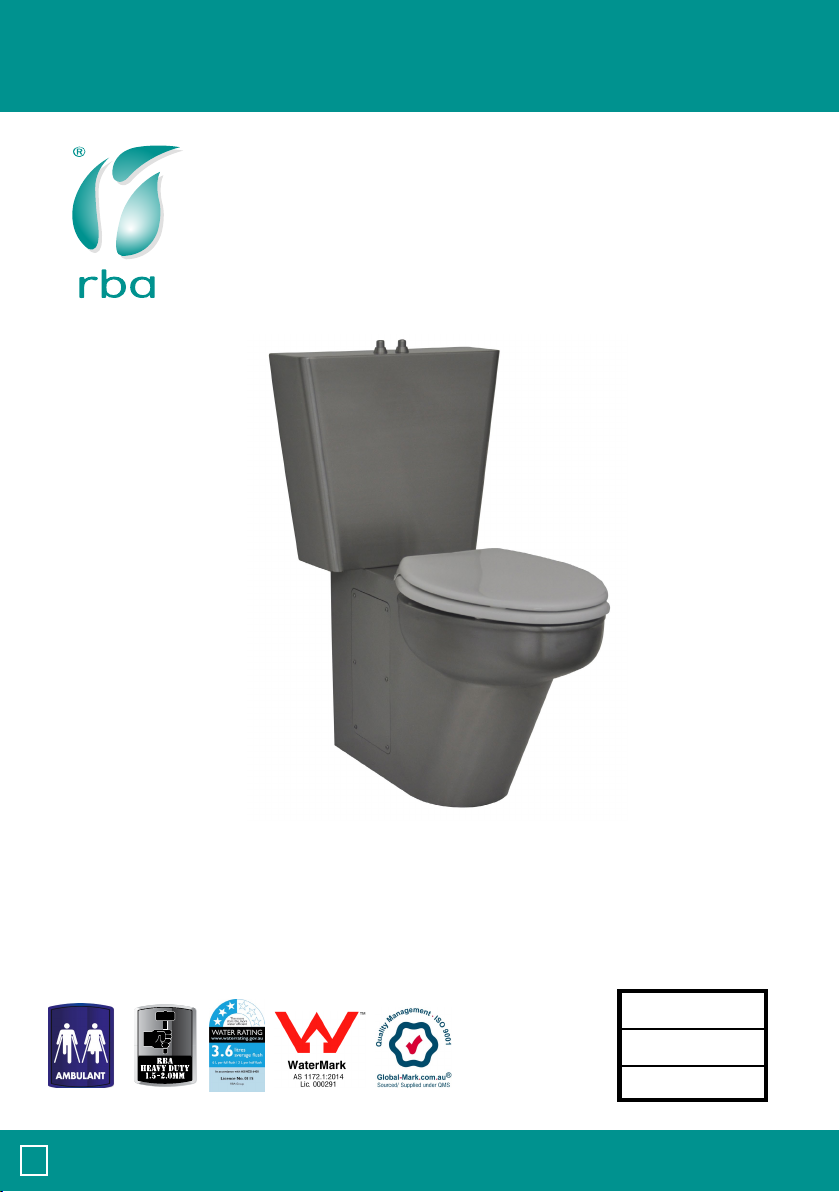
RBA8847-100 Close Coupled Suite
RBA8847-428 Close Coupled Suite Disabled Code
Model
RBA8847-100
RBA8847-428
Date
01/11/18
Doc#
ii/rba8847-100
-428/1118
Supercedes all previous
1
Australia 1300 788 778 www.rba.com.au | New Zealand 0800 722 111 www.rbagroup.co.nz
SYDNEY | MELBOURNE | BRISBANE | PERTH | AUCKLAND
Page 2
INSTALLATION, OPERATION AND MAINTENANCE INSTRUCTIONS
Installation
1. Installation to be in accordance with the AS/NZ3500 series of Standards
plus all local and statutory requirements. For Australia, Installation
shall be in accordance with the PCA [Plumbing Code of Australia] and any
relevant local authority requirements.
2. Installation to be in accordance with all local and statutory requirements.
3. Remove the access panels in the sides of the pan, using the security bit
provided. Install the pan using the ‘S’ clip provided to secure the pan to the
oor. Secure the pan to the wall, with suitable anchors provided by others.
4. If ‘S’ trap, make connection using the tting supplied.
5. Cut the ush pipe such that it extends 40mm beyond the inlet socket. Fit
the ‘O’ ring provided as close as possible to the end of the pipe and push
the pipe, allowing the ring to roll into the socket.
6. Mount the cistern, secure to the wall using the xings provided, and make
the necessary water connections. Cistern ush volume has been modied
to 6/3L in accordance with the manufacturer’s instructions. Ensure that the
outlet compression nut is tightened.
7. Sit the cistern cover in position on top of the pan, mark the top of the cover,
and the location of the holes in xing lugs on the bottom of the cover.
Remove the cover and x the ‘S’ clip provided to the wall, such that it
engages the return edge of the cover. Drill and plug the holes for the bottom
of the cover.
8. While holding the domed cistern push buttons in position in the cover, slide
the cover into position, ensuring that the ‘S’ clip is engaged. Secure the
bottom of the cover with screws provided by others.
9. Check for correct operation and leaks.
10. If supplied, t the seat and replace the access panels.
11. Suite should be installed only with the cistern provided: Stylus Symphony
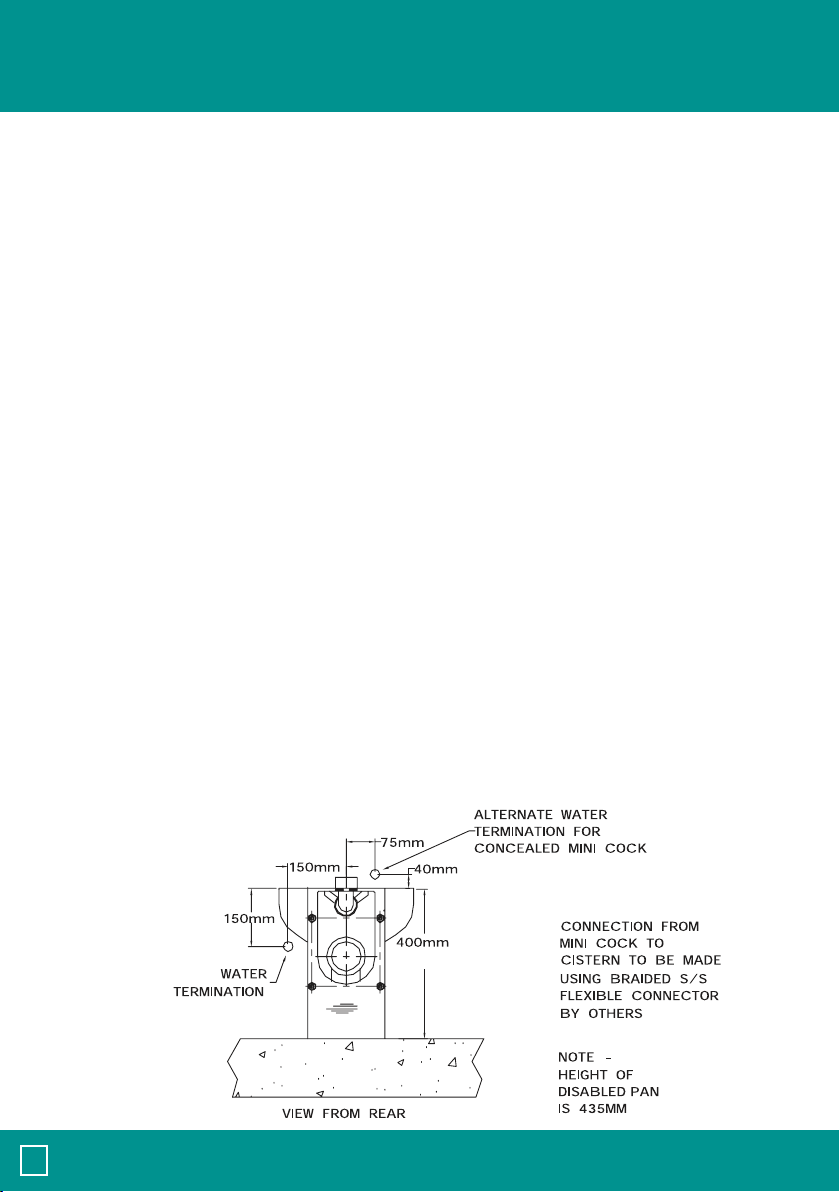
Water Point Location
2
Australia 1300 788 778 www.rba.com.au | New Zealand 0800 722 111 www.rbagroup.co.nz
ëí~å Ç~êÇ=é ~å
QPR=ã ã =Çáë~ÄäÉÇ=é ~å
SYDNEY | MELBOURNE | BRISBANE | PERTH | AUCKLAND
Page 3

INSTALLATION, OPERATION AND MAINTENANCE INSTRUCTIONS
Installation
RBA8847-100 Close Coupled Suite
3
Australia 1300 788 778 www.rba.com.au | New Zealand 0800 722 111 www.rbagroup.co.nz
SYDNEY | MELBOURNE | BRISBANE | PERTH | AUCKLAND
Page 4

INSTALLATION, OPERATION AND MAINTENANCE INSTRUCTIONS
RBA8847-428 Close Coupled Suite To Suit Disabled Code
175
ii/rba8847-100-428/1118
4
Australia 1300 788 778 www.rba.com.au | New Zealand 0800 722 111 www.rbagroup.co.nz
SYDNEY | MELBOURNE | BRISBANE | PERTH | AUCKLAND
255
 Loading...