

Razor MX350 DIRT ROCKET Installation Instructions Manual
MX350 DIRT ROCKET™
THROTTLE INSTALLATION INSTRUCTIONS
Tools Required: (Not included)
A. Phillips head screwdriver
B. 2.5mm Allen wrench
C. 5mm Allen wrench
D. 10mm open wrench
F. Flat head screwdriver
CAUTION: To avoid potential shock or other injury, turn power switch OFF and disconnect charger before attempting these procedures. Failure to follow these steps in the correct
order may cause irreparable damage.
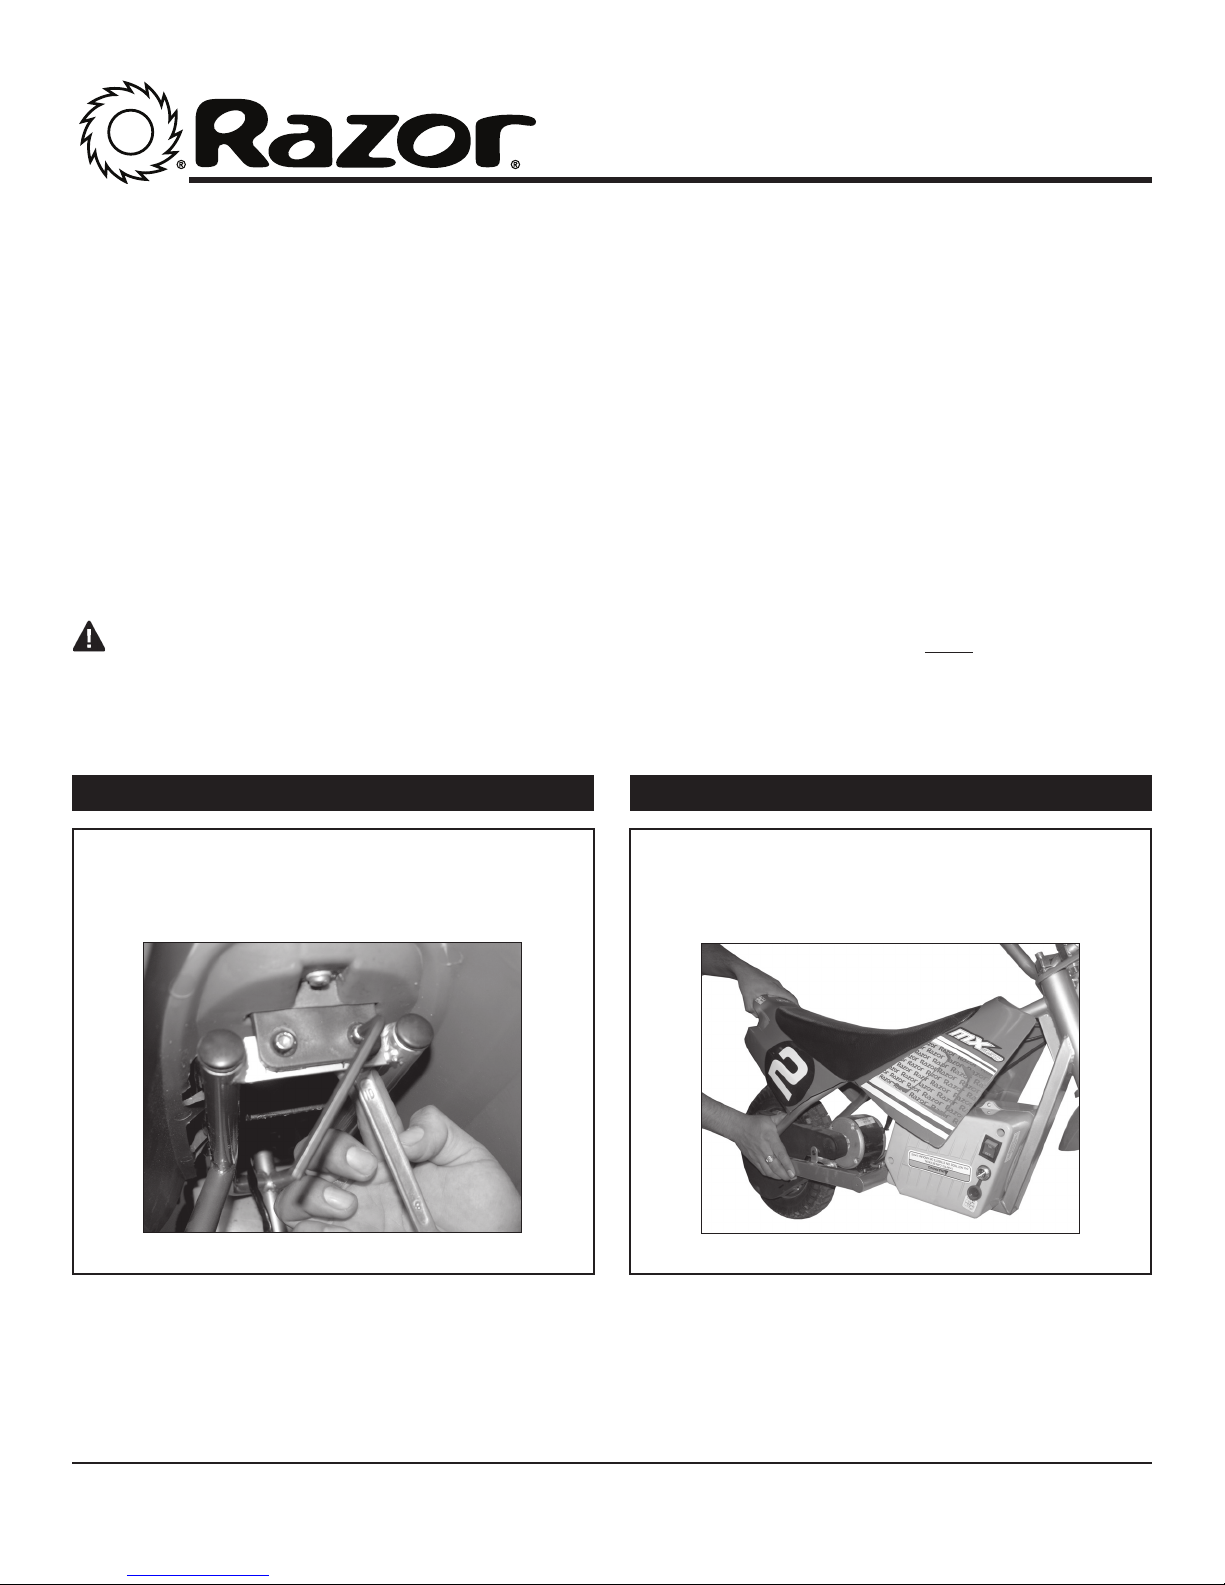
Step 1
Remove the two hex bolts under the seat using a
5mm Allen wrench and hold the nuts in the back
using a 10mm open wrench
Figure 1 Figure 2
Step 2
Slide the fairing towards the back of the bike
and remove.
Need Help? Visit our website at www.razor.com or call toll-free at 866-467-2967 Monday - Friday 8:00am - 5:00pm Pacific Time.
1
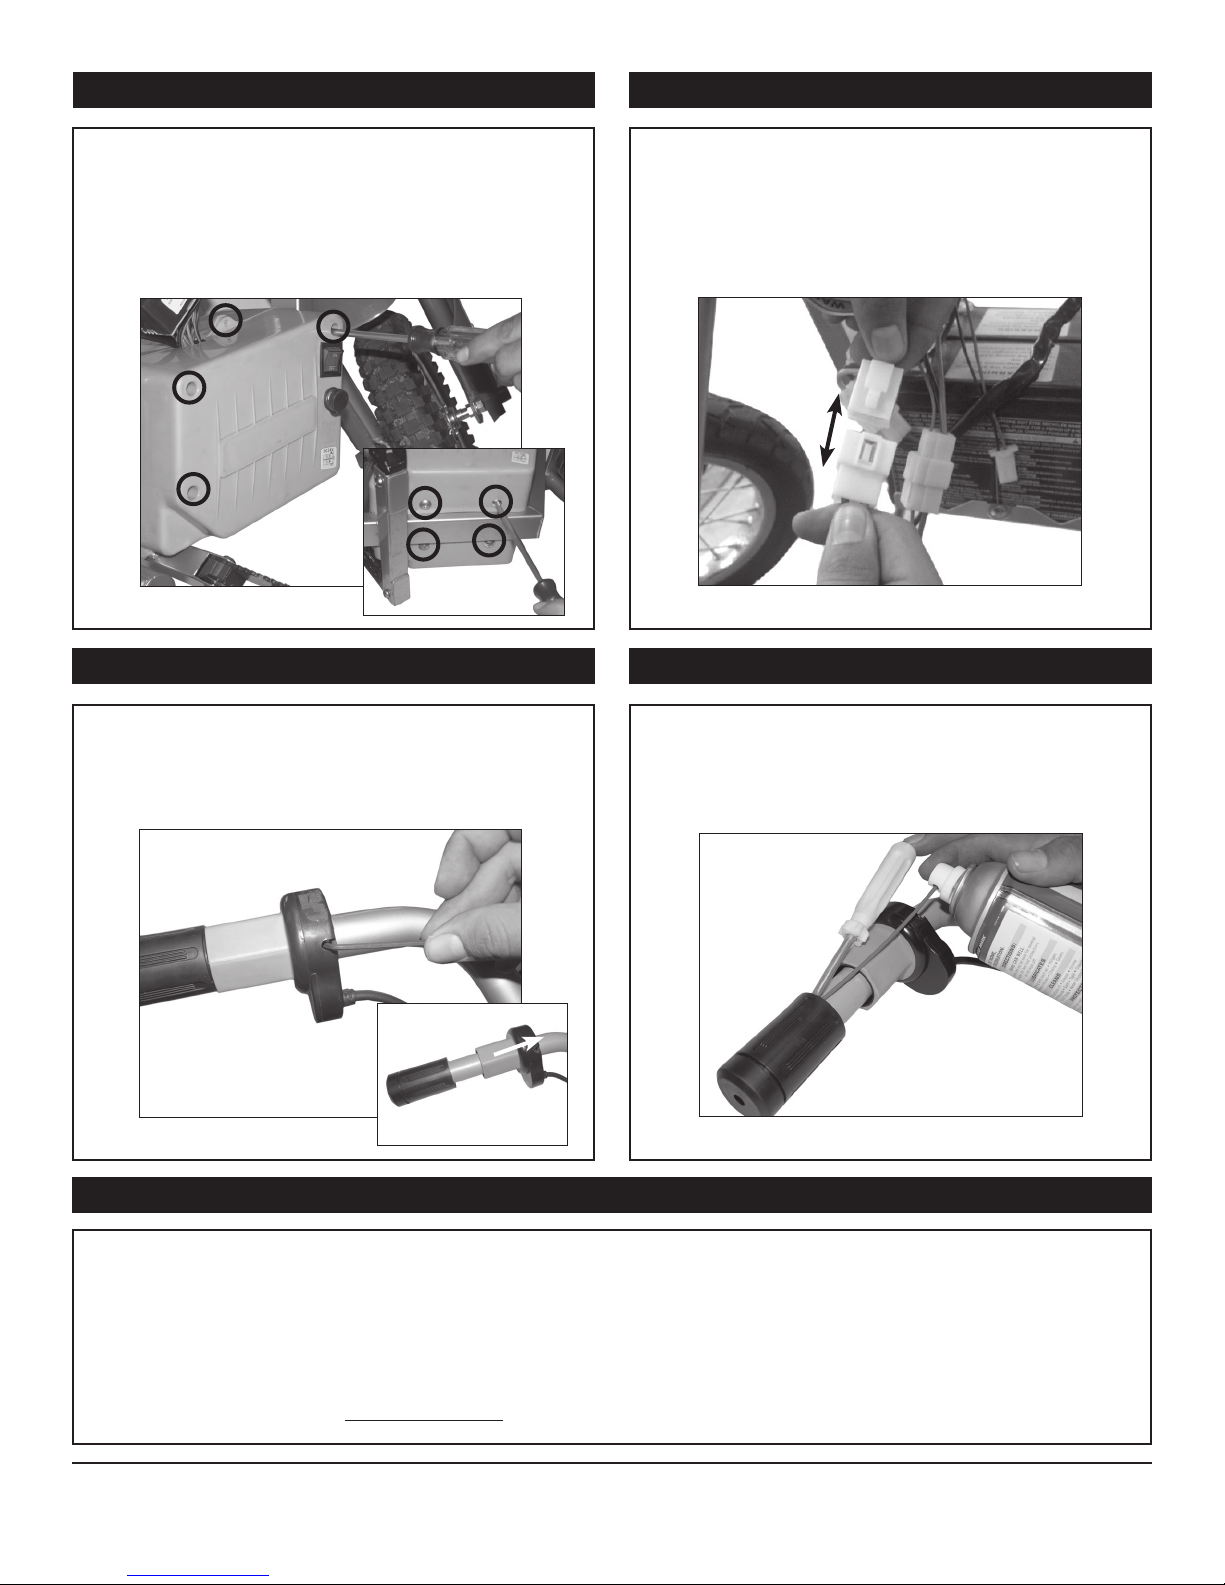
Step 3
Step 4
Remove the eight Phillip screws that hold the
battery cover.
Follow the throttle wire from the handlebars to
locate the white plastic connector to the control
module. Disconnect by depressing the tab. Cut the
zip tie and remove the cable wrap. Note: Save the
cable wrap for reassembly. Gently pull the throttle
cable through the hole in the number plate.
SIDE VIEW
Figure 3
BOTTOM VIEW
Step 5 Step 6
Using a 2.5mm Allen wrench, loosen the throttle
set screw, but do not remove and move throttle
away from the grip.
Carefully wedge the flat head screwdriver under
the edge of the handlebar grip add a small
amount of lubricant or water and remove the
grip. Note: Save the grip for reassembly
Figure 4
Figure 5 Figure 6
Step 7
Reverse steps:
1. Place the new throttle on handlebar and secure, cleaning the grip of any water or lubricant and reinstall.
2. Reconnect the white plastic throttle connector to that of the control module.
3. Reattach battery cover using the same eight screws previously removed.
4. Replace the fairing and refasten the screws.
ATTENTION: Charge unit at least 18 hours before riding.
Need Help? Visit our website at www.razor.com or call toll-free at 866-467-2967 Monday - Friday 8:00am - 5:00pm Pacific Time.
130710
2
 Loading...