

Page 1
USER’S INFORMATION MANUAL
CATALOG NO. 3400.54.1 Effective: 05-24-07 Replaces: NEW P/N 241322 Rev. 1
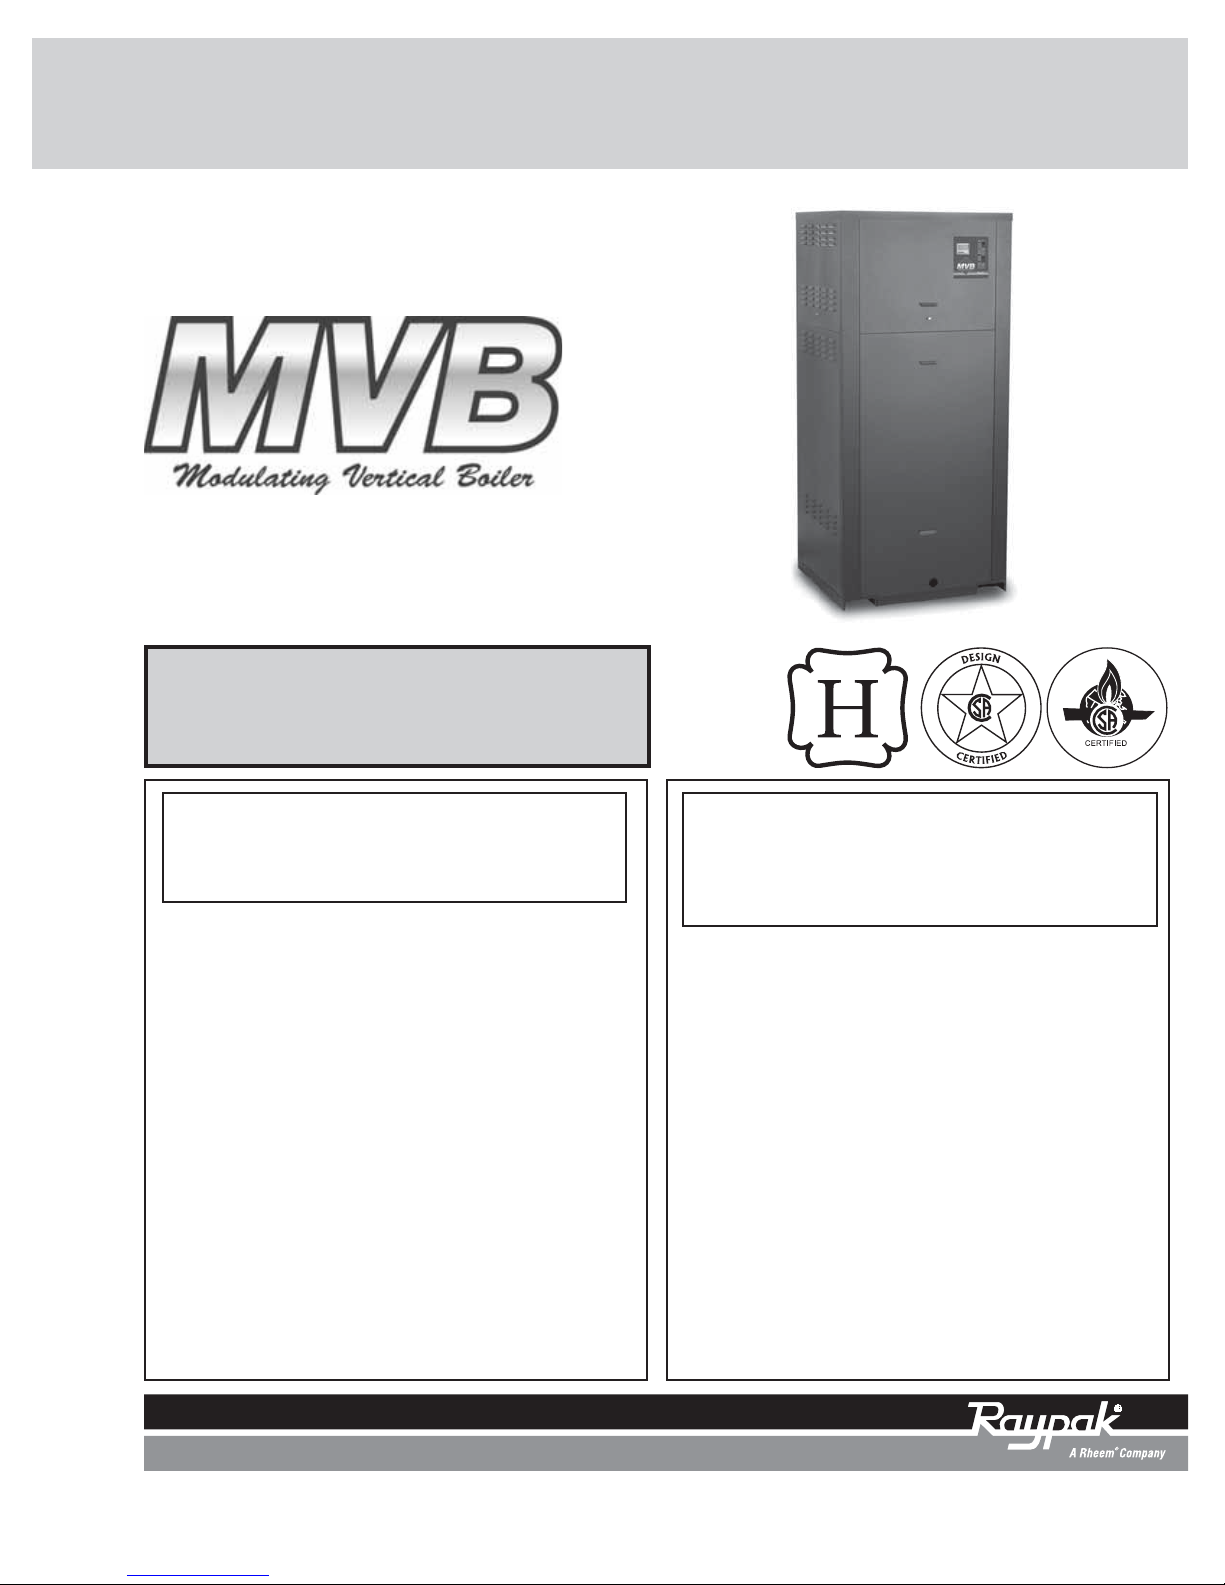
Models 504–2004
Type H
WHAT TO DO IF YOU SMELL GAS:
• Do not try to light any appliance.
• Do not touch any electrical switch; do
not use any phone in your building.
• Immediately call your gas supplier
from a neighbor's phone. Follow the
gas supplier's instructions.
• If you cannot reach your gas supplier,
call the fire department.
Do not store or use gasoline or other flammable
vapors and liquids or other combustable
materials in the vicinity of this or any other
appliance. To do so may result in an explosion
or fire.
Installation and service must be performed by a
qualified installer, service agency or the gas
supplier.
WARNING: If the information in this manual is
not followed exactly, a fire or explosion may
result causing property damage, personal
injury or loss of life.
QUE FAIRE SI VOUS SENTEZ UNE ODEUR DE
GAZ:
• Ne pas tenter d’allumer d’appareils.
• Ne touchez à aucun interrupteur. Ne pas
vous servir des téléphones dansle bâtiment
où vous vous trouvez.
• Appelez immédiatement votre fournisseur
de gaz depuis un voisin. Suivez les
instructions du fournisseur.
• Si vous ne pouvez rejoindre le fournisseur
de gaz, appelez le sservice des incendies.
Ne pas entreposer ni utiliser d’essence ni
d’autres vapeurs ou liquides inflammables dans
le voisinage de cet appareil ou de tout autre
appareil.
L’installation et l’entretien doivent être assurés
par un installateur ou un service d’entretien
qualifié ou par le fournisseur de gaz.
AVERTISSEMENT: Assurez-vous de bien
suivres les instructions données dans cette
notice pour réduire au minimum le risque
d’incendie ou d’explosion ou pour éviter tout
dommage matériel, toute blessure ou la mort.
Page 2
2
DANGER:
Indicates the presence of immediate hazards which will cause severe
personal injury, death or substantial property damage if ignored.
WARNING:
Indicates the presence of hazards or unsafe practices which could cause
severe personal injury, death or substantial property damage if ignored.
CAUTION:
Indicates the presence of hazards or unsafe practices which could cause
minor personal injury or product or property damage if ignored.
NOTE:
Indicates special instructions on installation, operation, or maintenance which
are important but not related to personal injury hazards.
DANGER: Make sure the gas on which the boiler
will operate is the same type as that specified on the
boiler rating plate.
WARNING: Do not use this boiler if any part has
been under water. Immediately call a qualified
service technician to inspect the boiler and to
replace any part of the control system and any gas
control which has been under water.
WARNING: To minimize the possibility of improper
operation, serious personal injury, fire, or damage to
the boiler:
• Always keep the area around the boiler free of
combustible materials, gasoline, and other
flammable liquids and vapors.
• Boiler should never be covered or have any
blockage to the flow of fresh air to the heater.
WARNING - CALIFORNIA PROPOSITION
65: This product contains chemicals known to the
State of California to cause cancer, birth defects or
other reproductive harm.
WARNING: Risk of electrical shock. More than one
disconnect switch may be required to de-energize
the equipment before servicing.
CAUTION: This boiler requires forced water
circulation when the burner is operating. See
minimum and maximum flow rates. Severe damage
will occur if the boiler is operated without proper
water flow circulation.
CAUTION: Operation of this boiler in low
temperature systems requires special piping.
Harmful internal condensation will occur if the inlet
water temperature does not exceed 120°F. Warranty
claims will be denied when condensation occurs.
CAUTION: If this boiler is to be installed above
radiation level, it must be provided with a low water
cut-off device at the time of boiler installation.
CAUTION: If this boiler is to be installed in a
negative or positive pressure equipment room, there
are special installation requirements. Consult factory
for details.
WARNINGS
Pay Attention to These Terms
WARNING: Improper installation, adjustment,
alteration, service or maintenance can cause
property damage, personal injury, exposure to
hazardous materials* or loss of life. Review the
information in this manual carefully. *This unit
contains materials that have been identified as
carcinogenic, or possibly carcinogenic, to humans.
WARNING: Should overheating occur or the gas
supply fail to shut off, do not turn off or disconnect
the electrical supply to the pump. Instead, shut off
the gas supply at a location external to the
appliance.
AVERTISSEMENT: En cas de surchauffe ou si
l’admission de gaz ne peut être coupée, ne pas
couper ni débrancher l’alimentation électrique de la
pompe. Fermer plutôt le robinet d’admission de gaz
à l’extérieur de l’appareil.
NOTE: This manual should be maintained in legible
condition and kept adjacent to the boiler or in
another safe place for future reference.
Page 3

3
Page 4

4
A. Cet appareil ne comporte pas de veilleuse. Il est
muni d’un dispositif d'allumage qui allume automatique-ment le brûleur. Ne tentez pas d’allumer le
brûleur manuellement.
B. AVANT DE FAIRE FONCTIONNER, reniflez tout
autour de l'appareil pour déceler une odeur de
gaz. Reniflez près du plancher, car certains gaz
sont plus lourds que l'air et peuvent s'accumuler
au niveau du sol.
QUE FAIRE SI VOUS SENTEZ UNE ODEUR DE
GAZ:
- Ne pas tenter d'allumer d'appareil.
- Ne touchez à aucun interrupteur; ne pas
vous servir des téléphones se trouvant dans
le bâtiment.
- Appelez immédiatement votre fournisseur de gaz
depuis un voisin. Suivez les instructions du fournisseur.
- Si vous ne pouvez rejoindre le fournisseur,
appelez le service des incendies.
C. Ne poussez ou tournez la manette d'admission du
gaz qu'à la main; ne jamais utiliser d'outil. Si la
manette reste coincée, ne pas tente de la réparer;
appelez un technicien qualifié. Le fait de forcer la
manette ou de la réparer peut déclencher une
explosion ou un in-cendie.
D. N'utilisez pas cet appareil s'il a été plongé dans
l'eau, même partiellement. Faites inspecter l'appareil par un technicien qualifié et remplacez toute
partie du sys-tème de contrôle et toute commande
qui ont été plongés dans l'eau.
AVERTISSEMENT: Quiconque ne respecte pas à
la lettre les instructions dans la présente notice
risque de déclencher un incendie ou une explosion
entraî-nant des dommages, des blessures ou la
mort.
POUR VOTRE SÉCURITÉ LISEZ AVANT DE METTRE EN MARCHE
INSTRUCTIONS DE MISE EN MARCHE
1. ARRÊTEZ! Lisez les instructions de sécurité sur la
portion supérieure de cette étiquette.
2. Réglez le thermostat à la température la plus
basse.
3. Coupez l'alimentation électrique de l'appareil.
4. Cet appareil ne comporte pas de veilleuse. Il est
muni d’un dispositif d'allumage qui allume automatique-ment le brûleur. Ne tentez pas d’allumer le
brûleur manuellement
5. Enlever le panneau de porte du réchauffeur.
6. Enfoncer légèrement le bouton de commande de
gaz et le tourner dans le sens horaire a la position
(Off).
7. Attendre cinq (5) minutes pour laisser échapper
tout le gaz. Reniflez tout autour de l’appareil, y
compris près du plancher, pour déceler une odeur
de gaz. Si vous sentez une odeur de gaz,
ARRÊTEZ! Pas-sez à l’étape B des instructions
de sécurité sur la portion supérieure de cette étiquette. S'il n'y a pas d’odeur de gaz, passer à
l'étape suivante.
8. Tourner le bouton de commande de gaz dans le
sens antihoraire à la position (ON).
9. Reposer le panneau de porte du réchauffeur.
10. Rétablir toutes les alimentations électriques de
l'appa-reil.
11. Réglez le thermostat à la température désirée.
12. Si l'appareil ne se met pas en marche, suivre les
ins-tructions intitulées "Comment couper l’admission de gaz de l’appareil” et appelez un technicien
qualifie ou le fournisseur de gaz.
COMMENT COUPER L’ADMISSION DE GAZ DE L’APPAREIL
1. Réglez le thermostat à la température la plus
basse.
2. Coupez l'alimentation électrique de l'appareil s'il
faut procéder à l'entretien.
3. Enlever le panneau de porte du chauffe-eau.
4. Tourner le bouton de commande de gaz dans le
sens horaire à la position (OFF). S'assurer que le
bouton reste contre l'arrêt.
5. Replacer le panneau de porte du chauffe-eau.
Page 5

5
Component Locations
Panels omitted for clarity
Fig. 1: Component Locations – Side
Top panel, blower and gas train omitted for clarity
Fig. 2: Component Locations – Top
Fig. 3: Component Locations – Rear
Page 6

6
MAINTENANCE
Suggested Minimum
Maintenance Schedule
Regular service by a qualified service agency and
maintenance must be performed to ensure maximum
operating efficiency.
Maintenance as outlined below may be performed by
the owner.
Daily
1. Check that the area where the heater is installed
is free from combustible materials, gasoline, and
other flammable vapors and liquids.
2. Check for and remove any obstruction to the flow
of combustion or ventilation air to heater.
Monthly
1. Check for piping leaks around pumps, mixing
valves, relief valves, and other fittings. If found,
repair at once. DO NOT use petroleum-based
stop-leak compounds.
2. Visually inspect burner flame.
3. Visually inspect venting system for proper function, deterioration or leakage.
4. Visually inspect for proper operation of the condensate drain in the venting. If leaks are observed
repair at once.
5. Check air vents for leakage.
Yearly (Beginning Of Each Heating
Season)
1. Visually check top of vent for soot. Call service
person to clean. Some sediment at bottom of vent
is normal.
2. Visually inspect all flue product carrying areas of
the boiler including the venting system and pilot
and main burners for proper function, deterioration
or leakage. Ensure that condensate drains are
inspected and ensure that condensate is being
directed to appropriate condensate management
system or drain, as required by local codes.
3. Check that area is free from combustible materials, gasoline, and other flammable vapors and
liquids.
4. Check for and remove any obstruction to the flow
of combustion or ventilation air to heater.
5. Follow pre-start-up check in the Start-up section.
6. Visually inspect burner flame. It should be light
blue at full input. Remove and visually inspect hot
surface igniter and sensor for damage, cracking or
debris build-up.
7. Check operation of safety devices. Refer to manufacturers’ instructions.
8. Follow oil-lubricating instructions on pump (if required). Over-oiling will damage pump.
Water-lubricated circulators do not need oiling.
9. To avoid potential of severe burn, DO NOT REST
HANDS ON OR GRASP PIPES. Use a light touch;
return piping will heat up quickly.
10. Check blower and blower motor.
11. Check for piping leaks around pumps, relief valves
and other fittings. Repair, if found. DO NOT use
petroleum-based stop-leak.
Periodically
1. Check relief valve. Refer to manufacturer’s
instructions on valve.
2. Test low water cut-off (if equipped). Refer to manufacturer’s instructions.
Preventive Maintenance
Schedule
The following procedures are recommended and are
good practice for all MVB installations.
WARNING: Annual service should ONLY be
performed by a qualified service agency. Schedule
annual service by calling a qualified service agency.
WARNING: Preventative maintenance should
ONLY be performed by a qualified service agency in
accordance with the procedures listed in the heater
Installation and Operating Instruction Manual.
Page 7

7
Daily
1. Check gauges, monitors and indicators.
2. Check instrument and equipment settings.
3. Check burner flame. (Should see light blue flame
at full input rate).
Weekly
For low-pressure heaters, test low-water cut-off
device. (With heater in pre-purge, depress the low
water cut-off test button. Appliance should shut-off
and ignition fault light should come on. Depress reset
button on front of heater control panel to reset).
Monthly
1. Check flue, vent, stack, or outlet dampers.
2. Test blower air pressure.
3. Test high and low gas pressure interlocks (if
equipped).
Semi-Annually
1. Recalibrate all indicating and recording gauges.
2. Check flame failure detection system components.
3. Check firing rate control by checking the manifold
pressure at full fire.
4. Check piping and wiring of all interlocks and shutoff valves.
Annually
1. Test flame failure detection system.
2. Test high limit and operating temperature.
3. Check flame sensor.
4. Conduct a combustion test at full fire. Carbon dioxide should be 8.0 to 9.0% at full fire for natural gas,
and between 9.0 to 10.0% for propane gas.
Carbon monoxide should be < 100 ppm.
5. Check valve coil for 60 cycle hum or buzz. Check
for leaks at all valve fittings using a soapy water
solution (while heater is operating). Test other
operating parts of all safety shut-off and control
valves and increase or decrease settings
(depending on the type of control) until the safety
circuit opens. Reset to original setting after each
device is tested.
6. Perform leakage test on gas valves.
7. Test air switch in accordance with manufacturer’s
instructions. (Turn panel switch to the “On” position until blower is proven, then turn the switch to
“Off.”
8. Inspect and clean burner using shop air. Air must
be directed from outside of burner towards inside.
As Required
1. Recondition or replace low water cut-off device (if
equipped).
2. Check drip leg and gas strainers.
3. Check flame failure detection system.
4. Check igniter. (Resistance reading should be 4270 ohms at ambient temperature).
5. Check flame signal strength. (Flame signal should
be greater than 1 microampere
DC as measured
at the 2 pins on the upper left corner of the ignition
control).
6. Check firing rate control by checking the manifold
pressure at full fire.
7. Test safety/safety relief valves in accordance with
ASME Heater and Pressure Vessel Code Section
IV.
Page 8

www.raypak.com
Raypak, Inc., 2151 Eastman Avenue, Oxnard, CA 93030 (805) 278-5300 Fax (805) 278-5468
Raypak Canada Limited, 2805 Slough St., Mississauga, Ontario, Canada L4T 1G2 (905) 677-7999 Fax (905) 677-8036
Litho in U.S.A.
 Loading...