

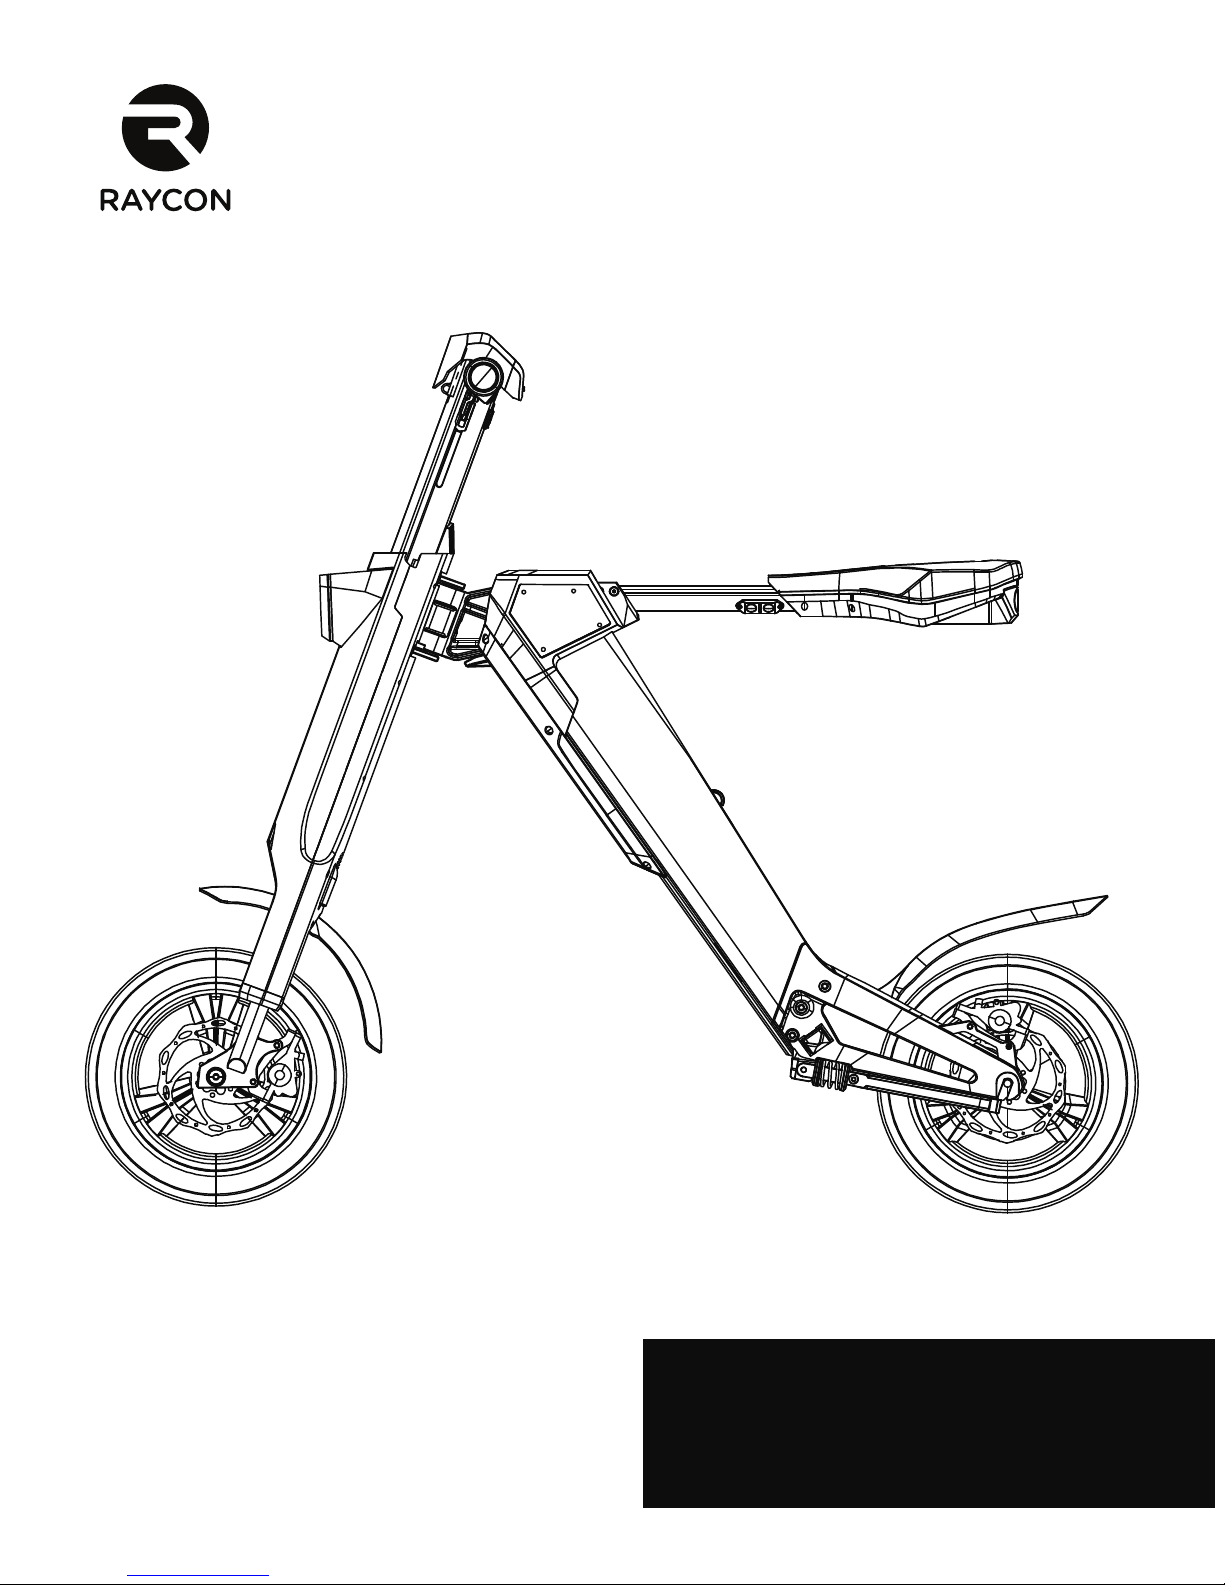
RAYCON SCOOT-E-BIKE
FLEX
User Manual
REB9600

TABLE OF CONTENTS
I. Introduction
II. What's Inside
III. Unit at a Glance
IV. Usage
A. Installing the Bike
B. Unfolding the E-bike
C. Powering the bike and riding
D. Activating the Front Light
E. Other Functions
V. FAQ and Additional Resources
VI. Safety Guidelines
VII. Support
VIII. Specifications
IX. Limited Warranty
- 1 -

- 2 -
I. INTRODUCTION
Welcome to your new Raycon Smart Electric Bike REB9600!
At Raycon, we are committed to design and provide products that help you conquer your adventures
every day!
The Raycon Smart Electric Bike 9600 is our forward-thinking electric bike that has its trademark
feature to automatically unfold and fold at the press of a button. Providing a smooth ride and features
such as a LED light, it makes it a smart choice for all city commutes.
Before using your product, we strongly encourage you to fully read through this user guide. You can
also visit our support center at www.rayconglobal.com/support. This web page has more specific
guidelines and helpful videos for you to navigate your product.
II. WHAT’S INSIDE
1. E-bike
2. Charger
3. User manual
III. UNIT AT A GLANCE
LED cyclometer
Leather cusshion
Reflector
Electric folding switch
Vehicle charging port
Detachable battery
Rear fender
Motor
Folding foot dedal
Double rack support
Front brake (Right)
Throttle turn (Right)
Front brake (Left)
LED headlights
Front fender
IV. USAGE
A. Installing the E-Bike

- 3 -
The bike comes folded in a box and you have to unfold it first to start using it.
1. First, place the front fender of the bike in
position and secure it in place by putting the
screws in the gasket and tightening them so
that the fender is locked in its position.
2. Insert the front wheel into the center shaft
at the specified position and fix it.
1 2
3. Use the tools to tighten the screws so that
the wheel is securely in place. Tighten the
screws till you can’t move the wheel.
4. Next step is to put the rear fender in position
and fix it in place with screws, following the
same procedure as for the front fender.
3
4

- 4 -
5. To install the handlebars, place the plastic
washer division on the designated position as
shown, and tighten the screws with a 4.0 allen
key. This will fix the handlebars in position.
6. Now the E-bike is assembled and ready to
be used.
5 6
B. Powering the Bike on and Riding
1 2
1. Unfold the bike and have it in riding position
in a stable and safe location
Unlock button
Power button
Lock button
Bell button
2. Press the unlock button on the remote
control and double click the power button to
turn on the bike, the front LED dashboard
should turn on.

- 5 -
3. Shift down on the right hand handlebar to
accelerate. Shifting more down will further
accelerate the bike and letting go will
decelerate the bike. Utilize the left most brake
to brake
4. If you’d like to lock the bike, simply press
the lock key.
3 4
Unlock button
Power button
Lock button
Bell button
C. Unfolding the E-Bike
1
1. Double check to make sure the bottom stand
is on the floor and holding the bike upright. Hold
the key directly below the seat for 3 seconds
and the bike will begin unfolding automatically.
2
2. Wait 10 seconds until the bike is fully
unfolded before riding.
Unfolding button
Bottom stand

- 6 -
Folding button
3
3. To fold the bike again, hold the key directly
below the seat for 3 seconds and the bike will
begin folding automatically.
Note:
The bike can only unfold and fold
through the buttons underneath the
seat. It cannot be folded manually
for security purposes.
E. Other Functions
- The smart E-bike has an LCD display positioned
at the center of the handlebar that provides
critical data information such as battery level,
speed, front headlight icons etc.
- A button is provided for folding or unfolding
the bike. Use that button to completely fold
or unfold the bike in one step.
- The battery can be dissembled easily. Put your
finger into the handle and slide it down to unlock
the battery pack. Then pull the battery pack up
gently to complete the removal process.

- 7 -
Unlock button
Power button
Lock button
Bell button
- Anti-theft function: Your Raycon Scoot-E-Bike comes with
an anti theft function. When the E-bike is turned off, simply
press the lock button and anti-theft function will be
activated. The bike will sound an alarm when it vibrates or
moves you can turn off the anti-theft function by pressing
the unlock button.
- Vehicle search function: Your Raycon Scoot-E-Bike Flex
comes with a vehicle search function. When your E-bike is
turned off, simply press the bell button and it will start
sounding an alarm so you can locate your bike.
-Remote shutdown: Click “Unlock button” to turn it off.
V. FAQ AND ADDITIONAL RESOURCES
For frequently asked questions about your device, simply go to www.rayconglobal.com/support.
Select the product and you will find more resources on how to operate your products including helpful
tips and videos.
VI. SAFETY GUIDELINES
For Battery:
i. Keep battery dry. Charging in 0~45 C. Discharging in -20 ~60 C. If you are not using it for a long
time, store it in -5 ~35 C.
ii. It is prohibited to put the battery in acid and alkaline liquid.
iii. Avoid contact with rain, and keep away from fire source, heat source and high temperature
environment.
iv. It is prohibited to reverse the battery's positive & negative poles. Destroying, disassembling or
short-circuiting the battery are all prohibited.
v. Please use original charger. Keep charging time below 6 hours and charging current below 6A.
Users need to charge battery according to the user guide.
vi. Charging should be carried out in a ventilated environment, and it is prohibited to charge under
confined space or hot sun.
vii. Please keep battery in a cool and dry place if won’t use it for a long time. And charge battery in
every two months.

viii. When the battery’s green light is on, please cut off power in time.
ix. The charger is not allowed be connected to the AC power for a long time if don’t charging.
x. When begin to charge, firstly plug battery, then supply AC power. When stop charging, firstly cut
off AC power, then unplug battery.
xi. If indicator light on battery is abnormal, charger occurring odor or overheating during charging,
please stop charging immediately. And repair or replace the charger as soon as possible.
xii. In the using and storage of the charger, pay attention to avoid objects entering, especially to
avoid running water or other liquid, in case of the internal short circuit of the charger.
xiii. The charger should not be carried together with the E-bike.
xiv. If must be carried, it should be placed in shock absorption condition in the tool box.
xv. Do not disassemble or replace the parts inside the charger.
For Riding:
i. Please use and ride the E-bike after reading user manual carefully and getting know the product
performance.
ii. Don’t lead this E-bike to whom don’t know how to use and ride.
iii. Please wear safety helmet and obey traffic rules when riding this E-bike.
iv. Please check whether the tire pressure is normal before riding. Check whether the battery have
power and whether there is any noise or loose inside the E-bike.
v. When riding in downhill or road conditions are not good, please slow down or get out and carry the
E-bike.
For Brake:
i. Please check whether the brakes are workable before riding.
ii. Please pinch the rear brake firstly when need braking.
iii. Pay attention to the brake rubber pad and please replace it in time if 1/3 of the pad have worn.
iv. It should increase the braking distance if in snowy or rainy weather. Slow down and brake in time.
Storage & Maintenance:
- 8 -

1. Store your E-bike in a place where there is no direct sunlight and no rain when finish your riding.
2. Regularly check the E-bike screws and tighten the places where need be tighten.
3. If E-bike surface have stains, please use soft cloth dips in water to wipe. Do not use alcohol,
gasoline or other corrosive and volatile chemical solvent to wash, otherwise it will seriously damage
the surface of the E-bike body or internal structure of it.
VII. SUPPORT
If your device is not functioning correctly, please visit www.rayconglobal.com/support for customer
support, and we will be more than happy to help you.
VIII. SPECIFICATIONS
Lithium cell battery 36V/7.8Ah
Frame material: Aluminum Alloy
Max load: 120kg
Gradeability: 25°
Max mileage: 25-30KM
Motor: 250W
Top speed: 25km/h
Front/rear disc brakes
Net Weight: 22kg
Wheel Size: 12inch
IX. LIMITED WARRANTY
For more information and instructions on how to get warranty service, visit
www.rayconglobal.com/warranty.
- 9 -
 Loading...