


ENGLISH
1600 HP
FREIGHT-PASSENGER
LOCOMOTIVE
•
RAPIDO TRAINS INCORPORATED
MARKHAM, ONTARIO

2

3
TABLE OF CONTENTS
Quick Reference .............................................................................................................3
Break-In .........................................................................................................................3
Prototype History ............................................................................................................5
Checking and Adjusting Your Model .................................................................................5
Missing or Damaged Parts ...............................................................................................6
Removing the Shell ..........................................................................................................7
Optional Detail Parts .......................................................................................................7
Operation – DC (Silent) .................................................................................................11
Installing a Silent DCC Decoder ......................................................................................11
Operation – DC (Sound) ................................................................................................11
Operation – DCC with Sound .........................................................................................12
• Locomotive Address .........................................................................................13
• Turn On the Sound ...........................................................................................13
• Functions .......................................................................................................13
• Functions: More Information .............................................................................14
• Sound Volume Settings .....................................................................................16
• Sound Volume Settings Chart ............................................................................16
• Factory Reset ..................................................................................................17
• Awesome Slow Speed Thingy ...........................................................................17
• More Information ............................................................................................17
Limited Lifetime Warranty ..............................................................................................18
Acknowledgements ......................................................................................................18
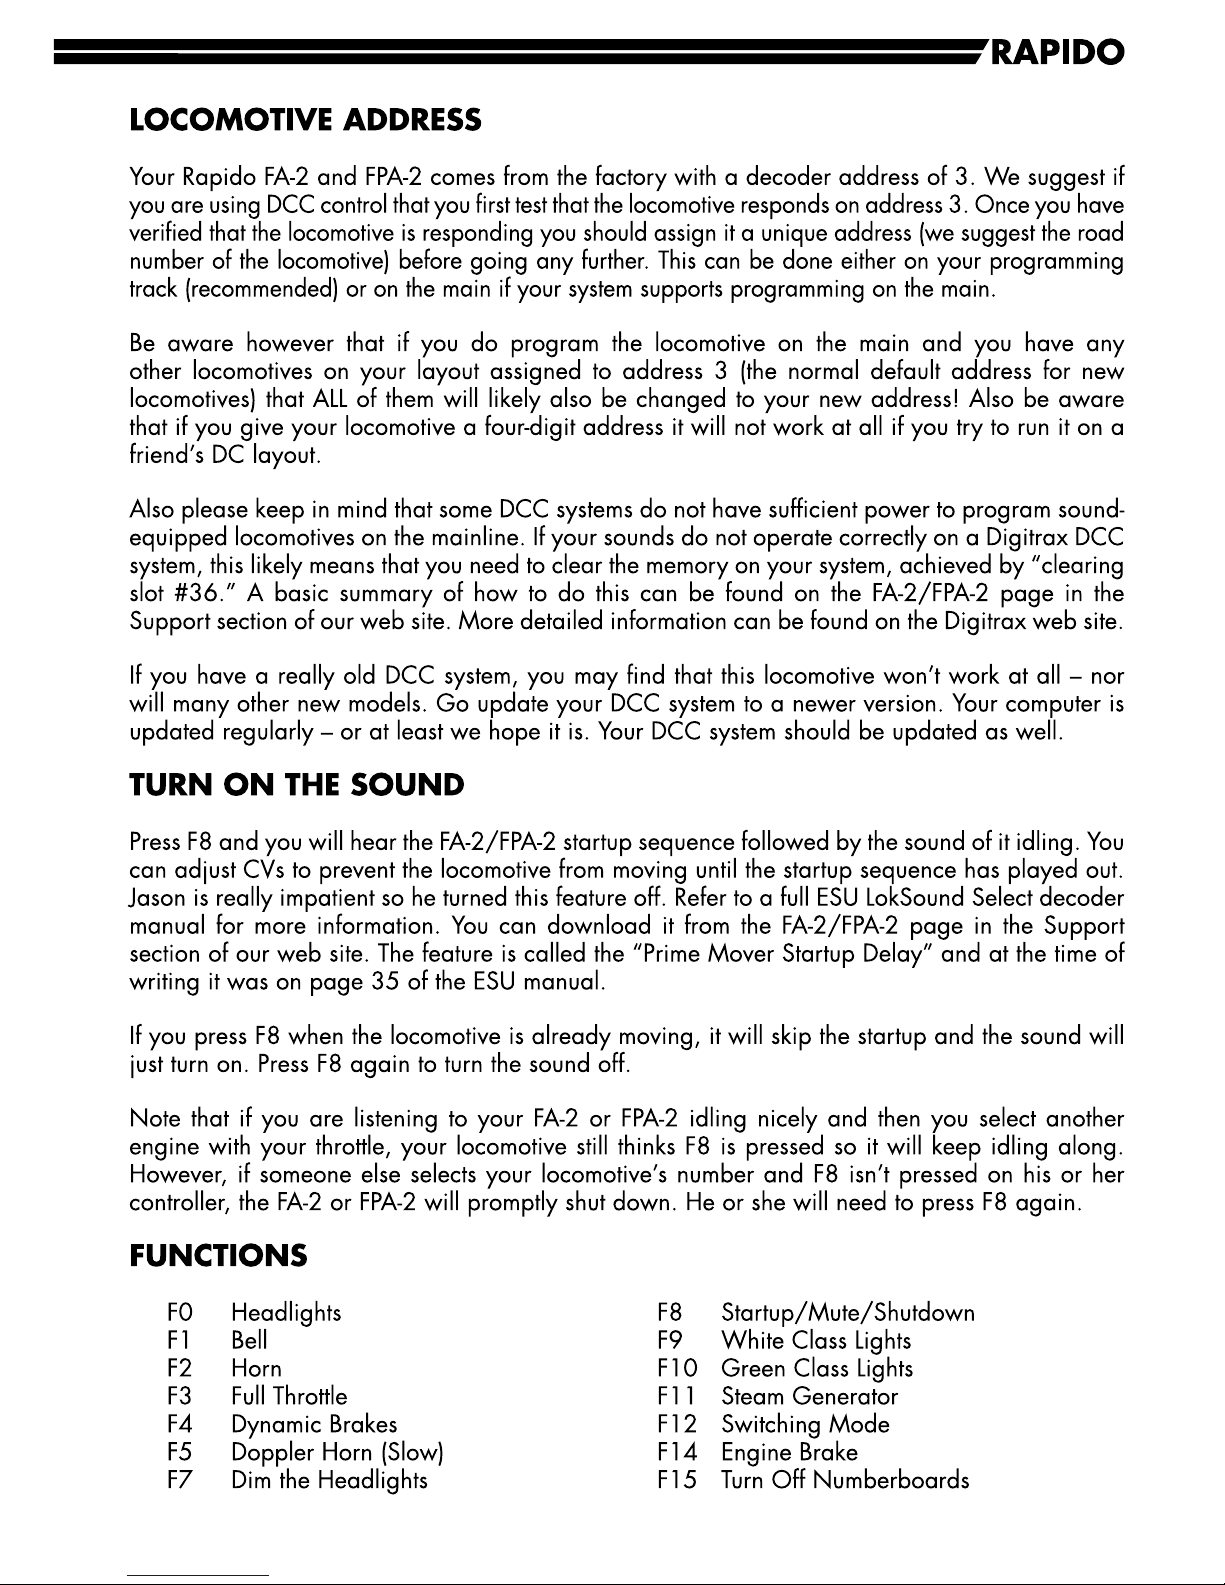
FA-2/FPA-2 DCC FUNCTION QUICK REFERENCE
F0 HEADLIGHTS F8 STARTUP/MUTE/SHUTDOWN
F1 BELL F9 CLASS LIGHTS - WHITE
F2 HORN F10 CLASS LIGHTS – GREEN
F3 FULL THROTTLE F11 STEAM GENERATOR
F4 DYNAMIC BRAKE F12 SWITCHING MODE
F5 DOPPLER HORN (SLOW) F14 BRAKE
F7 DIMMER
BREAK-IN
Every locomotive needs a break-in period. Your FA-2 or FPA-2 has been tested at the factory... for
about 30 seconds. That is not enough time to get the gears to mesh nicely or to even out any jerky
operation in a new motor. We suggest that, after reading this manual, DO NOT try to pull a 40car freight extra over the Appalachians. Instead, put your FA-2 or FPA-2 model on a test loop and
just let it run in each direction for an hour or two. Fast and slow.
There already should be enough grease in the gearbox so you don’t need to add any. Just let the
thing run.

4

5

6

7

8
The Rapido FA-2 and FPA-2 locomotives are provided with the correct details to match the units
when first painted in their respective paint schemes. No two roadnames are alike with differences
in grabs, horn, anticlimber, MU hoses, wind deflectors, winterization hatches, rear back up light
and sill details.
Over the life of the units they often received modifications and we have provided some optional
detail parts that you can install on your locomotive to accurately represent different time periods.
We only have limited space in this manual to explain all of these parts so please rely on dated
photos of your chosen locomotive for positioning of some items.
ATS Shoe and Generator
Many railroads employed intermittent inductive ATS (Automatic Train Stop) equipment on their
main lines and all lead locomotives that ran on them were required to be fitted with a pick-up
shoe. If the engineer passed a stop signal then the ATS system would kick into action and apply
the brakes. Railroads that used ATS included the B&O, Erie, Lehigh Valley and New York Central.
The shoe was generally installed on the lead journal box on the right hand side of the locomotive.
However, on NYC’s FA locomotives this was located on the rear journal on the front truck. The
small generator was mounted under the sill just behind the ATS shoe.
B&O Details
We have printed the classic Capitol Dome herald on the front of your locomotive. On the real
thing this was a stylish casting. We have made a nice etched part that represents this detail but
this kind of thing is almost impossible for us to install at the factory nice and straight without
getting glue all
over the front of your model.
The best way to install this is to use a dab of varnish
or white glue applied with a toothpick. Then carefully position the herald over the printed version.
We’ve also made the reflective numberplates that were used on the front of B&O’s FAs in their
early days. Please use photographs to determine the position and whether your chosen locomotive
had this detail in your favoured modeling period.
Coupler Cover
The New York Central and Pennsylvania RR and several other railroads specified their units to be
delivered with retractable front coupler covers. These were removed after only a couple of years.
Our part is a simple push fit in the coupler opening once your remove the coupler. If your railroad
also had this feature and we didn’t provide it, drop us a line and we’ll send you one.
Diaphragm
Most if not all FA-2 and FPA-2 locomotives were delivered with a full connecting diaphragm
between units. However the extendable part was quickly removed from most locomotives so
we’ve chosen to leave this as an optional detail part. This locates inside the diaphragm at the rear
and can be secured with a few dabs of CA or white glue.
Roof Bell/Sunshade
Back when we made the MLW FPA-4 we installed the roof-mounted bell and sunshades as they
were standard items on CN cab units by this date. However they were not as-built features on the
FA-2. The hole for the horn can be found on the inside of the shell and this should be drilled out.
M3HR Horn
Canadian National and Lehigh Valley units come with an optional horn with one bell reversed.

9

10
Sinclair Antenna
Canadian National and Canadian Pacific units were later provided with Sinclair radio antennas
on the roof behind the horn. The two holes for this part are located inside the shell.
Nose Access Grab Irons
Around 1960 the Federal Railroad Authority (FRA) in the USA mandated that all cab units should
have fixed access to the top of the nose for cleaning. Most railroads installed a series of grabs
on the engineer’s side of the nose (such as the GN, LV, NYC and PRR). The Erie Railroad installed
theirs on the front of the nose, while the L&N adopted an actual fixed ladder. The side of the
pilot was often modified with an additional step. The B&O used a combination of grabs with a
side platform but they are out of period with the 1956 era scheme that we’ve used. These will be
provided with future runs.
We’ve provided a choice of plastic or metal wire grabs. The pre-painted metal grabs are made
from 0.25mm wire and should look great. However, we also provided plastic grabs complete
with nut/bolt/washer castings because we know that some people like these. The choice is yours!
Louvers
Many railroads fitted louvers in the nose to try and reduce draughts to the cab caused by the
traction motors sucking air through every available orifice! We tooled up a special nose just for
the B&O locomotives with the distinctive four vertical louvers. The Erie Railroad used the most
dramatic shop modification which comprised two large mesh grilles on both sides of the nose.
These weren’t fitted from new and they appear to have been removed by the Erie-Lackawanna
days. Because of this we’ve provided the grille as an pre-painted etched part. The easiest and
quickest way to install this is simply to glue it in place using white glue. This isn’t a perfect solution
as they are slightly inset into the body on the real thing. However, this is experienced modeller
territory and well beyond the bounds of this instruction manual.
Ladder Grab
Before 1960 many US railroads installed a single ladder grab on the top corner of both sides
of the nose to make access to the top of the nose safer for cleaning. This comes pre-installed on
some locomotives. The GN, LV and NYC units did not have these from new but they were installed
later so we’ve provided them for you to add if you so wish. See the drawing for typical location.
Nose Top MU Box
Many railroads installed MU jumper boxes to the front of their FAs and these could be located
almost anywhere. The Erie’s solution was unique and we just had to make it. These were installed
in Erie days and lasted until retirement. It’s a simple addition to the top of the light housing and
requires you to make just two small holes. Install with a dab of white glue.
Large Winterization Hatch
The winterization hatches on CPR’s FAs caused us much difficulty. In their early days there seem
to have been at least three different versions located at the rear of the radiator fan. We’ve
standarized on the most common type that lasted on these locomotive right through to retirement.
This hatch is factory installed. The forward mounted hatch was also installed on most units - check
dated photos of your chosen road number. This is a simple job to install on your model. Just drill
four holes - there are starter holes on the underside of the roof.
MU Hoses
The B&O, Erie, LV did not have MU hoses from new but these were installed at a later date.
We’ve provided one version but as these often differed in design you might want to use other
aftermarket parts. A drill template is provided for the location.

11
12
13
14

15

16
SOUND VOLUME SETTINGS
The sound volume settings have been designed to be layout friendly. That means that they will
not sound particularly loud if you are accustomed to other manufacturers’ locomotives BLASTING
at full volume out of the box. They will also not sound particularly loud if you are going deaf
like Jason. (He’s modeling Spadina Yard with its engine terminal and 40 idling locomotives. You
should be able to hear his layout from Cincinnati.) You can easily make some of the sounds louder
if you regularly operate your locomotives at shopping malls, train shows, or on airport runways.
If you want the sounds to be even louder, we suggest you give up scale modeling and go buy a
real FA-2 or FPA-2. If you choose the later, please don’t burn yourself on the steam.[We have to
check this. The sounds may be maxed out.]
You can also adjust the relative volume levels of the different elements of the sound recordings.
If you are the type of guy who wants his FA-2/FPA-2 bell heard in the next province or state, you
have lots of room to increase its volume. Ours is set at level 65 of a possible 128.
To set the volume levels go into the program mode on your DCC system (refer to your system’s
manual for instructions on how to do this as each system is slightly different); enter the desired CV
number; then enter the desired levels. Note that this can be done either on a programming track
or on the main (ops mode) if your DCC system supports programming on the main.
We strongly recommend that you keep notes on which settings you have changed and which
values were used. If you ever need to do a reset on the decoder (see “Factory Reset” below) then
having good notes will allow you to easily re-enter any changes that you might want to keep.
VERY IMPORTANT: Before you change any of the volume control CVs,
please make sure that CV 32 is set to 1. CV 32 is used as an index selection
register and if you don’t set it first then we are not responsible for your resulting
rage and the fact that you will probably throw the locomotive against the wall
in frustration.
For example, to set the horn volume, first set CV32=01, then CV275=0-128.
FA-2/FPA-2 SOUND VOLUME SETTINGS
FUNCTION CV DEFAULT RANGE YOUR VALUE
MASTER VOLUME 63 180 0-192
PRIME MOVER 259 128 0-128
HORN 275 128 0-128
BELL 283 65 0-128
DYNAMIC BRAKE 299 60 0-128
STEAM 315 30 0-128
DOPPLER HORN 379 128 0-128
BRAKE SQUEAL 459 50 0-128

17
FACTORY RESET
On your FA-2 or FPA-2, you perform a factory reset by entering a value of “8” into CV 8. Note
that this will cause all of your new volume and motor settings to be lost, so you will need to
reprogram any settings that you want to keep. You did keep notes, right?
You can NOT lose all of the pre-recorded sounds on your FA-2 or FPA-2 decoder by doing a
factory reset. If you manage to lose all of the sounds on your locomotive then you have probably
set fire to your decoder with a voltage spike. Open up your locomotive and pour out the ashes.
AWESOME SLOW SPEED THINGY
There is an awesome trick that you can use to get even better slow speed running and smoother
operation. It’s called the Automatic Motor Tuning Feature. This feature will automatically adjust
the Back-EMF in most cases and give you phenomenal slow-speed performance. Make sure you
do this to each locomotive separately rather than your A and B units together.
In order to use this automatic adjustment you need to use Ops mode programming, i.e.
programming on the main. Make sure your locomotive is in “forward” and that you have lots
of room in front of it on your mainline. Set CV 54 to a value of 0. Then get out of programming
mode and turn on the bell (press F1). We’ll say this again: Make sure you have plenty of room
in front of your locomotive and it is not headed for the layout edge and the basement floor!!!
Your FA-2 or FPA-2 will quickly take off at full speed and gradually slow down to a stop while the
decoder reads the motor responses. You’ll have fabulous motor control after you do this. If you ever
have to reset your locomotive, you can do the automatic adjustment again – it just takes a few seconds.
MORE INFORMATION
While addressing the features that most modelers will need for normal operation, these instructions
have covered just a small number of the many customizable features of your ESU LokSound
decoder. For advanced users who want to more fully explore the capabilities of the decoder we
suggest downloading the ESU Loksound Select decoder manual. This is available on the FA-2/
FPA-2 page in the Support section of our web site.
LIMITED LIFETIME WARRANTY
We will do our best to solve any problems or issues that you may have with your FA-2 or FPA-2
locomotive. If your locomotive has any defects that originate from the factory, we will repair
your locomotive using new components or replace it outright should a repair not be possible.
However, we can only replace your locomotive while we have additional ones in stock. We
normally keep spares for up to six months after a model is released.
If you purchased this locomotive at age 25 and you’ve only first opened it while receiving your
pension, it is possible that we no longer have any replacements, we’re retired, or we’re pushing
up the daisies. Please check to see if we still exist and give us a call or floom us a hologram, and
we will see what we can do to help you out. If the eastern part of North America is covered by
one big glacier or under elevated sea levels, chances are we’re extinct. Don’t bother calling. We
won’t get your voicemail.

18
There are a number of things that this warranty cannot cover. We’ve already gone over the bit
about reattaching loose parts yourself – don’t be afraid! The worst thing that can happen is that
you ruin a gorgeous $325 locomotive and have to give it to the neighbour’s dog as a new chew
toy. If parts are missing, please call us or send us an email and we’ll send you some replacements
provided that we have them. As mentioned above, this warranty does NOT cover grilles that pop
out over time or damage caused by voltage spikes on MRC 1300 or “train set” power packs. If
you fry up your DCC settings and can’t fix it, we will be pleased help you. But depending on the
nature of the problem we may have to charge for the repair.
Of course, damage caused by throwing your FA-2 or FPA-2 out of a moving transit vehicle,
generously allowing your niece to use your FA-2 or FPA-2 locomotives as hair curlers, changing
the locomotive numbers with a 1” wide brush and house paint, adding realistic weathering by
leaving your FA-2 or FPA-2 on a windswept shore for seven years, or any other damage caused
by Acts of You that we haven’t mentioned here is not covered by the warranty. However, if
catastrophe does strike and your locomotive gets damaged, please give us a shout and we’ll do
our best to help you out. Yes, even if it was your fault we will try our best to fix your locomotive
for you. If there is an extra charge it will be reasonable. We want you to be happy.
Don’t be shy!
ACKNOWLEDGEMENTS
Special thanks to Anthracite Railroads HS, Daniel Biernacki, Duane Buck, Jack Consoli, Dan
Dell’Unto, Larry DeYoung, Erie Lackawanna HS, Elden Gatwood, Ken Goslett, Great Northern
RRHS, Scott Hartley, Ed Hawkins, Matt Herman (ESU), Kevin J. Holland, Hoosier Hobbies,
Richard Jahn, Stephen D. Johnson, Ed Kapriske, Schuyler Larrabee, Al Lill, Lousiville & Nashville
RRHS, Dave Love, Greg Martin, Bill McCoy, Jim Mischke, Missouri Pacific HS, Jakob Mueller,
Nate Obermeyer, New York Central System HS, David Orr, Bob Pennisi, Pennsylvania RRT&HS,
Mark Perry, Jeff Pinchbeck, Michael Salfi, Brian P. Schuff, Ray Stern, Raymond at Pro Custom
Hobbies, John Sutherland, Jay Thompson, and Paul R. Tupaczewski.
Thanks to Richard Longpre for the excellent Canadian French translation. All you FA-2 customers
in Louisiana no doubt appreciate it. Don’t speak French? You can use this manual to teach
yourself conversational French, provided you only ever converse with other model railroaders.
Tab**nac….
STAY IN TOUCH!
Subscribe to our YouTube channel for a bunch of hilariously amateur videos.
youtube.com/rapidotrains
“Like” us on Facebook to get almost daily updates about Jason’s
growing real train and bus collection (and some other stuff).
facebook.com/rapidotrains
Sign up for our monthly email newsletter for new releases,
delivery news, and general model railway information.
rapidotrains.com/signup
 Loading...