


www.randa.com.tr
User Guide
RANDA ELEKTRONİK SAN. TİC. LTD. ŞTİ.
DIGIMAT Wireless Nurse Call system

1
Wireless Nurse Call
Contents
1. General Overview and functions...................................................2
2. System Contents…………………………………………………..5
3. System Installation and setup……….............................................8
3.1. Bedhead Call Unit..............................................................8
3.2. Handset Unit.......................................................................9
3.3. WC/ Bathroom Call Unit.................................................10
3.4. Door Mounted Warning Lamp.......................................11
3.5. Nurse Call Panel ..............................................................12
4. Possible problems and solutions...................................................18
5. Warranty conditions ……………………………………………23
6. Points to take under consideration ……………………………..24
7. Service Stations ………………………………………………….25

2
Wireless Nurse Call
1. General Overview and functions
Digimat Wireless Nurse Call Systems, has been designed and manufactured
for the purpose of informing the personals working in hospitals, health care
institutions and home cares of an a emergency situations immediately, shortening
patient's waiting for intervention period and responding to patient requests
quickly.
The products is suitable for use in the hospital environment. In the bedhead
call units and handset buttons, calls can be made by pressing the section with the
nurse's picture. WC/ Bathroom buttons are conveniently manufactured for wet
walls. In order to use the WC/ bathroom buttons the patient shall only have to pull
the cord handle. All made calls are displayed as room numbers on the LED
Display (dashboard). The created calls are listed in order with the last call shown
in large size on the home screen and the other calls shown in small size on the
side screen. In case of another emergency call comes, this call will be displayed
on the main screen and the old last call goes to the side screen at the top of the
other calls.
When the nurse call button is pressed, the door mounted lamp lights up red
and the assigned room number lights up on the display, moreover an audio
warning is produced. The nurse sees either the red light on the warning lamp or
the number of the room that made the call and goes to handle the situation.
When she enters the room she should press the green tick symbol on the
bedhead call unit, this way the red light of the door lamp and the related display
leds turns to green indicating that there is a nurse in the room. After the nurse
finishes with the patient she should press the green tick once more. By doing that
the call will be cleared from the display and the warning lamp shut off.

3
Wireless Nurse Call
If the nurse finds the situation needs an emergency help she could first press
the green tick icon then the nurse call button on the bedhead unit. This case, the
assigned room number on the display room will appear with the word
"EMERGENCY" and the display's LED will light with blue, while the warning
lamp will flash with blue color. And as always by pressing the green tick icon
after the intervention has been made, the call will be cleared from the display and
the lamp turns off.
In case of an emergency call the panel produces a short discontinuous sound
whereas in case of a normal nurse call produces long discontinuous sound.
The panel produces a specific warning as an indication of low battery.
Confusion in emergency calls is avoided in hospitals.
It provides the immediate notification in case of emergency situations that
require an urgent intervention.
It ensures the rapid responding to the patient's requests.
Using this System

4
Wireless Nurse Call
2. System Contents
Bedhead Call Unit
It is the unit that gives a light and audio
warning that allows the nurse to be called
from the patient's room. It performs the
call initiation and termination.
Features:
This product is also where to the handset call
unit is connected.
It has an ergonomic structure so that it can be
attached to the built-in junction boxes.
The RJ45 socket allows easy installation.
ABS raw material used.
Handset Call Unit
In cases where the patient is not able to
use the bed head call unit, he can use this
handset device without having to get up
of his bed.
Features:
It has a continuously illuminated nurse call
button, and a button to control the room
lighting and book reading lamp.
It has a cable to connect it to the bedhead
call unit.

5
Wireless Nurse Call
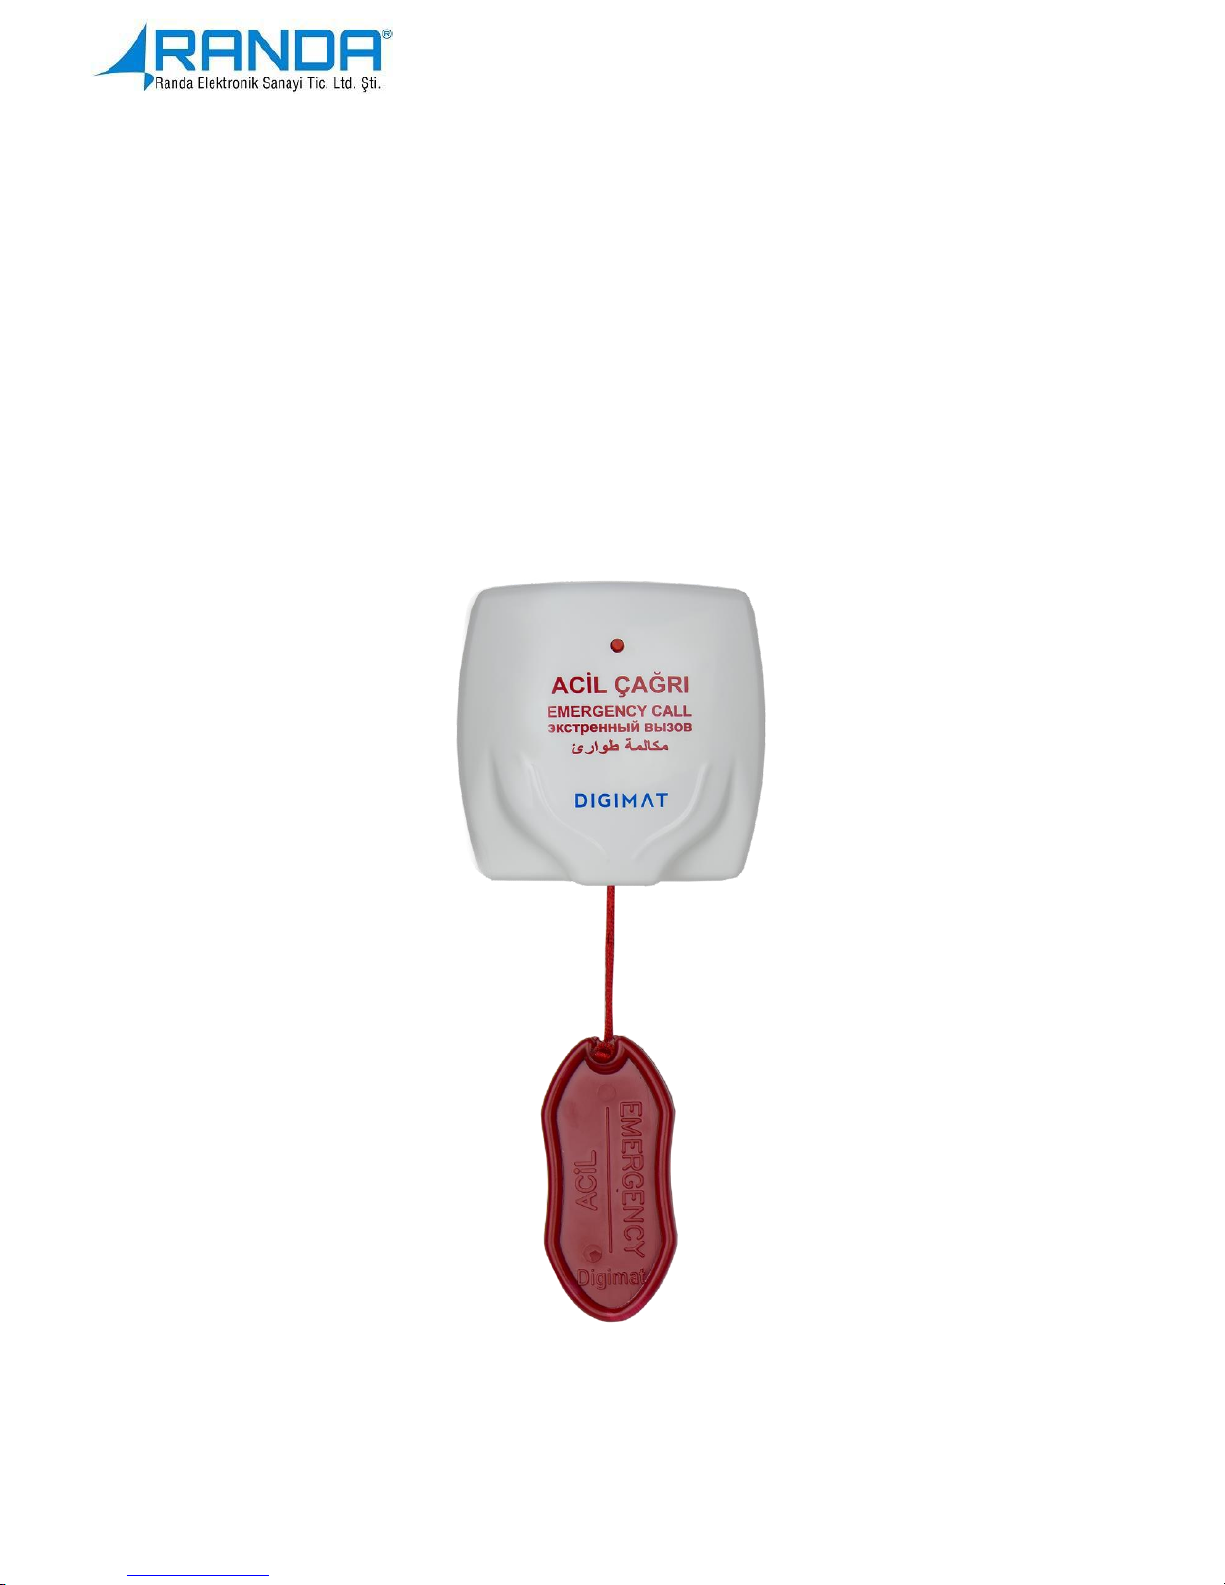
WC / Bathroom Call Unit
It is a corded device that is used to
initiate an emergency call from WC/
bathroom in patients' rooms.
Features:
It has a fabric cord that ends with a
plastic handle which makes it easy to
pull and a make an emergency call
Its box designed to be easy fixed on wet
walls
Door Mounted Corridor Lamp
It is a warning lamp which can light with
different colors according to the call
situation made from the patient's room.
Features:
It can light up with three colors, red, green and blue.
Can easily be mounted over the room’s door.

6
Wireless Nurse Call
Nurse call Panel
It's the place on which the rooms
that made the call, the nurse room
information, the date and time and
the emergency consultation
information is stored and displayed.
Features:
It is an intelligent unit with microcontroller inside.
It works on its own and can be connected to the computer via the converter
device. It contains a Wireless Mode setting.
By defining the floor address it can respond to the information coming from the
call units and display them on the screen.
There are 6 Dot Matrix displays with 5 lines in this panel.
The system communicates with the address modules via wireless Rf -433 Mhz.
Other settings can be made with the keys found on the panel so there is no need
for a computer.
RF Transmitter Device
It is used to strengthen the call
signal in cases that call signals
could not reach the panel due to
physical reasons.
Features:
It broadcasts 433 Mhz in accordance
with KET regulations.

7
Wireless Nurse Call
3. System Installation and setup
3.1. Bedhead Call Unit
Bedhead call unit is wireless and works with battery. In order to start the
call process the red icon shown in figure 1 must be pressed. When the call is
started, it gives audio and light warning. After the calls is started from this device
it starts showing on the nurse call panel.
In order to make the nurse finds and reaches the room that started the call
easily the over door (door-mounted) warning lamp lights with red light. After the
completing the intervention she ends the call by pressing the green button on the
relevant bedhead call unit.
Figure 1: Bed head unit.

8
Wireless Nurse Call
3.2. Handset Unit
In order to use this device the bedhead unit should be placed and the cable
connection is established. In order to send a call the button with the red nurse icon
shown in figure 2 must be pressed, as the call starts it generates audio and light
warning. The room number that sent the call will appear on the main screen of
the Nurse Call Panel. In order to make the nurse finds and reaches the room that
started the call easily the over door (door-mounted) warning lamp lights with red
light, the nurse arrives to the room and after the completing her intervention she
ends the call by pressing the green button on the relevant bedhead call unit.
There is no cancel (green tick) button in the handset call device, the buttons
under the nurse call initiation button are used for optional lighting, and it is
designed to control the room lighting and book reading lamp.
Figure 2: Handset Call Unit
9
Wireless Nurse Call
3.3. WC/ Bathroom Call Unit
This device is wireless and works with battery. Calls that comes from the
WC/ Bathroom device always have a priority over the other calls. In order to start
a call, the cord handle must be pulled as shown in figure 3. The room number
from which the call came and the "EMERGENCY" word alternately displayed on
the Nurse Call Panel. When the call is initiated, the red led on the front of the WC/
Bathroom device starts flashing.
Figure 3: WC/Bathroom Call Unit

10
Wireless Nurse Call
In order to make the nurse finds and reaches the room that started the call
easily the over door (door-mounted) warning lamp lights with red light. The nurse
arrives at the room and cancels the call by pulling the cord handle in the WC /
Bathroom call unit. When the call is terminated, the warning light on the door
turns off.
3.4. Door Mounted Warning Lamp
This lamp shown in figure 4 is manufactured for making the nurse finds
and reaches the call initiating room easily. In the case of a call situation it will
generate a constant Red light. But, it will lights with a constant Green light to
indicate that there is an Intervention in progress (there is a nurse in the room).
And finally when there is no call it will turn off.
Figure 4: Door Mounted Warning Lamp.

11
Wireless Nurse Call
3.5. Nurse Call Panel
The nurse call panel shown in figure 5 works with plug-in. The settings of
the system must be done as described in the following sections.
ATTENTION! In order to be able to receive a call in the wireless
system, you need first to register the call buttons and introduce them to the
system. The system will not respond if a non-identified call unit made a call.
The functions of the buttons shown in figure 6 on the device from left to right
(1,2,3, ... 7) are as given below :
Figure 5: Nurse Display Panel.
Figure 6: Nurse Display Panel’s keys
12
Wireless Nurse Call
Setting the Date and Time:
The function settings are controlled by the buttons on the back of the LED
display panel. After the pre-installation is completed, the following settings must
be made so that the process can be valid. When navigating through the menu the
blue LED indicate which line is active, pressing it again will allow entering to the
related setting. When the device is plugged in, the display will look as shown in
Figure 7 with the current time and date settings.
1
Exit: Used for exits from the menu.
Input: Used to enter to the first menu and its setting, at
the same time used as a confirmation key.
Forward: to navigate through menus.
Back: Allows navigate backwards through menus.
Works in reverse with the forward button.
This key is used to switch between the taps and at the
completion of the setting used as confirmation key.
2
3
4
5
Is used to increase the value.
6
Is used to increase the value.
7

13
Wireless Nurse Call
Menu tabs are explained as follow:
TYPE: Used for operating mode selection. RF 5 mode should
be selected from the menu for the system setup. To set up the device, enter the
menu tab (with the number 2 button). 3 and 4 buttons are used to toggle between
the tapes and the RF 5 portion of the type menu is for confirmation while exit is
made (with button 1).
ENTR: To perform the new button identification, button change and delete
operations, the ENTR tab is entered and the message Press btn is displayed. With
the appearance of this message the call button on the device to be introduced to
the system should be pressed. On the screen you will see the ID given by the
manufacturer company, right below it you will find the tab where you can enter
the room number. The letters b and t will also appear on the screen. The letter B
is given to identify the bed head unit, and the letter t is for WC/ Bathroom call
units. 300 buttons can be identified to the system at the same time, 5 of them are
displayed in order.
Figure 7: device's standby case

14
Wireless Nurse Call
If the button is already identified by the device: To identify the call button to
the system, login to the menu with the login button.
A 4 line screen will appear in front of you, if you want to define a bedhead or
WC/Bathroom call unit, you should first enter its type followed by the ID you
want to give it.
To delete a defined number: you should enter the ENTR menu, and next start a
call from the device you want to delete then enter to the
menu. This case the device ID will be reset and it cannot
send a call any more. If you want to receive calls from that button again you would
need to define a number for it again.
ATTENTION! When the "del" option is selected the device's record will be
permanently deleted. There is no undo key.
CLEAR: the
tab allows you to clear all calls that are on the
screen and the device. When press it you will see a "yes-no" tabs on the screen. If
you sure you want to clear the call history, you need to confirm with the "yes"
button. The defined id will not be deleted, only the records; if you clear the record,
you can continue receiving calls normally. However, if you want to go back from
erasing the record you should choose the tap.
RESET: For reset first you should login to
menu, then
choose the YES tab from the “yes-no” tabs that will appear. Doing that the device
will count to 100, and when the time is up it will be reset to factory setting.
However if you choose No tab the device will not change.
ATTENTION! When the system is reset, all user settings and call button
definitions stored on the panel will be deleted. This process has no go back.

15
Wireless Nurse Call
ATTENTION! Do not pull the plug when the device returns to factory
settings (it will count to 100 when resetting).
TRN S: in order to use the optionally added pager device you need a data
transmitter. This tab is used for setting the frequency value on this data
transmitter.
ID_5: this tab shows how many call buttons have been defined by the panel.
BEEP: from this tab you can choose the tone and specify its repetition. Find the
"Beep" submenu by using the forward-back buttons and enter this submenu again
with the enter button. Find the status you want to select with the forward / back
buttons and select it with the enter button.
If you press the tab, then when a call comes on the
screen will not be accompanied with any sound.
If you press the tab, then when a call comes it will be
shown on the screen along with a peep sound at certain intervals of seconds.
While if you choose the tab, then when a call comes
on the screen it will only beep once.
And if you choose the tab, then when a call comes on
the screen it will beep three times.
PAGER: it's a wireless telecommunication device that receives and display the
digital messages and/ or receives the voice messages. If you want, you can add
Pager to your Wireless Nurse Call System.
The panel sends to the pager a message that identifies the name shown on
the panel along with the urgency status of the call. The ID of the pager to which
the message will be sent from the panel can be set from the "PAGER" submenu.

16
Wireless Nurse Call
In order to do that you should login to the menu with the enter button. Scroll to
and enter the "PAGER" submenu with the forward and back keys. The 4 digits
that appear identify the last 4 digits of the Pager's ID. The complete 7 digits
Pager's ID is stored as standard 100xxxx, the digits indicated by X are the ones
visible on the screen. Replace these numbers with forward and backward keys to
create pager’s ID.
ATTENTION! Pager feature is optional.
Device's battery model: CR-2032 coded and 3V metal cylindrical button.
Figure 8: the screen warning when battery is low

17
Wireless Nurse Call
4. Possible problems and solutions
Problems That May
Occur
Possible Solutions
There is no image comes to
the panel
1. Check the system power connections.
2. Check the whether there is energy in the
cable plugged in the adapter.
3. Try running the device with a different
adapter
If the problem persists, please inform our
technical service.
The panel doesn't receive
calls
1. Make sure that the button you are sending
call from is registered in the wireless
system.
2. Check the antenna or cable connections.
3. Make sure that the calling unit is working
properly.
4. Make sure you are not out of the wireless
system's range. The transmitter module
could be used in the places where the
coverage area is insufficient.
5. Make sure that the buttons are not erased
and that the device is not reset.
If the problem persists, please inform our
technical service.

18
Wireless Nurse Call
The panel displays the call
information incorrectly.
1. Make sure you performed the ID definition
correctly.
2. If the registration was not established
correctly, ensure to define the buttons again
from the entr tab.
3. If the problem is not resolved, reset the
system and perform the settings again.
If the problem persists, please inform our
technical service.
Panel does not receive new
calls while there is a call on it
1. Make sure you did not exceed the call
memory capacity. The number of calls held
in the panel call memory is 50, so try not to
exceed that number.
2. End the displayed calls.
If the problem persists, please inform our
technical service.
Unidentified characters
appear on the screen.
Please inform our technical service.
The function buttons do not
work.
Please inform our technical service.
The buzzer is not working.
Please inform our technical service.
Though there is no new calls
are starting, there still call
1. Check the call buttons, make sure that the
buttons are not plugged in. Try to cut power

19
Wireless Nurse Call
coming and being deleted
of the button you suspect it's causing the
problem.
2. Cut off the energy of the parasitic sources
that affects the system.
If the problem persists, please inform our
technical service.
Panel is being locked.
Please inform our technical service.
The LED's are not working.
Please inform our technical service.
The button is not being
registered
The system can register up to 4500 buttons,
make sure you did not exceed this limit.
If the problem persists, please inform our
technical service.
RULES OF MAINTENANCE, REPAIR AND USE
Make sure that you read the User guide carefully before you use the system
Keep the device away from heat sources.
Be careful not to spill any liquid on the device and avoid any liquid contact.
Never expose the device to rain or moisture. Otherwise, danger of electric
shock may occur.
Use your device as described in the user manual.
Please remove the power plug from the outlet when you are not using the
device and its accessories.

20
Wireless Nurse Call
If needed, have your device serviced and repaired by an authorized service
center.
HUMAN AND ENVIRONMENT RELATED WARNİNGS
Keep the device away from heat sources such as radiators and ovens.
Do not throw the device in the garbage box that you use at home.
Due to the adverse effects of harmful components of human and
environmental health, electronic devices should not be disposed in the trash
can. It must be disposed in specific recycling boxes for electronic devices.
THE MAINTENANCE THAT COULD BE DONE BY THE
CONSUMER AND PRODUCT CLEANING INFORMATION
There is no part of the device that can be serviced, in case of malfunction
contact your authorized service center or authorized dealer.
PERIODIC MAINTENANCE
Post-warranty technical maintenance should be done only at authorized
service stations.
CONNECTION AND ASSEMBLY
The connection and assembly is done by the consumer as presented in the
user manual. Please contact the authorized service station for any problems that
may rise in connection and assembly phase.
DEVİCE LIFETIME
In order to fulfill the functions of your device, '' USE LIFE '' is 7 years in
terms of replacement parts.

21
Wireless Nurse Call
SERVICE COVERAGE
SERVICE SCOPE: TS 13426 AUTHORIZED SERVICES-WIRELESS
PERSONNEL CALL SYSTEMS' RULES.
STANDARDS SUITABLE SERVICE
TS 13426 AUTHORIZED SERVICES-WIRELESS PERSONNEL CALL
SYSTEMS.
TS 13401 AUTHORIZED SERVICES-CALL DEVICES.
TS 13149 WORK PLACES-COMPUTER SERVICES-GENERAL RULES
5. Warranty conditions
5.1. The warranty period is 2 years starting from the delivery date of the goods.
5.2. All of our goods, including all their parts, are covered by our guarantee.
5.3. If the product malfunctions within the warranty period, the repair time will
be added to the warranty period. The repair period of the goods cannot
exceed 20 business days. This period start from the time that the
notification to the service station (or in case of there is no service station,
to the supplier, dealer, agency, representative, Importer or manufacturer)
comes. Failure notification of the consumer can be done by telephone, fax,
e-mail, registered mail or similar means. However, in case of
disagreement, the proof responsibility is on the consumer. If the
malfunction is not rectified within 10 working days, the manufacturer or
importer obligated to allocate a working device similar to the
malfunctioned one to be used by the consumer until the repair process
completed.

22
Wireless Nurse Call
5.4. Within the warranty period, in case of malfunction due to erroneous
assembly all repairs and needed materials or modified parts will be carried
out without any charges.
5.5. Despite the consumer's right to repair, if
The malfunction can cause a permanent failure to the goods,
provided that the malfunction occurred at least four, or six times
within the specified warranty period from the delivery date to the
consumer.
The time required for repair is exceeded.
If the company service station (or in case of there is no service
station, the supplier, dealer, agency, representative, Importer or
manufacturer) provided a report determining that the (goods) device
is beyond repair.
Then the consumer can ask to exchange, return the product with full
refund.
5.6. Defects arising from using the products inconsistently with the manual's
rules not covered by the warranty.
5.7. Possible warranty related problems could be presented to Customs and
Trade Ministry and General Directorate of Consumer Protection and
Market Surveillance.
6. Points to take under consideration
Damage Technical Support
If the device is serviced by technical service other than the authorized
service center, or if it was opened by the consumer, the device will go out of
warranty.

23
Wireless Nurse Call
In the event of one or more of the following conditions, disconnect the
device from the power source and connecting cables and contact your authorized
service center:
When the power supply or connection cable is damaged.
If a liquid was poured on the device or an object went inside it.
If the device was exposed to water.
If an unexpected change or failure occurs despite following the
operating instructions.
Device has been dropped or damaged.
7. Service Stations
Randa Elektronik Ltd. Şti. Çamlıca Mah. Anadolu Bulvarı No.20 Timko Sokak
No:6 Gimat/Yenimahalle - Ankara
Phone number: + 90 312 472 55 44
Fax: + 90 312 472 56 47
E-mail: info@randa.com.tr
 Loading...