

Page 1
RAMPI Instruction Manual
The Rako RAMPI is a programming device for either wireless systems (replacing
the obsolete RAUSB) via RF or Rako NFC (Near Field Communication) devices
such as the RNC wallplates or RCI-4L and RCI-7M interfaces. The RAMPI
incorporates RF receive and transmit functions as well as Bi-Directional NFC
communication.
Note: This product requires RASOFT Pro software to operate. Download the
software from www.rakocontrols.com/rasoftpro.
Wireless Programming
When used as a wireless programmer the RAMPI plugs into a USB port and allows
programming of a Rako wireless system, either individual modules or RAK4s
controlled by an RxLink. To program a system plug the RAMPI into a USB port,
Rasoft Pro will recognise the device and allow programming. The RAMPI has
internal blue and red LEDs below the set-up button. The blue LED flashes when
the RAMPI is receiveing wireless messages and the red LED flashes when
transmitting Rako wireless messages. For more information on programming a
wireless system using Rasoft Pro see the programming guides 'Wireless module
set-up guide' or 'Wireless RAK system set-up guide' from
www.rakocontrols.com/support.
NFC Programming of RNC or RCI Modules
The following assumes that the user is already programming a system using Rasoft
Pro, if this is not already the case follow the guide 'Rasoft Pro-Wireless module
set-up guide' downloadable from www.rakocontrols.com/support.
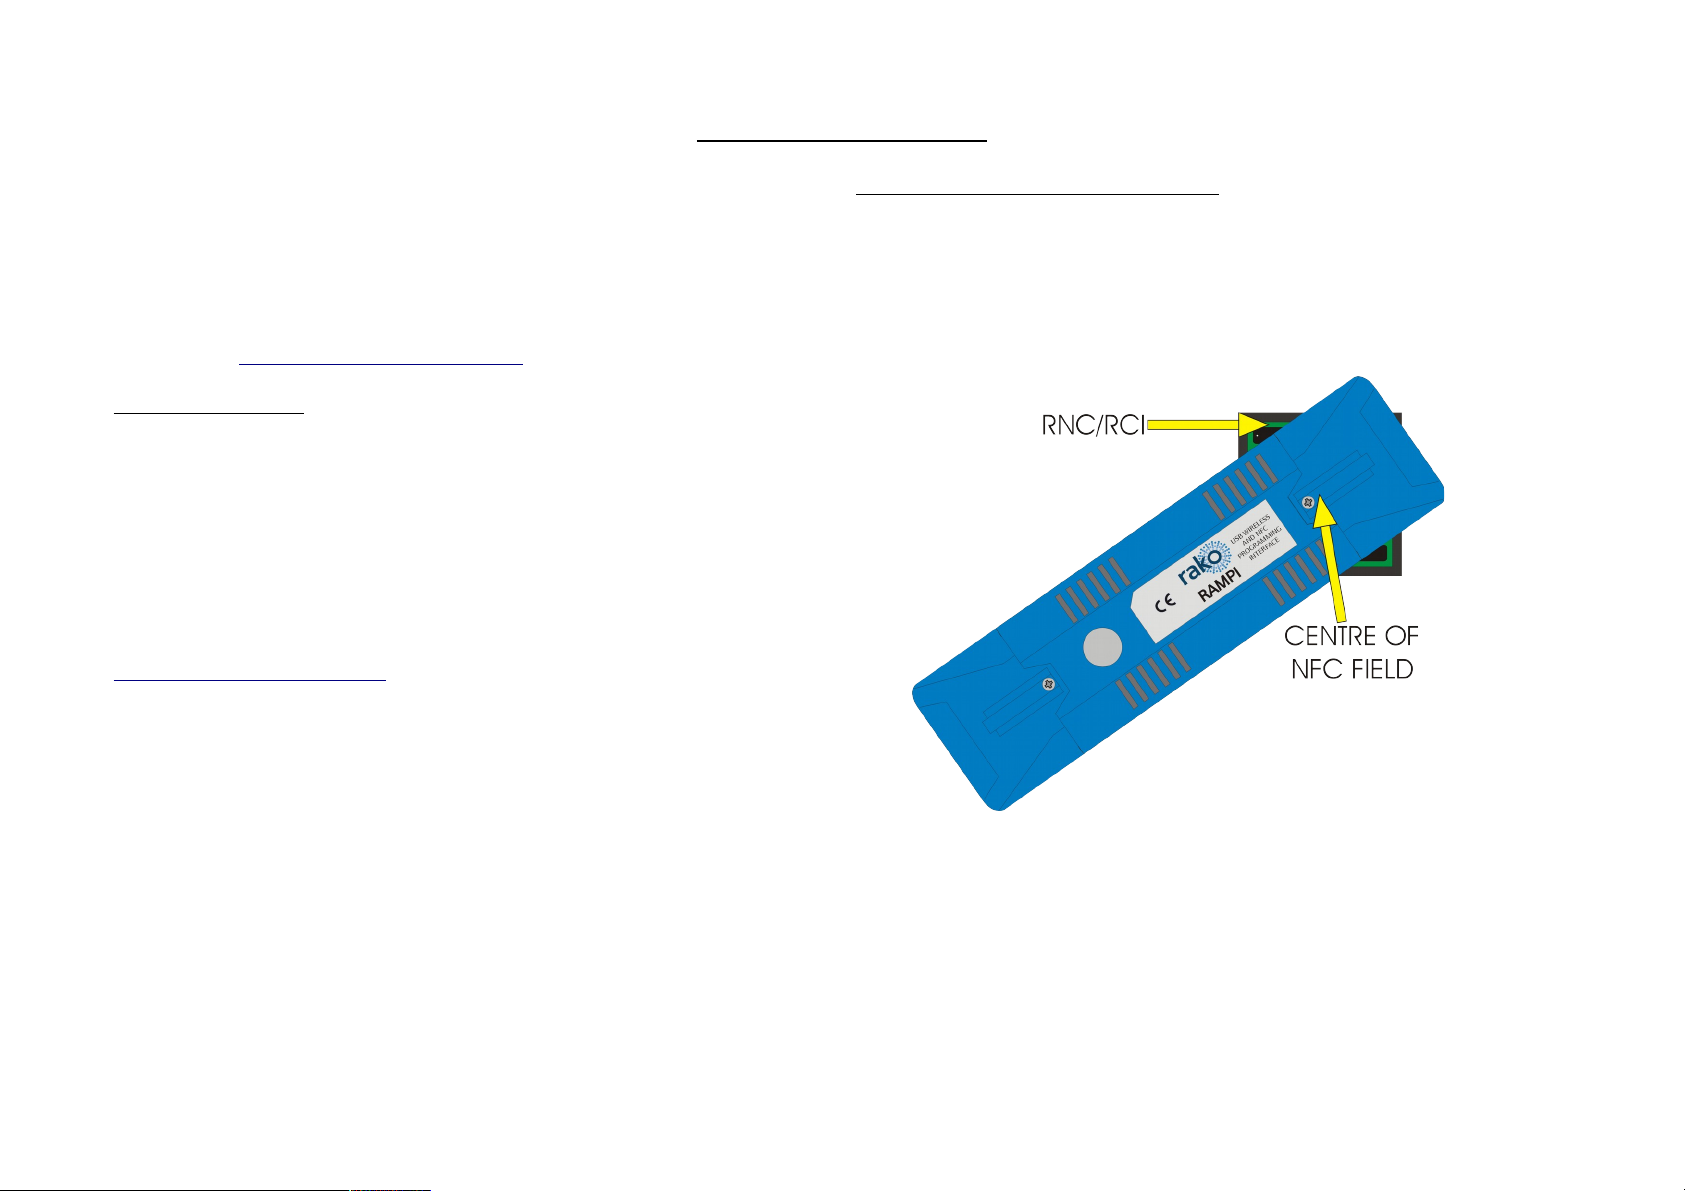
Hold the RAMPI against (or near to) the NFC device as shown below.
When the device is correctly positioned a green LED will flash in the RAMPI and a
window will pop-up in Rasoft Pro prompting the device to be named and
associated to a Room. Having done this go to the Device editor page select the
inputs as necessary and assign the associated actions. This will be a single action
such as selecting a scene. If a macro function is desired then select the Macro
radio button and a drop down menu of actions will appear (the actual macro steps
are defined under the Macro tab). Having input the required actions click on the
Data Transfer tab and click Upload to device. Rasoft will issue a prompt to hold
the RAMPI against (or near) the NFC device. When transferring data a progress
bar will appear in Rasoft Pro and a solid green LED will appear on the RAMPI.
Page 2

To confirm the NFC device has been correctly programmed press the buttons (on
an RNC panel) or activate the inputs (on an RCI interface). The RAMPI has an
internal wireless receiver which will detect the transmissions and display the
transmissions in the bottom right hand corner of Rasoft Pro. The RAMPI has an
internal blue LED below the set-up button which flashes when the RAMPI receives
a Rako wireless message.
For more detailed information on programming refer to the set-up guide from
www.rakocontrols.com/ Support or Help/Set-up guides within Rasoft Pro.
General
Rako thanks you for having purchased a Rako product and hopes that you are
pleased with your system. Should for any reason you need to contact us please
contact us via our website www.rakocontrols.com or by phoning our customer help
line on 01634 226666.
 Loading...