

RAIDON SafeTANK GR8680-TB3 User guide

SafeTANK
GR8680-TB3
User Manual

SafeTANK GR8680-TB3 User Manual
» GR8680-TB3 User Manual ............................... 1
1. Operating Information .......................................................1
2. Package Contents and Product Views ..............................1
3. Hardware Requirements and Precautions ........................2
4. Hardware Installation .........................................................3
5. Troubleshooting Fan Errors ...............................................4
6. The MSU, and easy RAID configurator ...........................5
7. The Indication of HDD Status ............................................11
8. Connect with other devices ...............................................12
9. Common Technical Questions ...........................................13
» GR8680-TB3 產品使用說明 ...............................17
1. 環境需求 ...................................................................................17
2. 產品外觀及包裝內容 ...............................................................17
3. 硬體需求與注意事項 ...............................................................18
4. 硬體安裝 ...................................................................................19
5. 風扇故障狀況排除 ...................................................................20
6. MSU 簡易設定 .........................................................................20
7. 硬碟狀態指示燈號說明 ...........................................................26
8. 與其他裝置連接說明 ...............................................................26
9. 常見問題 ...................................................................................27
V1.1
SafeTANK GR8680-TB3 User Manual
The Introduction
Thank you for choosing the RAIDON product. This manual will familiarize you with the RAIDON
GR8680-TB3 product. We recommend reading through this manual before using the RAIDON
GR8680-TB3 product. The information provided in this manual was checked before publication, but
the actual product specications may have changed before shipping; Latest product specications
and updates can be found at www.RAIDON.com.tw. No separate notications will be provided by our
company. If you would like to receive the latest RAIDON product information, manuals, and rmware,
or have any questions regarding RAIDON products, please contact your local supplier or visit www.
RAIDON.com.tw for more information.
All product-related content in this manual are copyrighted by RAIDON TECHNOLOGY, INC.
1. Operating Information
Operating Temperature: 0 ~ 40 ℃ (32 ~ 104 ℉ )
Storage Temperature : -20 ~ 47℃ (-4 ~ 116 ℉ )
Line Voltage : 100 ~ 240V AC
2. Package Contents and Product Views
Open the package and you shall nd the following parts:
GR8680-TB3
GR8680-TB3 Product Unit x1(Removable Tray x8)
Thunderbolt™ Cable x1
Power Cord x1
Quick Installation Guide x1
Screws & Keys
• Please check the product and accessories for any defect or missing parts. If you have any questions,
please contact your product supplier.
• Please visit the official website - Download page (http://www.RAIDON.com.tw/RAIDON2016/
download.php) to download drivers and other related resources.
1
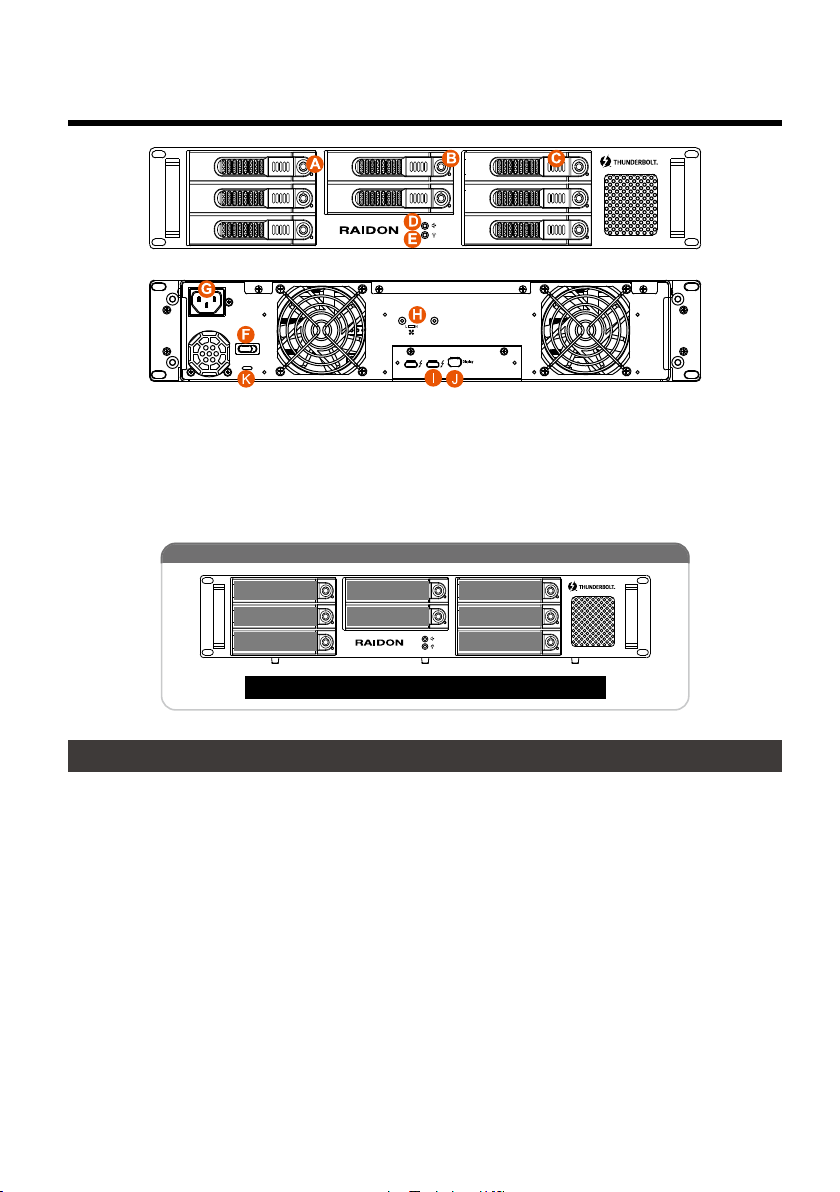
Front and Rear Views
SafeTANK GR8680-TB3 User Manual
A. HDD access light
B. HDD enclosure key lock
C. HDD enclosure button
D. Mute Switch
硬碟位置 5
硬碟位置 6
硬碟位置 7
NOTE: It’s a must for you to insert one disk at “Disk Position 0” bay.
E. System status light
F. Power switch
G. Power socket
H. Fan speed switch
Drive Position
硬碟位置 3
硬碟位置 4
硬碟位置 0
硬碟位置 1
硬碟位置 2
I. Thunderbolt™ port
J. Mini DisplayPort
K. Anti-theft lock
3. Hardware Requirements and Precautions
1. Only one interface connection may be used at once per computer system.
2. RAID volume formation utilizes the capacity of whichever hard drive has the smallest and then
multiply that capacity by seven for RAID 5, eight for RAID 0, to form a large volume, therefore,
it is recommended to only install hard drives of the same brand and specification for all drive
position prior to use. Moreover, when you need to replace with a new hard drive, please be sure
to purchase one with the same specication, capacity and brand. If these conditions can't be met,
select one that's at least 20 GB greater in capacity.
3. The actual storage capacity of GR8680-TB3 recognized by the system may dier from the total
capacity stated on the hard drives once the drives have been formatted.
4. Since GR8680-TB3 will delete all data les in your HDDs/SSDs at its rst-time use, please be
informed that you shall rst save all your personal data les into a safe memory space before
starting setting your new GR8680-TB3 to avoid any data loss during your start-up process.
5. Please make sure that the hard drives are free from bad blocks or defects prior to installation in
order to avoid system crashes or data loss.
6. Whenever turning o or unplugging your GR8680-TB3 from your computer system, please always
remember to safely remove it from your operating system rst.
2

SafeTANK GR8680-TB3 User Manual
7. When your GR8680-TB3 connects to the computer system, please do not remove, insert or even
swap any hard drive while data transfer is being performed.
8. It's prohibited to change the positioning of the drives once the initial installation has been
completed as the changes made to the drive positions may destroy the RAID formation.
9. A WARNING to you if you plan to delete or switch your original RAID setting:If you plan to delete
or switch your original RAID setting, please always duplicate your personal data before deleting
or changing it.
10. In RAID 5 mode, the system allows one single hard drive failure. If multiple drive failures occur at
once, it's likely that all data stored in the system have been destroyed or lost. In RAID 0 mode, if
one hard drive failure occurs, then all data maybe destroyed or lost.
11. Whenever turning off or unplugging the GR8680-TB3 from your computer system becomes
necessary, always remember to safely remove it from your operating system rst.
12. While the In-chassis temperature reaches up to 55 degree-C (131 degree-F), in order to get rid of
the heat efficiently, your GR8680-TB3 will turn fan parts to full speed automatically.
And once the In-chassis temperature drops down to 50 degree-C (122 degree-F), you could
then set fan speed at Fan Speed Switch manually to reduce its fan noise for a better green
environment at both of a lower fan noise and the power saving.
13. It is highly recommended for users to back up important data contained within the GR8680-TB3
unit on a regular basis or whenever the user feels necessary to a remote or a separate storage
device. RAIDON will not be responsible for any lost of data caused during the use of the unit or
the recovery of the data lost.
4. Hardware Installation
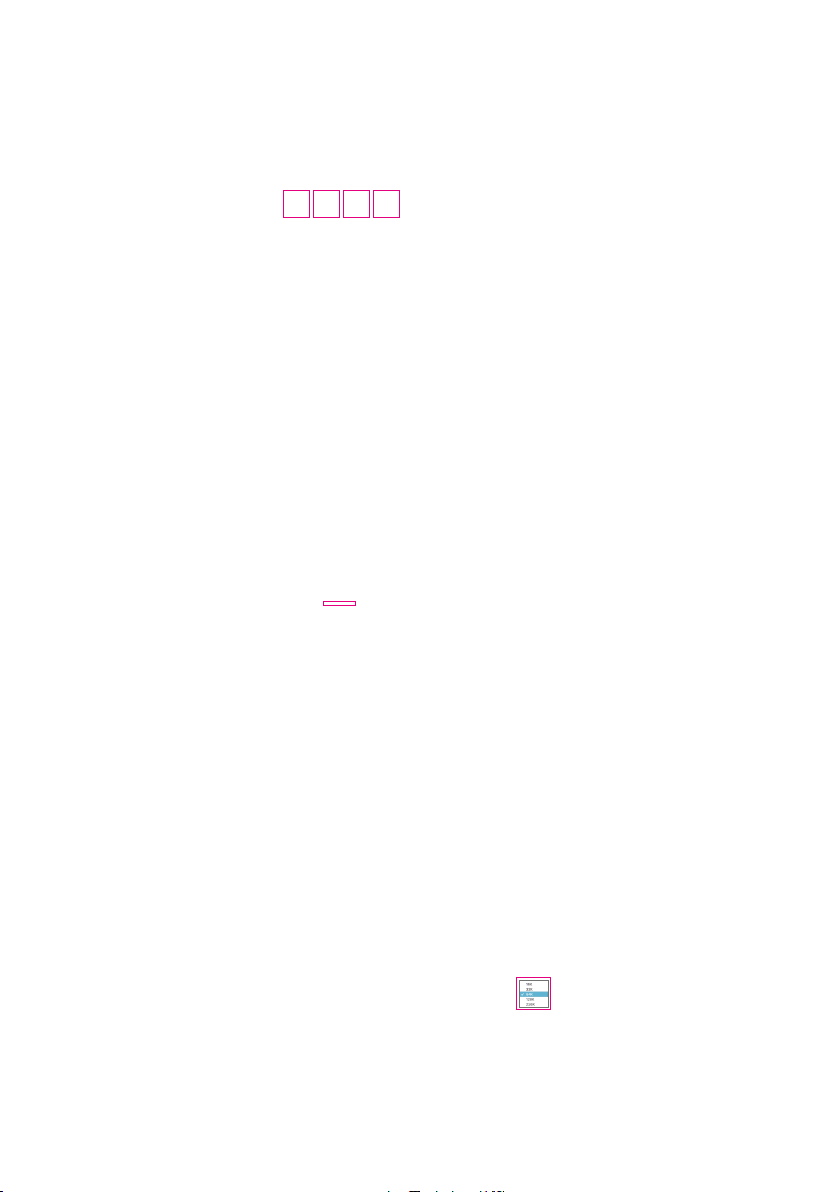
Please follow the steps below to complete the hardware installation process:
Step 1
Step 2
Step 3
Step 4
When you open the package, please immediately check the product and included parts for
any damage or missing parts. If there is a problem with the product or included parts please
contact your supplier immediately.
Place the device on a flat, even surface. Make sure that the cooling fan is not blocked
and there is sufficient surrounding space for cooling. (Keep away from water or other
environments that may cause product damage)
Please insert the key included with the parts pack into the keyhole to release the HDD
enclosure handle and remove the HDD enclosure.
Place the hard disk in the HDD enclosure and secure it in place with the included screws;
this will prevent damage to the hard disk from external vibration.
3

SafeTANK GR8680-TB3 User Manual
Note: Please avoid using hard disk drives from dierent manufacturers or dierent
models from the same manufacturer as this may impact system performance.
Step 5
Step 6
Step 7
Step 8
Step 9
Once the hard disk is installed, slide the enclosure into the system and close the handle.
Select the appropriate cable from the accessories pack depending on the interface. Connect
the GR4670-TB3 backplate connection port to the corresponding port on the computer.
Connect the AC Power cable to the GR4670-TB3. Plug the connector into the power socket
then start the system.
Your operating system will automatically detect available capacity once the device nishes
booting. Once the device has been detected, please follow instructions given by the
operating system and format the system. Once the hard disk has been formatted, the
GR4670-TB3 system can be used.
If the computer is unable to detect the system, please install the drivers fromofficial website -
Download page (http://www.RAIDON.com.tw/RAIDON2016/download.php) .
5. Troubleshooting Fan Errors
If the alarm indicator has lit up red and the audio alarm sounds, this could mean that either a system
fan has stopped operating entirely. When this occurs, you may press the mute button at the rear
of the system to shut off the audio alarm and power off the system immediately if in the allowed
operational state to let the system cool. Check and see if the overall operation environment is well
ventilated and make sure there are no blockages to the enclosed fan and then re-power on the
system to continue use. If the problem persists, please turn o the system and contact your supplier
or the RAIDON tech support for further assistance.
4

SafeTANK GR8680-TB3 User Manual
6. The MSU, and easy RAID configurator
Please visit the official website - Download page (http://www.RAIDON.com.tw/RAIDON2016/download.
php) to download Marvell Storage Utility (MSU). After GR8680-TB3 connected to the computer and
install the MSU, multiple RAID modes can be set up through the MSU.
A. Set up RAID Mode:
1. Use your Windows username and password to log into the MSU. If you have a username but no
password, then leave the password eld blank.
2. Click 【Operation】 and 【Create Array】.
5
3. Click at the selected HDDs.
4. Select【RAID 5】(or other RAID).
SafeTANK GR8680-TB3 User Manual
5. Setup Stripe Size.
• The more Stripe Sizes helps a better data transfer for large data les which is
good for video and audio editing works.
• The less Stripe Sizes helps a better efficiency at randon les which is good for
daily word processing, frequent read-&-write works.
6
SafeTANK GR8680-TB3 User Manual
6. Type Storage Name and Submit RAID setting.
6. Type Storage Name and Submit RAID setting.
7. After submitting RAID setting:
7. After submitting RAID setting:
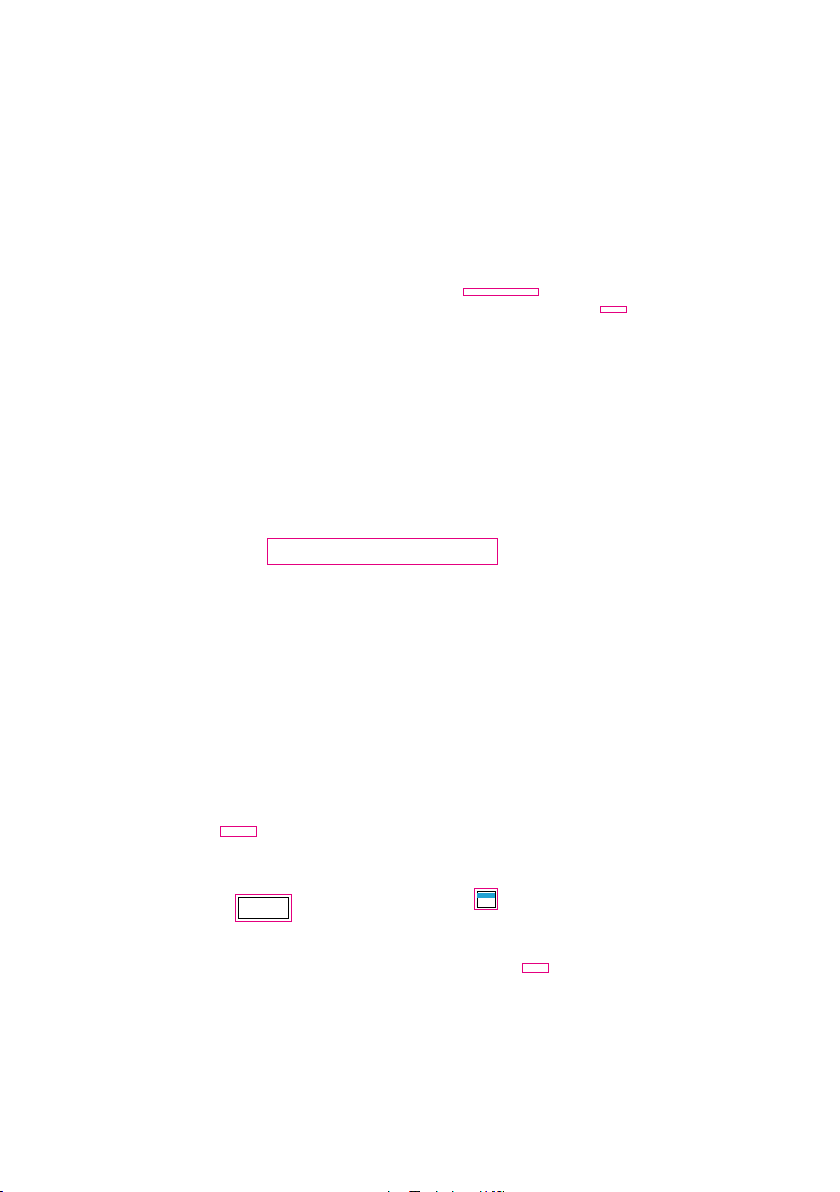
8. Click 【Create VD】 to set the 【Initialize】 option. The options are 【No Initialization】, 【Fast
8. Click 【Create VD】 to set the 【Initialize】 option. The options are 【No Initialization】, 【Fast
Initialization】, 【Foreground Initialization】 and 【Background Initialization】;【Gigabyte
Initialization】, 【Foreground Initialization】 and 【Background Initialization】;【Gigabyte
Rounding】 set to 【none】, then click 【Submit】.
Rounding】 set to 【none】, then click 【Submit】.
Note 1:
• No Initialization:
No initialization is performed
on the virtual disk.
• Fast Initialization:
None
No Initialization
Fast Initialization
Foreground Initialization
Background Initialization
Note 2: • In the event of a single physical disk failure in a RAID 1 virtual disk, Gigabyte Rounding allows the replacement physical
disk to be of a size slightly smaller than the existing physical disk. The capacity of the rebuilt virtual disk equals to the
size of the smaller physical disk included in the RAID 1 array. The conguration options represent the tolerance value of
drive capacity dierence.
The default user hard disk capacity is the same in the simple settings.
1G
10G
Quickly initialize the virtual
disk.
• Foreground Initialization:
The application performs
virtual disk initialization in the
foreground.
• Background Initialization:
The application performs
virtual disk initialization in the
background.
7

9. After submit, you get a New_VD.
P.S. VD is the abbreviation of Virture Disk.
10. To initiate and format HDD/SSD at OS level.
SafeTANK GR8680-TB3 User Manual
11. After completing the format, you couyld start using your GR8680-TB3.
8
 Loading...