

Page 1
43-933 .fm Page 1 Monday, August 16, 1999 2:59 P M
Cat. No. 43 - 93 3
OWNER’S MANUAL
Plea se read before using this equipmen t.
System 933
79-Memory Caller ID with
Call Waiting, Illuminator Backlight
and Dial Bac k
Page 2
43-933 .fm Page 2 Monday, August 16, 1999 2:59 P M
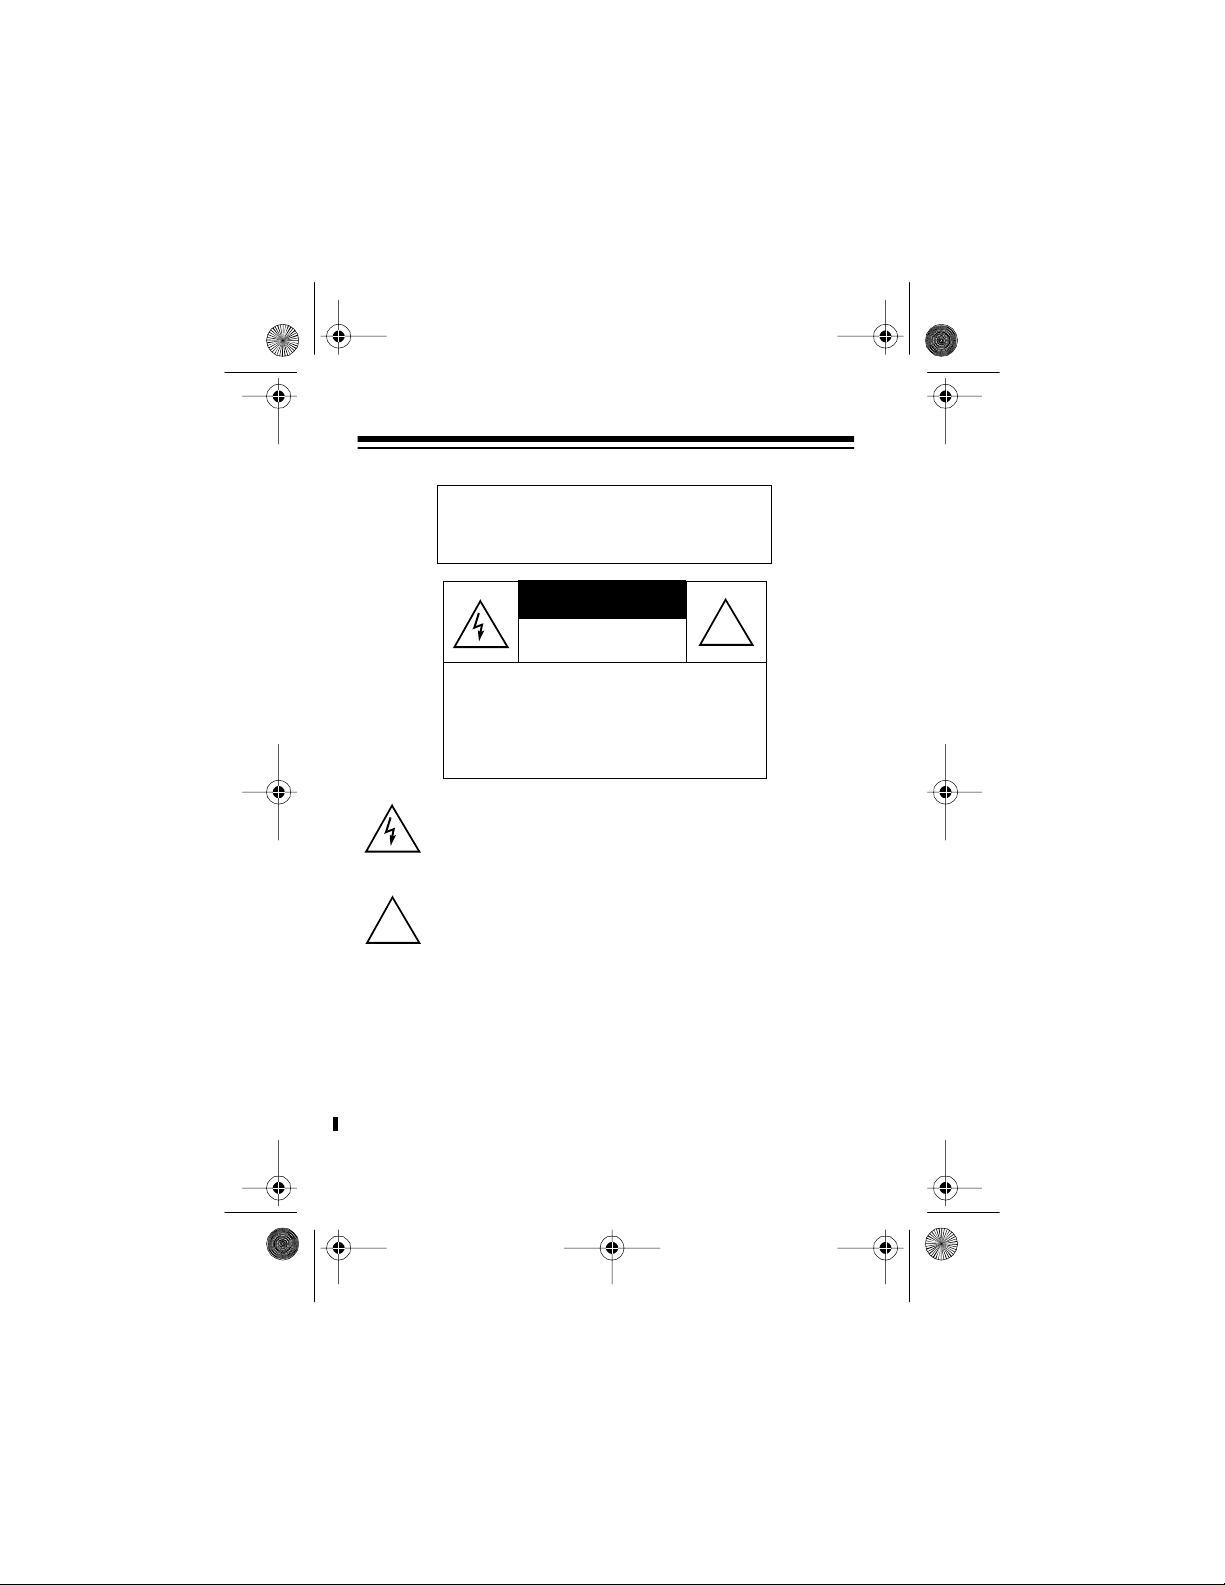
WARNING
: To reduce the risk of fire
or shock hazard, do not expose this
product to rain or moisture.
CAUTION
RISK OF ELECTRIC SHOCK.
DO NOT OPEN.
!
CAUTION
ELECTRIC SHOCK, DO NOT REMOVE
COVER OR BACK. NO USER -SERVICEABLE PARTS INSIDE. REFER SERVICING TO QUALIFIED PERSONNEL.
This symbol i s intended to alert y ou to the presence of uninsulated dangerous voltage within the product’s enclosure that mig ht be of suffi cient magnit ude to consti tute a
risk of electric shock. Do not open the product’s case.
This symbol is intended to inform you that important operating and maintenance instructions are included in the lit-
!
erature accompa nying thi s product.
RadioShack is a registered trademark used by Tandy Corporation.
: TO REDUCE THE RISK OF
©
1998 Tandy Corporation.
All Rights Reserved.
Page 3

43-933 .fm Page 3 Monday, August 16, 1999 2:59 P M
FEATURES
Your RadioShack System 933 79-Memory Caller ID with Call
Waiting, Illu minator Backlight and Dial Back is the latest in te lephone technology. The system disp lays th e calle r’s telephone
number (and name, if available in your area) and the current
date and time, as provided by your local phone company to
Caller ID service subscribers. (The date and time are set with
your first incoming Caller ID call.)
The System 933 stores and displays up to 79 multiple (name
and number) Caller ID records, and includes these features:
Easy Installation
phone line so you can qui ckly begin using it.
Bright Illuminator Backlight
press any key, making it easy to view and change information
even in a dimly lit ar ea.
Call Summary
ber of calls you recei ved, the phone number, date and ti me you
received the calls and the caller’s name.
Note:
Check with your local phone company regarding name
service availability.
New Call Indicator
call you have not reviewed.
VIP Call List
so they wil l not be deleted when y ou delete other cal ls from the
system’s memory.
— the system easily connects to your tele-
— the display lights when you
— displays the number of new calls, total num-
— flashes when you have at least one new
— lets you save up to 20 important call records
3
Page 4

43-933 .fm Page 4 Monday, August 16, 1999 2:59 P M
Message Waitin g — the system lets yo u know when you have
a voice mail message waiting (if you subscribe to the message
waiting service from your local phone company).
Record Scrolling — lets you easily look through all call
records in Caller ID memory.
Trilingual Operation — lets you set the system to display
messages in English, French, or Spanish.
Liquid Crysta l Display — makes it easy t o se e call er infor mation and the current time and date.
Contrast Control — lets you adjust the display contrast for the
best readability.
Time and Date Display — displays the current time and date
as provided to Caller ID service sub scribers by your local telephone company.
Mounting Options — you can place the system on a desk,
shelf, or table, or mount it on a wall.
Call Waiting — lets you know who is calling when you are
talking on the phone.
Dial Back — lets you redial a telephone number in the Caller
ID call record memory.
4
Page 5

43-933 .fm Page 5 Monday, August 16, 1999 2:59 P M
Note: Your s ystem r equi res f our AAA ba tt eries (not supp lied) t o
protect its m emo ry dur ing a power outage.
This system has been te sted and f ound t o comply wi th all applicable ETL and FCC standards.
We recommend you record the system’s serial number here.
The number is on the system’s bottom panel.
Serial Number: _________________________
5
Page 6

43-933 .fm Page 6 Monday, August 16, 1999 2:59 P M
Important Information:
• To use this system, you must be in an area where Caller
ID service is a vailable, and you must subscribe to the service.
• Where Caller ID is offered, one or more of the following
options are generally available:
– Caller’s number only
– Caller’s name onl y
– Caller’s name and number
Your system displays the caller’s name only if that option
is available in your area.
• The actual number of Caller ID records your system will
store depends on the amount of Caller ID information sent
by the phone company.
6
Page 7

43-933 .fm Page 7 Monday, August 16, 1999 2:59 P M
FCC INFORMATION
We have designed your system to conform to federal regulations, and you can connect it to most telephone lines. However, each system (and each device, such as a telephone or
answering machine) that you connect to the telephone line
draws power from the telephone line. We refer to this power
draw as the device’s
REN is on the bottom of the system.
If you use more than one telephone or other device on the line,
add up all of t h e R E N s . If the to ta l is more t han five, y ou r t el e phone might not ring. In rural areas, a total REN of three might
impair ringer operation. If ringer operation is impaired, remove
a device from the line.
ringer equivalence number
, or REN. The
Your system complies with Part 68 of
upon request, provide the FCC registration number and the
REN to your telephone company. Both numbers are on the
bottom of the system.
Note:
You must not connect your system to:
• Coin-ope rated systems
• Party-li ne systems
• Most electronic key telephone syst em s
In the unlikely event that your system causes problems on the
phone line, the phone company can temporarily disconnect
your service. If this happens, the phone company attempts to
notify you in advance. If advance notice is not practical, the
phone company notifies you as soon as possible and advises
you of your right to fil e a complaint with the FCC.
FCC Rules
. You must ,
7
Page 8

43-933 .fm Page 8 Monday, August 16, 1999 2:59 P M
Also, the phone company can make changes to its lines,
equipment, operations, or procedures that could affect the operation of this system. The telephone company notifies you of
these changes in advance, so you can take the necessary
steps to prevent int erruption of your telephone service.
This equipment compl ies wi th the li mit s for a Class B di gita l device as specified in Part 15 of
FCC Rules
. These limit s provide
reasonable protection against radio and TV interference in a
residential area. However, your equipment might cause TV or
radio interference even when it is operating properly. To eliminate interference, you can try one or more of the following corrective measures:
• Reorient or relocate the TV or radio’s receiving antenna
• Increase the distance between the equipment and the
radio or TV
• Use outlets on different electrical circuits for the equipment and the radio or TV
Consult your local RadioShack store if the problem continues.
Page 9

43-933 .fm Page 9 Monday, August 16, 1999 2:59 P M
CONTENTS
Please add the conte nts
9
Page 10

43-933 .fm Page 10 Monday, August 16, 1999 2:59 PM
PREPARATION
INSTALLING BATTERIES
You need four AAA batteries (not supplied) to protect the system’s memory during a po wer fai lure. For the longe st o perati on
and best perfor m ance, we recommend alkaline batteries, such
as RadioShack Cat. No. 23-558.
Cautions:
• Always use fresh batteries of the required size and recommended type.
• Do not mix o ld and new batterie s, different types of batteries (standard, alkaline, or rechargeable), or rechargeable
batteries of di fferent capacities.
Follow these st eps to install batteries.
Notes:
• When you replace the batteries, do not press any buttons
on the system after you remove the old batteries. Doing
so could erase all stored information.
10
Page 11

(illus)
(illus)
43-933 .fm Page 11 Monday, August 16, 1999 2:59 PM
• When replacing the batteries, have fresh ones on hand
before you begin. If you do not install the new batteries
within about 2 minutes after removing the old ones, you
will lose all the information stored in the system.
1. Make sure the system is unplugged from the telephone
line and AC power.
2. If you are
cords from the back of the system.
3. Use a Phillips screwdriver to remove the screw in the battery compar tm ent cover.
4. Slide the battery compartment
cover in the direction of the
arrow, then lift open the cover.
Caution: The battery compartment cover is attached to the
system. Do not try to remove it
completely.
5. Put four fresh AAA batteries
into the compartment as indicated by the polarity symbols
(+ and –) marked insi de.
6. Close the cover and secure it
with the screw. If you are
replacing the batteries, reconnect the phone line, AC
adapter, and the phone.
replacing
the batteries, unplug both modular line
11
Page 12

43-933 .fm Page 12 Monday, August 16, 1999 2:59 PM
When
Cautions:
• Always remove old or weak batteries. Batteries can leak
chemicals that can damage your system.
• Dispose of dead batteries promptly and properly. Do not
bury or burn them.
appears o r t he di splay dims, repl ace the ba tter ies.
BATT
CONNECTING THE AC ADAPTER
(illus)
To power the system, plug the adapter’s barrel plug into the
DC 200mA
other end of the adapter to a standard AC outlet.
Caution: The supplied adapter was designed specifically for
your system. Use onl y the supplied adapter.
jack on the back of the system. Then connect the
9V
12
Page 13

43-933 .fm Page 13 Monday, August 16, 1999 2:59 PM
CONNECTING THE SYSTEM
The System 933 connects to any modular phone jack and your
phone. You can also connect it to an answering machine.
Connecting to a Single-Line Phone
(illus)
1. Disconnect the telephone line cord from the phone and
plug it into the system’s
2. Plug one end of the supplied line cord into the system’s
PHONE
3. Plug the other end of the cord into the phone’s jack.
jack.
LINE
jack.
13
Page 14

43-933 .fm Page 14 Monday, August 16, 1999 2:59 PM
Connecting to a Two-Line Phone
To record in formati on about ca lls r eceive d on a two- line phone ,
you can con nect two System 933s usi ng a triplex adapter such
as Cat. No. 279-402 (not supplied). Each system only records
information about calls received on the line to which it is connected.
Follow these steps to connect two System 933s to a two-line
phone.
(illus)
1. Disconnect the telephone line cord from the modular
phone jack (on the wall) and plug it into
plex adapter.
2. Plug the triplex adapter i nto the modular phone jack.
3. Plug one end of the supplied line cord into the
jack on one of the systems.
4. Plug the other end of the cord into either
triplex adapter.
5. Repeat Steps 3 and 4 to connect another system to the
remaining open jack (
L1 or L2
) on the triplex adapte r.
L1 + L2
L1 or L2
on the tri-
TO LINE
on the
14
Page 15

43-933 .fm Page 15 Monday, August 16, 1999 2:59 PM
Connecting to an Answering Machine
(illus)
1. Plug a telephone line cord into the modul ar jack and plug it
into the system ’s
2. Plug one end of the supplied l ine cord into the system’s
PHONE
jack and plug the cord’ s other end into t he answer-
ing machine’s jack.
3. Plug a third telephone line cord into the answering
machine and the phone.
4. Set your answering machine to answer after two or more
rings. This gives the System 933 time to record the call
information that the phone company sends between the
first and second rings.
TO LINE
jack.
TO
MOUNTING THE SYSTEM
You can place the system directly on a desk, shelf, or table by
itself or attach the supplied mounting bracket if you want the
system to sit up at an angle. Or, you can use the bracket to
mount the system on a wall.
15
Page 16

43-933 .fm Page 16 Monday, August 16, 1999 2:59 PM
Attaching the Mounting Bracket
(illus)
1. Align the keyhole slots on the bottom of the system with
the hooks on the mounti ng bracket.
2. Gently push the system down on the bracket to secure it .
If you are pl acing the system on a desk, shelf, o r table, pull out
the stand on the back of the bracket until it cli cks.
To remove the system from the bracket, press up from the bottom of the system until it snaps off the bracket.
Mounting on a Wall
To mount the system on the wall, you need two screws (not
supplied) with heads larger than the keyhole slots on the back
of the mounting bracket.
Follow these steps to mount the system on a wall.
1. Using the keyholes in the supplied mounting bracket as a
template, mark the mounting screw locations on the wall.
2. Drill a hole in the wall at each marked loc ation.
16
Page 17

43-933 .fm Page 17 Monday, August 16, 1999 2:59 PM
3. Thread a screw through each hole, letting the
head extend
1
/8 inch from the wall.
4. Attach the mounting bracket to the system
(see “Attaching the Mounting Bracket“ on
Page x).
5. Route the phone line cords and AC adapter
cord through the slots on the back of the
bracket.
(illus)
6. Line up the keyhole slots on the bracket with the screws in
the wall, then slide the system down onto the screws until
it is secure.
(illus)
17
Page 18

43-933 .fm Page 18 Monday, August 16, 1999 2:59 PM
ADJUSTING THE DISPLAY CONTRAST
To lighten o r darken the displ ay, hold down
VIEW
buttoms until
play. To scroll through the contrast setting, press the
REVIEW
button.
CONTRAST ADJUST
ERASE
and
appears in the dis-
RE-
(illus)
CHOOSING A LANGUAGE
Your System 933 is programmed to display messages in English, but you can change it to display in French or Spanish.
Follow these st eps to change the language.
1. Hold down
current language (
FRANCAIS
2. Press
3. When you release the
Note:
will go to time calendar.
REVIEW
set.
If you don’t press any button within 10 seconds, the unit
REVIEW
ENGLISH, ESPANOL
for French) appear s.
until the language you want appears.
CALL BACK
and
REVIEW
buttons until the
for Spanish, or
button, new language is
18
Page 19

43-933 .fm Page 19 Monday, August 16, 1999 2:59 PM
SETTING LOCAL AREA CODE
Before receiving calls, you should enter your local area code.
1. Hold down both
appears.
CODE
2. To change the first digit, press
desired digit appears. Then, press
firm.
3. Re peat step 2 for setting the second and third digits.
4. Either leave the unit alone, or press
go back to the idle mode.
REVIEW
buttons until
REVIEW
ERASE
LOCAL AREA
button until the
button to con-
REVIEW
button to
19
Page 20

43-933 .fm Page 20 Monday, August 16, 1999 2:59 PM
OPERATION
RECEIVING AND STORING CALLS
Caller ID is a service provided by your telephone company.
When you subscribe to this service, the telephone company
sends the caller’s telephone number (and name, if available)
and the call’s date and time between the first and second ring.
The system receives and displays this information f or each call
and updates the display with the current date and time. Your
system saves up to 79 call records, then replaces the oldest
call record with each new one.
During an incoming call, the red new call indicator flashes, the
display lights, and
pear.
RECEIVING CALL WAITING CALLS
When you are talki ng on the phone an d you hear the Call Wait ing beeps, you can look at the disp lay to see who is calling . To
talk with that person, pre ss the
set. When you want to return to your original caller, press the
FLASH
button again.
NEW
and the
FLASH
number of calls ap-
TOTAL
button on your telep hone
Note:
You must call your local phone company to subscribe to
Caller ID w ith C a ll Wa iting servic es .
20
Page 21

43-933 .fm Page 21 Monday, August 16, 1999 2:59 PM
REVIEWING CALL RECORDS
Each time you receive a call, the system saves a call record in
memory that you can see whil e you are on the phone or review
later.
Each call record includes the time and date of the call, the call
number (order the call is receive d), the call er’s tel ephone num ber, and the caller’s name (if available).
(illus)
To scroll through the call records, repeatedly press (or hold
down )
Notes:
• If no call information is stored,
• If you do not press a button within about 10 seconds, the
• After you review all calls,
REVIEW
when you press
system automatically returns to the time and date display.
ply press
again.
REVIEW
or
REVIEW
REVIEW
.
-NO CALL-
REVIEW
or
-END OF LIST-
REVIEW
or
appears
.
appears. Sim-
to view the calls
21
Page 22

43-933 .fm Page 22 Monday, August 16, 1999 2:59 PM
REDIALING FROM CALL RECORD
MEMORY
To redial a te lephone numbe r stor ed in the Caller I D call reco rd
memory, press the
view the desired call record.
1. Lift the handset of your touchtone telephone and confirm
the presence of di al tone.
2. Press the Caller ID
phone number obser ved in the display.
3. When the number to be redialed is out of your area code,
dial “1“ on your telephone before pressing the Caller ID
CALL BACK
REVIEW
button.
button or
CALL BACK
REVIEW
button to redial the tele-
button to
22
Page 23

43-933 .fm Page 23 Monday, August 16, 1999 2:59 PM
Displayed Call Information
The system can di splay the following information.
Display
(English,
French,
Spanish)
Description
REPT
LONG DISTANCE
LONGUE DISTANCE
LARGA DISTANCIA
-UNKNOWN NAME-
-NOM INCONNUNOM DESCONOCIDO
UNKNOWN NUMBER
NUMERO INCONNU
NUM DESCONOCIDO
UNKNOWN CALLER
APPELER INCONNU
DESCONOCIDO
Appears with a number if you
have received a call from the
same phone number more than
once.
Appears along with
tance call) if your phone company
sends information indicating that
the incoming call is l ong distance.
The incoming call is from an area
that does not send Caller I D name
information.
The incoming call is from an area
that does not send Cal ler ID number information.
The incoming call is from an area
that does not send any Caller ID
information.
LDC
(long dis -
23
Page 24

43-933 .fm Page 24 Monday, August 16, 1999 2:59 PM
Display
(English,
French,
Spanish)
Description
BLOCKED NAME
-NOM BLOQUENOMBRE PRIVADO
BLOCKED NUMBER
-NUMERO BLOQUENUMBERO PRIVADO
BLOCKED CALL
APPEL BLOQUE
LLAMADA PRIVADA
-SERVICE ERRORERREUR DE LIGNE
ERROR EN LINEA
BATT
-NO CALL-
-PAS D APPEL-
-NO LLAMADANEW
NOUV
NUEVO
The caller has blocked the Caller
ID name information from being
sent.
The caller has blocked the Caller
ID number information from being
sent.
The caller has blocked any Caller
ID information from being sent.
Call information was distorted before reaching the system. Normal
static on the telephone can cause
this message. If it happens often,
contact your phone company.
Appears when batte ry lev el is l ow.
No call in formation is s tored in the
system.
The system has received incoming calls that have not been reviewed.
24
Page 25

43-933 .fm Page 25 Monday, August 16, 1999 2:59 PM
Display
(English,
French,
Spanish)
Description
TOTAL
TOT.
TOTAL
#NEW
-RECORD STORED-
-MEMORISE-
-MEMORIZADOVIP
-VIP MEMO FULL-
-VIP PLEIN-
-VIP LLENODELETE ALL?
EFFALER TOUT?
BORRAR TODD?
-NO DATA SENT-
PAS DE DONNEES
-NO ENVIADO-
25
The total number of incoming
calls(not included VIP calls).
Indicates it is a new call that has
not been reviewed.
The caller ID record is stored in
VIP memory.
VIP memory is active.
Appears when no new VIP num-
ber can be entered.
Delete all numbers from me mory.
Call information was not sent by
the phone company .
Page 26

43-933 .fm Page 26 Monday, August 16, 1999 2:59 PM
DELETING CALLS
Deleting a Single Call
1. Repeatedly press (or hold down) either
you see the call record you want to delete.
2. Press
DELETE
matically renumbers the remaining call records. After 10
seconds, the ti me and date reappears.
. The system deletes that record and auto-
REVIEW
key until
(illus)
Deleting All Calls
1. While the system displays the time and date, press either
REVIEW
2. Hold down
ALL?
3. While
NO CALL-
Or, to cancel deletion, do not press any button. After
about 10 seconds,
key.
DELETE
.
until the system displays
DELETE ALL?
appears.
DELETE ALL?
appears, press
disappears.
DELETE
DELETE
again.
-
26
Page 27

43-933 .fm Page 27 Monday, August 16, 1999 2:59 PM
VIP CALL LIST
Your system lets you save up to 20 call records in its VIP call
list so t hey wil l not be delete d i f you de lete al l call s fro m the system’s memory. This lets you save a list of important callers.
Follow these st eps to store call records in the VIP call list.
1. Repeatedly press either
record you want to store as a VIP call.
2. Hold down
STORED-
a VIP call record.
VIP
button until
appears. The system stores the call record as
REVIEW
VIP
(illus)
key until you see the call
flashes and
-RECORD
Note:
If the system’s memory is full (20 VIP call records
are already stored),
you press
must first delete an existing one.
To review VIP call records, press
edly press either
VIP
-VIP MEMO FULL-
button. To store another VIP call r ecord, you
REVIEW
buttons.
appears when
VIP
button first, then repeat-
27
Page 28

43-933 .fm Page 28 Monday, August 16, 1999 2:59 PM
To delete a VIP call record, select the call record you want to
delete, then press
DELETE
.
To delete all entries from the VIP call list, hold down
until
DELETE ALL?
Or, to cancel deletion, do not press any button. After about 10
seconds,
DELETE ALL?
appears. Press
disappears.
DELETE
to confirm.
DELETE
MESSAGE WAITING
If you subscribe t o message wai ting service wi th your loca l telephone company, the red new call indic ator f lashes and t he system displays
message waiting.
Note:
• The system replaces the
with a flashing
other functions until you retrieve all of your messages.
• When the battery is in a good condition but without AC
power supply, the system displays
when the m essage waiting activate signal is recei ved. The
message waiting si gnal is ignored.
MESSAGE WAITING
MESSAGE WAITING
(on the right of the display) to display
M
when you have a
display
-NO DATA SENT-
28
Page 29
43-933 .fm Page 29 Monday, August 16, 1999 2:59 PM
TROUBLESHOOTING
If your system is not working as it should, these suggestions
might help you eliminate the problem.
Problem Solution
Blank screen The System 933 is not receiving
power. Make sure the batteries
are installed and the AC adapter
is plugged in.
Adjust the contrast as described
in “Adjusting the Display Contrast“ on Page x.
Check if you have ordered caller
ID service from your local telephone company.
No dial tone on the
phone attached to the
caller ID unit
Check all cabling to make sure
that all connections are secure.
Check installation
Disconnect the caller ID unit and
reconnect phone to find out if the
phone works without the caller ID
unit.
29
Page 30
43-933 .fm Page 30 Monday, August 16, 1999 2:59 PM
Problem Solution
You have an incoming
call, but do not receive
any Caller ID information.
You answered the call before the
System 933 received the call information. Wait until your phone
rings at least 2 times b efore an swering a call.
Alarm time can be set,
The system has no alarm action.
but there is no alarm
action.
If you see a message that you do not understand, see “Displayed Call Information“ on Page x.
30
Page 31

43-933 .fm Page 31 Monday, August 16, 1999 2:59 PM
CARE AND MAINTENANCE
Your RadioShack System 933 79-Memory Caller ID with Call
Waiting, Illuminator Backlight and Dial Back is an example of
superior design and craftsmanship. The following suggestions
will help you care for your system so you can enjoy it for years.
Keep the system dry. If it gets wet, wipe it dry immediately. L iquids might cont ain minerals tha t can
corrode the electronic circuits.
Use and store the system only in normal temperature environments. Temperature extremes can
shorten the life of electronic devices and distort or
melt plastic parts.
Keep the system away from dust and dirt, which
can cause premature wear of parts.
Handle the system gently and carefully. Dropping
it can damage circuit boards and cases and can
cause the system to work imp roperly.
Wipe the system wit h a damp cloth occas ionall y to
keep it looking new. Do not use harsh chemicals,
cleaning solvents, or strong detergents to clean
the system.
31
Page 32

43-933 .fm Page 32 Monday, August 16, 1999 2:59 PM
Modifying or tampering with the system’s internal components
can cause a malfunction and might invalidate your system’s
warranty and void your FCC authorization to operate it. If your
system is not performing as it should, take it to your local RadioShack stor e for assist ance. If t he trouble is affecting the telephone lines, the phone company can ask you to disconnect
your system unti l you have resolved the problem.
LIGHTNING
Your system has built-in protection circuits to reduce the risk of
damage from sur ges in phone line or po wer lin e current . These
protection circuits meet or exceed FCC requirements. However, lightning striking the phone line can damage your system.
Lightning damage is not common. However, if you live in an
area that has severe electrical storms, we suggest you unplug
your system during storms to reduce the possibilit y of damage.
32
Page 33

43-933 .fm Page 33 Monday, August 16, 1999 2:59 PM
NOTES
33
Page 34

43-933 .fm Page 34 Monday, August 16, 1999 2:59 PM
NOTES
34
Page 35

43-933 .fm Page 35 Monday, August 16, 1999 2:59 PM
NOTES
35
Page 36

y
43-933 .fm Page 36 Monday, August 16, 1999 2:59 PM
Pls add one year warr a n t
RadioShack
A Division of Tan dy Co rporation
Fort Worth, Texas 76102
12A8 Printed in China
 Loading...