

Page 1
www.radioshack.com
.
30:"+PEJ"$KI"&KIKV"#VQOKE"%NQEM
™
OWNER’S MANUAL —
Please read before using this equipment.
WARNING:
shock hazard, do not expose this product to rain
or moisture.
CAUTION:
ELECTRIC SHOCK, DO NOT REMOVE
COVER OR BACK. NO USER-SERVICEABLE
PARTS INSIDE. REFER SERVICING TO
QUALIFIED PERSONNEL.
!
Dispose of batteries promptly and properly. Do
not burn or bury them.
• Use only a fresh battery of the required size
and recommended type.
• If you do not plan to use the clock with
batteries for a week or more, remove the
batteries. Batteries can leak chemicals that
destroy electronic parts.
To reduce the risk of fire or
CAUTION
RISK OF ELECTRIC
SHOCK. DO NOT OPEN.
TO REDUCE THE RISK OF
This symbol is intended to alert
you to the presence of
uninsulated dangerous voltage
within the product’s enclosure that
might be of sufficient magnitude
to constitute a risk of electric
shock. Do not open the product’s
case.
This symbol is intended to inform
you that important operating and
maintenance instructions are
included in the literature
accompanying this product.
"R"9#40+0)"R"
.
"%#76+10"
.
!
±±±±"016'"±±±±"
Installing the Backup Battery
To prevent unnecessary drain on the battery,
make sure you connect the alarm to an AC
power outlet before you install the battery.
Setting the Time Zone
Parts of Arizona and Indiana do not participate in
Daylight Savings Time.
Setting the Time
• The defaulted clock setting is 12:00 a.m.
• PM lights if it is a p.m. hour.
63-1416
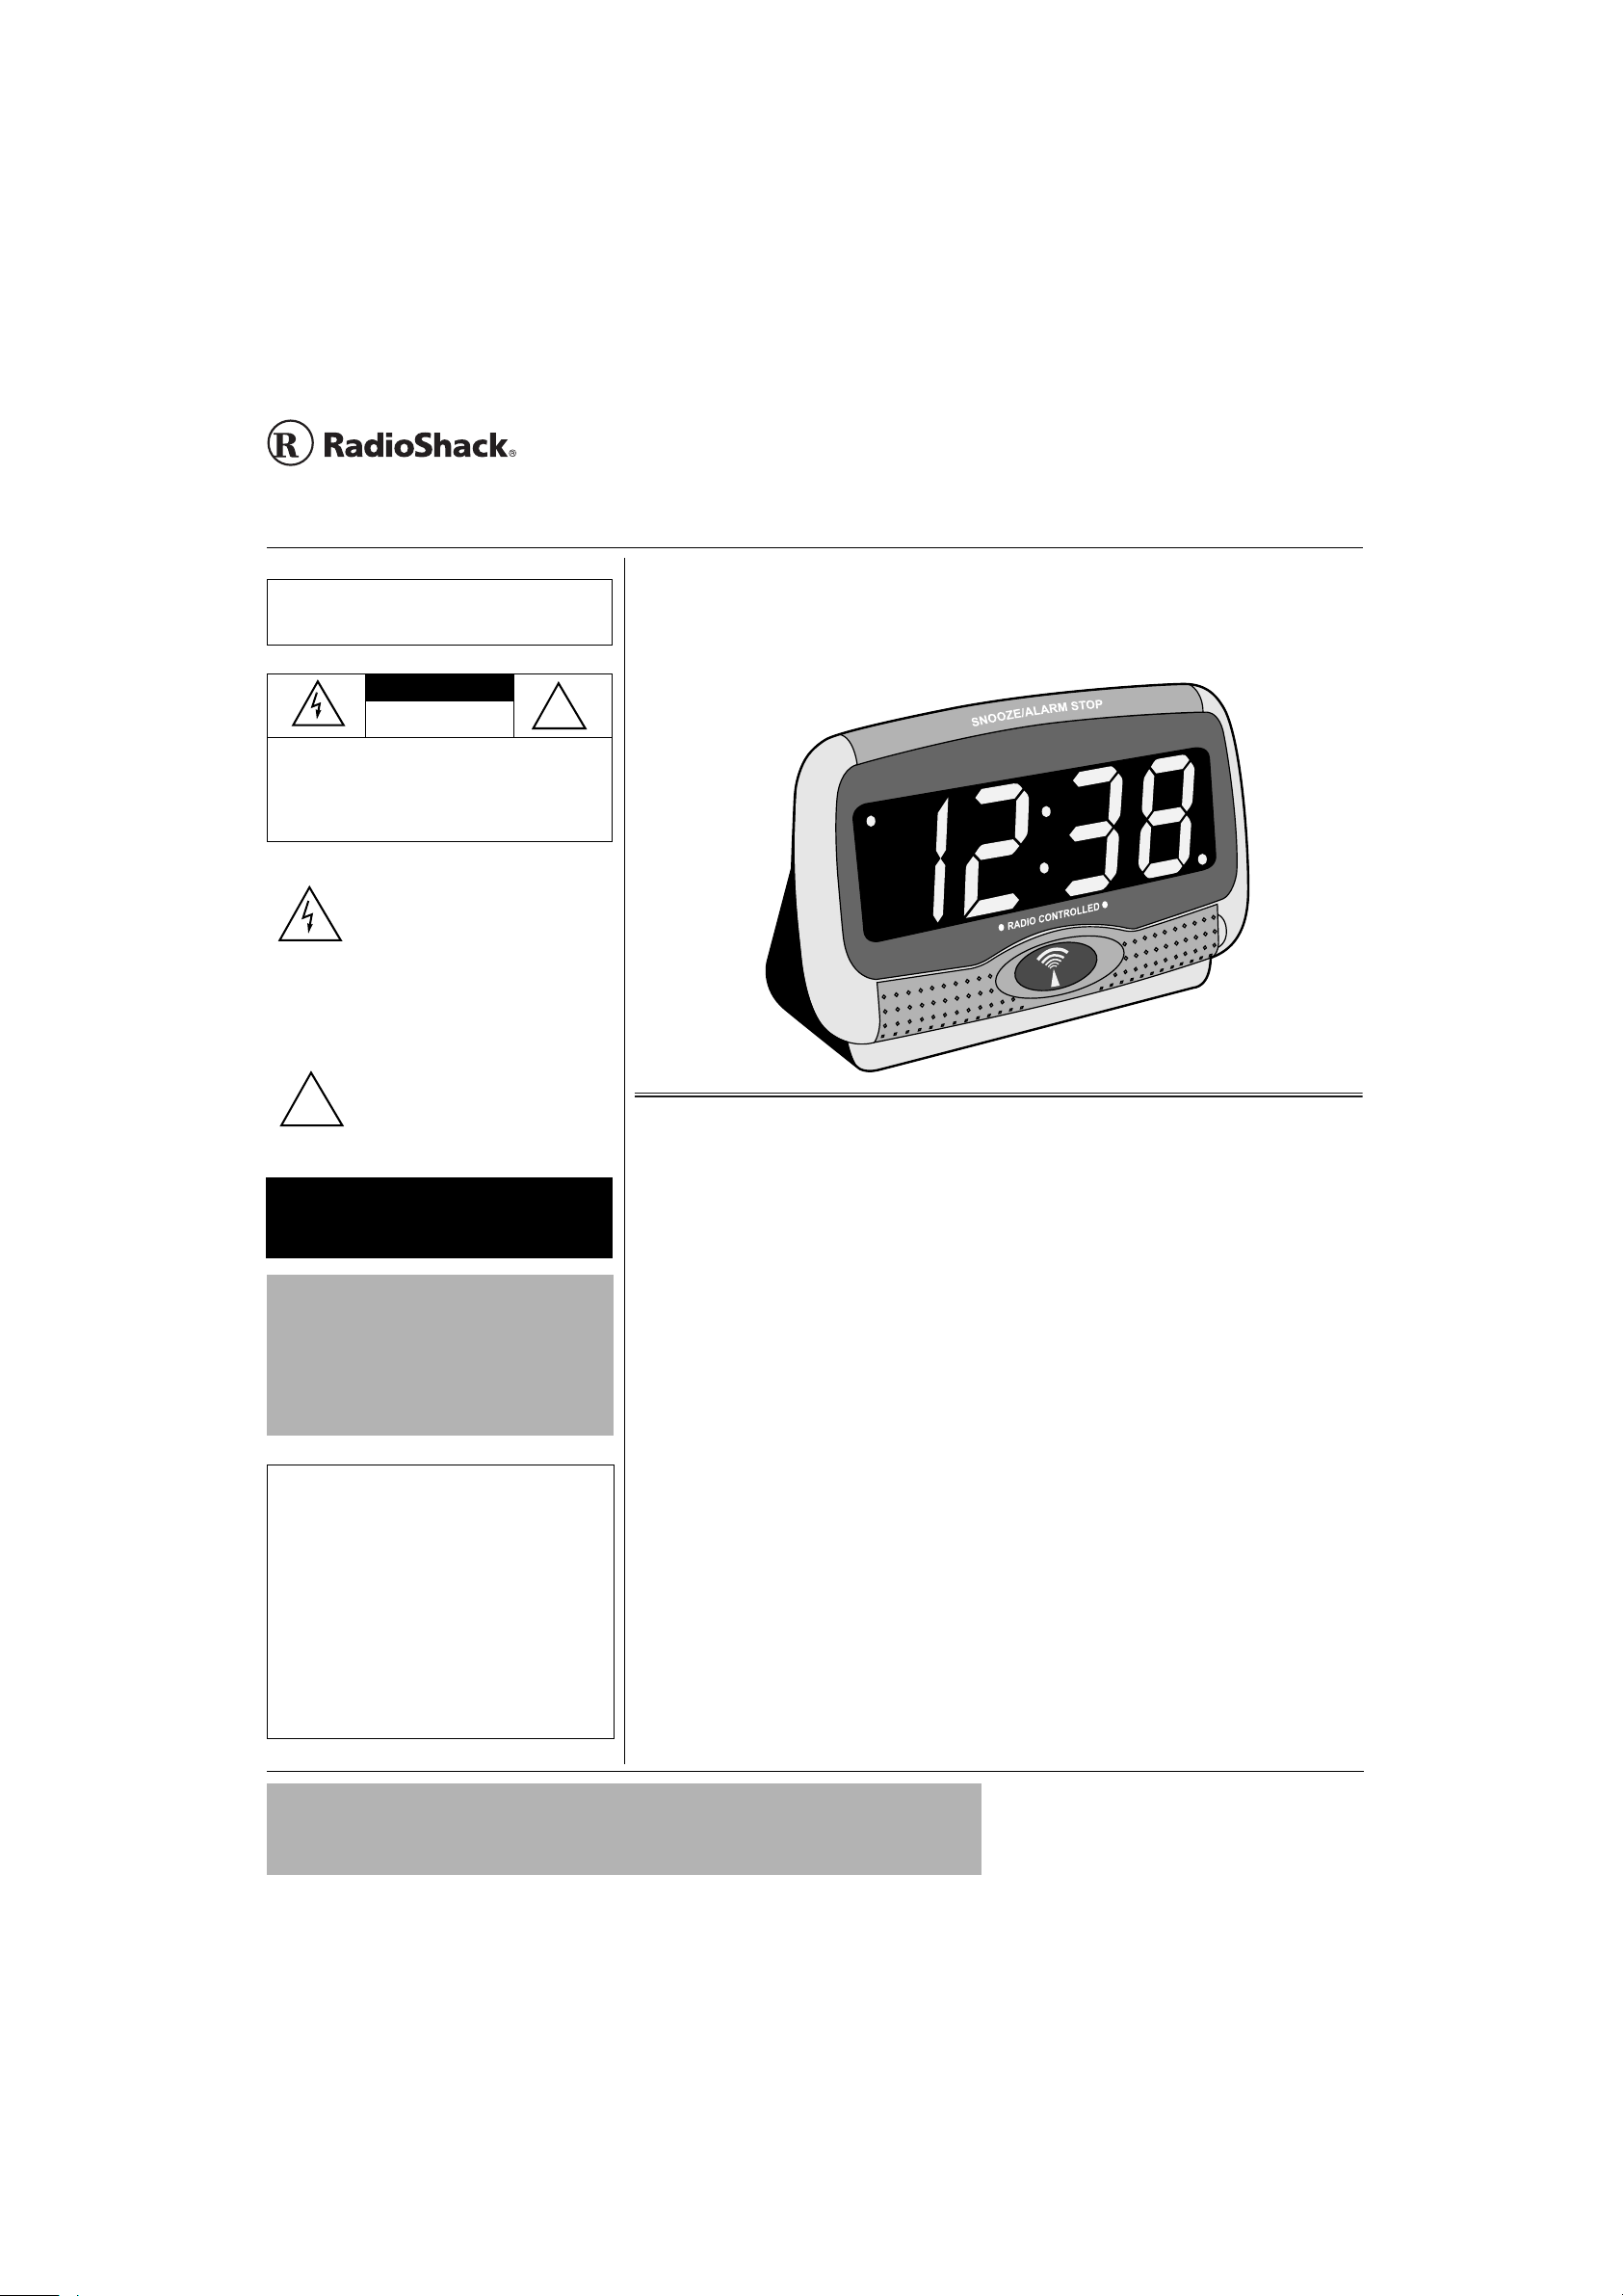
Thank you for purchasing a RadioShack 1.8 Inch Big Digit Atomic Clock. Your clock tells Atomic
time, so it sets itself automatically when it receives the WWVB signal transmitted by NIST in
Fort Collins, Colorado. It has a bold, easy to read display with a Hi-Lo dimmer that allows you to
adjust the brightness for greater readability. With four time zones selection, you can set the
clock to the correct time by just sliding a switch!
Four Time Zones —
slide the time zone
switch to select
Pacific Standard
Times (PST),
Mountain Standard
Time (MST), Central
Standard Time (CST),
or Eastern Standard
Time (EST).
Daily Dual Alarm —
two separate alarms
with different sounds.
%100'%6+0)"219'4
To power the alarm clock, plug the clock's
power cord and transformer into any
standard AC outlet.
flashes. The clock searches for the WWVB
signal.
appears and
0ý&&
0ý&&
0ý&&0ý&&
+056#..+0)"6*'"$#%-72"
$
#66'4;"
You can install a backup battery so you do
not lose your clock settings if there is a power
failure. The display turns off during a power
failure, but, for 24 hours, the clock continues
to run and the alarms sound at the preset
alarm times.
Your clock requires one 9V battery (not
supplied) for backup power. For the best
performance and longest life, we recommend
RadioShack alkaline batteries.
1. Slide the battery compartment cover in
the direction of the arrow to remove it.
2. Place the battery in the compartment as
indicated by the polarity symbols
(+ and –) marked inside.
3. Replace the cover.
±±±±
HHHH
....
RRRRý
Backup Battery —
powers the clock
during a power failure
When LO BAT lights, the backup battery is
low. Replace the battery.
5'66+0)"6*'"6+/'"
<10'"
Slide
Time Zone
clock to select the desired time zone.
If the clock does not receive the signal in the
first 20 minutes, set it manually. The clock
adjusts itself automatically to the exact time
within 48 hours.
&#;.+)*6"5#8+0)5"6+/'
Set
ON
without Daylight Savings Time (DST). Set
DST
without DST.
, located on the back of the clock, to
DST
unless the clock is used in an area
to
OFF
5'66+0)"6*'"6+/'
1. T o set the hour, press and hold
and then press (or press and hold)
WAVE
2. To set the minute, press and hold
SET
, located on the back of the
if the clock is used in an area
±±±±
until the desired hour appears.
and repeatedly press (or press and
Daylight
Saving Time
(DST) —
adjusts to
Daylight
Saving Time
automatically
when it
receives the
WWVB signal
TIME SET
Hour/
±±±±
TIME
"+/2146#06"
If an icon appears at the end of a paragraph, go to the box on that page with the corresponding icon for
#
pertinent information.
— Warning
RRRRý
— Important ±
#
± — Note .
±±
#
. — Caution
..
°°°°
— Hint
2002 RadioShack Corporation.
©
RadioShack and RadioShack.com are trademarks
All Rights Reserved.
used by RadioShack Corporation.
Page 2

hold)
MIN
appears.
until the desired minute
interference. In most cases, the clock will not
receive and update its time until this time.
±±±±"016'"±±±±"
• When the switch is at ALM 1 + ALM 2
position, alarm setting is not available
• Press ALARM/SET at any time to view the
set alarm time according to the alarm switch
position ALM 1 or ALM 2.
3. Release
TIME SET
, the set time appears.
5+)0#."564'0)6*"&'6'%6+10"
appears when the clock receives a
U0&&
U0&&
U0&&U0&&
signal. The digit left of the colon indicates the
level of signal strength.
5KIPCN"+PFKECVQT 5KIPCN"5VTGPIVJ
Blank No signal
Single bar Weak
Double bar Medium
Triple bar Strong
Place your clock in a location with strong
signal strength. It is recommended to locate
the clock near a window facing the direction
of Fort Collins, Colorado. If the clock has
poor signal reception or unstable signal
marks, move the clock to another location.
While the clock is receiving, press
once to go to the Time display mode. The
clock continues receiving the atomic time.
Press
HOUR/WAVE
display.
While the clock is receiving, if you set the
time or an alarm, the clock stops receiving
immediately.
When receiving cannot be completed at 7
minutes after power up, the clock returns to
the time display with clock
and remote control (RC) receiving continues.
to enter Signal Strength
'(0&-
'(0&-
'(0&-'(0&-
TIME SET
am appears
4'%'+8+0)"619'4"+0&+%#614"
6QYGT"+PFKECVQT +PFKECVGU
Blinking The clock is receiving
Static On Successful reception
Off
+456"4'%'26+10"#(6'4"
(
100'%6+0)"219'4
%
The clock starts to search for the WWVB
signal and searches for 20 minutes after you
connect it to power.
In optimal conditions, the correct time will be
displayed within 10 minutes
The atomic reception tower icon will keep
blinking when the clock is receiving the
signal.
The static atomic reception tower indicator
indicates successful reception.
The signal is at its maximum strength from
12:00 am to 3:00 am and with minimal radio
No reception/failed
reception
9KVJKP"VJG"HKTUV"5"JQWTU
If your clock fails to receive the signal in the
1st reception after power-up, it will repeat a
20-minute reception sequence every 60
minutes. This operation stops when the time
signal is received
#HVGT"VJG"HKTUV"5"JQWTU"
If no signal can be received within the first
three hours, the clock repeats the reception
every three hours until it receives a signal.
#WVQOCVKE"VKOG"WRFCVG
The clock automatically updates everyday at
01:00 (1:00 a.m.) and 03:00 (3:00 a.m.) and
05:00 (5:00 a.m.). If the automatic time
update fails, it will repeat the update every 3
hours until it is successful in receiving the
signal.
/CPWCN"VKOG"WRFCVG
Manual reception can be started anytime by
pressing
The time display changes to Signal Strength
Detection display
to search for the WWVB signal for 20
minutes.
HOUR / WAVE
.
. The clock will start
U0&&U
U0&&U
U0&&UU0&&U
5'66+0)"6*'"#.#4/5
#.#4/"3"14"4
1. Slide
LED lights or the ALM 2 LED lights.
2. To set the alarm hour, Press and hold
ALARM/SET
hold)
appears on the display.
3. To set alarm minute, press and hold
ALARM/SET
hold)
appears on the display.
4. Release
the set time display.
to
ALM
ALM 1 or ALM 2
and press (or press and
HOUR/WAVE
until the desired minute
MIN
ALARM/SET
until the desired hour
and press (or press and
, the clock returns to
75+0)"6*'"#.#4/"
To activate Alarm 1 only, slide
then slide
back of the clock to
to activate Alarm 2 only, slide
then slide
back of the clock to ON, or ...
to activate both Alarm 1 and Alarm 2, slide
ALM
OFF
ALARM/ON/OFF
, or ...
ON
ALARM ON/OFF
to
ALM 1 + ALM 2
located on the back of the clock to ON.
, then slide
ALM
located on the
ALM
located on the
. The ALM 1
±±±±
to
ALM 1
to
ALM 2
ALARM ON/
,
,
2
Page 3

9*'0"6*'"#.#4/"5170&5
The alarm sounds with the corresponding
alarm’s LED indicator flashing.
Alarm 1 and Alarm 2 have different beeping
sounds. The duration for each alarm is 2
minutes.
To turn off the alarm, slide
. Slide it to ON to reset the alarm to sound
OFF
ALARM ON/OFF
to
at the same time the next day. Or press
SNOOZE/ALARM STOP
located on the top of
the clock.
When you set both alarms to sound at
different times, press and hold
ALARM STOP
for 2 seconds to turn off the
SNOOZE/
corresponding alarm that is beeping. The
alarm will stop and sound again at the same
time the next day.
When both alarms are beeping, press and
hold
SNOOZE/ALARM STOP
for 2 seconds to
turn off both alarms.
75+0)"5011<'"
To temporarily turn off the alarm for abou t 9
minutes, tap on the
button once on top of the clock while the
alarm sounds. The alarm stops and sounds
in about 9 minutes. You can repeat the
snooze alarm by pressing
when the alarm sounds next time.
STOP
SNOOZE/ALARM STOP
SNOOZE/ALARM
Output, 6-foot cable .......................... UL approved
Alarm Sound Level ....... 70dB (10cm from buzzer)
Snooze alarm duration ........................... 9 minutes
Alarm Duration ....................................... 2 minutes
Operating Temperature ....... 0C–40° C (32–104° F
Storage Temperature ........ -10–60° C (14–140° F)
Specifications are typical; individual units might
vary. Specifications are subject to change and
improvement without notice.
.19"$#66'4;".'8'."
&'6'%6+10"
If a battery is not installed, the LOW BAT.
indicator appears solid.
The clock detects the battery level —
• at 12:00 pm daily
• when AC power recovers from failure,
• when the clock is connected to power
When the clock detects the battery level, a
load of around 5mA is drawn directly from the
battery. If the clock detects a low battery
voltage, the LOW BAT. indicator appears
solid.
52'%+(+%#6+105"
Atomic frequency ........................... 60kHz WWVB
Time accuracy ............... 1/1000 sec. / 3,000 years
Time accuracy ...................... ± 1 sec./ day at 25 C
Power Requirement ...................... AC 120V, 60Hz
Slide switch reliability ........................ 3,000 cycles
Contact button ............. 1,000 times vertical press
Backup Battery ................................ 1 × 9-Voltage
Backup Battery Life ................................. 24 hours
External Transformer ...... AC 120V input, 4.5V × 2
at 180-200g force
3
Page 4

Limited One-Year Warranty
This product is warranted by RadioShack against manufacturing defects in material and workmanship under normal use for one (1) year from the date of purchase from RadioSha ck compan y- owned
stores and authorized RadioShack franchisees and dealers. EXCEPT AS PROVIDED HEREIN, RadioShack MAKES NO EXPRESS WARRANTIES AND ANY IMPLIED WARRANTIES, INCLUDING
THOSE OF MERCHANTABILITY AND FITNESS FOR A PARTICULAR PURPOSE, ARE LIMITED
IN DURATION TO THE DURATION OF THE WRITTEN LIMITED WARRANTIES CONTAINED
HEREIN. EXCEPT AS PROVIDED HEREIN, RadioShack SHALL HAVE NO LIABILITY OR RESPONSIBILITY TO CUSTOMER OR ANY OTHER PERSON OR ENTITY WITH RESPECT T O ANY
LIABILITY, LOSS OR DAMAGE CAUSED DIRECTLY OR INDIRECTLY BY USE OR PERFORMANCE OF THE PRODUCT OR ARISING OUT OF ANY BREACH OF THIS WARRANTY, INCLUDING, BUT NOT LIMITED TO, ANY DAMAGES RESULTING FROM INCONVENIENCE, LOSS
OF TIME, DATA, PROPERTY, REVENUE, OR PROFIT OR ANY INDIRECT, SPECIAL, INCIDENTAL, OR CONSEQUENTIAL DAMAGES, EVEN IF RadioShack HAS BEEN ADVISED OF THE
POSSIBILITY OF SUCH DAMAGES.
Some states do not allow limitations on how long an implied warranty lasts or the exclu sion or limit ation of incidental or consequential damages, so the above limitations or exclusions may not apply to
you.
In the event of a product defect during the warranty period, take the product and the RadioShack
sales receipt as proof of purchase date to any RadioShack store. RadioShack will, at its option, unless otherwise provided by law: (a) correct the defect by product repair without charge for parts and
labor; (b) replace the product with one of the same or similar design; or (c) refund the purchase
price. All replaced parts and products, and products on which a refund is made, become the property of RadioShack. New or reconditioned parts and products may be used in the performance of
warranty service. Repaired or replaced parts and products are warranted for the remainder of the
original warranty period. You will be charged for repair or replacement of the product made after the
expiration of the warranty period.
This warranty does not cover: (a) damage or failure caused by or attributable to acts of God, abuse,
accident, misuse, improper or abnormal usage, failure to follow instructions, improper installation or
maintenance, alteration, lightning or other incidence of excess voltage or current; (b) any repairs
other than those provided by a RadioShack Authorized Service Facility; (c) consumables such as
fuses or batteries; (d) cosmetic damage; (e) transportation, shipping or insurance costs; or (f) costs
of product removal, installation, set-up service adjustment or reinstallation.
This warranty gives you specific legal rights, and you may also have other rights which vary from
state to state.
RadioShack Customer Relations, 200 Taylor Street, 6th Floor, Fort Worth, TX 76102
12/99
RadioShack Corporation
Fort Worth, Texas 76102
63-1416
07A02
Printed in China
 Loading...