

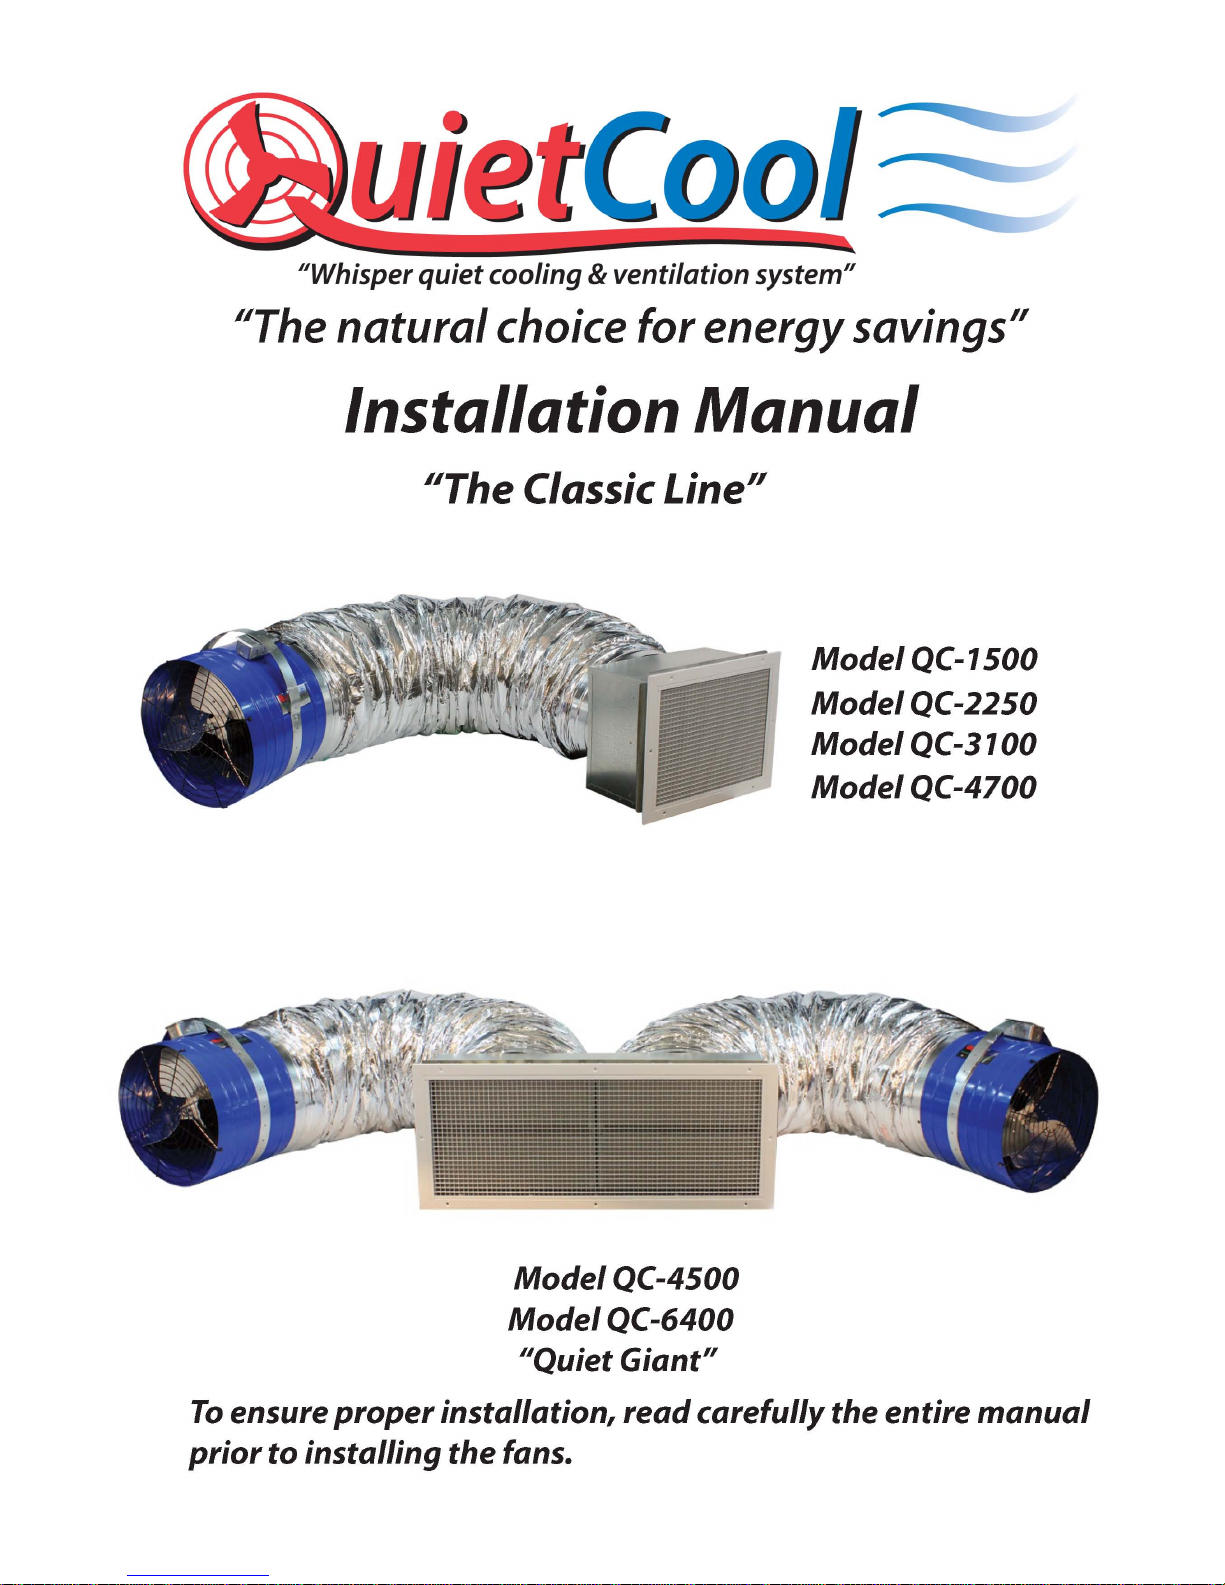
QuietCool QC-1500, QC-2250, QC-3100, QC-4700, QC-4500 Installation Manual
...
QuietCool fan installation instructions
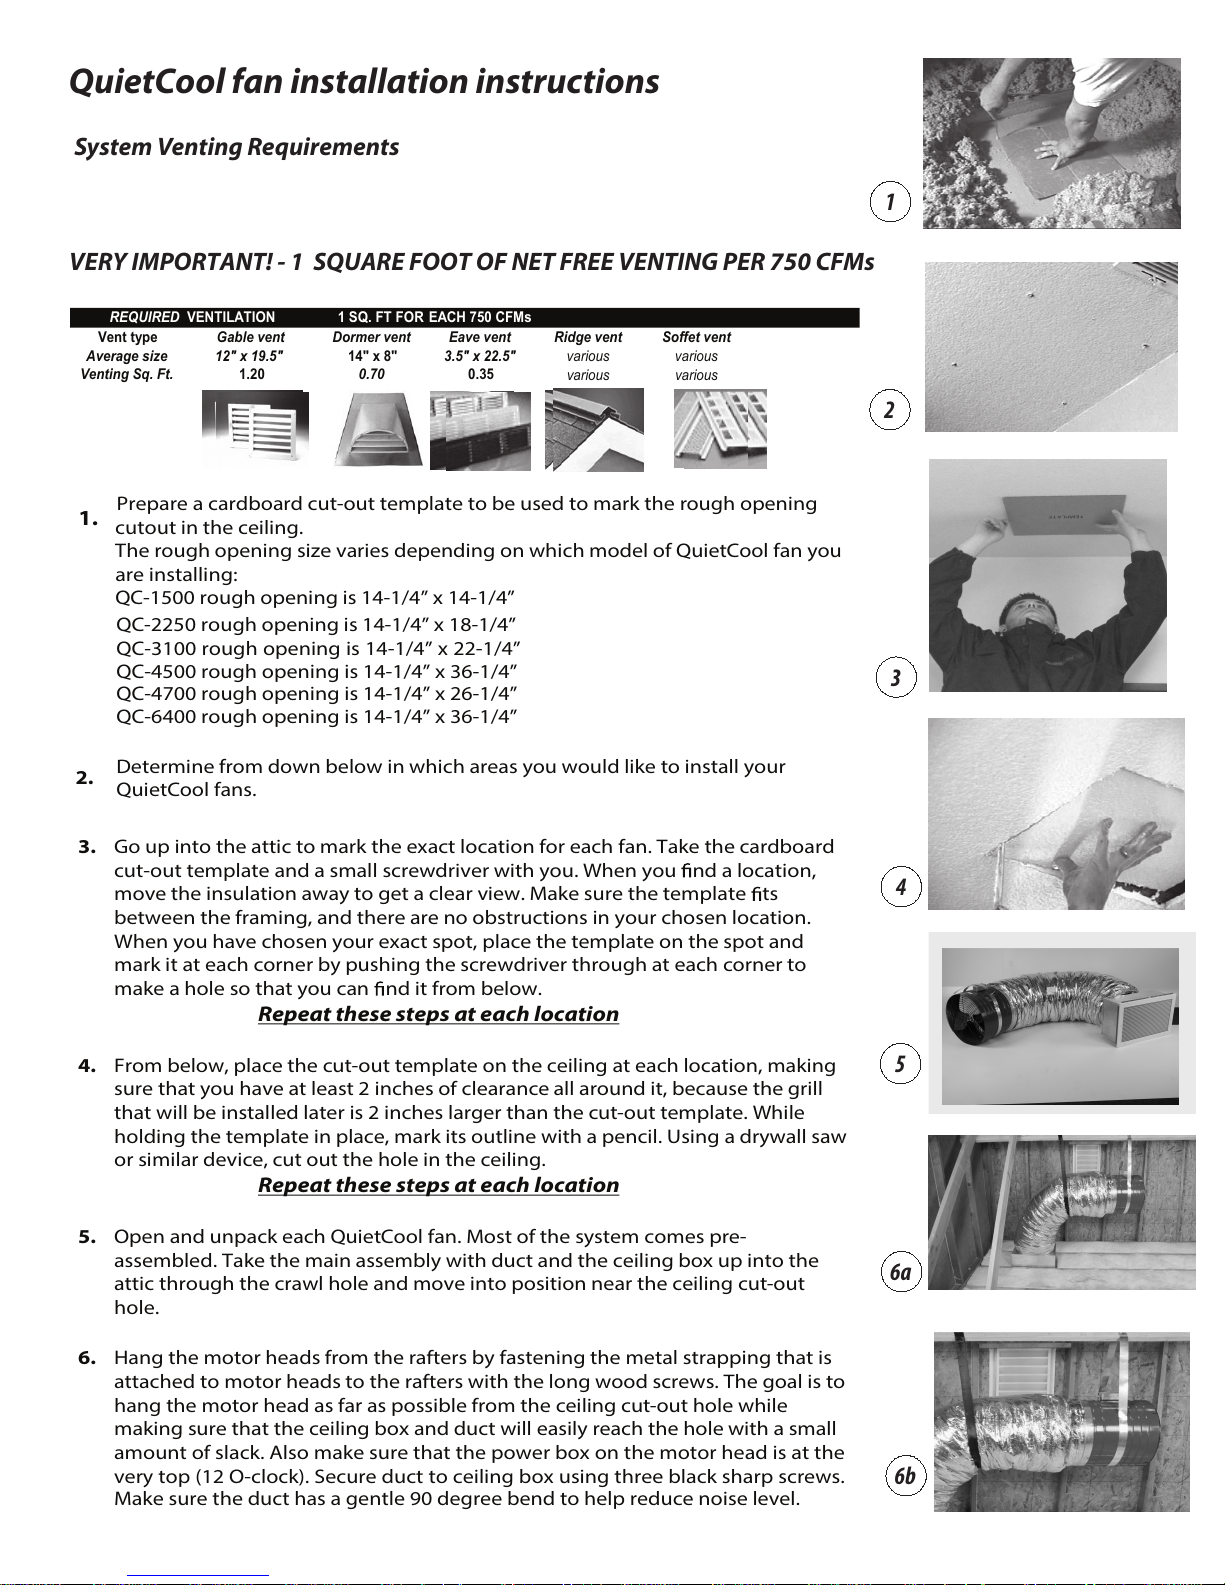
1
2
3
4
5
6a
6b
System Venting Requirements
VERY IMPORTANT! - 1 SQUARE FOOT OF NET FREE VENTING PER 750 CFMs
REQUIRED
VENTILATION 1 SQ. FT FOR EACH 750 CFMs
Vent type
Gable vent Dormer vent Eave vent Ridge vent Soffet vent
Average size 12" x 19.5"
14" x 8"
3.5" x 22.5"
various various
Venting Sq. Ft.
1.20
0.70
0.35
various various
1.
Prepare a cardboard cut-out template to be used to mark the rough opening
cutout in the ceiling.
The rough opening size varies depending on which model of QuietCool fan you
are installing:
QC-1500 rough opening is 14-1/4” x 14-1/4”
QC-2250 rough opening is 14-1/4” x 18-1/4”
QC-3100 rough opening is 14-1/4” x 22-1/4”
QC-4500 rough opening is 14-1/4” x 36-1/4”
QC-4700 rough opening is 14-1/4” x 26-1/4”
QC-6400 rough opening is 14-1/4” x 36-1/4”
2.
Determine from down below in which areas you would like to install your
QuietCool fans.
3. Go up into the attic to mark the exact location for each fan. Take the cardboard
cut-out template and a small screwdriver with you. When you
nd a location,
move the insulation away to get a clear view. Make sure the template
ts
between the framing, and there are no obstructions in your chosen location.
When you have chosen your exact spot, place the template on the spot and
mark it at each corner by pushing the screwdriver through at each corner to
make a hole so that you can
nd it from below.
Repeat these steps at each location
4. From below, place the cut-out template on the ceiling at each location, making
sure that you have at least 2 inches of clearance all around it, because the grill
that will be installed later is 2 inches larger than the cut-out template. While
holding the template in place, mark its outline with a pencil. Using a drywall saw
or similar device, cut out the hole in the ceiling.
Repeat these steps at each location
5. Open and unpack each QuietCool fan. Most of the system comes pre-
assembled. Take the main assembly with duct and the ceiling box up into the
attic through the crawl hole and move into position near the ceiling cut-out
hole.
6. Hang the motor heads from the rafters by fastening the metal strapping that is
attached to motor heads to the rafters with the long wood screws. The goal is to
hang the motor head as far as possible from the ceiling cut-out hole while
making sure that the ceiling box and duct will easily reach the hole with a small
amount of slack. Also make sure that the power box on the motor head is at the
very top (12 O-clock). Secure duct to ceiling box using three black sharp screws.
Make sure the duct has a gentle 90 degree bend to help reduce noise level.
_________________________________________________________
_________________________________________________________
_________________________________________________________
 Loading...