

QuietCool QC 1000 Installation Manual
uietCool
uietCool
“The whisper quiet cooling & ventilation system”
“The natural choice for energy savings”
Installation Manual
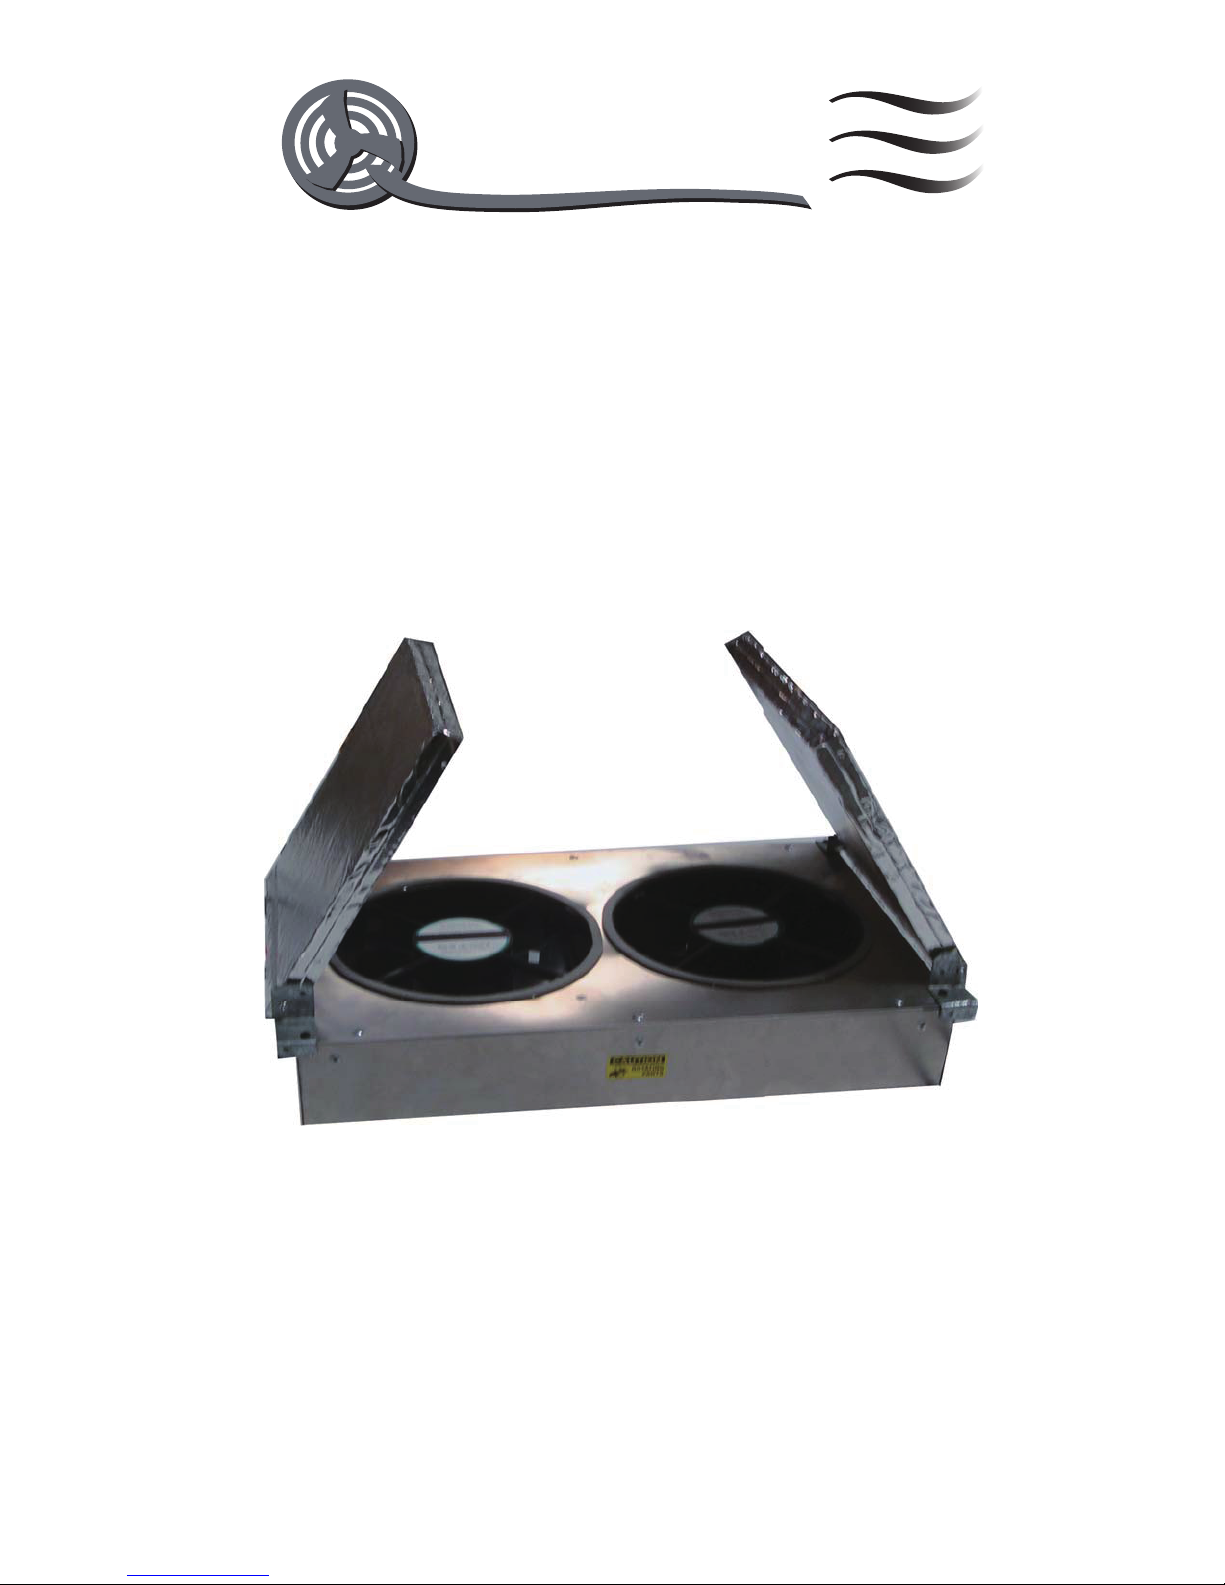
Ceiling mount fan
Read carefully all of this manual prior to installing the fan
Model QC 1000
QuietCool fan installation instructions
Vent type
Gable vent Dormer vent Eave vent Ridge vent Soffet vent
Average size 12" x 19.5"
14" x 8"
3.5" x 22.5"
various various
Venting Sq. Ft.
1.20
0.70
0.35
various various
QuietCool Whole House Fan Quantity Recommendation
Cooling CFM per Square Feet Fan Quantity Recommendation by Square Foot Size of Structure
Properties (Air exchanges per hour) 1,000 2,000 3,000 4,000
FAIR COOLING - NOT THE BEST
GOOD
1 CFM per square foot 1 QC1000 2 QC1000's 3 QC1000's 4 QC1000's
(7.5 air exchanges per hour)
FOR BETTER COOLING
BETTER
2 CFM per square foot 2 QC1000's 4 QC1000's 6 QC1000's 8 QC1000's
(15 air exchanges per hour)
REQUIRED ATTIC VENTILATION 1.5 SQ. FT. FOR EACH QC1000 FAN INSTALLED
System Sizing and Venting
1
2
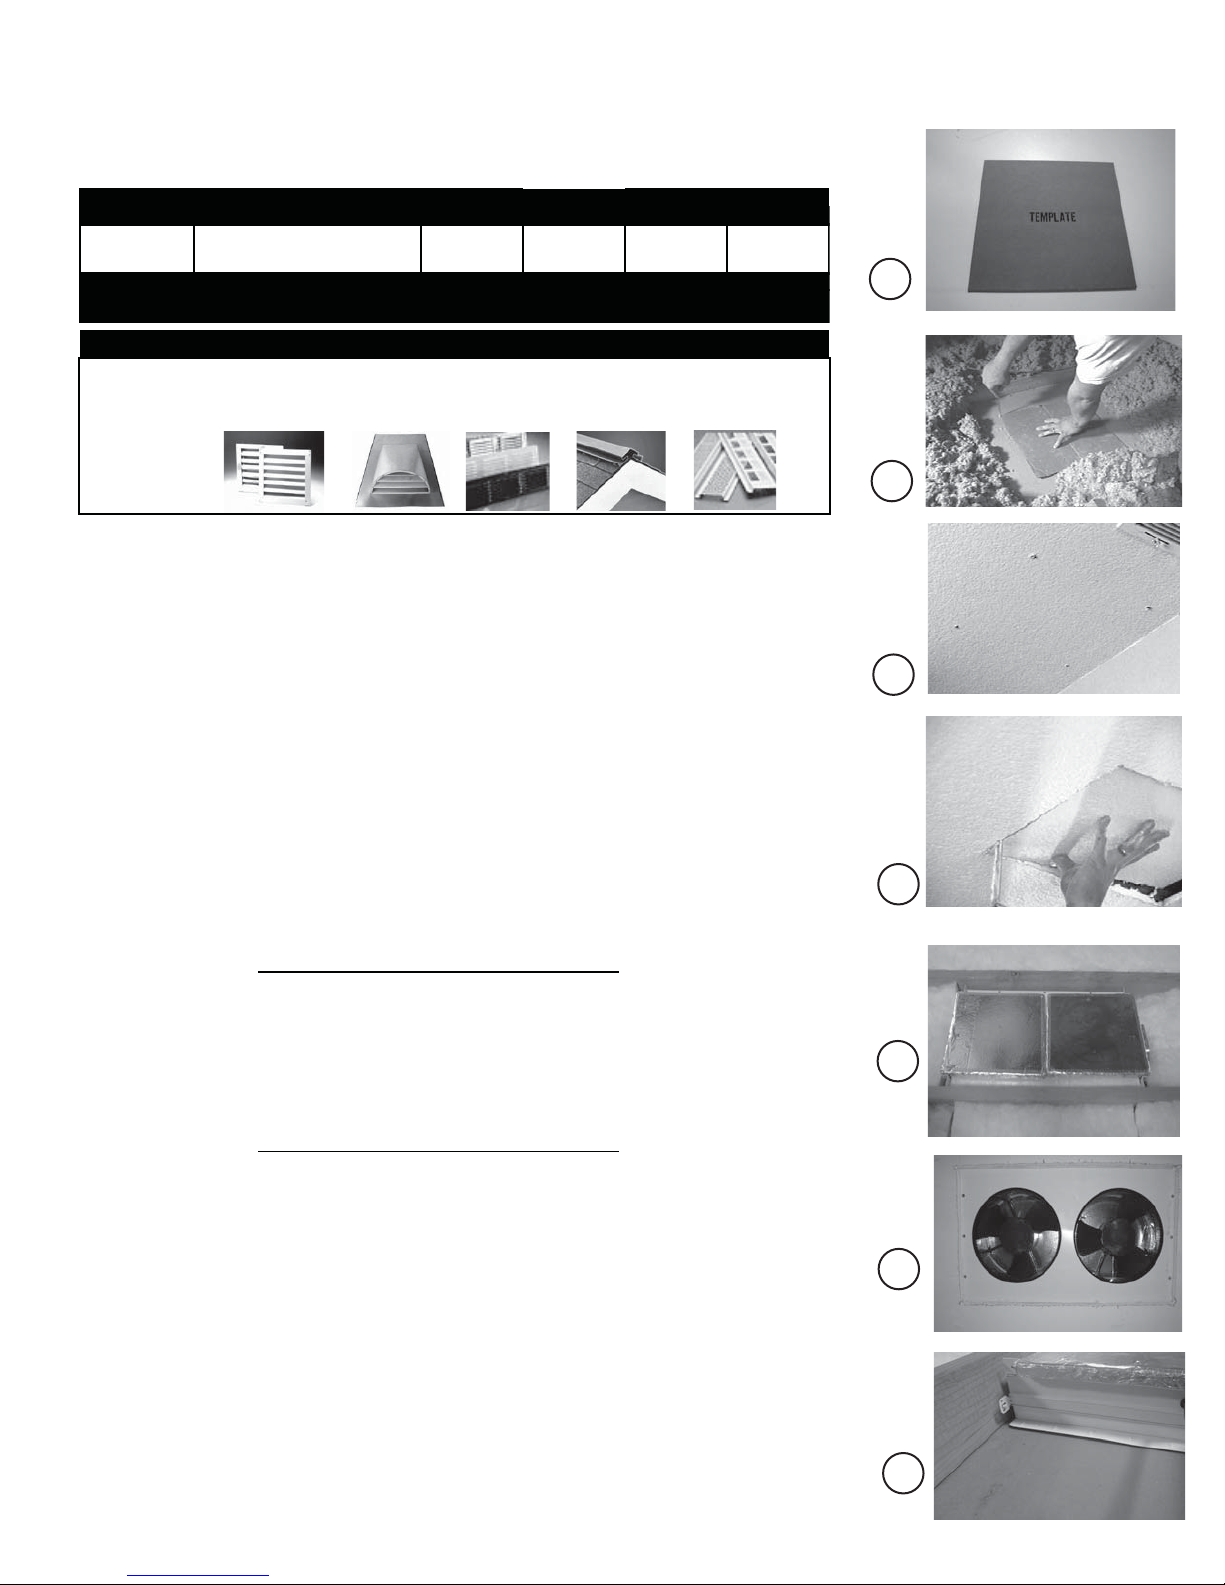
1.
Remove the cut-out template that will be used to mark the rough opening cut-out in
the ceiling.
QC-1000 rough opening is 12-3/4” x 21-1/2”
2. Determine from down below in which areas you would like to install your
QuietCool fans.
3. Go up into the attic to mark the exact location for each fan. Take the cardboard
cut-out template and a small screwdriver with you. When you nd a location,
move the insulation away to get a clear view. Make sure the template ts
between the framing, and there are no obstructions in your chosen location.
When you have chosen your exact spot, place the template on the spot and
mark it at each corner by pushing the screwdriver through at each corner to
make a hole so that you can nd it from below.
Repeat these steps at each location
4. From below, place the cut-out template on the ceiling at each location, making
sure that you have at least 2 inches of clearance all around it, because the grill
that will be installed later is 2 inches larger than the cut-out template. While
holding the template in place, mark its outline with a pencil. Using a drywall saw
or similar device, cut out the hole in the ceiling.
3
4
5
Repeat these steps at each location
5.
Place the fan in the center of the opening
After placing the fan in the center of the opening make sure foam gasket rests on top
6.
of ceiling cut-out.
Extend the 2 arms on each end of the fan housing and extend to be tight against joist.
7.
6
7
 Loading...