

ADVANCED WHOLE HOUSE FANS
THE NATURAL CHOICE FOR ENERGY SAVINGS!
®
OWNER’S GUIDE
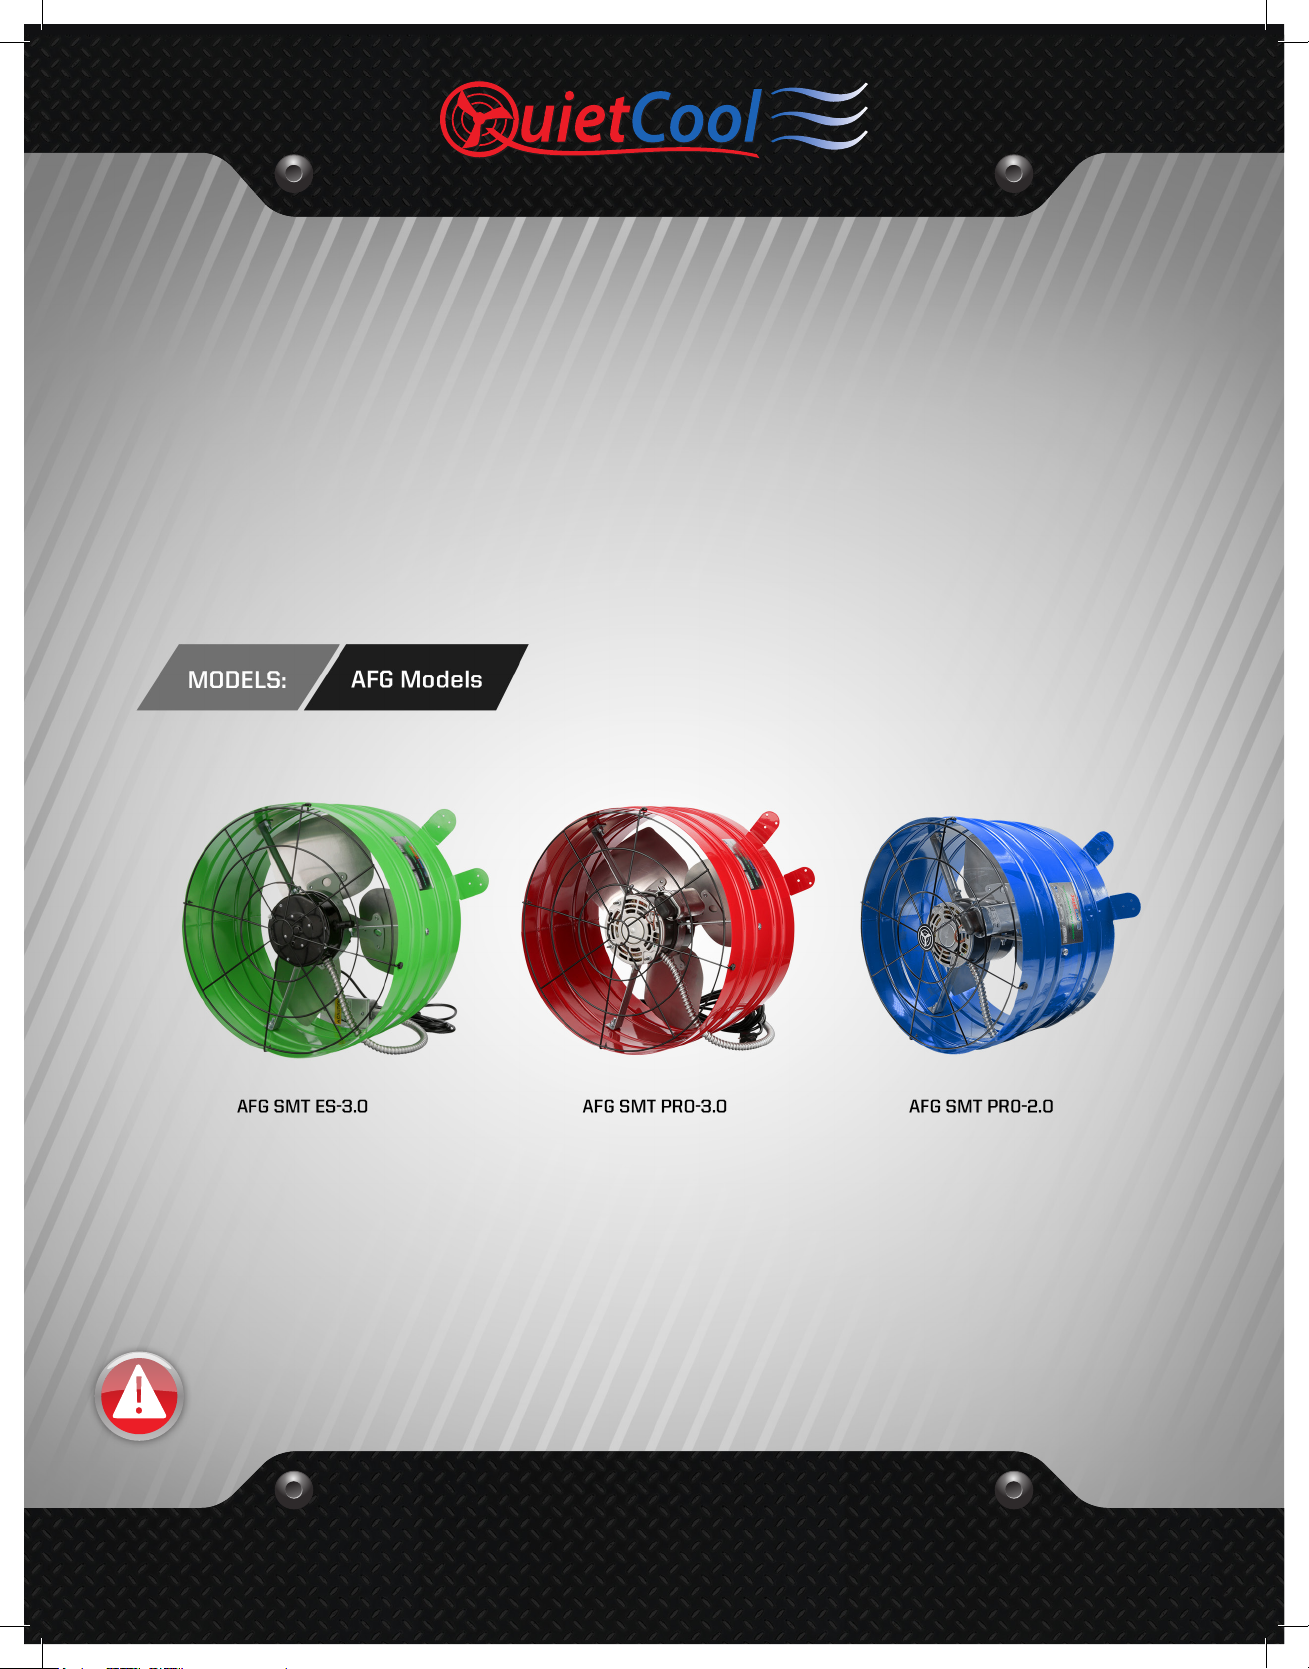
SMART ATTIC FAN GABLE
DO NOT THROW AWAY! SERIAL NUMBER FOR FAN IS LOCATED ON
BACK COVER OF OWNER’S GUIDE. RETAIN IN A SAFE PLACE.
SEE // HEAR // FEEL
THE QUIETCOOL DIFFERENCE
QUIETCOOLSYSTEMS.COM
GENERAL SAFETY INSTRUCTIONS
ADVANCED WHOLE HOUSE FANS
1. Read Instructions - All safety and operation instructions must be read. Failure to read and follow
instructions as stated in this guide may void applicable warranty.
2. Retain Instructions - The safety and operating instructions should be kept for future reference.
3. Heed Warnings - All warnings should be followed.
4. Follow Instructions - All installation and operating instructions should be followed.
5. Heat - The QuietCool system should be situated away from heat sources.
6. Damage Requiring Service - Only qualified service personnel should service the QuietCool system.
The user should not attempt to service the product.
7. Building Codes - Always follow Local Building Codes when installing appliances
CONTENTS
1. SYSTEM OVERVIEW ..............................................................1
1.1 Introduction ..............................................................1
1.2 Features .................................................................1
1.3 Benefits ..................................................................2
®
1.4 System Venting Requirements .............................................2
2. INSTALLATION ..................................................................3
2.1 Installing AFG Model Fans .................................................3
2.2 Installing AFG Vent Covers ................................................4
3. WIRING .........................................................................5
3.1 Two Speed Wiring - AFG SMT PRO-2.0 & 3.0 .................................4
3.2 Three Speed Wiring - AFG SMT ES-3.0 ......................................5
3.3 Smart Control Hub - LED Indicators ........................................6
4. SYSTEM OPERATING INSTRUCTIONS ............................................6
4.1 Download Smart Control App ..............................................6
4.2 Operating the Smart Control App ..........................................7
4.3 Frequently Asked Questions ...............................................8
WARRANTY ........................................................................9
QC Manufacturing, Inc.
26040 Ynez Rd.
Temecula, CA 92591
PH 951.325.6340
FX 951.325.6351
QuietCoolSystems.com
2
QUIETCOOLSYSTEMS.COM
1-888-QUIETCOOL
1. SYSTEM OVERVIEW
1.1 INTRODUCTION
Congratulations on the purchase of your new QuietCool Smart Attic Gable Fan!
The QuietCool Specialty Series was designed for every application imaginable. QuietCool Specialty Series
fans dominate the market in energy efficiency. Our Specialty Series works great in practically all climate
zones and most homes, mobile homes, and even warehouse buildings!
The QuietCool Attic Fans are the best in the business. New for 2020, our Smart Line of attic fans have gotten
even smarter! Now through the use of a smartphone app, you can control all the settings of your Smart Attic
Fan right from your couch!
With the QuietCool Smart Control App, you can see your current attic temperature, modify the temperatures
for the multiple speeds of the fan, setup presets for the different seasons of the year, and even operate your
fan on a timer!
QuietCool Attic Fans work almost everywhere, anytime. During the summer, an attic can be 40-50 degrees
hotter than the outside temperature, which in turn heats up the house much faster. With an attic fan, you can
cool the attic to the same temperature as it is outside, greatly reducing the house from heating as quickly.
1.2 Series Features
• High Efficiency Multi-speed Motors
• App Based Smart Control
• Integrated Mounting Tabs with Anti-Vibration Pads
• Designed and Built in California
• 15 Year Warranty
1-888-QUIETCOOL
3
1
QUIETCOOLSYSTEMS.COM
1.4 System Venting Requirements
VERY IMPORTANT! - 1 SQUARE FOOT OF NET FREE VENT AREA PER 750 CFM
RECOMMENDED! - 2 TO 4 SQUARE FEET OF INLET VENTS PER FAN
Venting plays a very significant role in the performace of QuietCool fans. QuietCool recommends a minimum of
1 SQ. FT. of venting for every 750 CFM in the QuietCool system. If an attic has at least 1:750 attic venting, the
QuietCool system will operate efficiently and effectively. If an attic has less than 1:750 attic venting, the
system may not operate as efficiently, or effectively, as it could with 1:750 attic venting. But don’t worry, the
system will still operate if there is not enough venting.
Insufficient venting is a very simple problem to fix. Roofing contractors can add extra venting to most homes
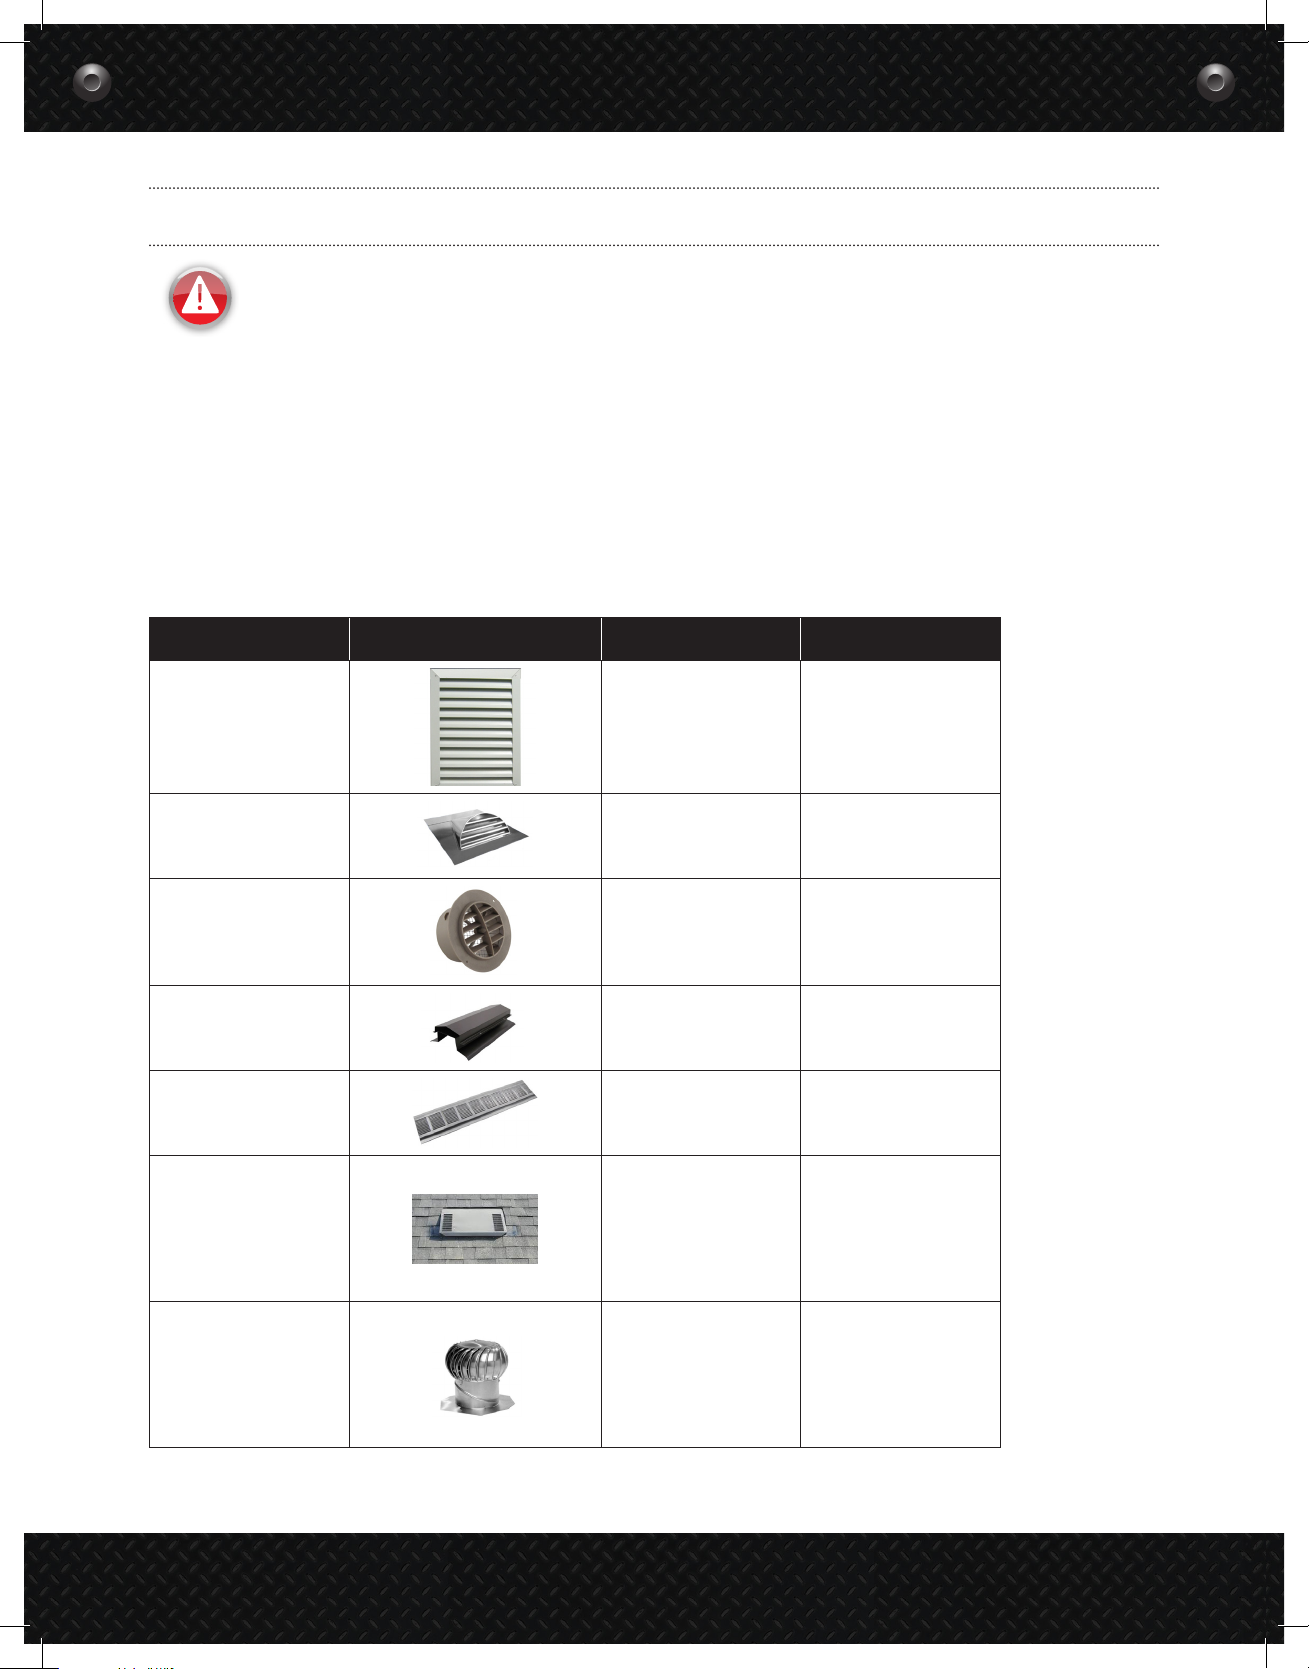
simply and easily. The most common types of venting is shown in the chart below.
Vent Type Model Type Average Size Venting Sq. Ft.
Gable vent 12” x 19.5” 1.20
Dormer Vent 14” x 8” 0.70
Eave Vent
4”
5”
6”
0.03
0.04
0.07
Ridge Vent 4’ - 12’ 0.125 per ft
Soffit Vent
O’Hagin Vent
Turbine Vent
16” x 4”
16” x 6”
16” x 8”
Low/Medium Profile
Tapered Low Profile
Low Profile Flat
High Profile
8”
12”
14”
0.19
0.29
0.39
0.5
0.6
0.68
0.68
.35
.79
1.1
*Note: This table is only a guideline and is not a guarantee of venting capacity.
2

1-888-QUIETCOOL
2. INSTALLATION
Installation Video:
Watch the video by
2.1 Installing AFG (Attic Fan Gable) model fans
scanning the QR
code or visit www.
QuietCoolSystems.com/
NOTE: The AFG model fans are designed to mount behind
support
existing vents. If no vent exists, one must be
installed. Vent should be installed in the upper center section of the gable.
Installing the QuietCool AFG is very easy. To install the AFG, simply mount the gable fan to your gable vents as shown
in the following steps:
Figure 2.1A
Flush Mount: The AFG can be mounted flush to a rectangular type louver by
fastening through the mounting brackets to the frame of the louver (as shown in
Figure 2.1A).
As stated in the note above, any area of the louver that is not covered by the AFG
must be sealed off in order to prevent air leakage, which may hinder performance.
This is the most conventional method of mounting the AFG. We recommend using the
Flush Mount option if possible for all applications.
Figure 2.1B
Wide Mount: The AFG can be mounted on a wide louver, but additional mounting steps
must be taken in order for the fan to work properly. As shown in Figure 2.1B, two additional
boards must be fastened to the boards framing the gable vent so the AFG can be
mounted securely.
As stated in the note above, any area of the louver that is not covered by the AFG must be
sealed off in order to prevent air leakage, which may hinder performance.
Odd Mount: The AFG can also be mounted off center for an odd shaped louver
(as shown in Figure 2.1C).
As stated in the note above, any area of the louver that is not covered by
the AFG must be sealed off in order to prevent air leakage, which may hinder
performance.
While this is not the most ideal way to mount the gable fan, it is possible.
However, since the fan is not completely covering the vent, maximum airflow
will not be achieved.
Figure 2.1C
3

QUIETCOOLSYSTEMS.COM
NOTE: The AFG can be mounted on many other types of louvers, including triangle
vents, round vents, half-round vents, etc. If the vent is smaller than the area of the
fan, we recommend constructing a chamber that surrounds the vent, and then mount
the AFG to the chamber to ensure maximum airflow and performance.
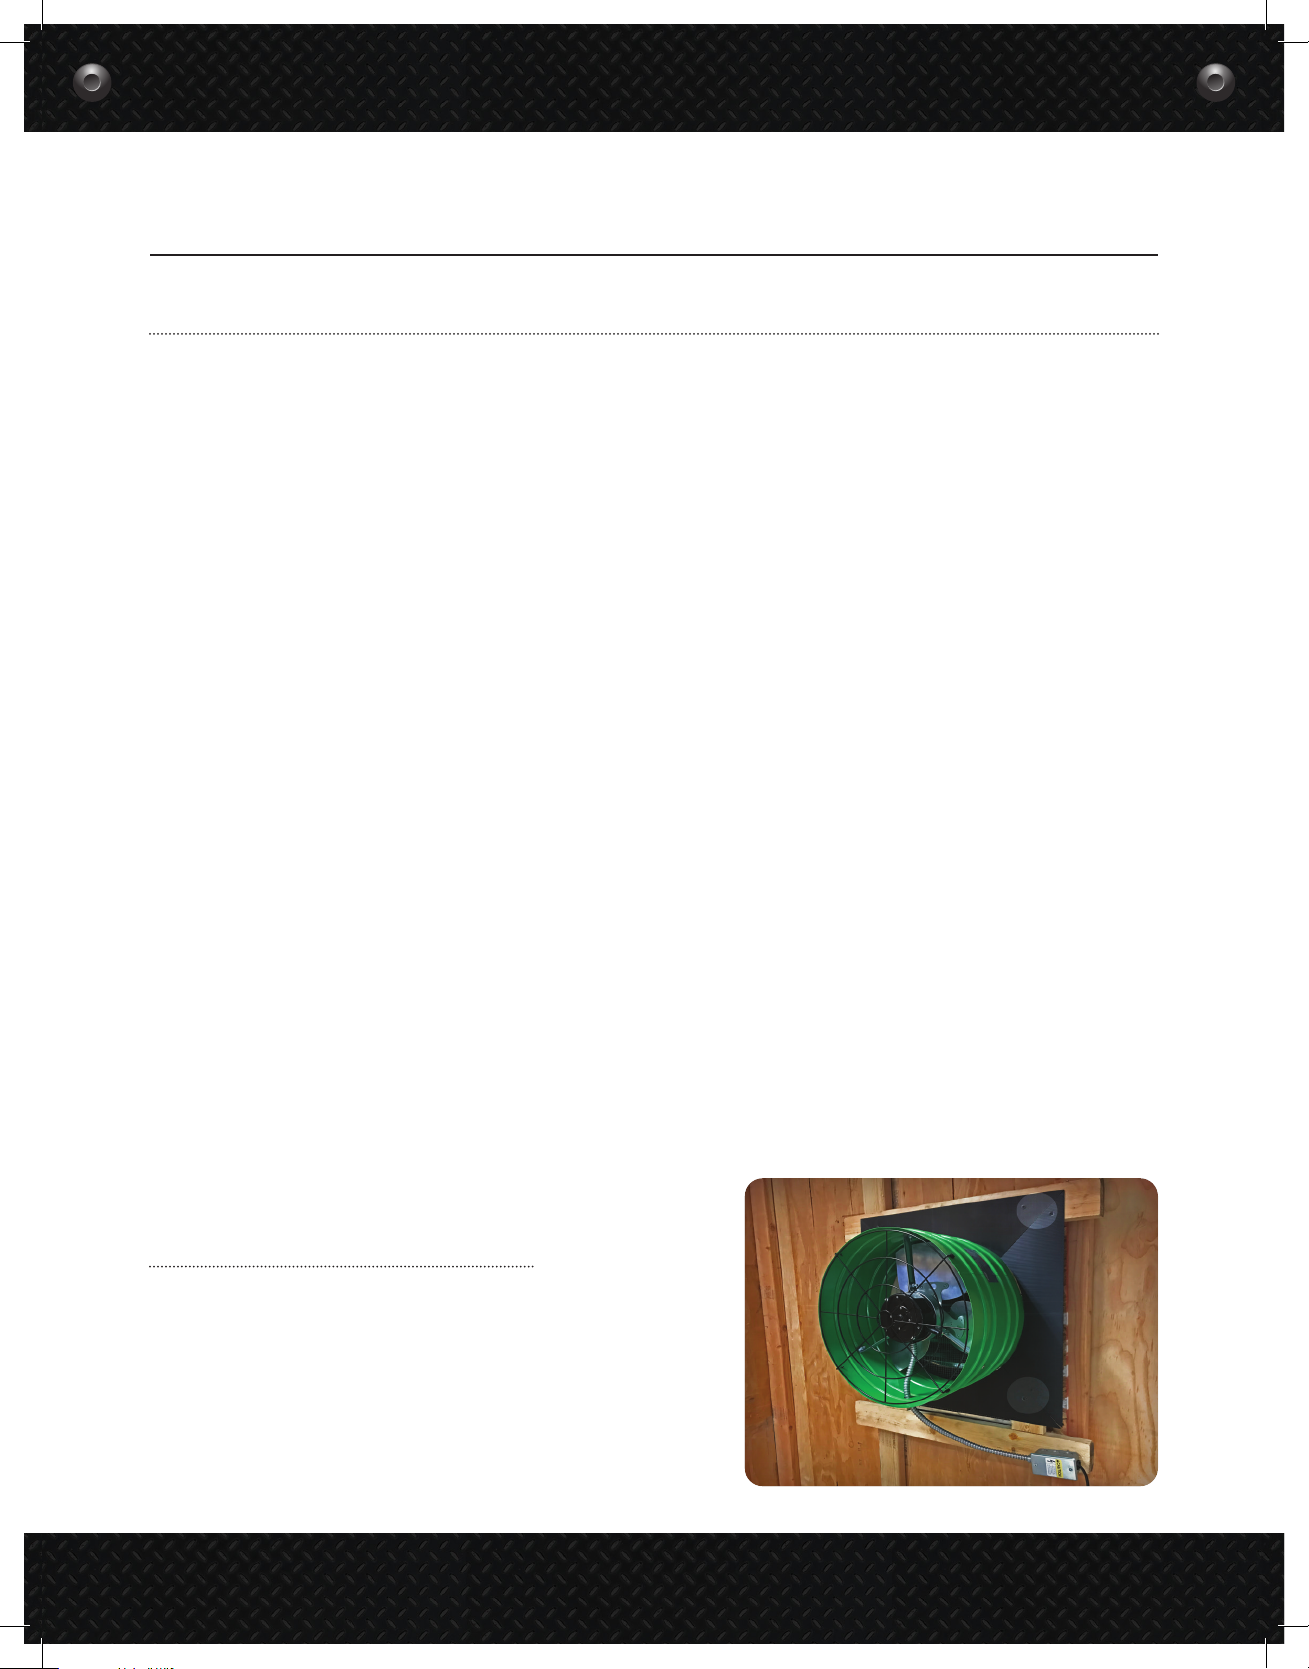
2.2 Installing AFG (Attic Fan Gable) Vent Covers
Included with your QuietCool Attic Gable Fan are four vent covers
that are designed to be installed around the attic fan housing to
block any air backdrafting into the attic through a gable vent that
is larger than the attic fan cylinder, causing air to cycle in and out
around the vent.
1. Take the vent cover and match it to one of the
sides around the attic fan housing.
2. Using the two provided wood screws, attach each
corner to the wood framing around your gable
vent. (See picture for screw locations)
3. Repeat step 1 and 2 for the three additional
covers.
How-to Video:
Watch the video by
scanning the QR
code or visit www.
QuietCoolSystems.com/
support
3. WIRING
NOTE: Wiring Diagrams are for examples ONLY. Wiring should be done by an experienced
electrician.
NOTE: Your fan came with the Smart Control Hub pre-wired to a power cord. Simply mount
the Smart Control Hub, find a power source in your attic, and plug the fan in. If you would
like to hard-wire the fan, or it is required by your local building codes, please follow the
wiring instructions below.
3.1. Two Speed Wiring - (AFG SMT PRO-2.0 & AFG SMT PRO-3.0)
1. Using a wire nut, connect the black wire from the power source to the black wire from the Hub.
2. Connect the white wire from the power source and the white wire on the fan to the white wire from
the Hub.
3. Connect the black wire from the fan to the blue wire on the Hub
4. Connect the red wire from the fan to the red wire on the Hub
4

1-888-QUIETCOOL
Power
Cord
Attach green ground wires to ground screw
All White Common Wires Together
POWER TIMER
PAIR TEST
Set dip switches:
1 - OFF
2 - ON
3 - OFF
Attic Fan
ON
1 2 3
Power
Cord
Attach green ground wires to ground screw
All White Common Wires Together
POWER TIMER
PAIR TEST
Set dip switches:
1 - OFF
2 - ON
3 - OFF
Attic Fan
ON
1 2 3
Figure B
Attach green ground wires to ground screw
POWER TIMER
PAIR TEST
Set dip switches:
1 - OFF
2 - OFF
3 - ON
Power
Cord
All White Common Wires Together
Attic Fan
ON
1 2 3
Attach green ground wires to ground screw
POWER TIMER
PAIR TEST
Set dip switches:
1 - OFF
2 - OFF
3 - ON
Power
Cord
All White Common Wires Together
Attic Fan
ON
1 2 3
5. Cap the yellow wire from the Hub.
6. Ground the green wire from the fan and
the green wire from the power cord to the
ground screw in the Hub.
7. Set the dip switch positions inside the
Hub as shown in the Figure B.
8. Power-on the Hub. The Power LED
indicator will be lit.
9. Press the Test button to make sure the
fan works. The Test LED indicator will
blink three times every two seconds
indicating 2-speed and the fan will be on
high. Press the Test button again and the
fan will switch to low speed and the Test
LED indicator will blink once every two
seconds. Press the Test button again and the fan should shut off and the LED will be off.
10. If the fan doesn’t operate as described in step 9, please check the dip switch postion/wiring.
3.2 Three Speed Wiring - (AFG SMT ES-3.0)
1. Using a wire nut, connect the black wire from the power cord and the black wire from the fan to the black wire
from the Hub.
2. Connect the white wire from the power cord and the white wire on the fan to the white wire from the Hub.
3. Connect the red wire from the fan to the red wire on the Hub
4. Connect the yellow wire from the fan to the yellow wire on the Hub
5. Connect the blue wire from the fan to
Figure C
the blue wire on the Hub
6. Ground the green wire from the fan and
the green wire from the power cord to
the ground screw in the Hub.
7. Set the dip switch positions inside the
Hub as shown in Figure C.
8. Power-on the Hub. The Power LED
indicator will be lit.
9. Press the Test button to make sure the
fan works. The Test LED indicator will
blink three times every two seconds
indicating 3-speed and the fan will be on
high. Press the Test button again and the
fan will switch to medium speed and the
LED will blink twice every two seconds.
Press the Test button again and the fan
will switch to low speed and the LED will blink once every two seconds. Press the Test button again and the fan
should shut off and the LED will be off.
10. If the fan doesn’t operate as described in step 9, please check the dip switch postion/wiring.
5

QUIETCOOLSYSTEMS.COM
3.3 Smart Control Hub - LED Indicators
Power Indicator
• The Power LED indicator will always be lit
when the Hub is connected to Power.
• If this LED is not lit, check the power
source
Timer Indicator
• The Timer LED indicator will light up as
shown below:
• 1 Hour: 1 Blink
• 2 Hours: 2 Blinks
• 4 Hours: 4 Blinks
• 8 Hours: 8 Blinks
• 12 Hours: 12 Blinks
Test Indicator
POWER TIMER
PAIR TEST
• The Test LED indicator will light up as
shown below when the Test button is pressed:
• Two Speed Fan: blink three times every 2 seconds on HIGH, blink once every 2 seconds on LOW
• Three Speed Fan: blink three times every 2 seconds on HIGH, blink twice every 2 seconds on MED,
blink once every 2 seconds on LOW
Pair Indicator
• The Pair LED indicator will light up when making pair operations. Please see section 4.2 on page 7 for
details on pairing.
4. SYSTEM OPERATING INSTRUCTIONS
4.1 Downloading the QuietCool Smart Control App
Download the QuietCool Smart Control App onto your iOS or Android device.
Visit QuietCoolSystems.com/smart-control/ and click the link to download the app to your device.
Scan this QR code to download
the QuietCool Smart Control App
6

1-888-QUIETCOOL
4.2 Operating the QuietCool Smart Control
When you first connect to your QuietCool Smart
Attic Fan Control, your attic fan will show up in
the list of available fans in the app.
A message indicates that setup is required.
Press and hold the Pair button on the Hub until
the LED indicator begins to blink.
NOTE: You will need to initiate this Pairing
process on each device you want to use to
control your attic fan.
Once setup is complete, tap Done in the Fan
Setup page.
Now you can tap the fan on the home page. You
will be taken to the Fan Control page.
On the Fan Control page, you will see
the current fan status, the current attic
temperature, as well as the current attic
humidity level.
Tap on the fan to start the setup process. Once
you tap on the fan, you will go to to the Fan
Setup page.
On this page, you will be able to change the
following settings:
• Fan Name
• Fan Model
• Serial Number
The Speeds Available section will tell you if you
have connected the fan and set your dip switch
properly. Make sure that this number matches
the specification of the fan you purchased.
The QuietCool Smart Attic Fan Control has an
innovative Smart mode that allows the fan to
adjust the speed based on the temperature and
humidity conditions in your attic. Tap Settings
> Climate Settings & Presets to adjust these
settings.
Within this mode there are two standard
presets, Summer and Winter. You can modify
these presets and add your own custom presets
to allow quick setting changes on the fly.
Temperature
• The settings you choose in this section will
change what temperature the fan will come
on at each set speed.
• Tap on any speed to adjust the temperature
for each speed.
Humidity
• Turn Fan Off: This is the humidity percentage
that will cause the fan to turn off. For
example, if it is set at 90%, the fan will turn
off if the humidity in the attic is 90% or
higher.
• Turn Fan On: This is the humidity percentage
that will cause the fan to turn on. For
example, if it is set at 70%, the fan will turn on
if the humidity in the attic is higher than 70%
regardless of the temperature in the attic.
• Desired Speed: This is the speed the fan will
use if the humidity causes the fan to turn on.
You also have the option to Activate Smart
Mode or Activate Timer Mode. You can also
go into the settings of the fan and adjust the
settings that you setup in the first step.
Smart Mode
Smart Mode will automatically change the
speed based on the attic temperature and
humidity.
To activate Smart Mode, simply tap Activate
Smart Mode.
Regardless of the attic temperature, if the
current attic humidity percentgage is over
the Turn Fan Off Humidity setting, the fan will
shut off. Once the humidity in the attic is back
under that setting, the temperature sensor will
become active again to control the fan.
Timer Mode
Timer Mode is a simple way to turn your attic
fan on for a set amount of time at a set speed.
To activate Timer Mode, simply tap Activate
Timer Mode. Once activated, you can select
your speed by tapping Set Speed. You can also
select your runtime by tapping Set Time.
When Timer Mode is active, you will see your
remaining time left on the timer at the top of
the screen.
7

QUIETCOOLSYSTEMS.COM
4.3 Frequently Asked Questions
What protocal does this control use?
This control operates over Bluetooth to connect to your phone. The control uses Wi-Fi for firmware updates.
Will my neighbor be able to control my fan if they have the same set up as me?
No. In order to connect to your Smart Attic Fan Control Hub, you must first pair your device by using the Pair button
on the Hub.
What is the range?
The range restriction between your phone and the attic fan is 50 ft through average household obstructions.
Why are all my lights blinking on the hub and nothing is working?
If you’re experiencing blinking lights on all LED indicators on the hub then it is an indication that your DIP switches
are not selected. Disconnect power, adjust your DIP switches, and the only light that should be lit is your RED power
light.
How do I change the DIP switch to the correct speed of my fan?
You will need to disconnect power, make your adjustment inside the hub, and then reconnect power.
Can you connect the Attic Fan Smart Control to a smart home system like Alexa, Google Home, or Apple
HomeKit?
No, in the current configuration the Smart Attic Fan Control cannot connect to a smart home system.
8

1-888-QUIETCOOL
SPECIALTY SERIES FANS LIMITED WARRANTY
QC Manufacturing Inc. extends this warranty to the original purchaser of the following
QuietCool Specialty Series Fans - AFG SMT E S -3.0, AFG SMT PRO-3.0, AFG SMT PRO-2.0,
AFG PRO-2.0, AFR SMT-2.0, GA ES-1500, GX ES-1100, RM ES-1100, and RM ES-2200 installed and used in a residence under normal conditions within the United States:
A. Fifteen year coverage applies to the QuietCool motor fan assembly. At our option we
will repair or replace any part of the assembly should it fail to operate during the first
fifteen years from the date of original purchase.
B. One year coverage for all other components including grilles, housings, controls and
accessories furnished by QC Manufacturing, Inc. At our option we will repair or replace
any part which fails as a result of defective material or workmanship during the first year
from the original date of purchase.
C. This warranty does not cover any of the following:
1. Accidental or consequential damage resulting from the operation of
our equipment or any malfunction thereof.
2. Cost of service calls to diagnose the cause of problems or the labor
charge to un-install any components.
3. Product failure or damage due to faulty installation, abuse, misuse,
unauthorized alteration to factory specs, lack of maintenance, or
transportation damage.
4. Shipping or postage for warranty claims.
D. To obtain service under this warranty, first contact the dealer where you purchased
the equipment. If you are unable to find or reach your dealer, contact Customer Service
at QC Manufacturing, Inc. at the number below.
E. Registration is no longer required for QuietCool fans. If service is required under this
warranty, you must retain your proof or purchase.
This warranty is the only warranty extended by QC Manufacturing, Inc. to purchasers or suppliers of our equipment. QC Manufacturing Inc.
disclaims all other warranties, express or implied, that arise by operation of the law.
QC Manufacturing, Inc. Customer Service
26040 Ynez Rd.
Temecula, CA 92591
www.QuietCoolSystems.com
951-325-6340
Rev. 6-6-18
9

1-888-QUIETCOOL
QuietCool is Proudly Designed and Built in California
Fan Serial Number Information
43352 Business Park Drive, Temecula, CA 92590 // PH 951.325.6340 // QUIETCOOLSYSTEMS.COM
Retain for your records. Serial number is
required for warranty purposes.
ADVANCED WHOLE HOUSE FANS
®
10
 Loading...