

Page 1
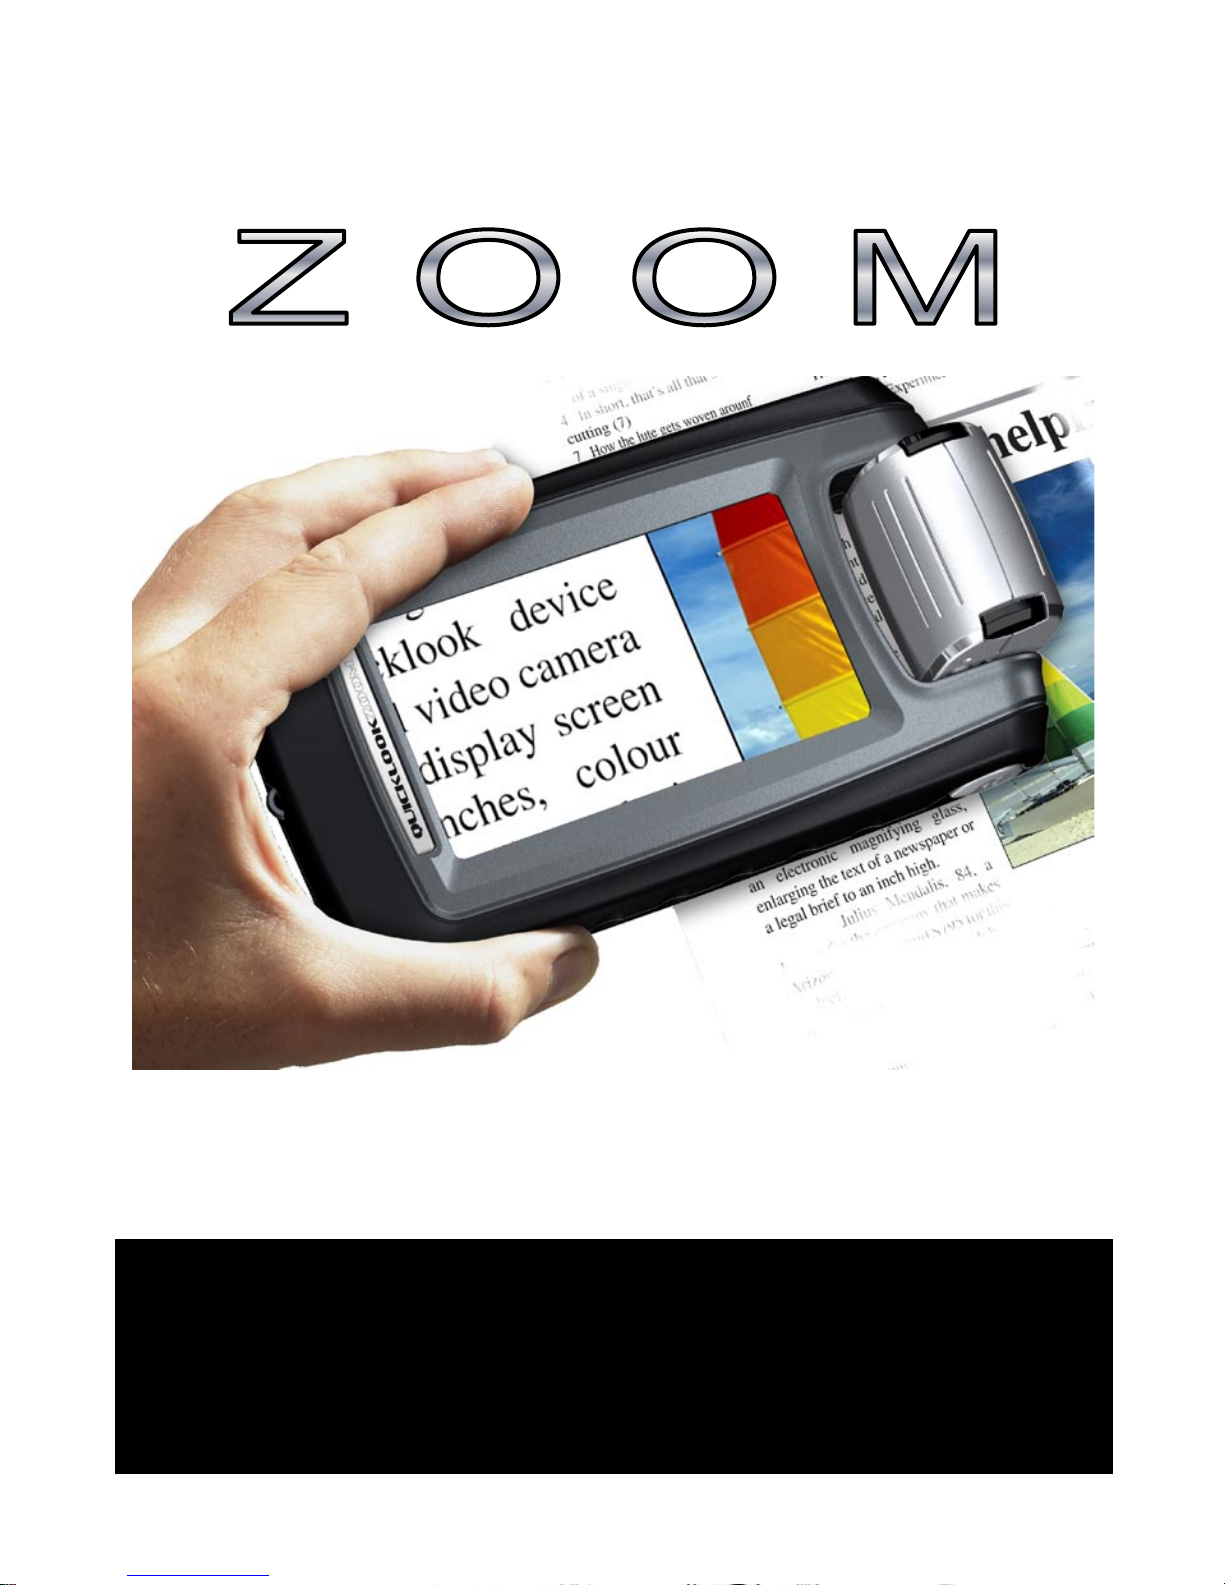
QUICKLOOK
User Manual
Please read the
“Important Instructions for Use”
overleaf
Page 2

2
Important Instructions for Use
• Use only the charger provided. Use of
another charger could result in
irreparable damage to Quicklook Zoom
and will void the warranty.
• Quicklook Zoom should be stored in the
“off” position when not in use.
• Do not use Quicklook Zoom in a
bathroom, near water or other damp
conditions.
• Do not open Quicklook - there are no
user serviceable parts inside and opening
it will invalidate your warranty.
• At the end of its life, Quicklook should be
disposed of responsibly in accordance
with local ordinances. Never dispose of
the unit by fire.
• If the display is cracked, liquid crystal
may leak. Do not allow the liquid into
your eyes or mouth and wash your hands
with soapy water.
Page 3

3
Introduction
Congratulations on the purchase of your
new Quicklook Zoom magnifier. Quicklook
has been designed for simple and intuitive
use and will aid people with low vision to
read and write. However you should consult
with your eye care professional to determine
the suitability of this product in your
particular case. We recommend that you
read this manual carefully to obtain the best
service from your new product.
Contents of the Package
Quicklook Zoom is supplied with the
following items:
o Main unit with integrated display, camera
& battery
o Protective pouch
o Wrist strap
o Charger with power lead
Charging the battery
Quicklook Zoom is supplied with the battery
partially charged, we recommend that you
Page 4
4
charge it for three hours or until the red
charge indicator is extinguished.
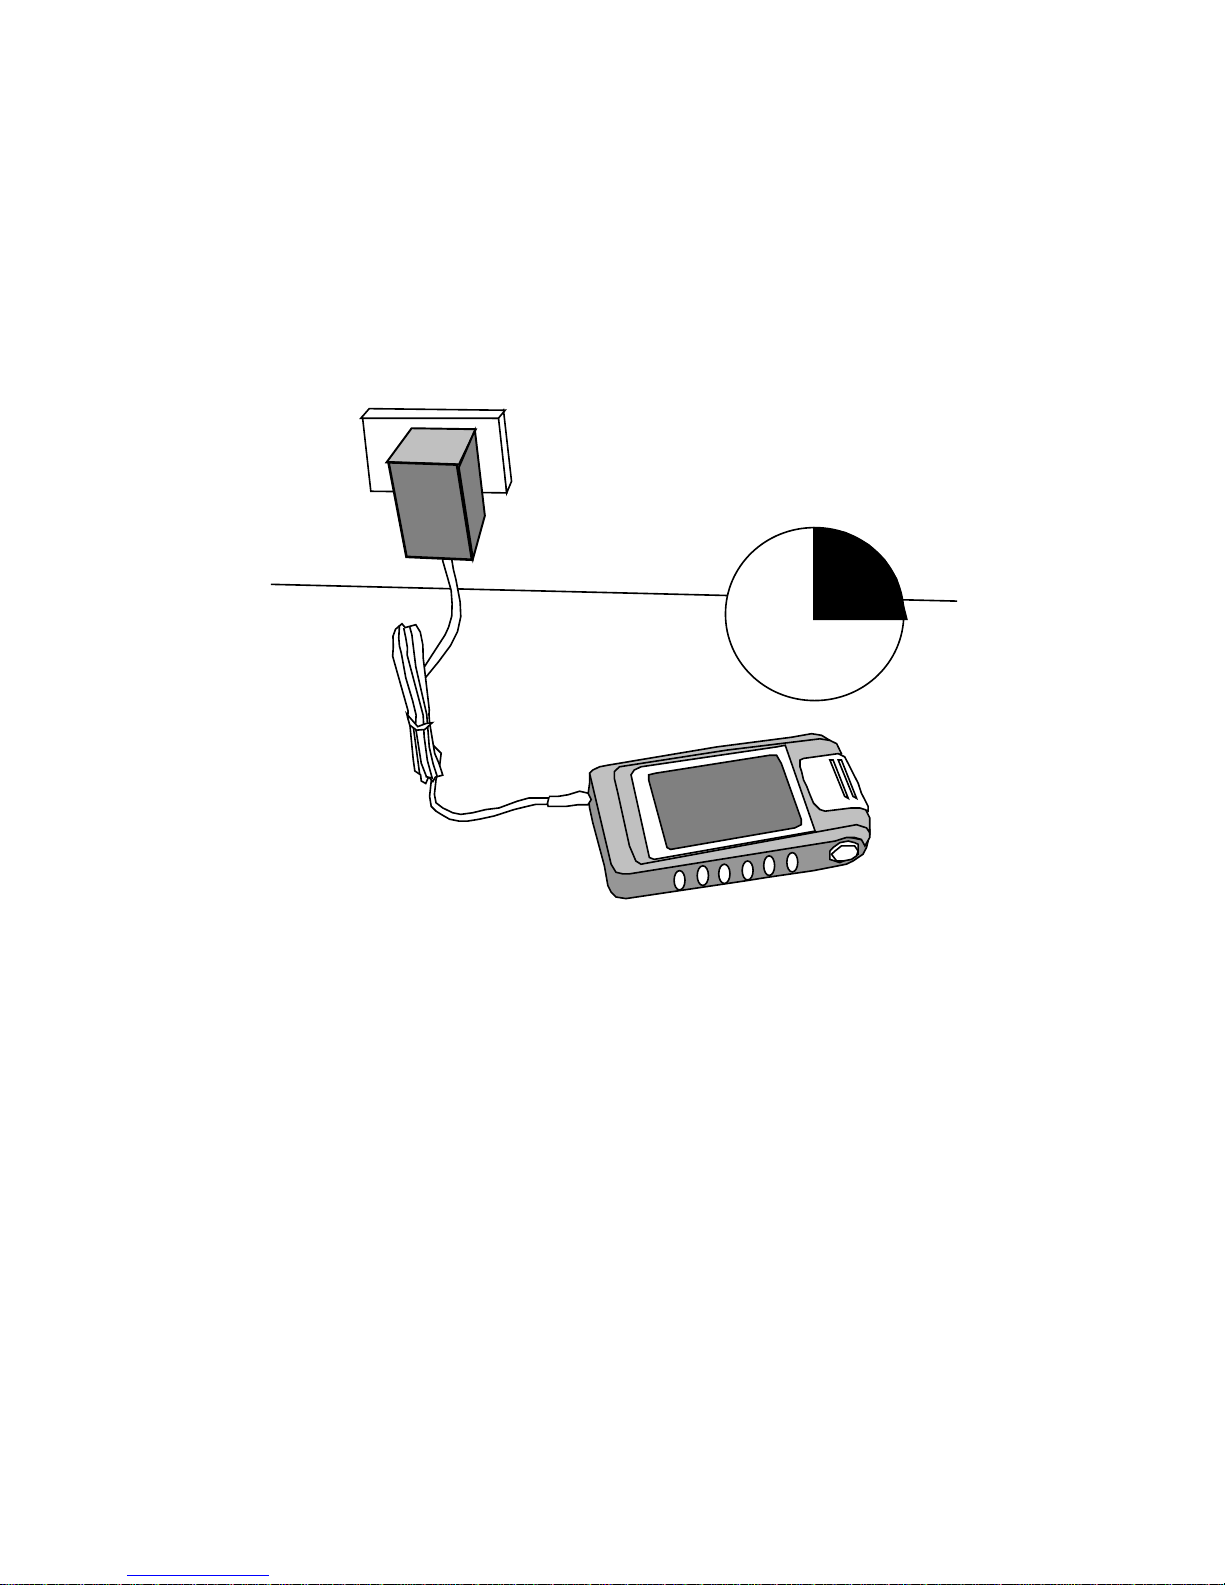
Plug the power supply into a wall socket and
insert the connector into Quicklook as
shown in the diagram.
3 hrs
The red light beside the power connector
should illuminate indicating that the battery
is being charged. The light will go off when
the battery is substantially charged. It
takes about three hours to charge the
battery from a discharged state. Additional
charging will not cause any damage to the
unit. Quicklook Zoom can be used while the
battery is being charged.
Page 5
5
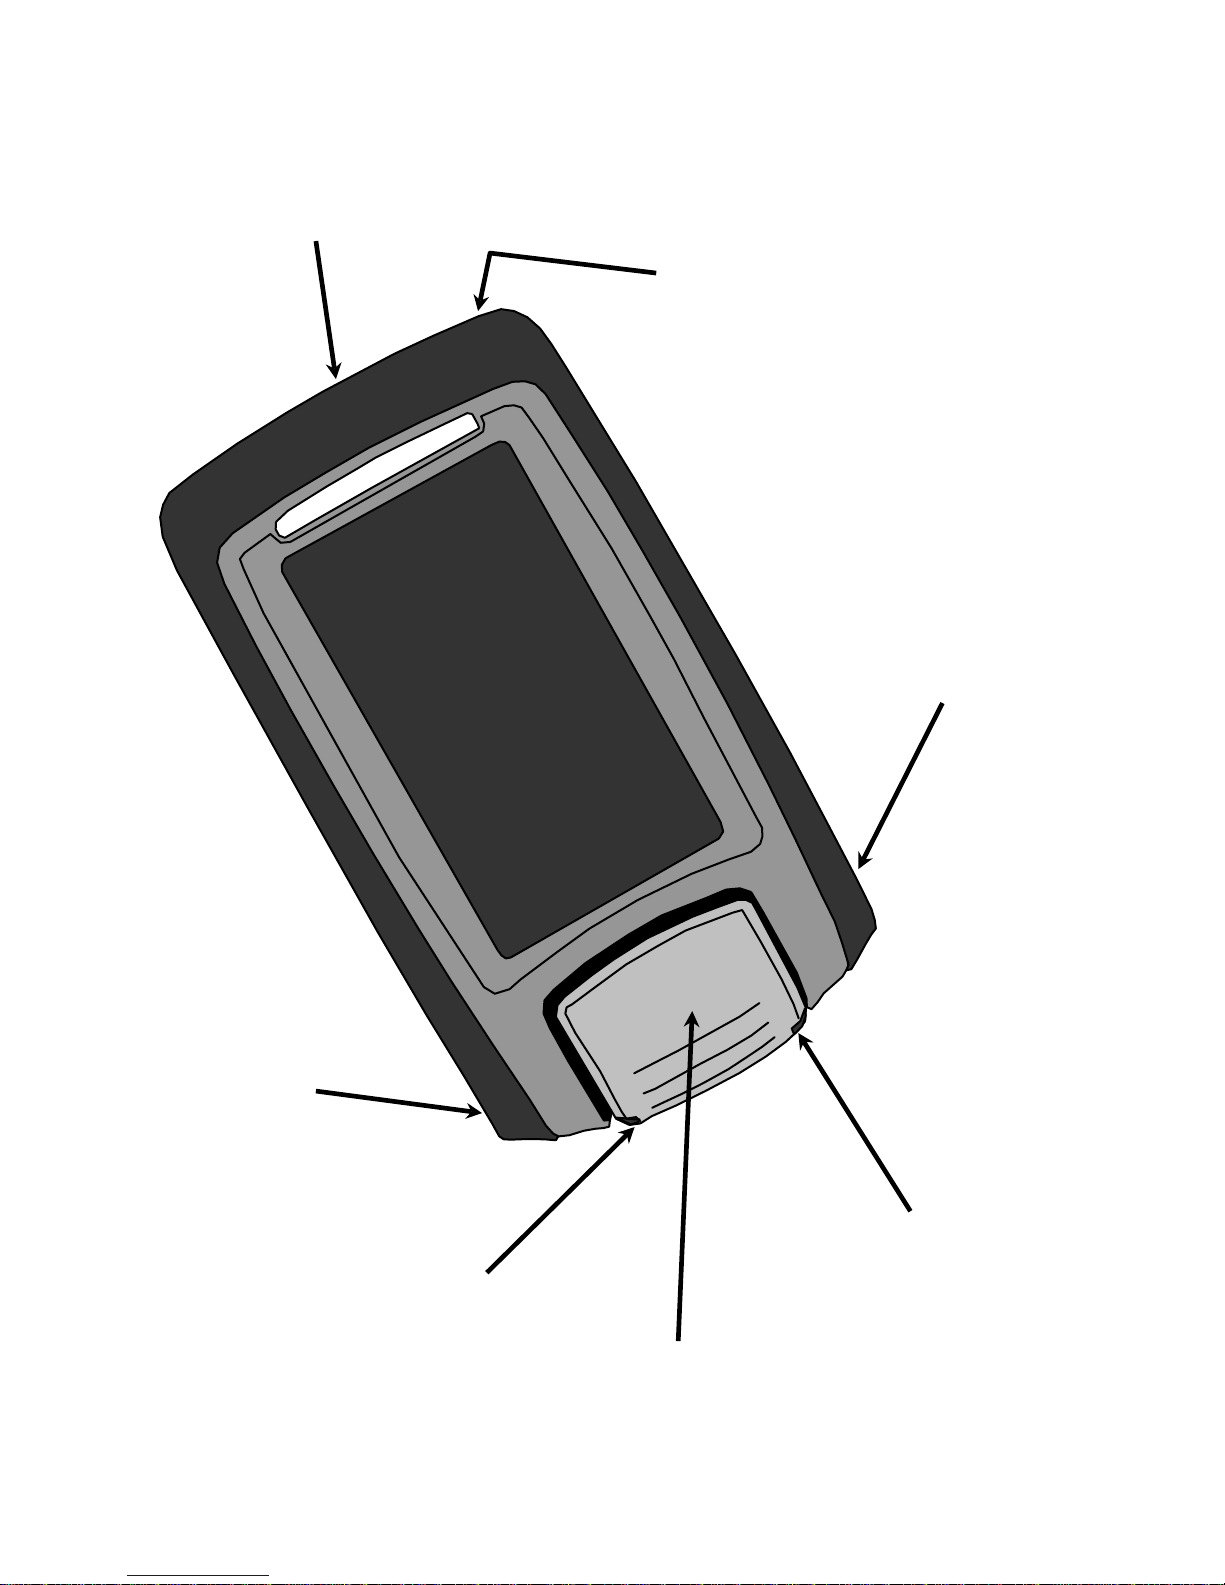
Charge input
and indicator
Wrist strap loop
Camera
Freeze /
Brightness
button
Mode button
Zoom down button
Zoom up button
Page 6
6
Operation
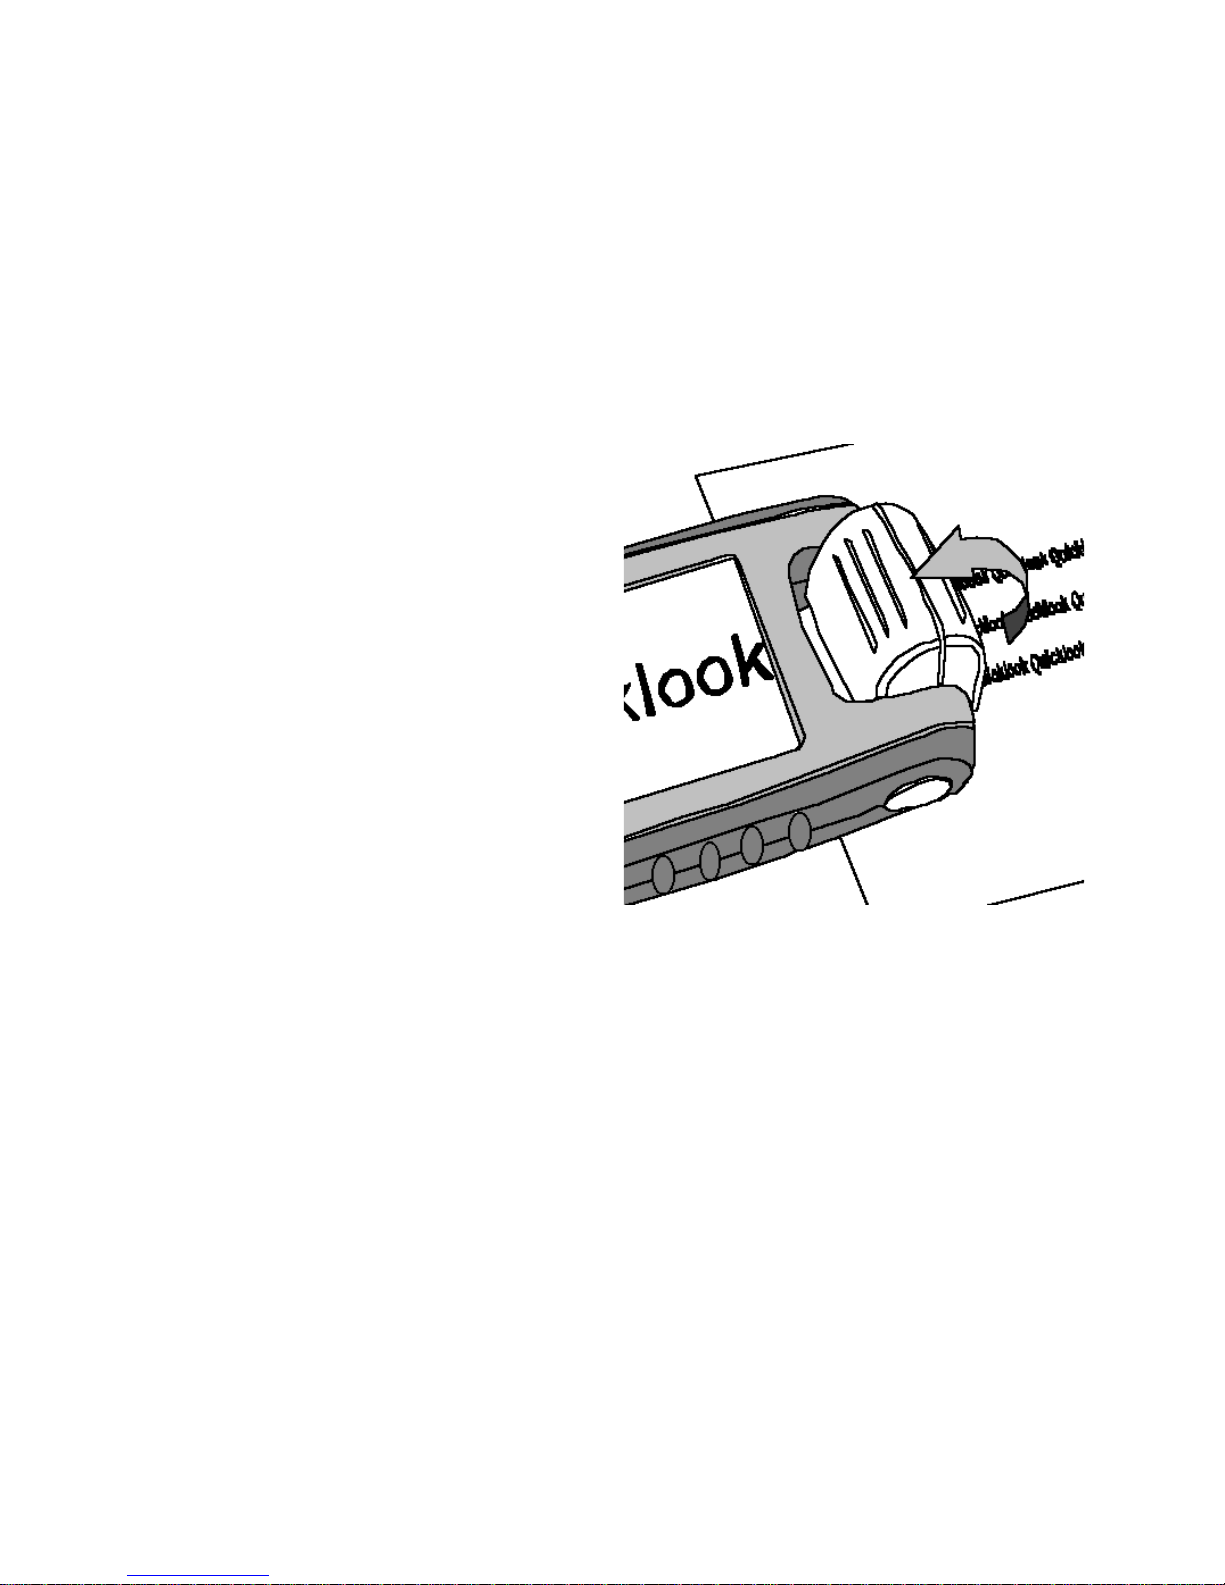
The Quicklook Zoom is powered on by
rotating the camera to either of its operating
positions. It is powered off by rotating the
camera back to the closed position.
Reading
Rotate the camera
ninety degrees to its
first click position so
that the camera is
looking downwards.
Place the unit on or
slightly above the
item you wish to
read. You will have
to position the camera directly over the
area of interest. In this respect Quicklook
Zoom differs from a magnifying glass in that
the image you see does not correspond to
the area directly beneath.
Quicklook Zoom can be viewed from any
orientation, but to obtain the most accurate
colour reproduction you should ideally look
directly down on the screen.
Page 7
7
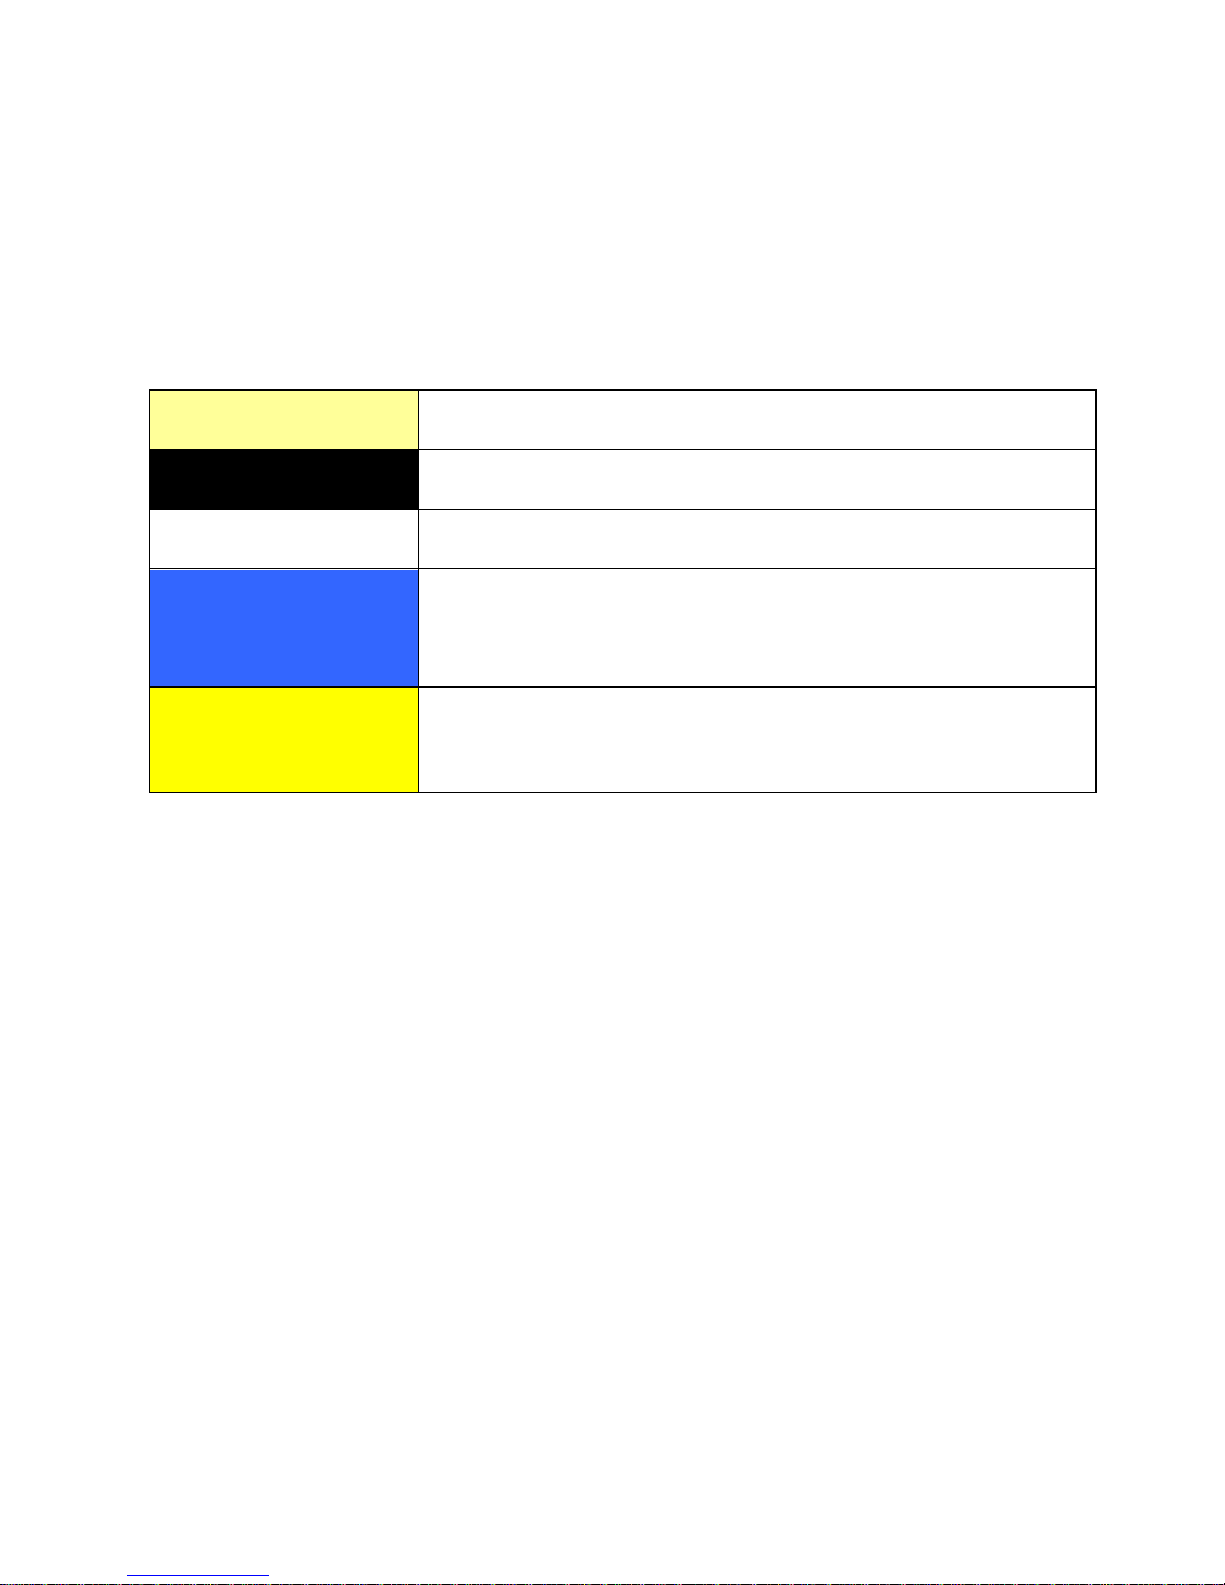
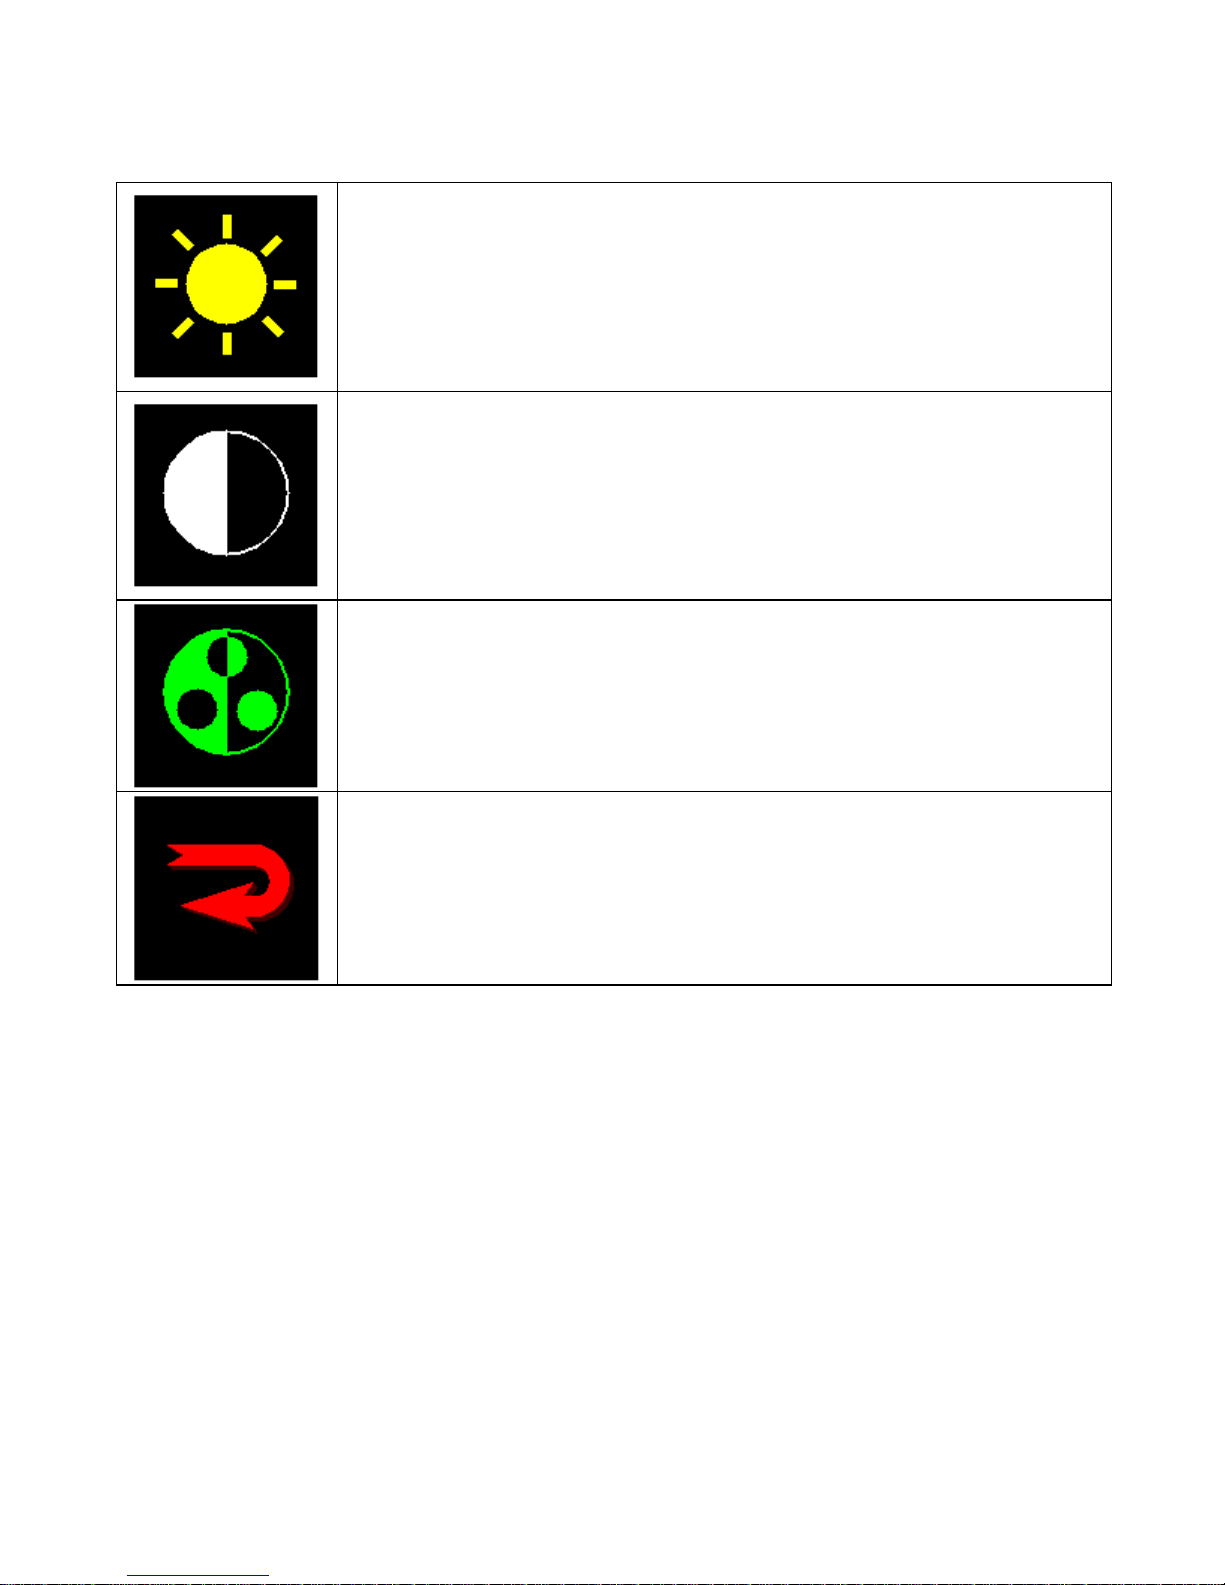
Changing image mode
Pressing the Mode button (refer to the
diagram on page 5) on the side of the unit
will cycle through the five image modes.
Colour
For general viewing
Negative
Enhanced reading mode
Positive
Enhanced reading mode
Semicolour
Enhanced reading mode with
false colours.
Inverted
Enhanced reading mode with
false colours reversed
When using Quicklook Zoom on different
material, experiment with the different
modes to see which helps you to see best.
Note that all original colour is removed from
the image in the enhanced modes.
The colour options used in the semi-colour
modes can be selected. Refer to the
“Reading Mode Menu” later in this manual.
Page 8

8
Freezing the image
To freeze the image, simply press and hold
the Freeze button on the side of the unit for
about a second (refer to the diagram on
page 5). Pressing this button again will
return to the live image. This function can
be useful, for instance, when you wish to
note a phone number and bring it to the
phone for dialling.
Zooming
To enlarge the image, press the Zoom-up
button; to reduce it, press the Zoom-down
button.
By default the upper magnification stops at
9X, but holding the Zoom-up button for 3
seconds will temporarily unlock the two
upper magnification levels. These levels will
remain available until the unit is powered
off.
If you find you regularly require the higher
magnification levels, you can permanently
unlock them through the advanced menu
described later in this manual.
Page 9
9
Writing
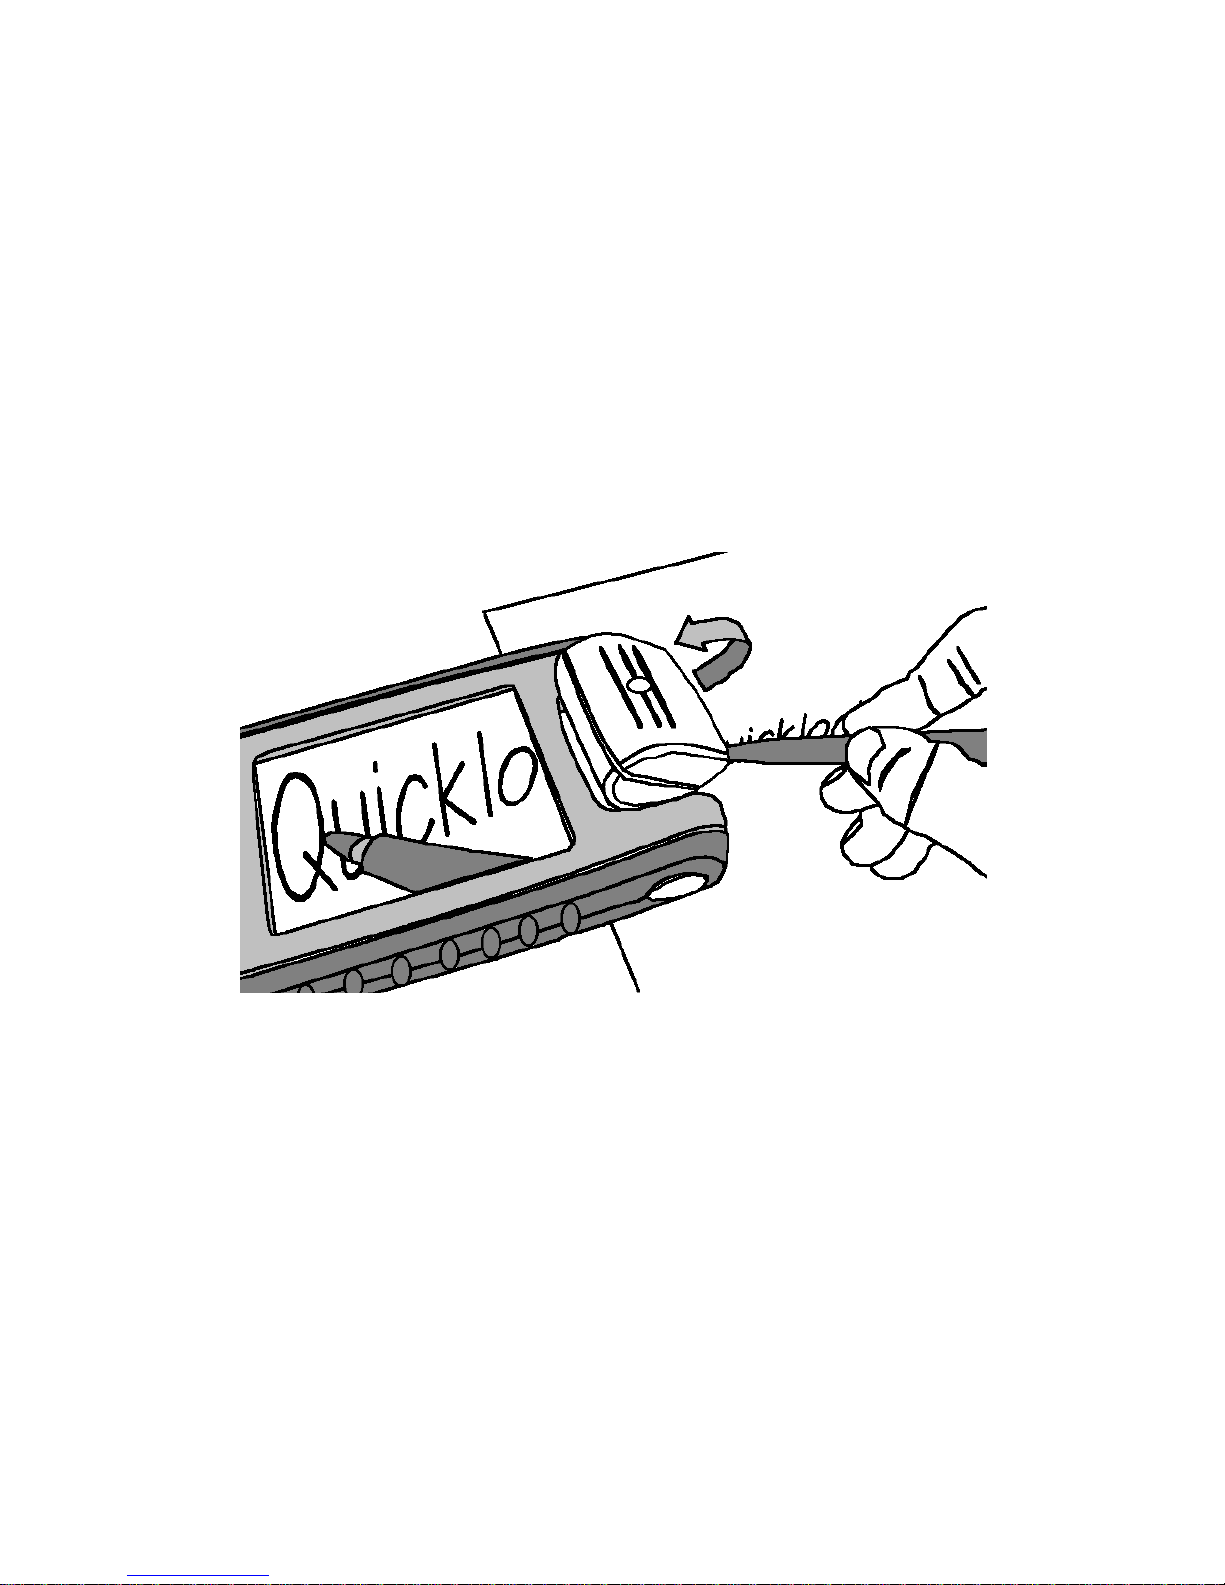
When you wish to write with the Quicklook
Zoom, rotate the camera out fully to its
second click position. While looking at the
display, find the place on the page where
you wish to write and place your pen in the
picture. As you are writing you should see
what you are doing on the Quicklook’s
display.
At the start, you may find that your
handwriting varies in size from what you
intended. You should spend some time
practicing on a sheet of lined paper to
familiarize yourself with writing using
Quicklook.
Page 10

10
Adjusting the backlight
The backlight brightness can be adjusted to
suit the lighting conditions you are working
in. Repeated quick clicks of the Brightness
button will step through the available
settings. When you have a level that suits
simply stop clicking the brightness button.
This setting will be remembered and used in
future.
Turning off the camera lights
If you wish to look at a backlit display (on a
mobile phone or computer display for
instance), the camera lights can reduce the
image quality. You can turn the camera
lights off by powering on the Quicklook
while holding in the Brightness button. To
turn the lights back on, simply turn the
Quicklook off and back on again.
Battery Level
At start-up, the battery level is displayed in
the corner of the screen for 10 seconds.
You can choose to display it constantly from
the Advanced Menu (see below). The
Page 11
11
battery icon changes colour depending on
the remaining capacity and will display in
blue if the unit is being recharged.
Using the Menu
The Quicklook Zoom has a menu system to
allow you to customize it to suit your
requirements.
To bring up the menu, press and hold the
Mode button for three seconds until an
icon appears on the screen. The contents
of the menu will change depending on the
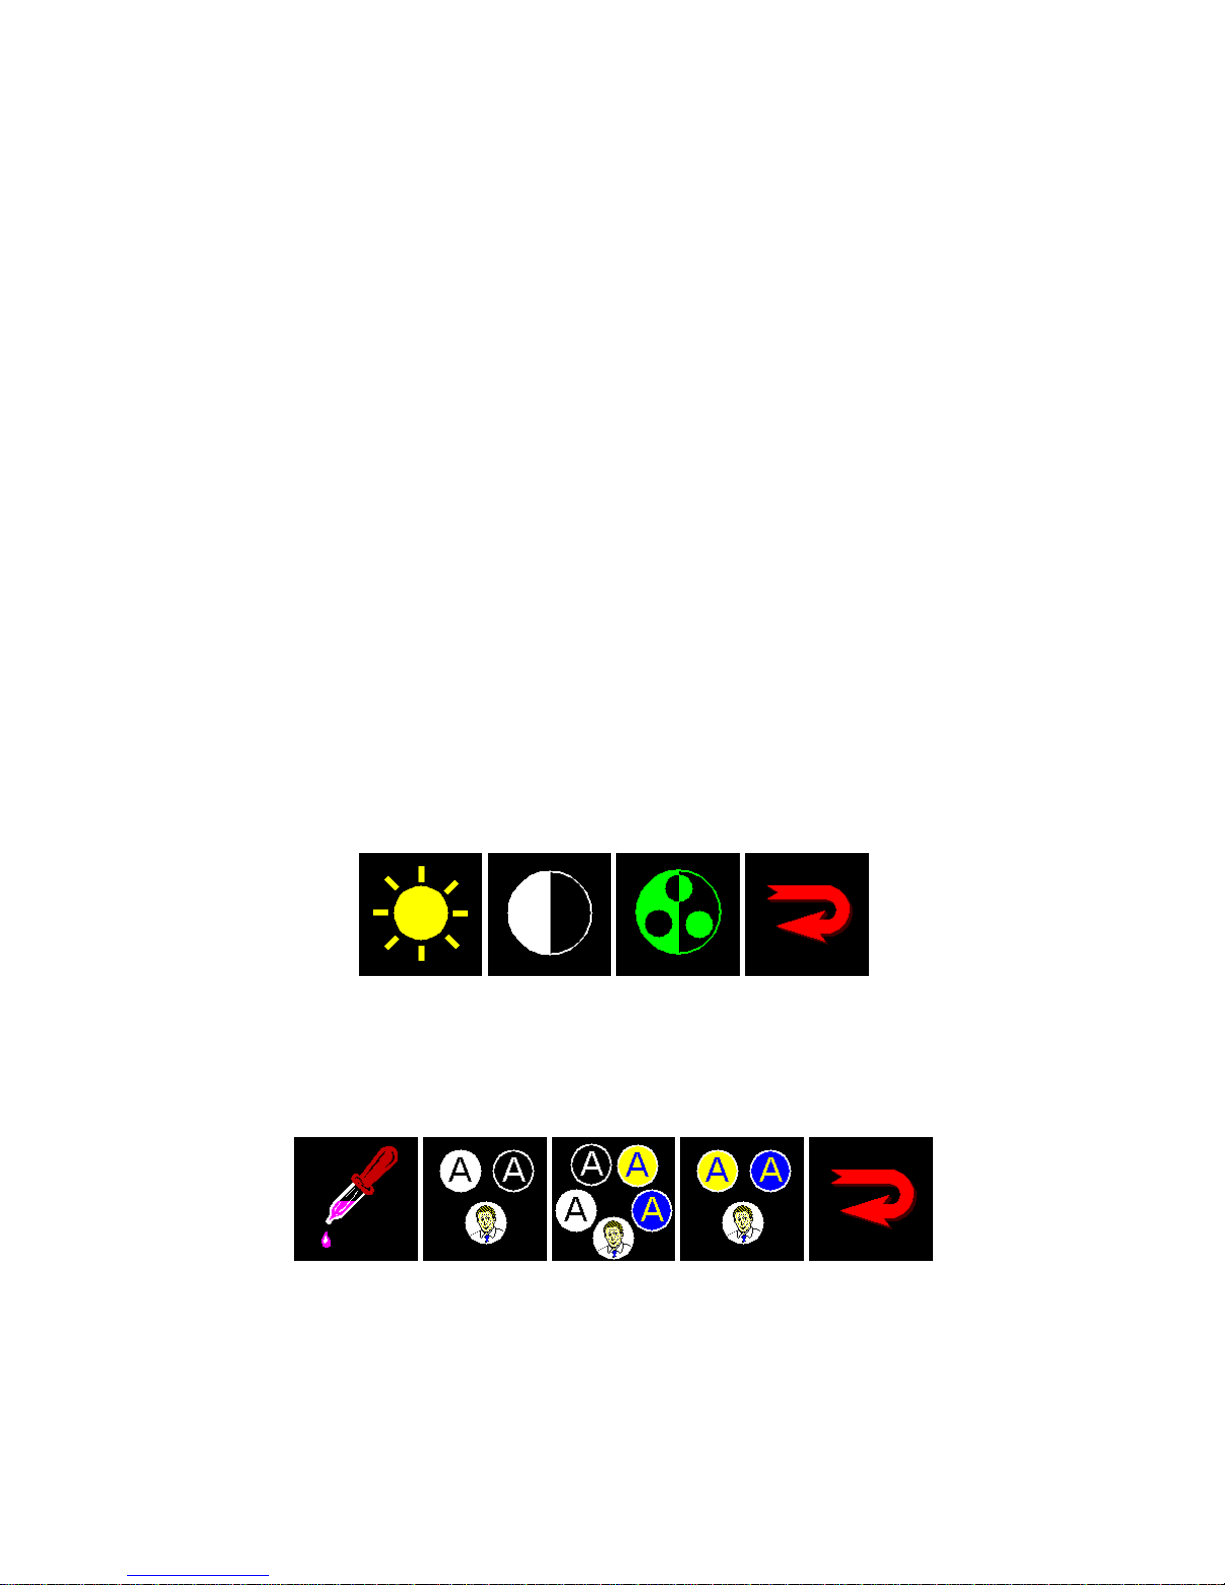
mode you are in. The Colour Mode Menu
contains these options:
The Reading Mode Menu contains these
options:
Page 12
12
Use Zoom-up and Zoom-down to navigate
through the menu choices and press Mode
to accept the choice.
Press Freeze to cancel a choice and exit the
menu.
The Advanced menu contains options that
are used only occasionally. Hold the Mode
button in for 6 seconds to bring up this
menu (ignore the icon that appears after 3
seconds – it will be replaced with the
Advanced menu).
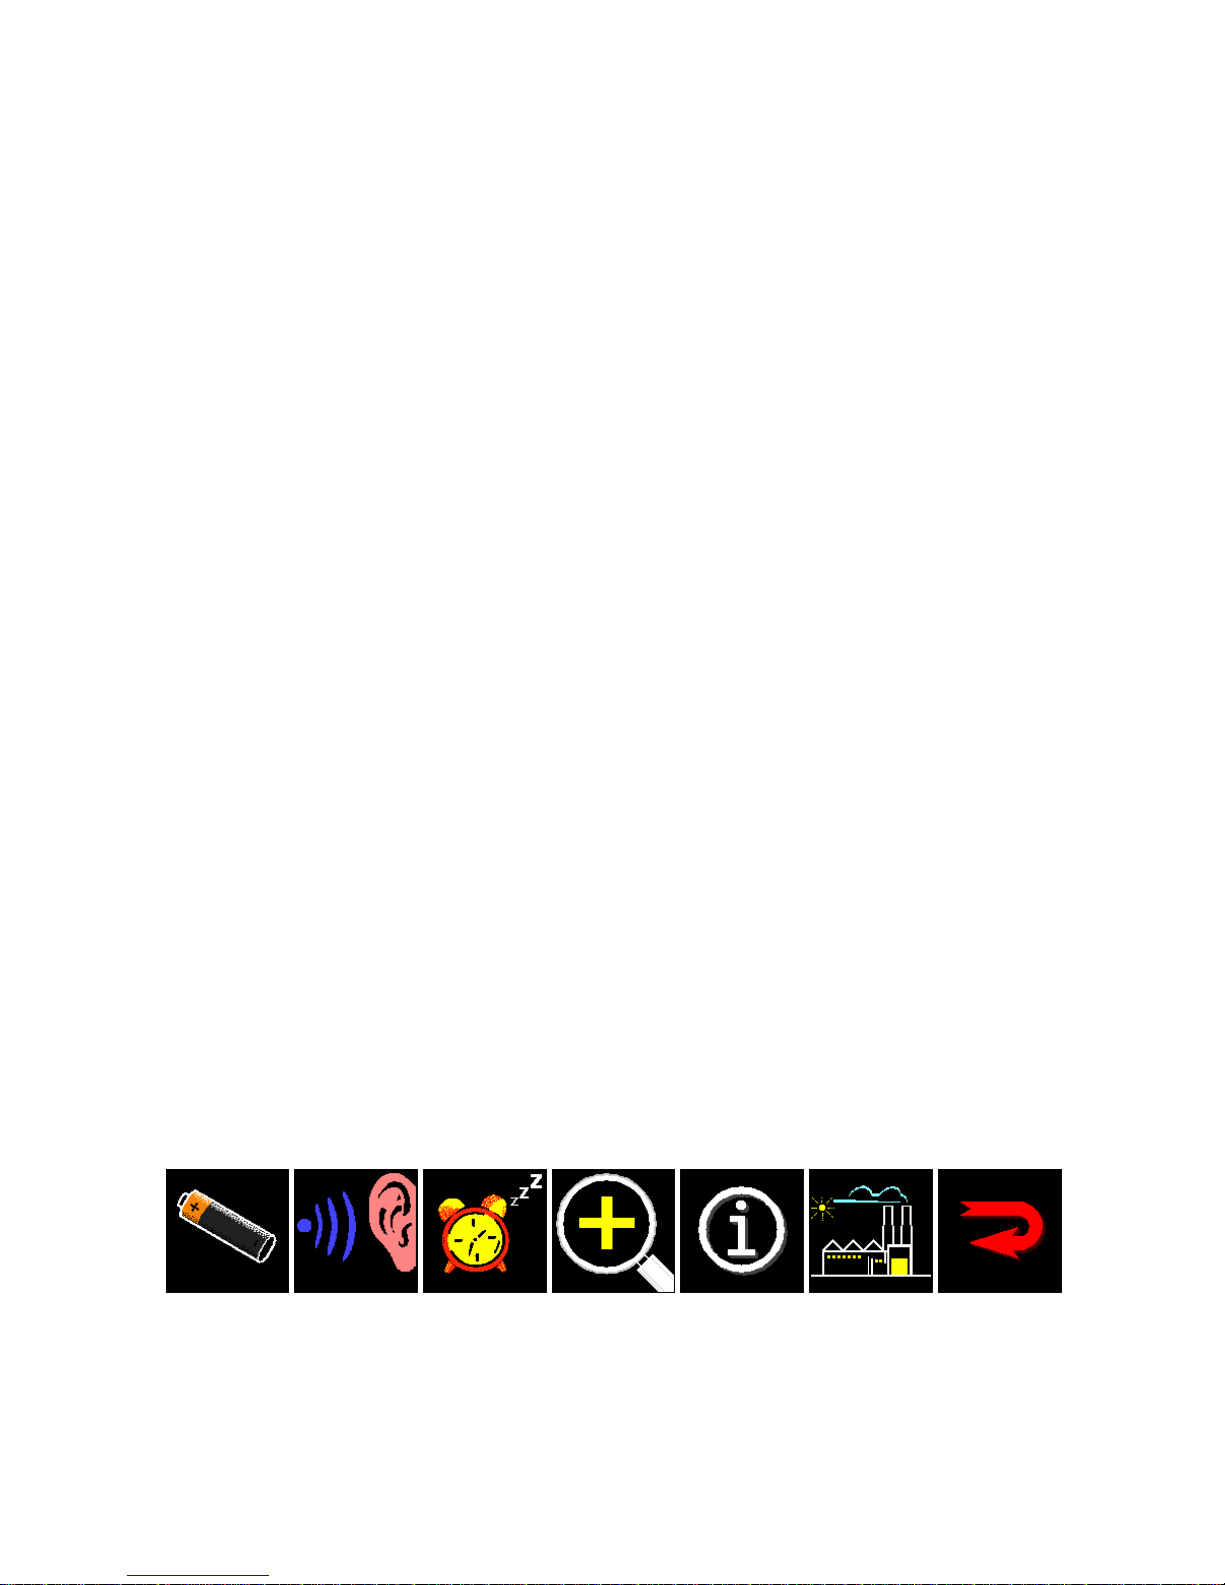
The Advanced Menu contains these options.
Please note that some of the icons will have
a tick mark or an X through them. If there
is a tick is over the icon, selecting it will
enable that option; an X will disable the
option.
Page 13
13
The Colour Mode Menu:
Brightness – Use the Zoom-up
and Zoom-down buttons to adjust
the image brightness. Press Mode
to accept the new setting.
Contrast – As with brightness
above use the Zoom-up and
Zoom-down buttons to adjust the
contrast of the image.
Saturation –This controls the
richness of the colour in the
image.
Exit – Exit the menu.
Page 14
14
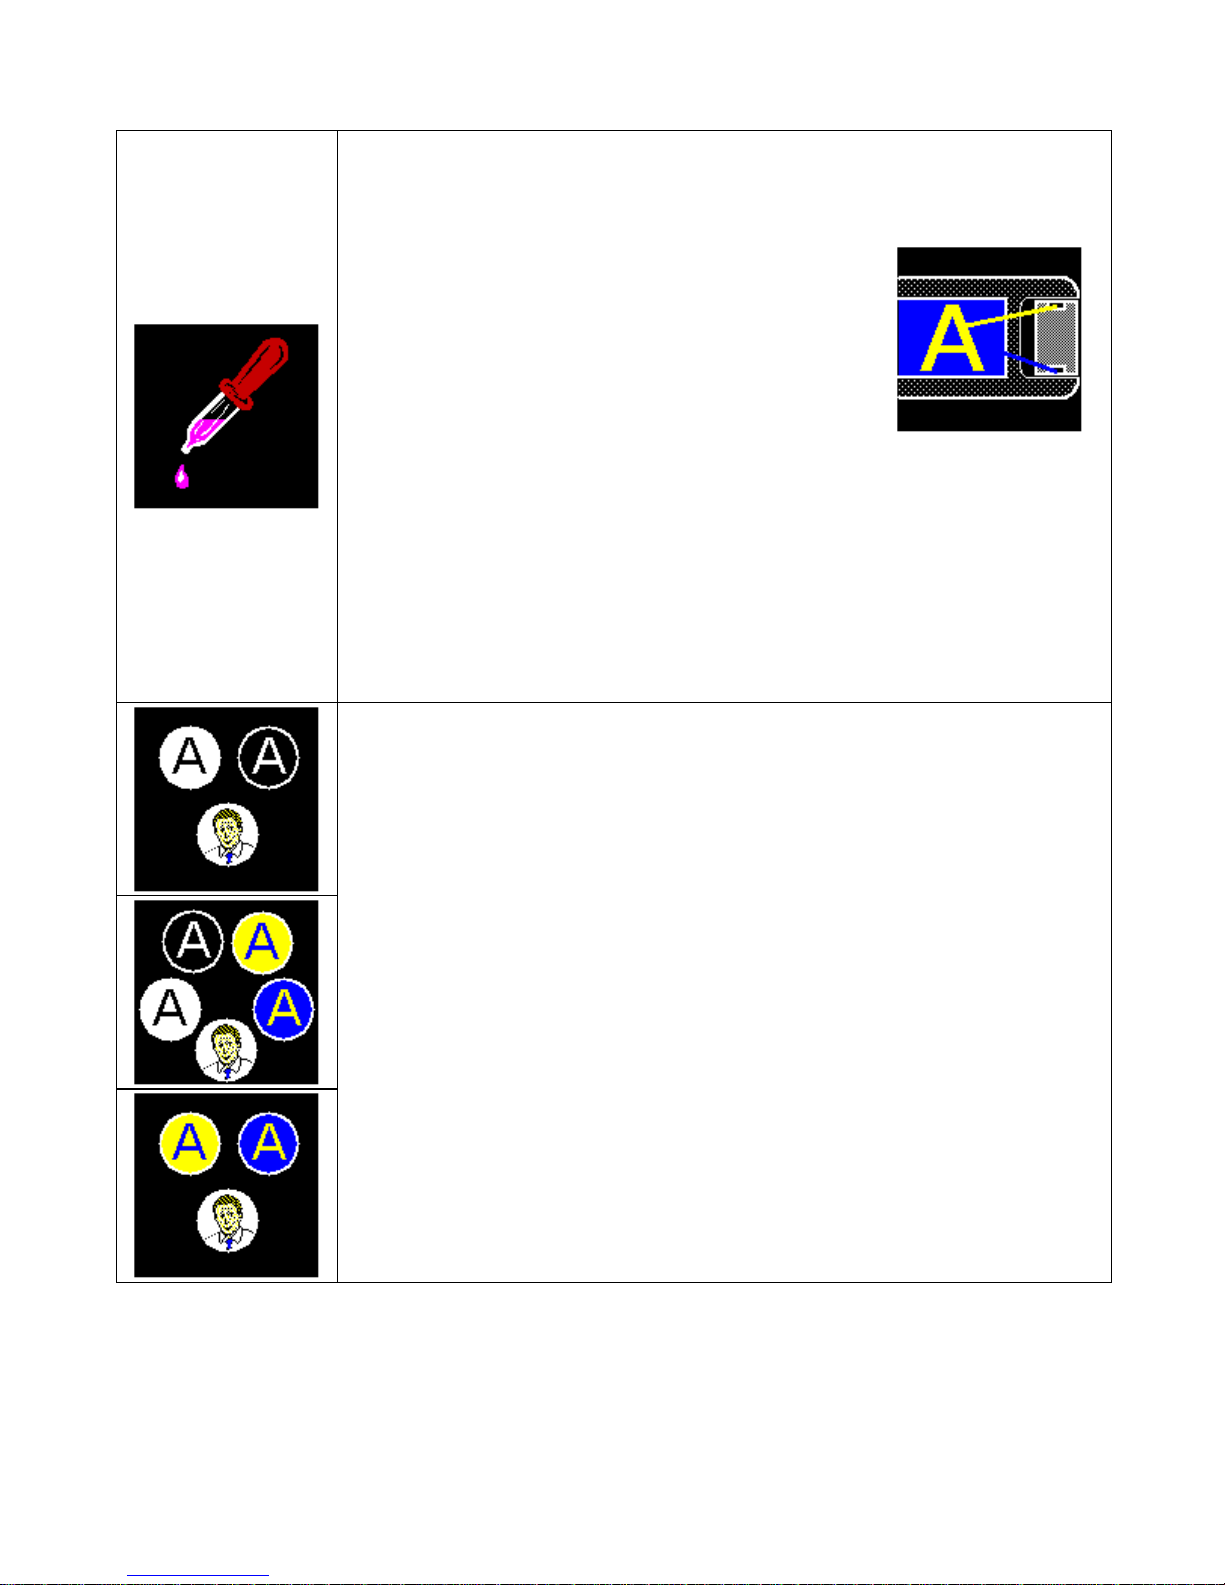
The Reading Mode Menu:
Colour selection – Here you can
change the semi-colours used in
the reading modes.
The icon on the right
will appear while
selecting the colours.
Press the Zoom-up button to
change the ink colour and the
Zoom-down button to change the
paper colour. Press Mode to
accept your choice.
Mode-button set-up:
You can customise the Mode
button so that only the reading
modes you use are available. If
you only require the black and
white reading modes select the
first icon; choosing the last icon
will allow only the semi-colours;
the centre icon will allow both
black and white and semi-colour
options to be available.
Page 15
15
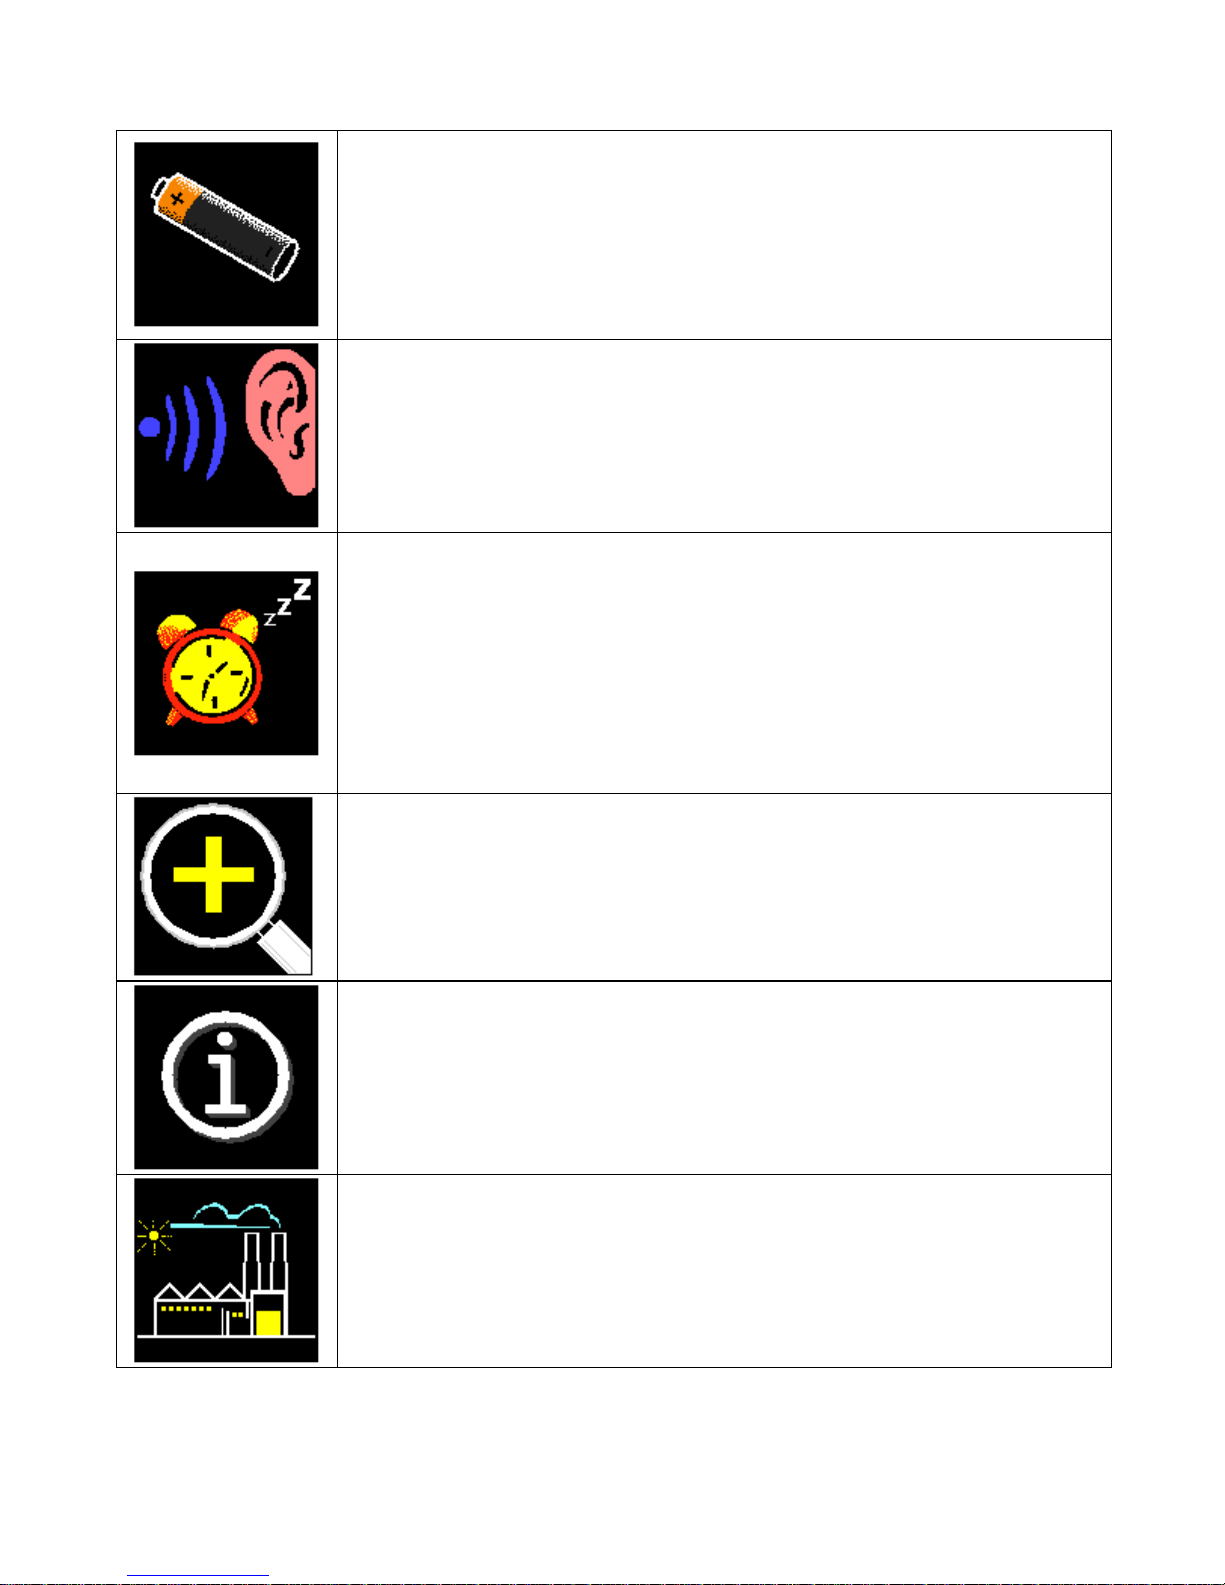
The Advanced Settings Menu:
Battery display – You can
display the level of power
remaining in the battery in the
upper left of the screen.
Sounds –Use this option to turn
the sounds on or off.
Auto-off –This option will turn
the unit off automatically after 5
minutes if a button has not been
pressed during that time. Please
read the note on the next page.
High magnification – this
enables the two highest levels of
magnification (13X and 18X)
The Info screen will display the
revision of the software within the
unit.
Factory Defaults – will return
the unit to its original factory
settings.
Page 16

16
Note about Auto-off and persistence
By default the Auto-off is enabled, i.e. the
unit will turn itself off after 5 minutes of
non-use. If you disable this function, you
could run the risk that a stationary image
may persist on the display if a unit is left for
a considerable time looking at the same
image. This persistence will clear eventually
but placing the unit on a clean white sheet
of paper and leaving the unit switched on
can help in severe cases.
Reset
If Quicklook stops responding to button
presses it may need to be reset. Using a
pen or similar instrument, press the reset
button recessed into the underside of the
unit near the camera.
Fitting the wrist strap
Quicklook Zoom is supplied with an optional
wrist strap. To fit this, pass the thin loop of
the strap through the hoop on the top of the
unit. Pass the entire strap through the thin
loop and pull tight.
Page 17

17
Maintenance
Dirt and finger marks on the screen should
be cleaned with the lens cleaning cloth
provided.
If Quicklook becomes dirty it can be cleaned
with a damp cloth and mild detergent.
Never use any type of solvent or abrasive
cleaning agents. Do not immerse Quicklook
in water!
Page 18

18
Warranty
The Quicklook Zoom has been fully tested prior to shipping and
should provide reliable service. Ash Technologies warrants the
equipment, when purchased new, to be free from defects in
material and workmanship and will repair or replace at Ash
Technologies' discretion, any equipment which exhibits such
defects, provided that the equipment has been operated under
the proper conditions of installation.
This warranty does not cover: (a) damage from misuse, use
outside the normal or customary manner, accident or neglect;
(b) damage caused by spills of food or drinks; (c) damage
caused by tampering, modification or repairs attempted by
persons not authorized by Ash Technologies.
The battery is warranted for a period of one year. Cracks,
scratches or similar damage to the display are specifically
excluded from warranty.
In no event shall Ash Technologies, or its agents, be liable for
special, indirect, incidental or consequential damages; the
original user's remedies being limited to repair or replacement.
Ash Technologies makes no other or further warranty, express
or implied, including and warranty of fitness for a specific
purpose or warranty of merchantability.
This warranty is valid for a period of TWO YEARS effective from
the date of delivery.
In the event that technical support or repair is required, please
contact your supplier first.
Page 19
19
SPECIFICATIONS
Size:
168mm x 96mm x 28mm
(6½” x 3¾” x 1”)
Weight:
250g (8.8oz)
Power
consumption:
15W operating, 35W recharging and operating.
Voltage: 100-240V AC, 50/60Hz.
Input to Quicklook: 5V dc centre positive 2.5A
Battery:
Custom single cell lithium ion.
Screen:
High brightness 4.3” (109mm) diagonal 16:9
aspect, TFT liquid crystal display.
Magnification:
3.1X to 18X
Storage Temp:
Operating:
-10°C to +40°C. (15°F to 100°F)
+5°C to +35°C (40°F to 90°F)
Some minor screen defects may be present but should not reduce the
usability of the product for its intended purpose. As we strive to
constantly improve our products, this information is subject to change
without notice.
DECLARATION OF CONFORMITY
We, Ash Technologies Ltd., declare under our sole responsibility that
this product, Quicklook Zoom, of the brand Ash Technologies to
which this declaration relates, is in conformity with the following
standards or other normative documents:
EN55022:1998 + A1:2000 to EN55022:1998 + A2:2002 to EN55022:1998
EN55024:1998 + A1:2001 to EN55024:1998 + A2:2003 to EN55024:1998
EN 61000-3-2:2000
EN 61000-3-3:1995 + A1:2001 to EN 61000-3-3:1995
Equipment class: Residential
following the provisions of EMC directive 89/336/EEC.
Alan Johnston
Engineering Director
Ash Technologies Ltd, Naas, Ireland.
6th June 2007
Page 20
20
© Ash Technologies Limited 2007
Ash Technologies Ltd.
B5, M7 Business Park,
Naas, Ireland.
Made in Ireland
Quicklook Zoom User Manual EN Rev D
 Loading...