

Page 1
QUICK START GUIDE
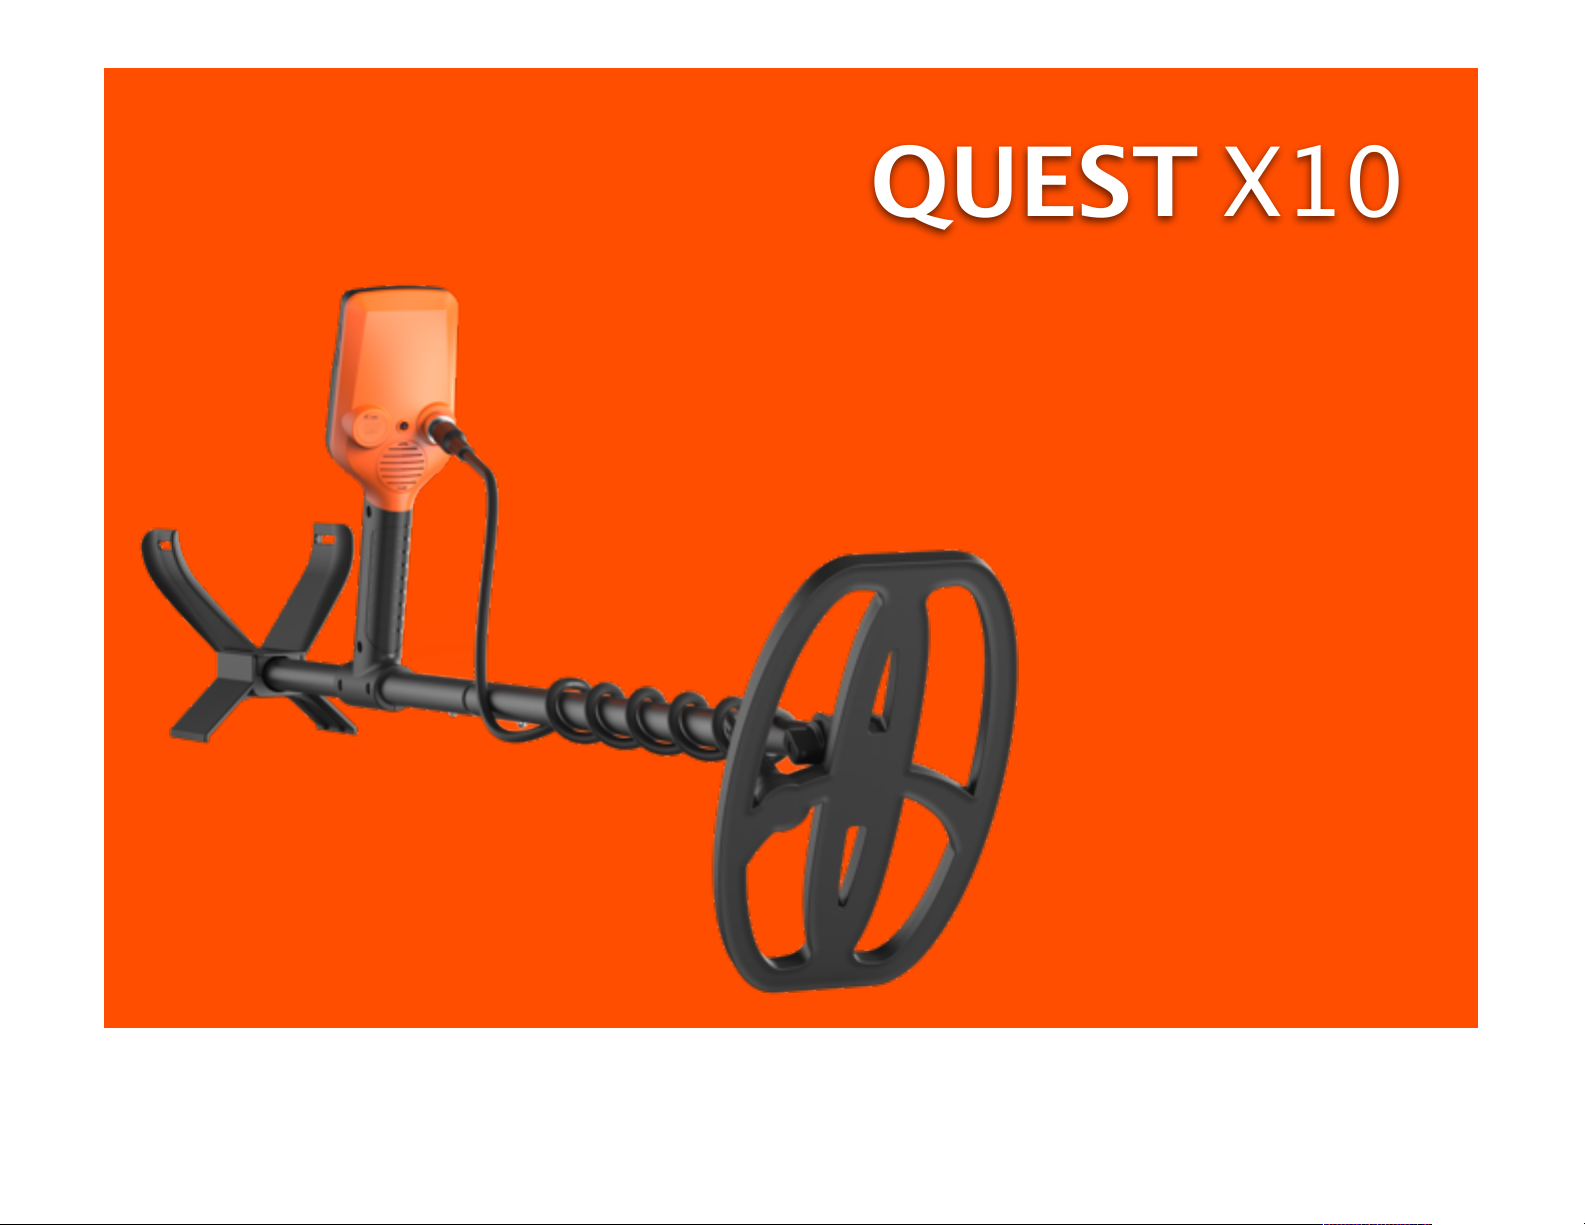
QUEST X10
PACKAGE INCLUDE:
1X TurboD Blade coil
1X Coil cover
1X Control box with handle
1X Shaft set (3 sections)
1X Armrest set (2 pieces)
1X Micro USB cable
1X Quick start guide
Version: 201903X10_EN
Page 2
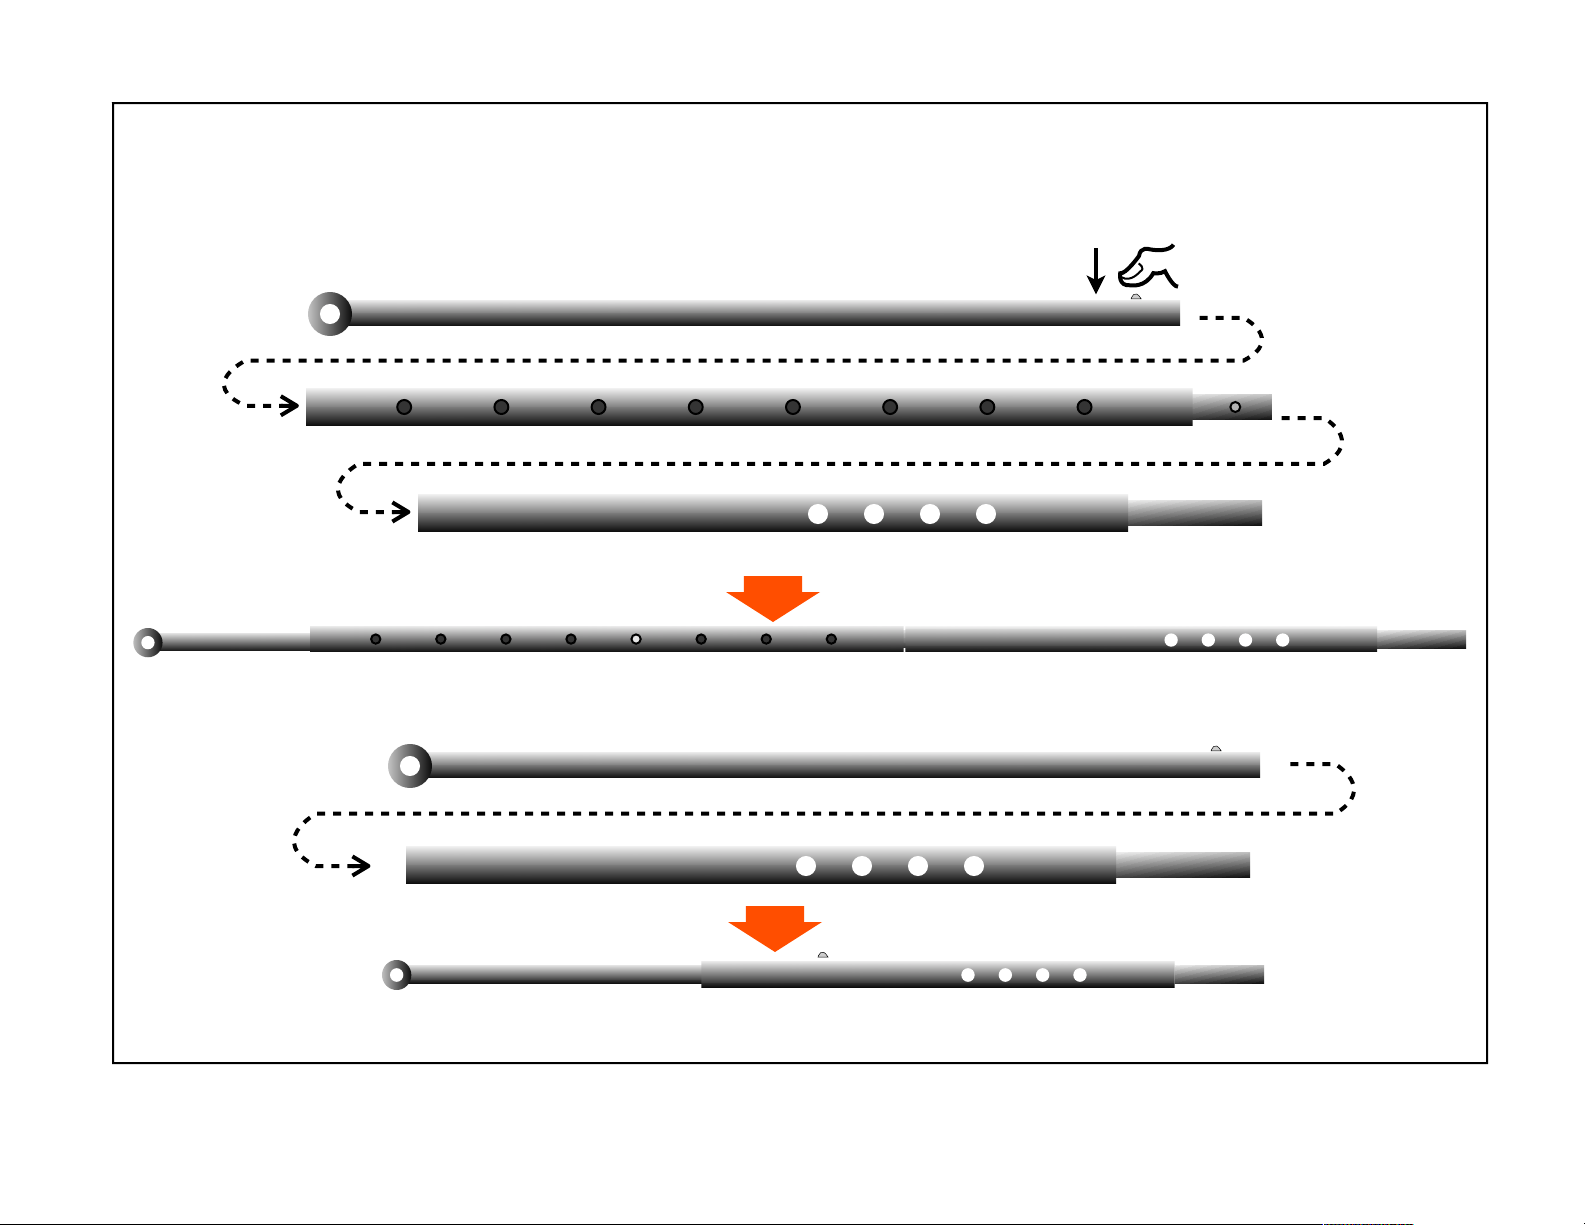
1
STEP
For adult
SHAFT SETUP
For junior
Page 3
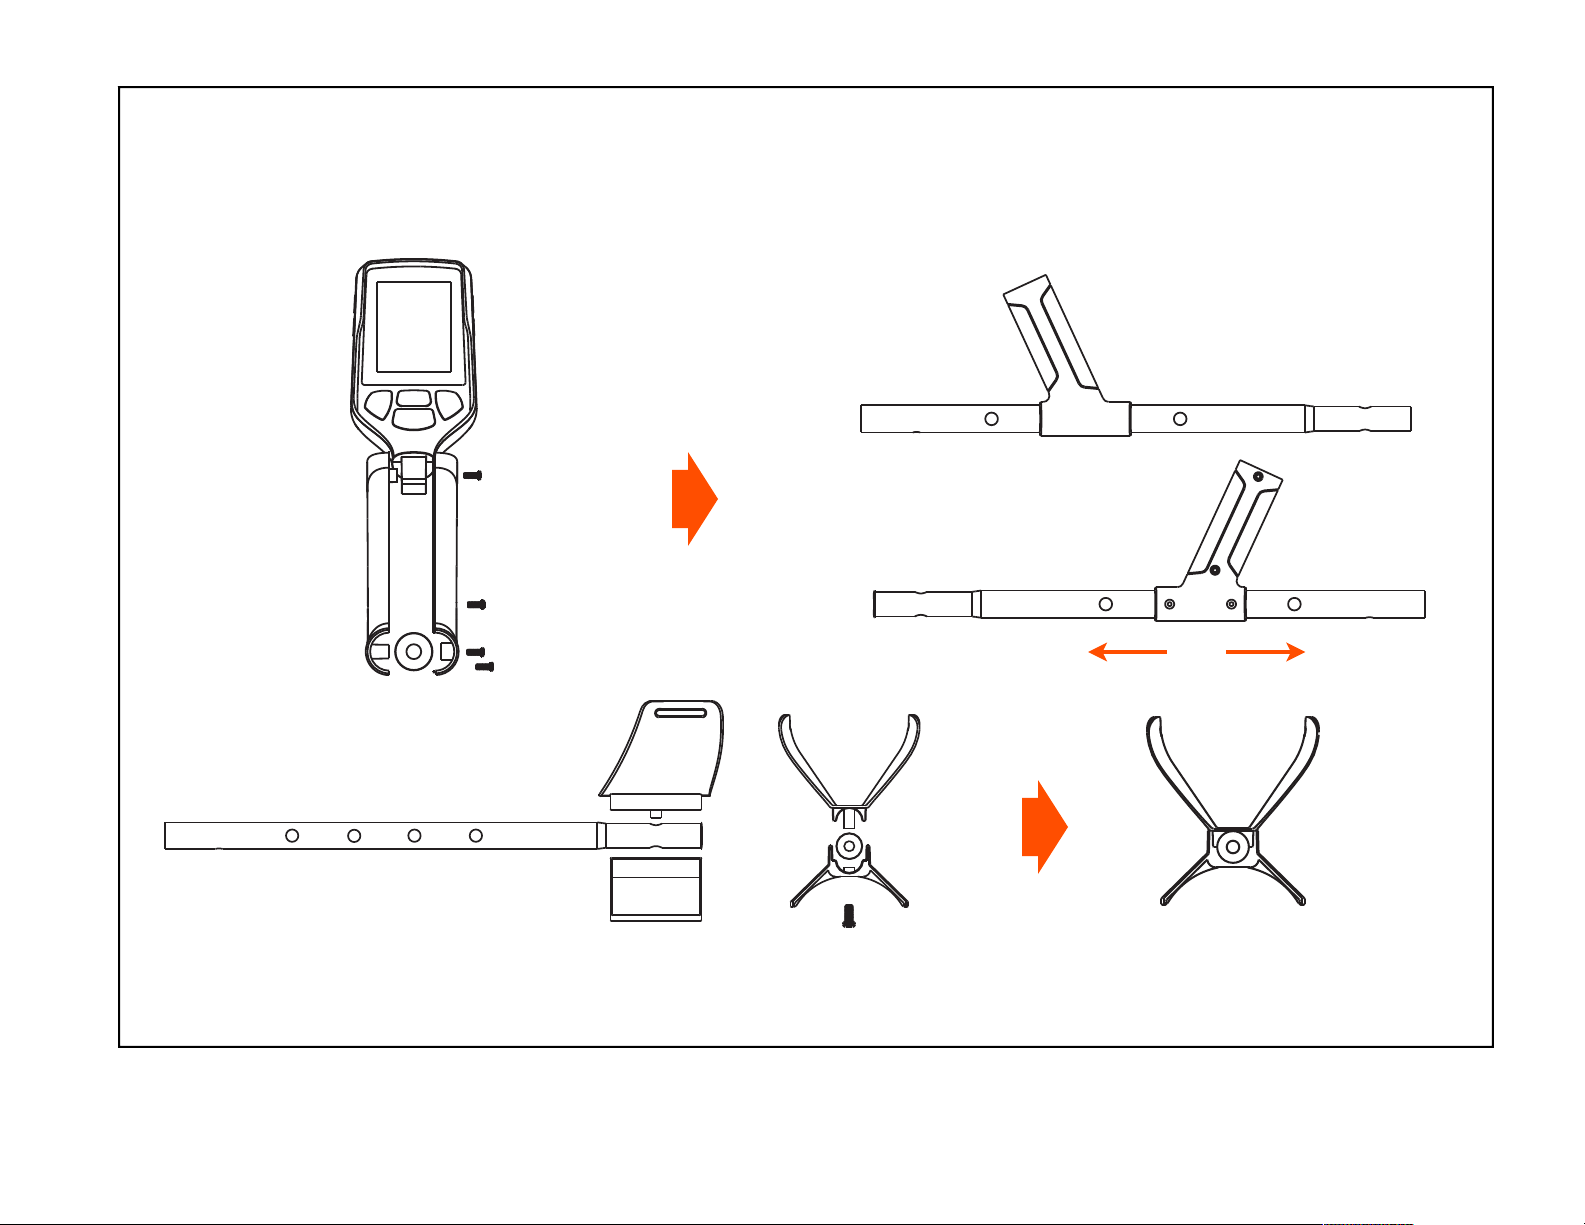
2
STEP
HANDLE & ARMREST
Page 4
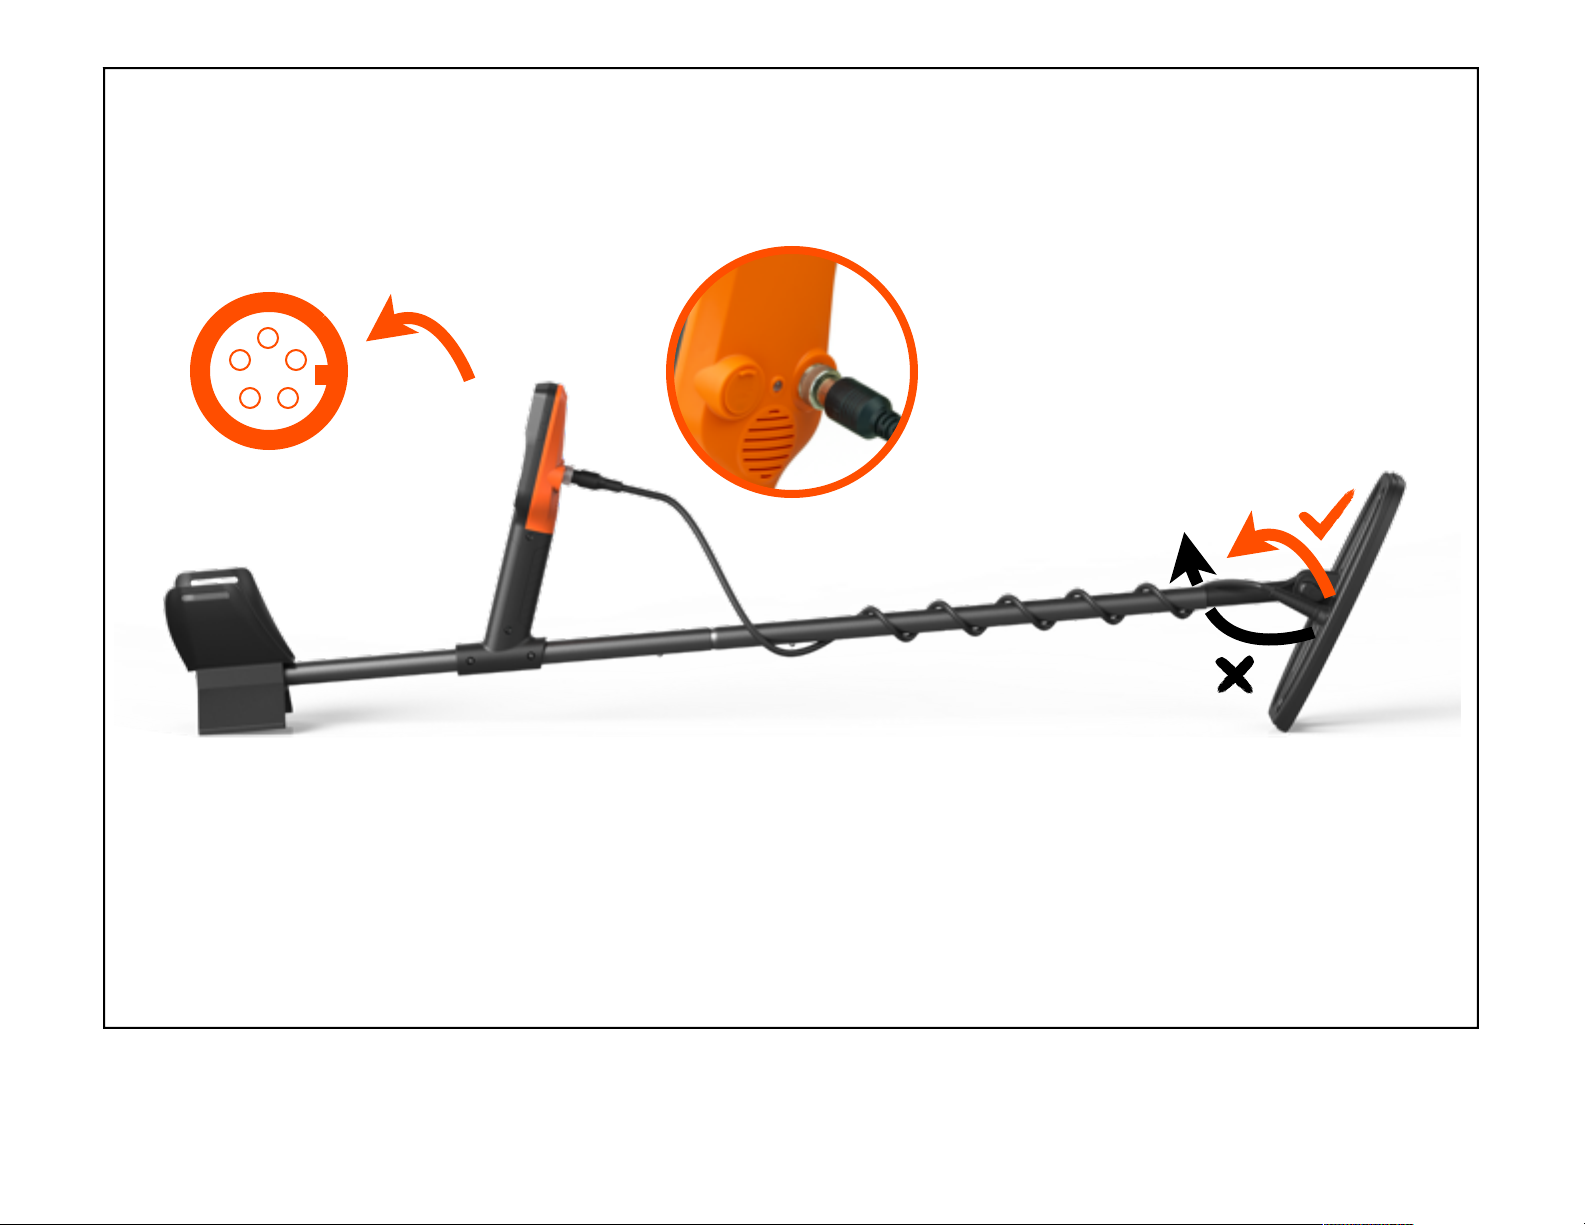
3
STEP
COIL ROUTING
Fig 1
Wrap the coil cable to the shaft from the lower part.
•
Pay attention to the spiral direction.
•
Leave certain length at the tilting part to avoid damage
•
when folding the coil.
Match the connector, push in and tighten the ring(Fig 1).
•
Page 5
6
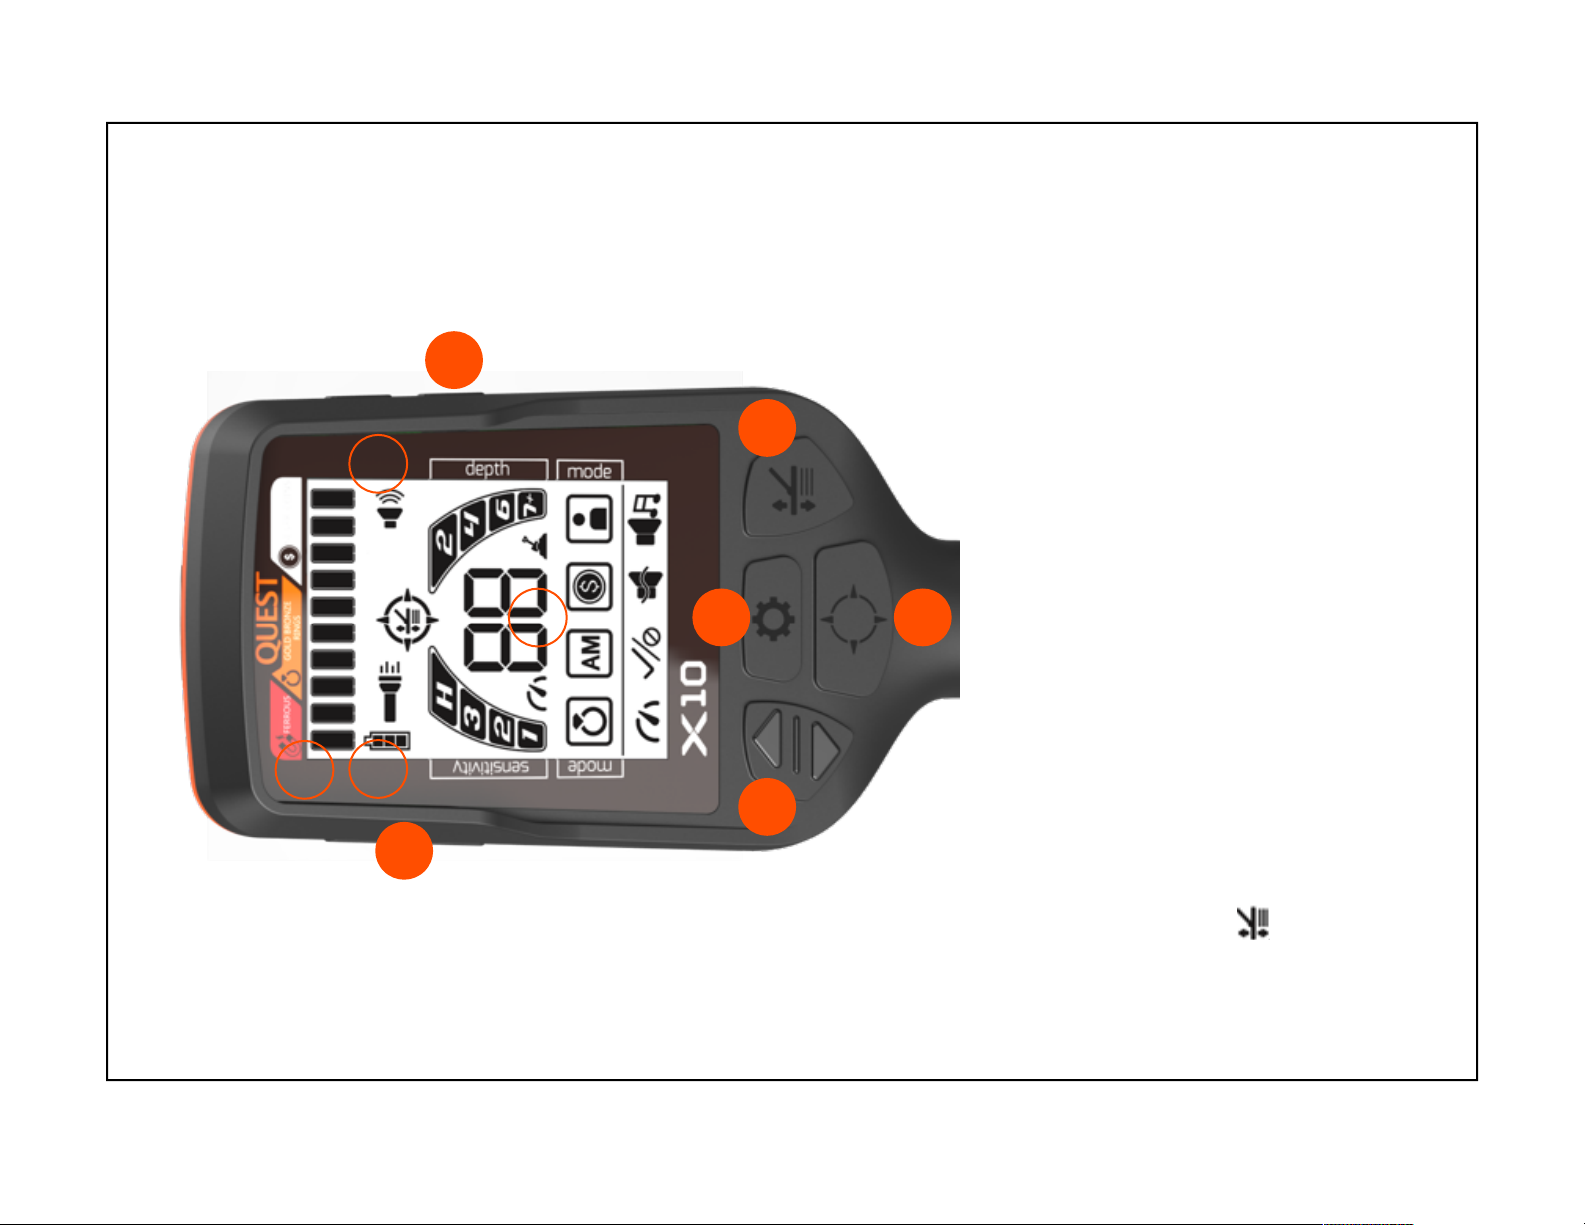
Display
A Target ID bars
B Digit target ID
C Battery level
D Audio level
A
C D
5
B
1
2
QUICK START
3 4
Press power button once to power on X10. Hold to power off.•Press arrow up/down to change detection modes. •Press menu button once to enter programing menu.•Hold pinpoint button and XING target to locate find. •Hold and pump coil above ground to balance.•Press button 6 to activate backlit, and/or flashlight
Control
1 Power/Menu
2 Pinpoint
3 Change modes, +-
4 Ground balance
5 Speaker volume
6 Flashlight / Backlit
•
Or search “Quest X10 tutorial” on YouTube for more tips
Page 6
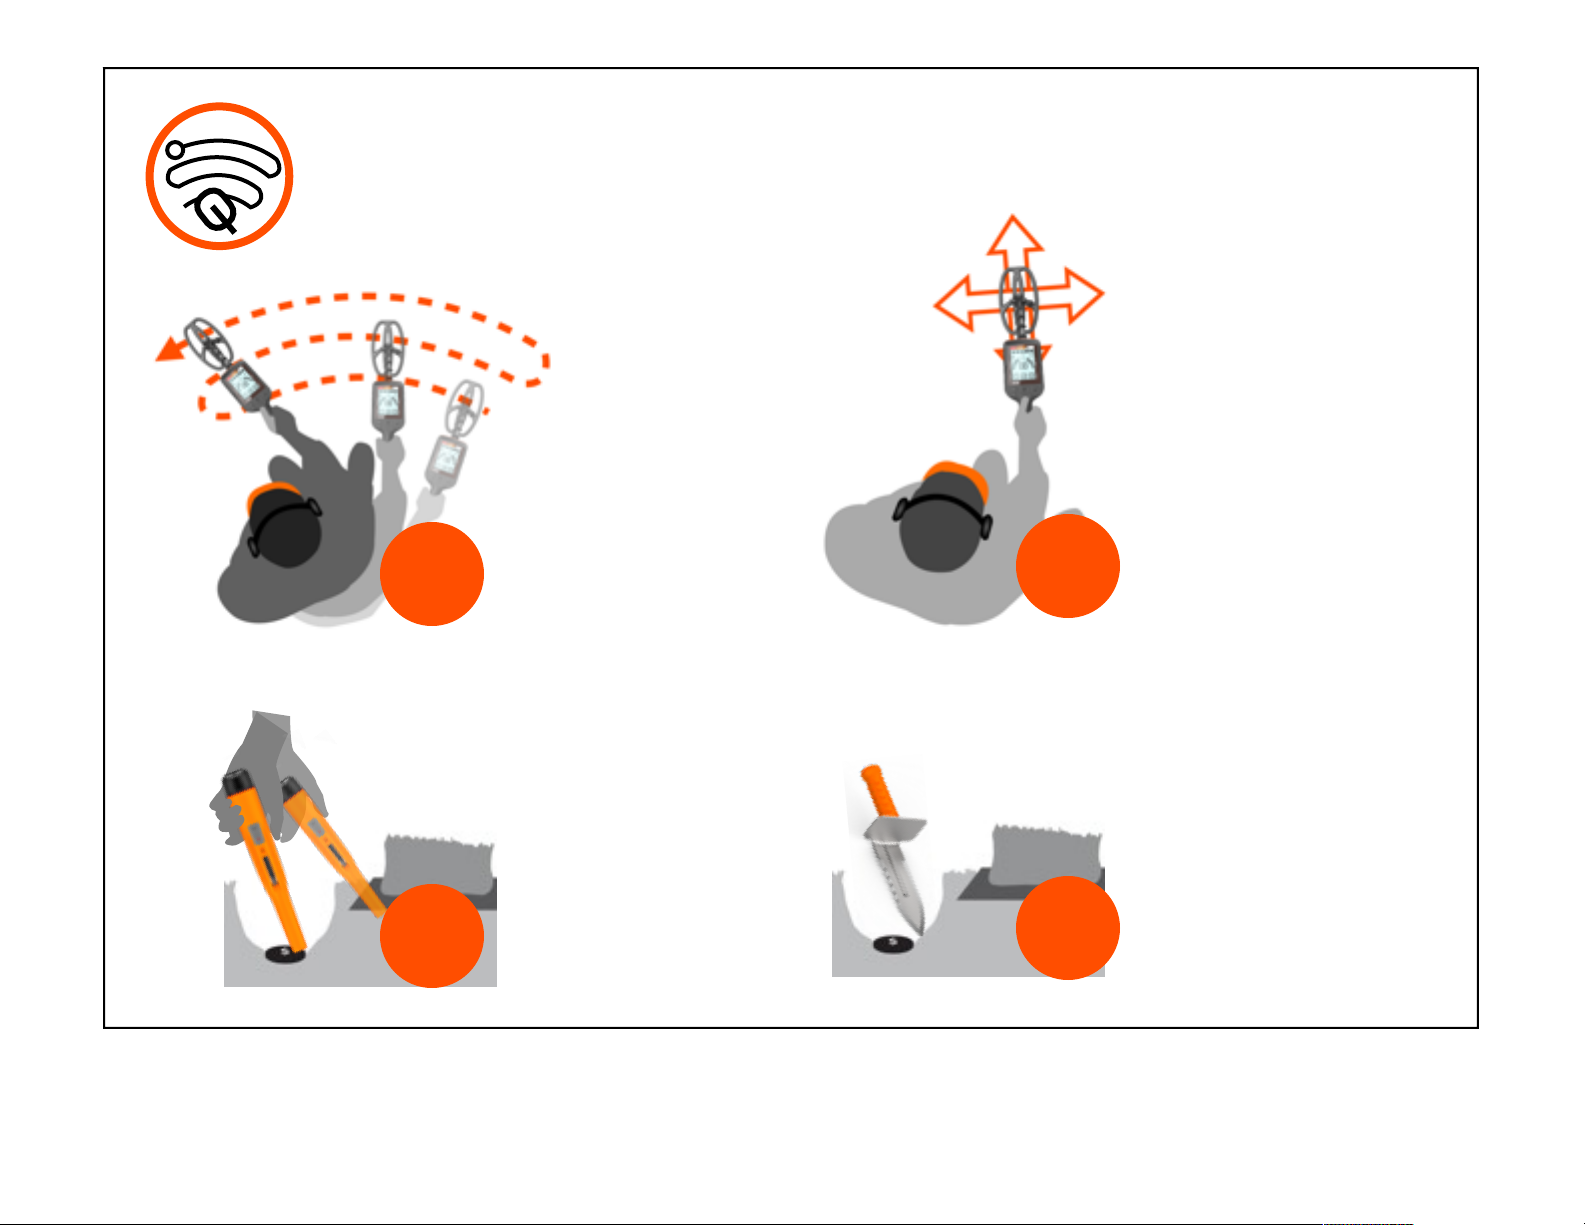
DETECTING
1
2
3
4
SWING
Swing the coil
a p p r o x 4 c m
above the
ground. Overlap
the last swing to
avoid missing
any target.
PINPOINTING
Use a Xpointer
to help you find
the target faster.
Simply use the
tip of the
Xpointer to
“sniff” the target
covered by dirt.
XING
When you hear a
confident high
tone, press and
hold the pinpoint
button to locate
the target
precisely.
DIGGING
Use a Digger to
dig out the soil. Try
to keep the dig
pattern as small as
possible.
Remember to
cover it when you
finish.
Page 7
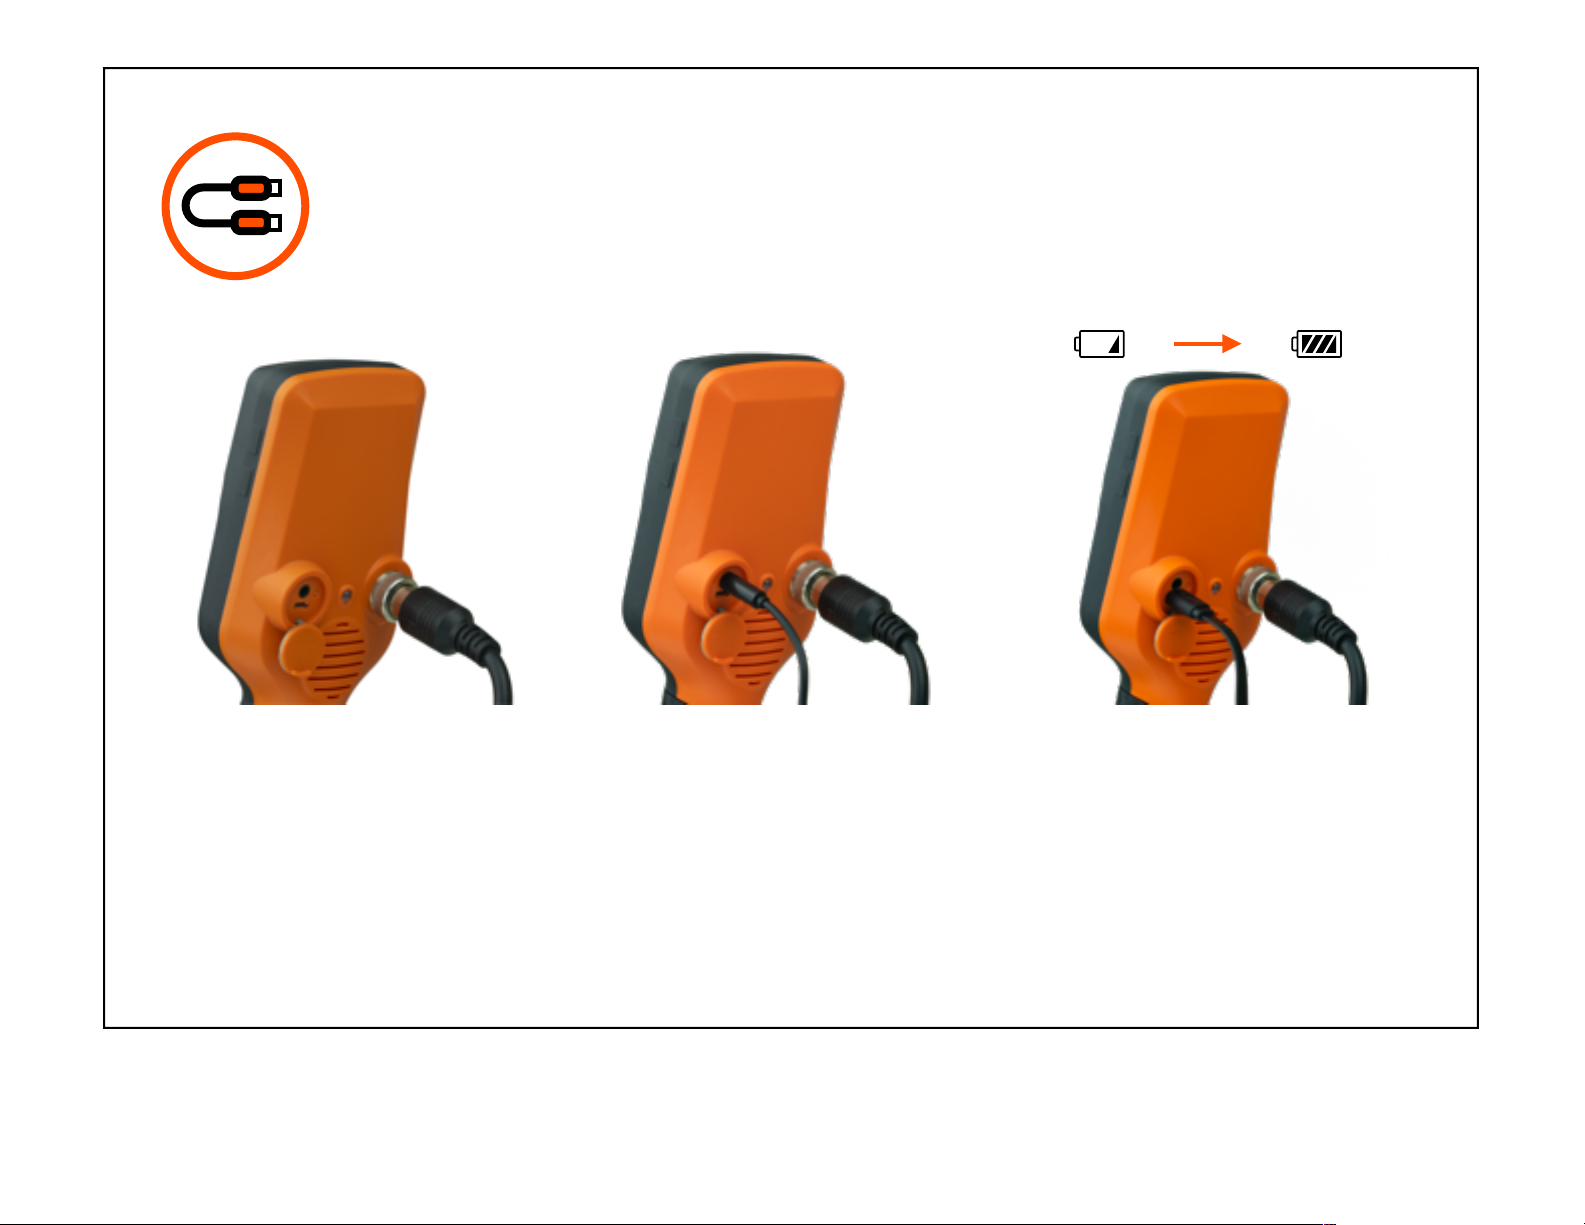
HEADPHONES & RECHARGE
04:00Hr FULL
Take o ff moi s t u re an d
dust cover to access
ports. Put it back to place
to avoid damage by liquid
or dirt.
You can use headphones,
earphones with 3.5mm
diameter type connector.
Set to low audio volume
b e f o r e w e a r y o u r
headphones to avid
hearing damage.
Connect the micro USB
cable to a wall charger
with USB port.The battery
indicator will stop flashing
when fully charged.
Please allow 4 hours to
refresh the X10.
Page 8
UNDERSTANDING
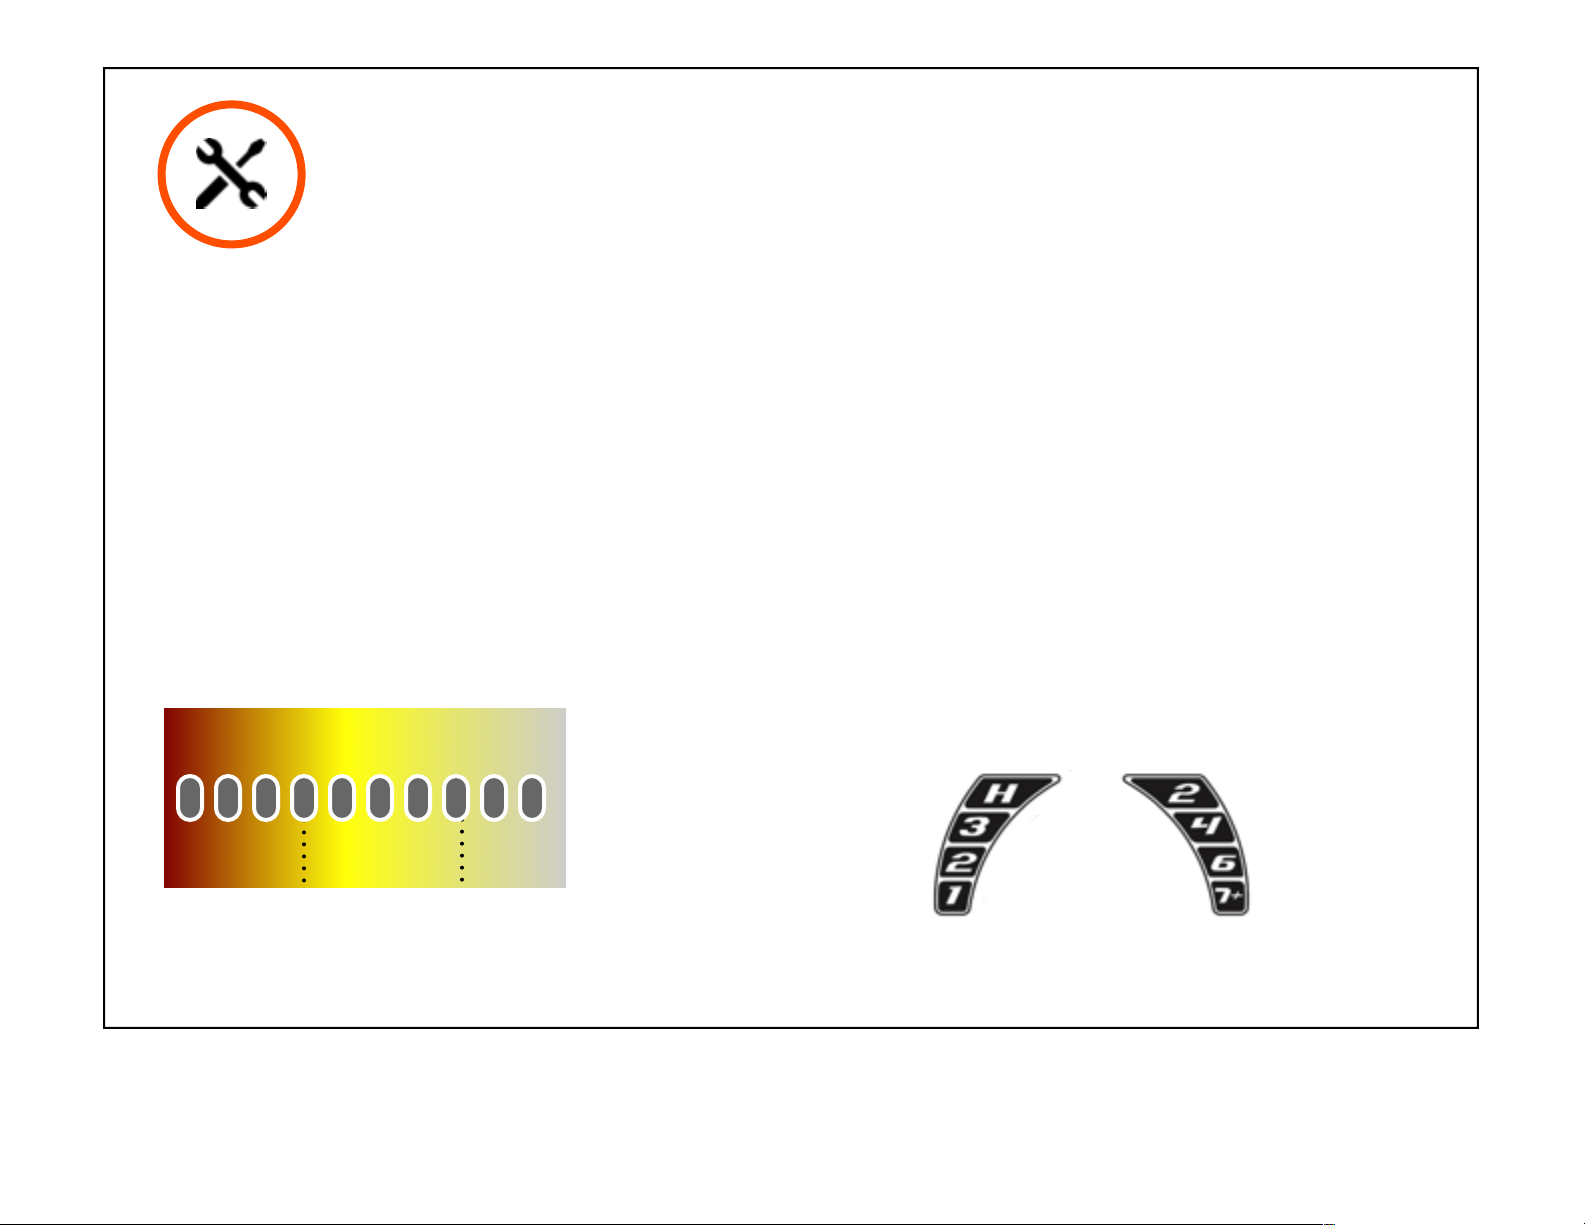
TARGET ID & INDICATION BARS
X10 categorizes metal signals into different digit from 1
to 99 based on the metal target’s conductivity range.
The higher conductivity the higher digit you will get
from the display. For better visualize effect we use
indication bars to indicate which area the metal fall into.
For example a US quarter or silver coin will be
indicated as 84 together with the fifth bar. The detection
and processing system will be affected by soil
condition, trashy metal items.
Depends on the strength of signal the detector
indicates the depth of the target.
Iron ~ Gold /Bronze ~ Silver
20 ~ 40 ~ 60 ~ 80 ~ 99
Low Middle High
The conductivity scale for metal items shown
above to help you better understand the range.
METAL
TARGET ID
BAR
TONE
PROGRAMS
Coin Mode. Very stable, medium recovery speed,
•
target for ancient or modern coins TID range 40 - 99.
Jewelry Mode. Very sensitive, high recovery speed,
•
target at Gold rings, Jewelry items. TID range 30 - 99.
All Metal Mode. Hi gh re co very sp ee d, Z ER O
•
discrimination, good for gold prospecting. TID 0~99.
Customizable Mode. Use this slot to save your
•
favorite setting.
METERS
76~99
51~75
26~50
1~25
Sensitivity
Depth (for reference only)
Surface to 2”
2” ~4”
4”~6”
7”~ deeper
Page 9
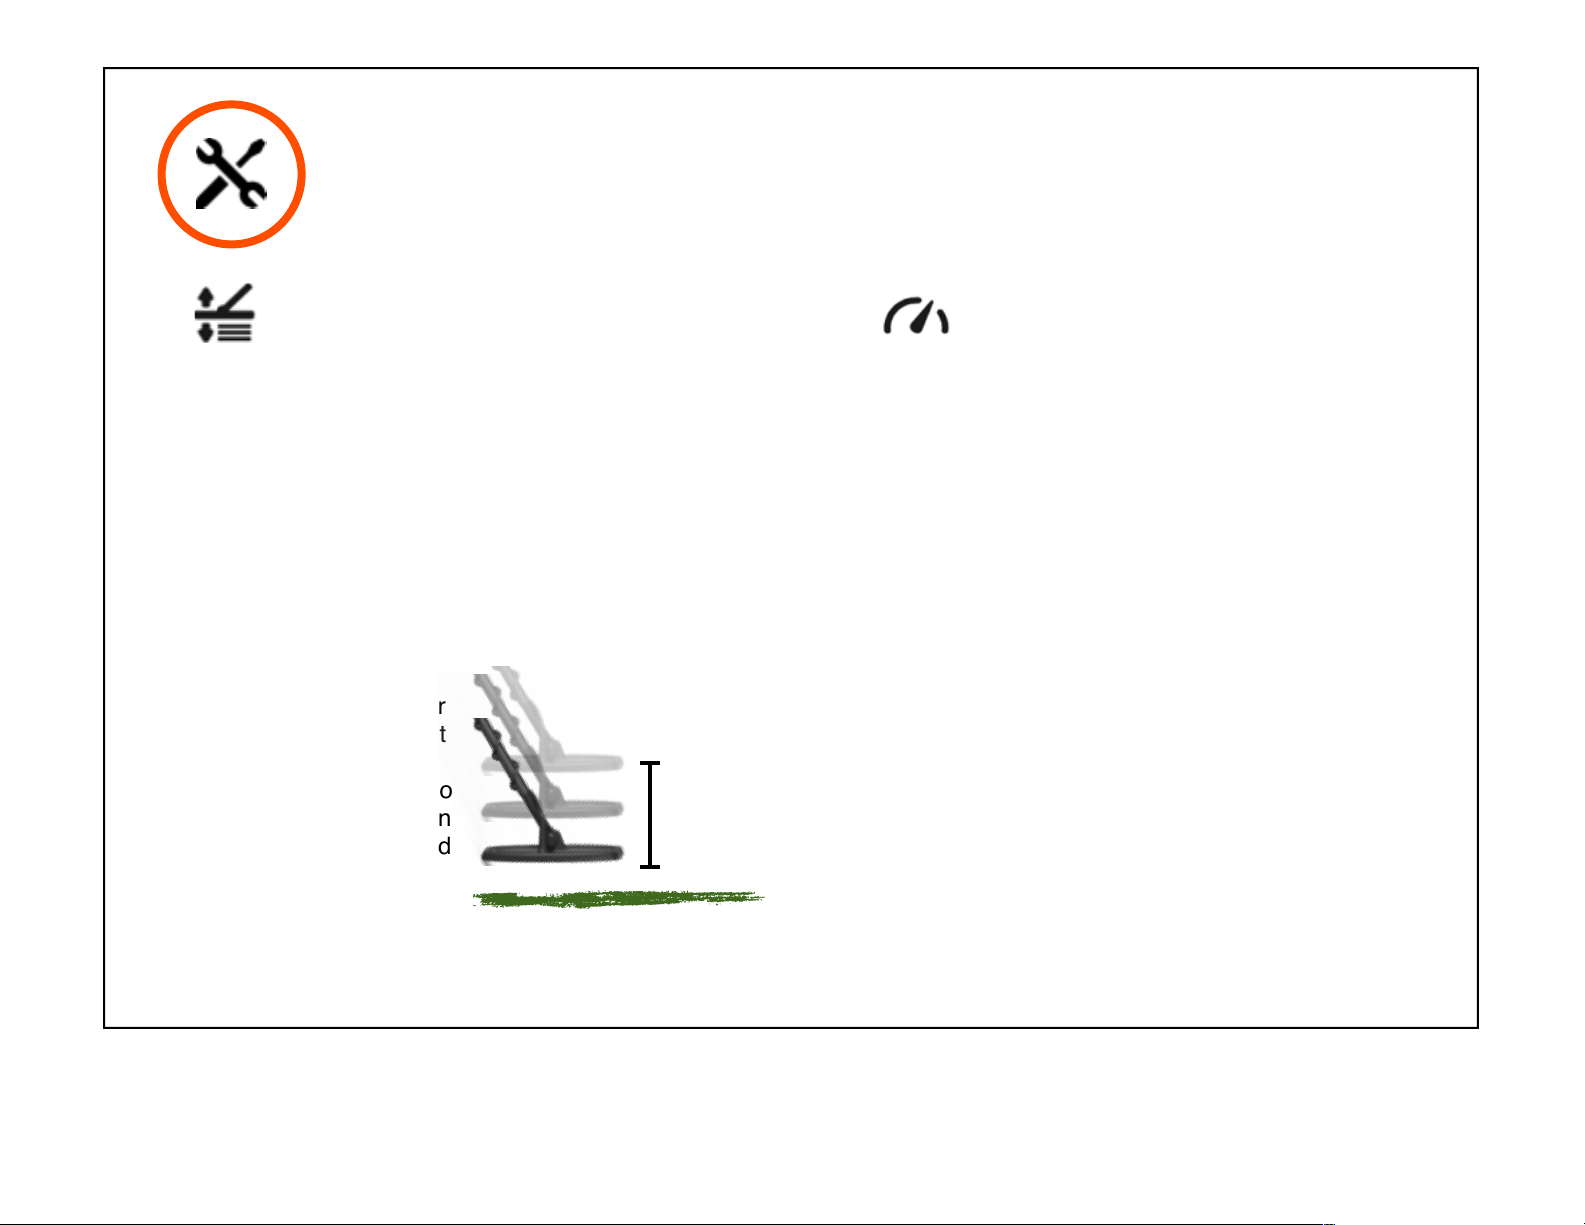
PROGRAMING
GROUND BALANCE
Different soil mineralization may vary. Ground
•
balancing helps to remove or reduce the ground effect
noise and be more focused on the real target.
Hold the GB button and pumping above ground to
•
allows detector to adjust to a suitable value. A short
beep will remind you the GB process is finished. It will
not be done when metal items been detected during
the process.
Ground Phase conditions can change from location to
•
location and even within smaller areas only yards
apart.You can repeat
the GB process if the
soil type changed or
the last value is not
suitable.
There is not need to
•
adjust the GB setting in
low or non- mineralized
ground to get the best
stability.
About 15cm/6”
SENSITIVITY
The sensitivity level is also known as detectors
power level. It controls the signal gain(low gain
1~30, mid gain 31~60, high gain 61~99) To
detect deeper target in low mineralized soil type,
you can set the sensitivity higher.
The most commonly used sensitivity levels
range from 60 to 90. It may be necessary to
reduce the level if there is too much
interference, such as buried power lines, fences,
radio-relay stations, mobile telephones,
computers, televisions, etc.
You ca n set t he s en si ti vity lowe r when
•
detecting in highly mineralized ground or
saltwater.
Sensitivity setting of each detection mode is
•
isolated with no connection.
Do not test your device in your home as there
•
is lot of interference in urban environments.
Page 10
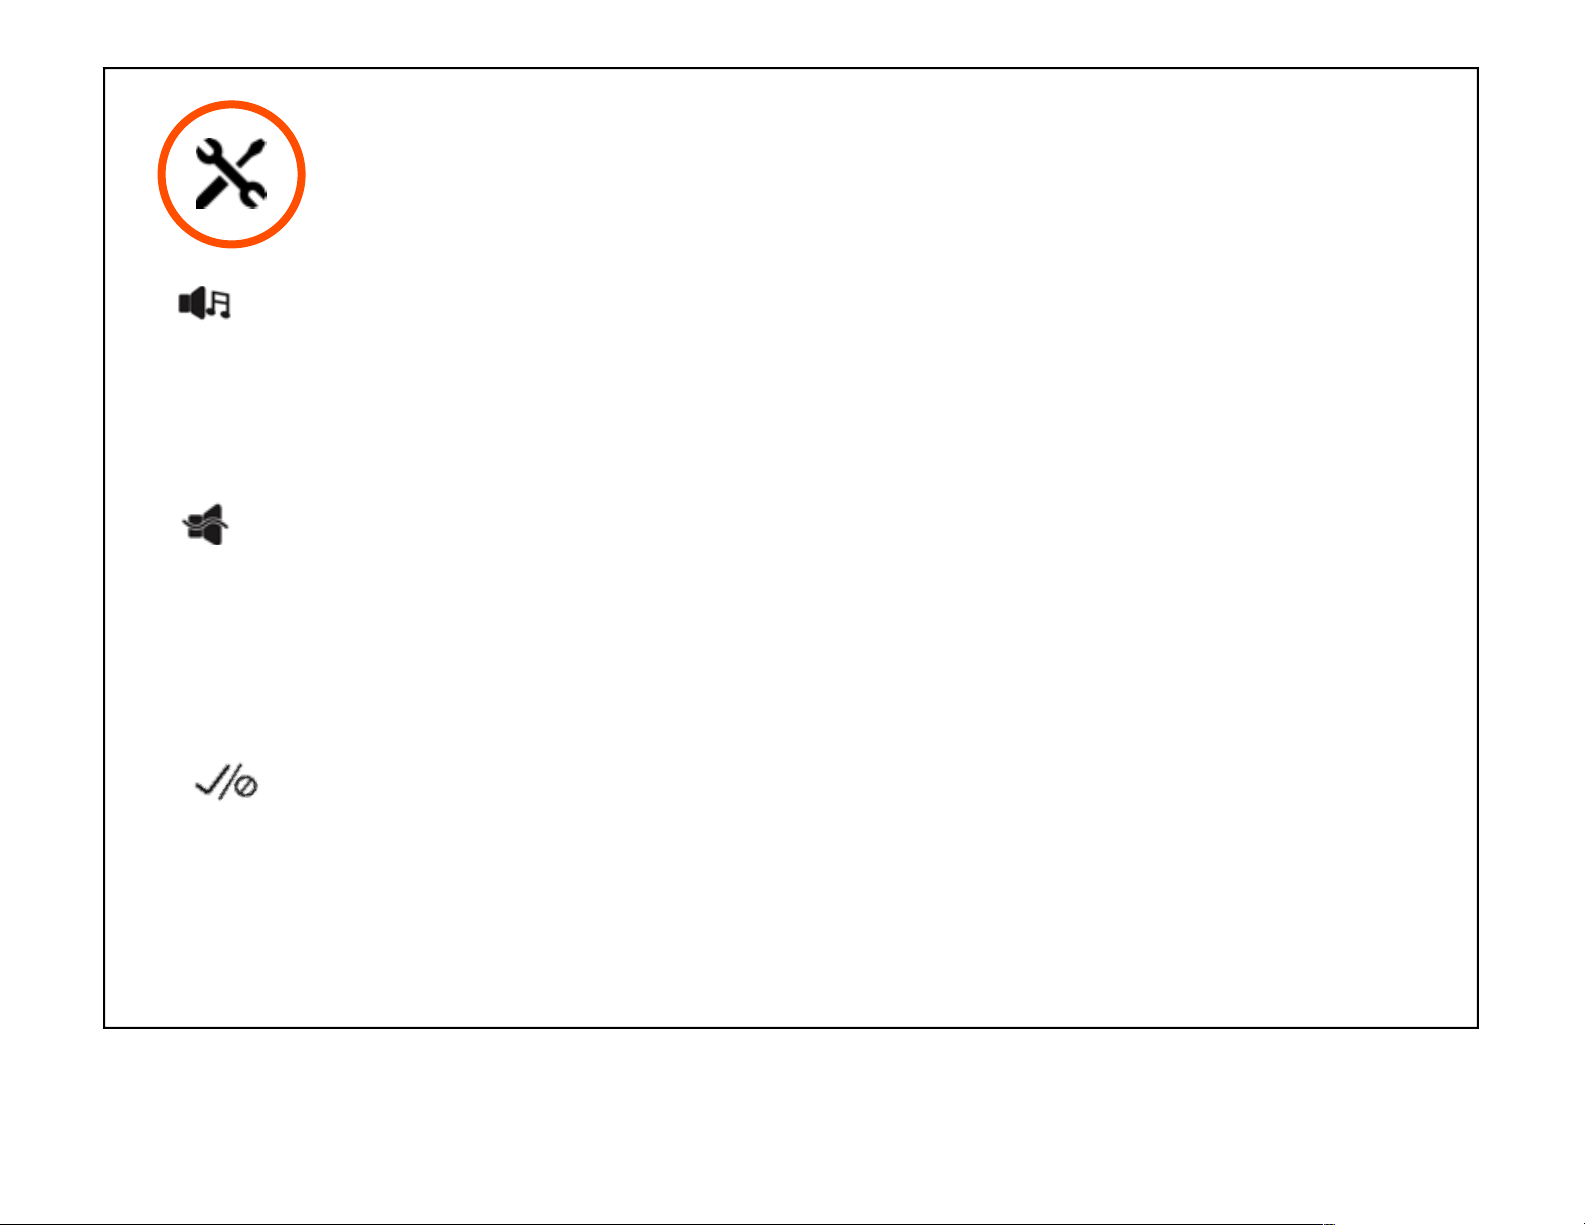
PROGRAMING
TONES
X10 output high tone and middle tone depends on the target ID so you can use your ear to make quick
decision. Most experienced detectorists use this technics.
C1: one mid tone without iron bass C2: one mid tone with iron bass C3: 3 tones bass mid and high
C4: 4 tones C5: 5 tones C6: pitch tones or variable tones depends on signal strength
THRESHOLD
Threshold function is only available for All Metal mode. It controls the background noise level so you can hear
more signals. You can adjust it from -9 to +9. The higher digit will allow you to hear more weak signal from
target. To detect more silently you can set the digit lower.
Press up / down button once for fine adjustment. Press and hold button to change the digit faster.
TARGET ID SELECTION (Discrimination)
When the function is selected, one of the bars will start flashing, use up or down button to move
the flashing bar forth or back, press MENU button to select or deselect the bar. Press PINPOINT
button to return to detecting condition.
Some of valuable target may mixed with trashy zones such as some coins and alloys.
Page 11

PRODUCTS CARE
NOTICE! Do not twist the coil tail and connector to avoid wire damage.
NOTICE! Do not store the device where prolonged exposure to extreme temperatures can
occur to avoid device damage.
NOTICE! Never use a hard or sharp object to operate the touch pad, or damage may
result.
NOTICE! Avoid chemical cleaners, solvents, and insect repellents that can damage plastic
components and finishes.
NOTICE! Secure the weather cap tightly to prevent damage to the USB port.
NOTICE! Even small amounts of sweat or moisture can cause corrosion of the electrical
contacts when connected to a charger.
CLEAN THE DETECTOR
Wipe the device using a cloth dampened with a mild detergent solution.
•
Wipe it dry. After cleaning, allow the device to dry completely.
•
Use a soft, clean, lint-free cloth. If necessary, lightly dampen the cloth with water.
•
If using a dampened cloth, turn off the device and disconnect the device from power.
•
Gently wipe the screen with the cloth.
•
It can withstand heavy rain. Submersion in water can cause damage to the device.
•
Page 12
TROUBLESHOOTING
NOT POWER ON
No power, please recharge. Or contact with your dealer
NO ALARM /
OVERLOAD
Coil not connect to the control box
VERY NOISY /
FALSING
Please find another place with less interference
NO SOUND
Make sure the Volume is not ZERO level
FALSING WHEN
SEARCHING IN GRASS
Please confirm the coil cable is not broken
?
# RESET TO FACTORY DEFAULT SETTING
Turn off X10, then hold the power button for 5 seconds to reset setting.
Page 13
Detection performance
New technology / Features.
Style / Design
Ergonomic / Weight
Recommendation
Promotion
PLEASE TAKE A FEW MOMENTS TO
ANSWER OUR QUESTIONS. THEY WILL
HELP US DEVELOP NEW PRODUCTS FOR
THE FUTURE.
1 Why did you decide to buy a Deteknix
detector?
2 Your age group?
18~25
26~36
37~55
56+
3 Other suggestions:
Page 14
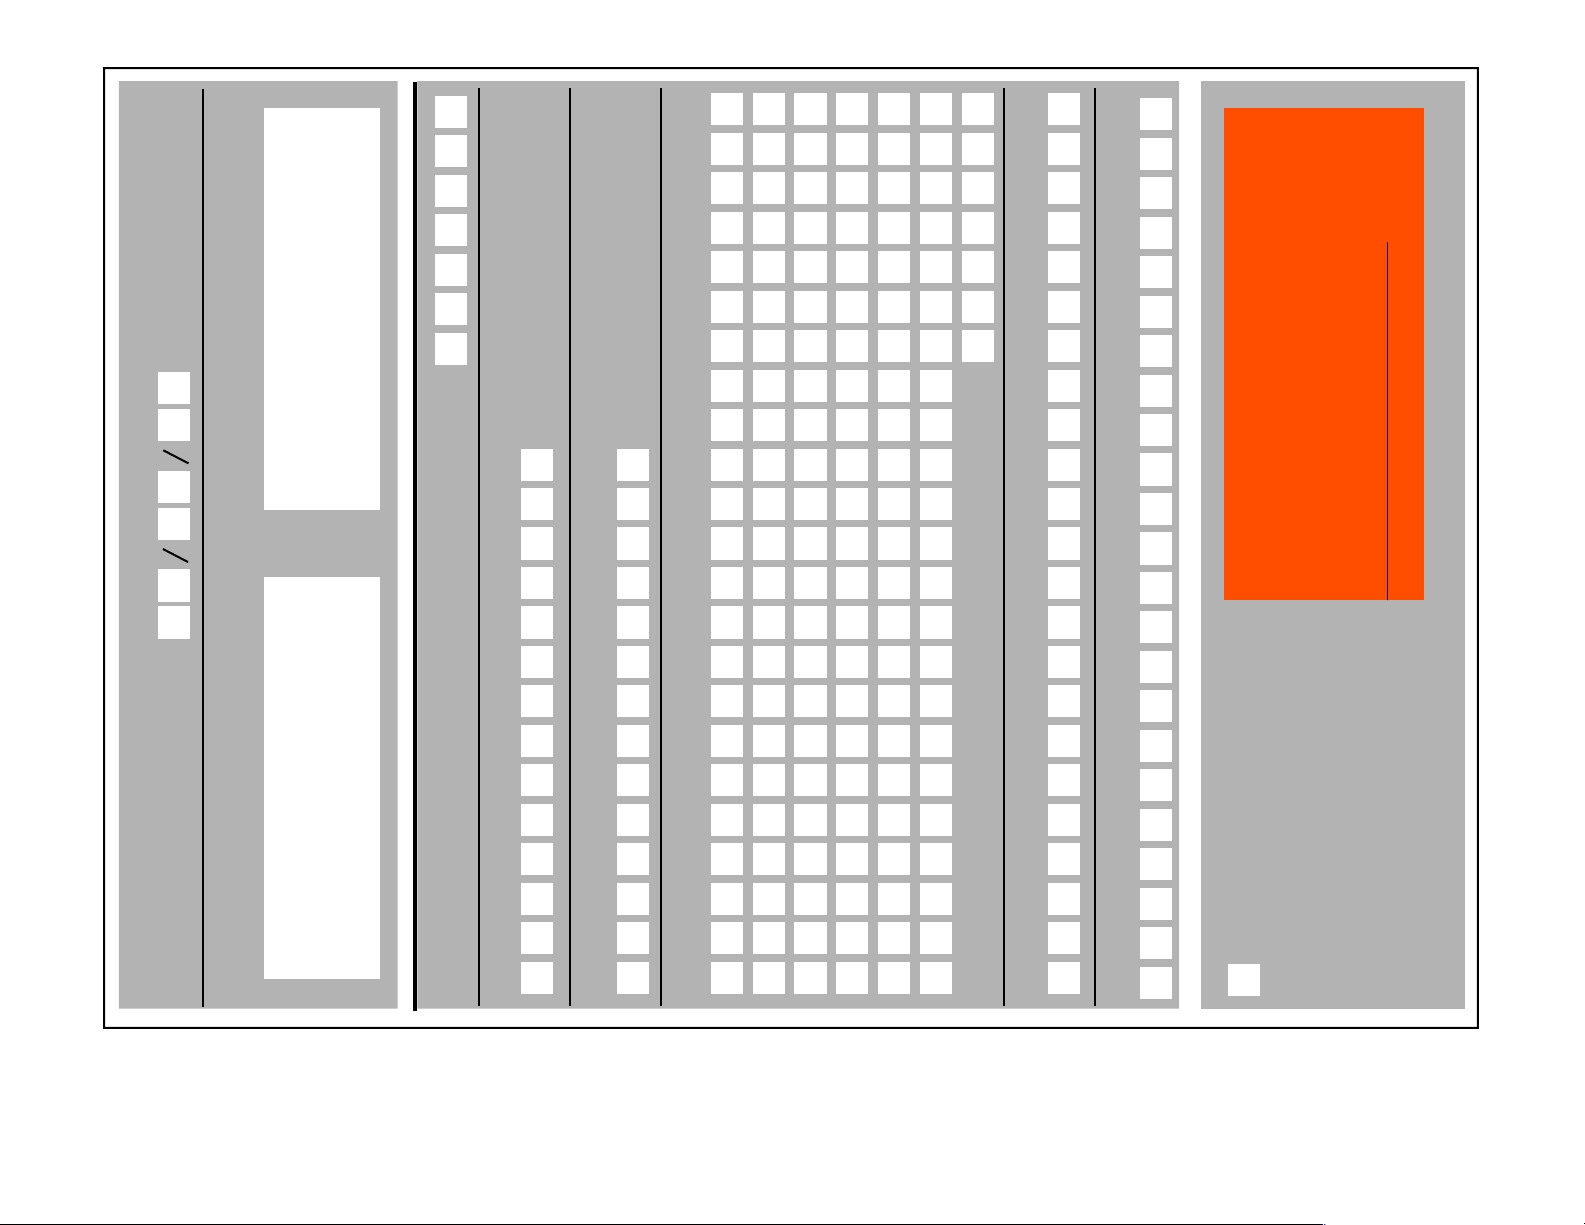
Title
Model Name
Date Of Purchase
D D Y Y
M M
Zip Code
REGISTER DETECTOR ONLINE IS EASY
Go to QuestMetalDetectors.com, Click
SUPPORT and scroll down to
REGISTRATION.
If you need help please mail your info to
[email protected] and we will
input for you.
We’d like to tell you about
new Quest products and
services or get your opinion
about your purchase. If you’d
prefer us NOT to keep in
touch, please tick this box.
Serial Number
Surname
First Name
Address
Email
Telephone
 Loading...