

Page 1
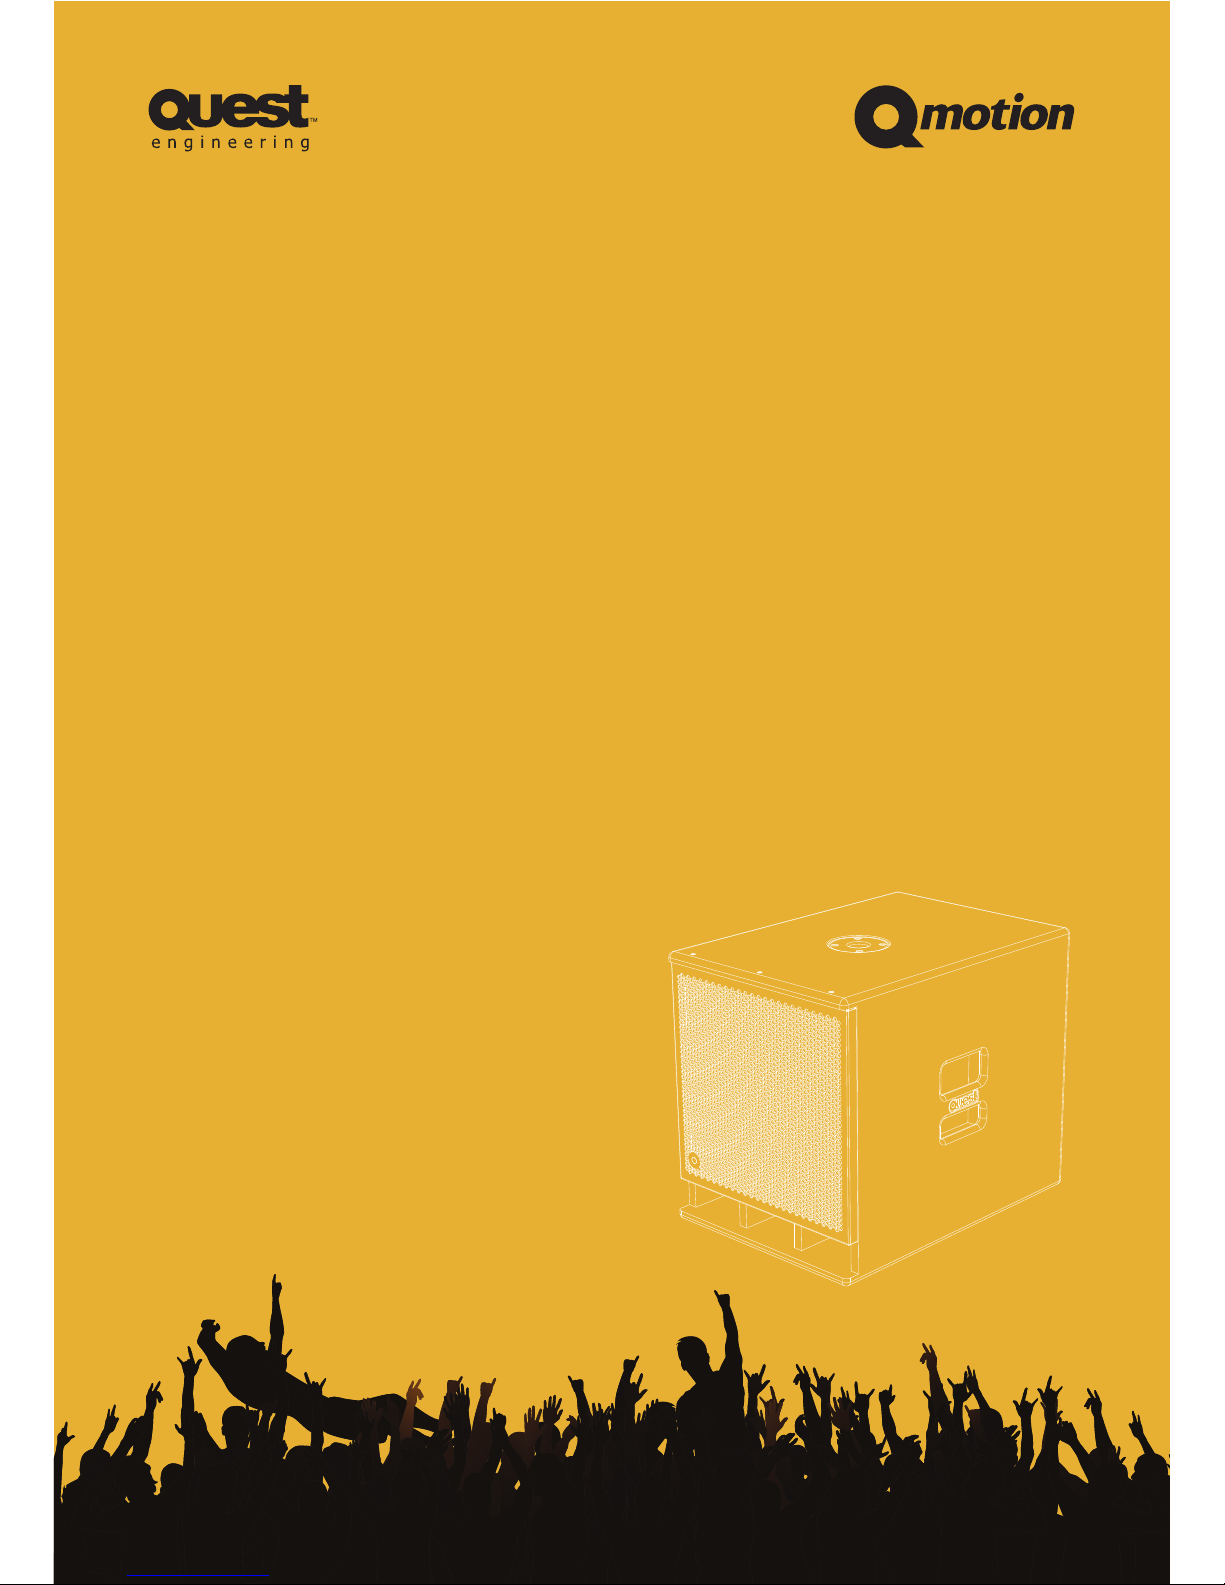
User
Manual
MODEL: QM600ASi
Page 2

Page 3

QM600ASi User Manual
User Manual
Q Motion Series
QM600ASi
1
Contents
Safety Precautions ..............................................................2
Safety Symbol and Message Conventions ............................................2
1. Product Overview ............................................................. 5
2. Best Practice Operation .........................................................5
3. Rear Panel and Connections Diagram ..............................................7
4. Specifications ................................................................ 8
Page 4
Safety Precautions
Please read the instructions in this section
carefully before use.
Ensure all instructions in this manual are
observed as all information contained within
is very important.
It is also highly recommended that this
manual is retained for future reference.
Safety Symbol and
Message Conventions
The safety symbols described below are used
in this manual to prevent bodily injury and
property damage which could result from
mishandling. Before operating this product,
please read this manual first, in full so you
that you are thoroughly aware of any risks.
Indicates a potentially hazardous situation which, if
mishandled, could result in serious personal injury or death.
WARNING
QM600ASi User Manual
User Manual Q Motion Series
QM600ASi
2
Page 5
General Caution
• When cleaning the unit, ensure it has been
disconnected from any power source and
that only a dry cloth is used. Do not use
any aerosol or liquid based cleaners.
• Ensure all electronics are electronically
grounded (earthed) to a safety ground
terminal in order to avoid electric shock.
Do not ground any device to a gas pipe as
this may result in disaster.
• Never hang a speaker from only one
rigging point. Always use multiple points
and attach a safety line to a point rated
highly enough to support the weight of the
speaker box.
• Ensure all installation, flying and\or rigging
is carried out by licensed professionals
and adheres to your countries safety
standards.
• Servicing of all electronics should only be
carried out by a certified Quest technician.
Please consult your original place of
purchase to find the location of your
nearest Quest service centre.
• Do not expose the unit to any moisture
whether rain, water or other liquids.
Exposure to moisture could result in
damage to the internal components,
corrosion of the steel protective grill or
electrocution\circuit failure.
• Do not cut, kink, otherwise damage
or modify the speaker cable. Ensure
a speaker cable with a core diameter
of at least 1.5mm is used for correct
performance.
• Do not install or place speaker cables or
devices near heaters, high traffic areas or
any area where the cables or devices can
be damaged.
• Avoid installing or mounting speaker
boxes, amplifiers, electronics or cabling in
unstable locations.
• When flying or installing speakers only use
the hardware specifically designed for this
product and install to a secure wall.
• When installing amplifiers and\or other
electronics only use the hardware
specifically designed for this product and
install to a secure wall.
• In the event of storms and\or lightning,
ensure all devices are disconnected
from power supplies in order to prevent
damage to any of the units in the system.
QM600ASi User Manual
User Manual
Q Motion Series
QM600ASi
3
Page 6
When the Unit is in Operation
NOTE: Quest Engineering is not
responsible for any incorrectly flown,
installed or poorly positioned devices.
• Ensure all amplifiers and mixers are turned
down before switching the system on.
• If there is no sound, ensure all cabling
in the signal path is correct and where
applicable, the speakon connectors are
locked into place correctly.
Should any of the following irregularities be
found during use, immediately switch off all
electronics, disconnect all power supplies and
contact your original place of purchase:
• If you detect smoke or a burning smell
coming from any device
• If the unit is physically damaged in any
way
• If the unit is malfunctioning (eg: no HF or
LF output, failing switches or intermittent
operation etc.)
Make no further attempt to operate the unit if
it is found to be in any of the above conditions
as this may result in fire or electric shock.
QM600ASi User Manual
User Manual Q Motion Series
QM600ASi
4
Page 7
QM600ASi User Manual
User Manual
Q Motion Series
QM600ASi
5
2. Best Practice
Operation
Powering the SyStem
CorreCtly
Before switching on any part of the system,
ensure the mixer and any other signal
processors are turned on. The power
input and output for the QM600ASi are
lockable Powercon NA3 series power in/
out connectors. Firstly, connect the power
supply cable and then the XLR signal cable.
Before turning on the internal sub amplifier,
set the volume control to the minimum level.
It is important that the mixer is already ON
before turning on the speaker. This will avoid
damage to the speakers and possible loud
noises on start up.
It is best practice to switch on powered
speakers last and turn them off first when
packing down.
Once the signal path has been checked and
all volume controls are set to zero, turn the on
speaker then adjust the volume control to the
desired level.
Setting levelS and oPerating
tiPS
A speaker system sounds best when there is
no distortion occurring. All parts of the system
need to be set so that they are operating
within their designed operational range. This
means no part of the signal chain is showing
red clip lights or is likely to have sudden large
volume changes.
To ensure this is the case, firstly ensure there
are no overloaded inputs. At the mixer side,
it is best practice to set the levels so the
channel and master volumes at the input
gain are at a level that will provide ample
headroom before clipping. This will allow for
large volume changes at the signal input side.
1. Product Overview
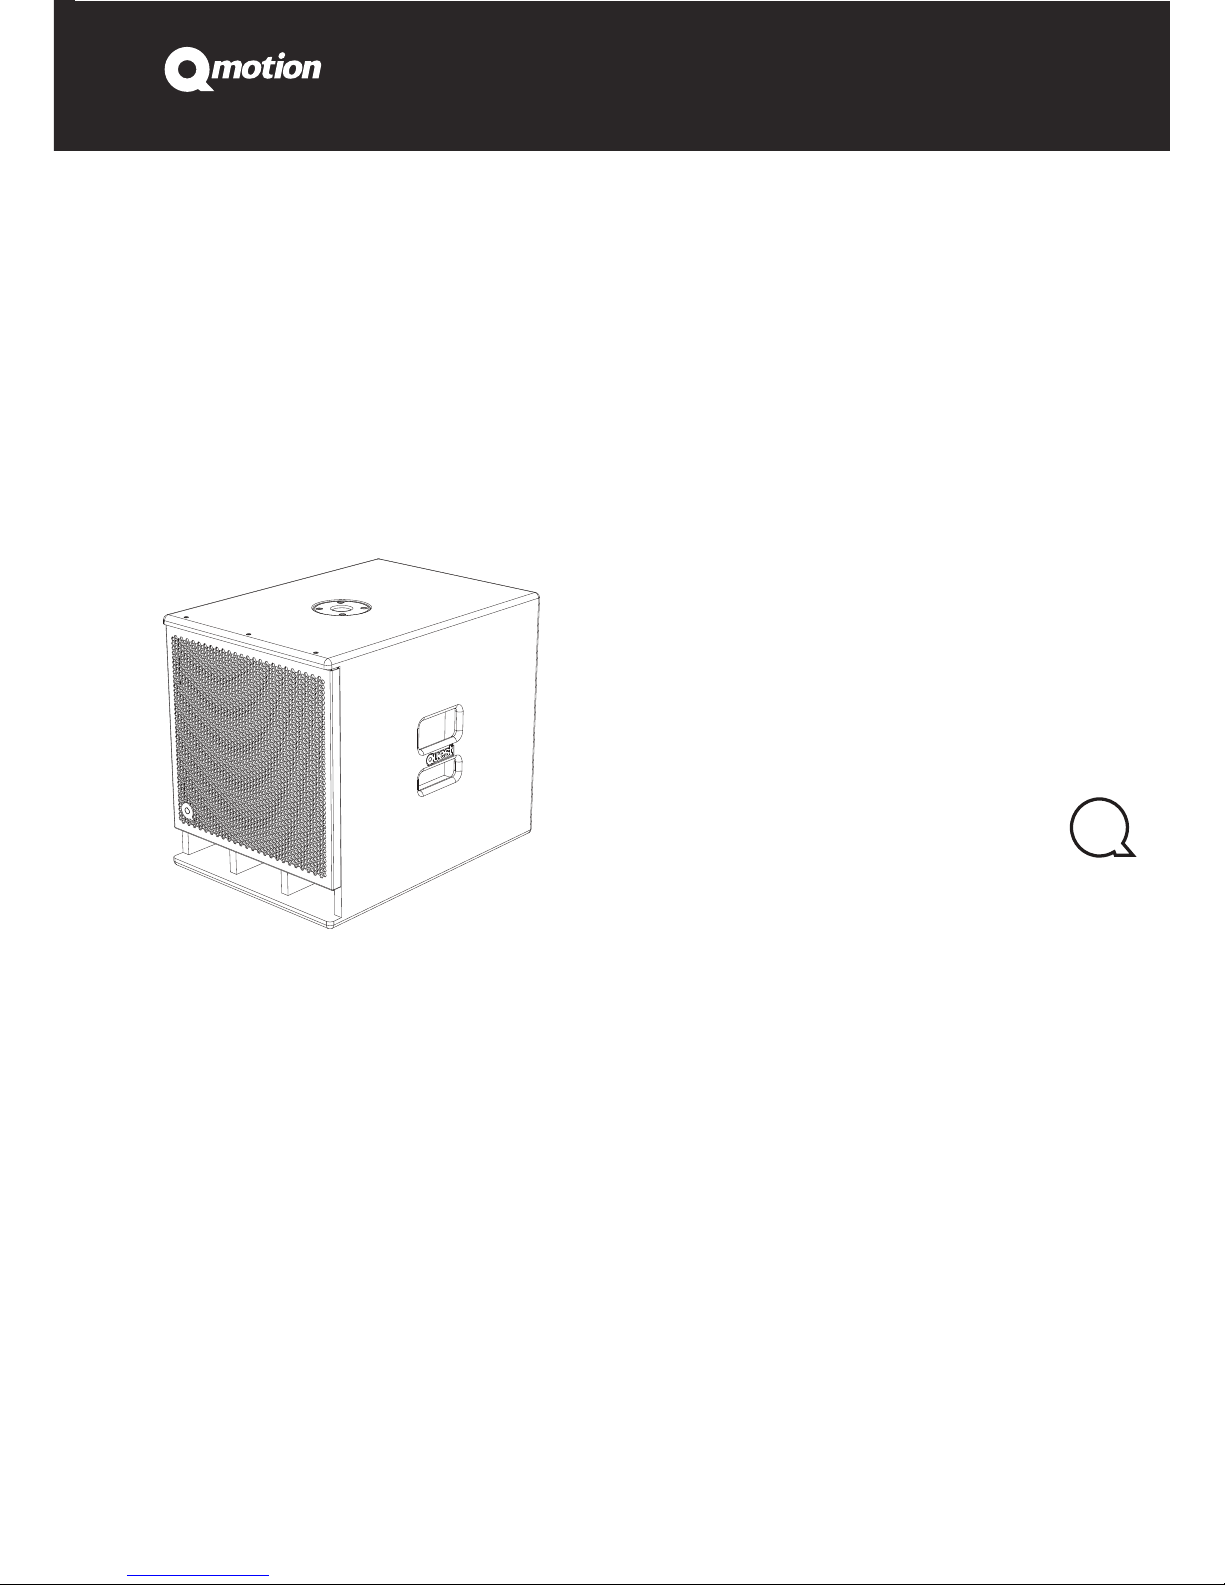
The QM600ASi is a versatile powered system
and can be integrated into any of the Quest
family of speakers or any third party powered
speaker if connected and set up correctly.
(When using with third party powered
speakers, see the section: “Checking the
phase”)
Page 8

QM600ASi User Manual
User Manual Q Motion Series
QM600ASi
6
Do not run the system with the mixer and\or
speaker showing peak lighting (usually red
lights on or flashing) while the box is turned
down.
Once there are red clip lights on in the signal
chain, the system is operating beyond full
power. Increasing volume at either the input
or output side of the system will only risk
causing damage.
The QM600ASi has an input limiter to help
protect the system however even these
protection mechanisms can be driven too
hard. Like any speaker system, if they are
driven into continuous distortion, there is real
risk of damaging the system.
tuning the BaSS CroSSover
Tuning the crossover high/low pass filter
will give you more control over the resulting
sound. The high pass filter should be set
between 80-125Hz for best results. At
90-100Hz the system will sound like a
“classic sub”. Setting the low pass above
this frequency range will deliver a mid-bass
sound. This may be suitable for certain
pre-recorded music but is not generally used
for live music.
The standard setting for live sound is 100Hz.
Setting the high PaSS
CroSS-over
The high pass switches are for connecting a
powered satellite speaker. These can be set
to full range/80Hz and 125Hz. In cases where
a 10”powered boxes are being connected
to the cross-over output, the 125Hz setting
is recommended. If connecting 12” or 15”
powered boxes, the 80Hz setting should be
used. In some cases with 15” speakers, the
full range (through) setting will allow more
bass from the satellite speakers. When
running the satellite speakers in full range,
check that they are in phase with the sub
bass.
CheCking the SyStem PhaSe
(Polarity)
A simple method of checking the polarity
of your powered satellite speakers can be
carried out as follows:
1. Turn down both the QM600ASi and the
satellite speaker.
2. Place a satellite speaker next to the
QM600ASi and connect it to the signal
output on the sub.
3. Run some music into the sub input and
turn up the volume.
4. Turn up the satellite speaker. If the bass
is louder, the system is in phase. If the
bass drops in level or sounds unusual,
push the phase reversal button on the
sub amplifier and listen again. If the
bass level increases, the system is now
in phase.
Once the phase relationship between the sub
and satellite boxes has been established, set
the rest of the speakers in the system to the
same volume.
Page 9
QM600ASi User Manual
User Manual
Q Motion Series
QM600ASi
7
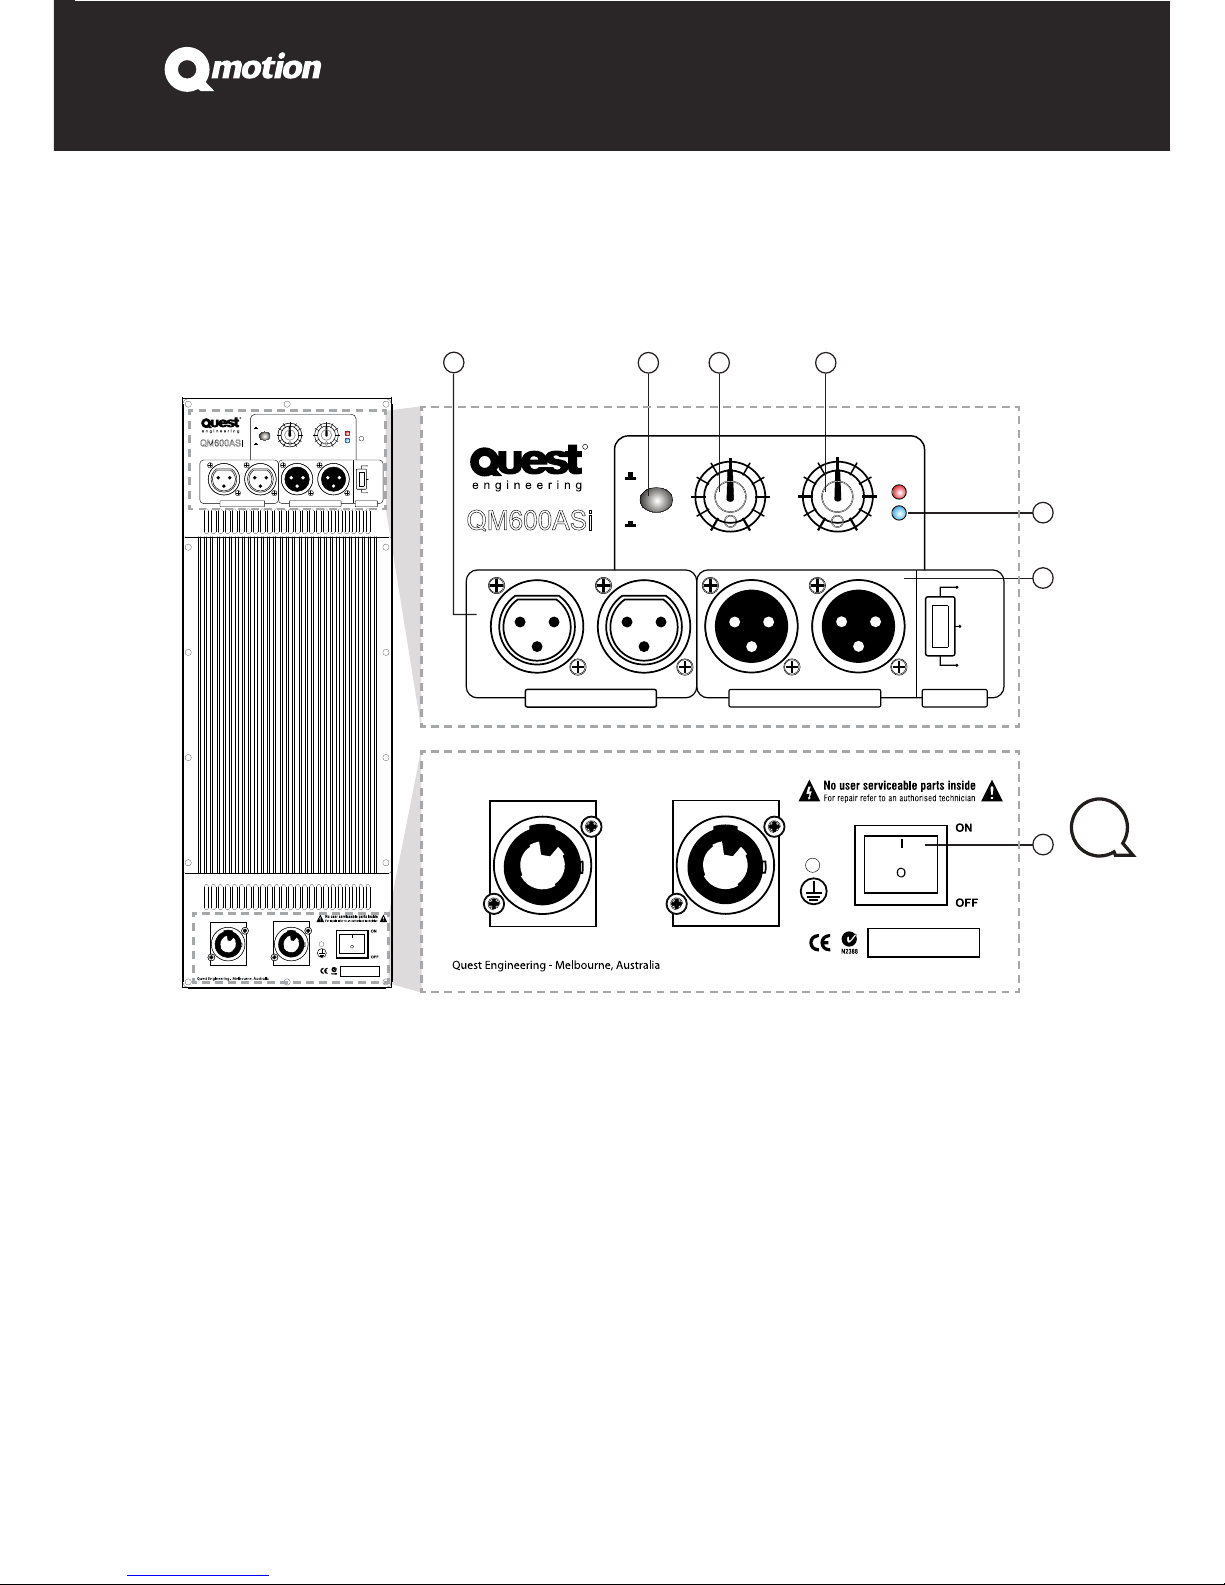
1. FULL RANGE INPUTS
Female XLR-type connectors that accept
a balanced line-level signal from a mixing
console or other signal source
2. PHASE
This switch reverses the polarity of the
system. Depending on the placement of the
sub relative to the full-range speakers
3. X-OVER
Combination Through (full range) or high
pass cross-over line level output
4. SUBWOOFER I/O CONTROL
Adjusts and sets the subwoofer level
5. POWER ON INDICATOR
Indicates when the subwoofer is turned on
6. BALANCED OUTPUTS
Male XLR-type connectors to either
daisy-chain several QM600ASi together
or for the connection of powered satellite
boxes
7. POWER
Power switch
LOW C U T
BA L AN C E D O U T P UT SBA L AN C E D I N PU T S
125H z
80Hz
OFF
RLRL
LE V E LX-O VE RPHA S E
INV
O
110
120
130
140
150
160
170
180
100
90
80
Hz
dB
8
-
0
CLI P
ACT IV E
220V~240V/50/60Hz
AC INPUT
220V~240V/50/60Hz
MAX OUTPUT CURRENT 30A
AC OUTPUT
R
149 m m
QM600ASi
1
6
5
L O W C U T
B A L A NC E D O U T P UT SB A L A NC E D I N P UT S
12 5H z
80 Hz
O FF
RLRL
L E V E LX -O V E RP HA S E
IN V
O
110
12 0
13 0
14 0
15 0
16 0
17 0
18 0
10 0
90
80
H z
dB
8
-
0
C L IP
A CT I V E
R
QM600ASi
3 42
7
220V~240V/50/60Hz
AC INPUT
220V~240V/50/60Hz
MAX OUTPUT CURRENT 30A
AC OUTPUT
3. Rear Panel and Connections Diagram
Page 10
QM600ASi User Manual
User Manual Q Motion Series
QM600ASi
8
4. Specifications
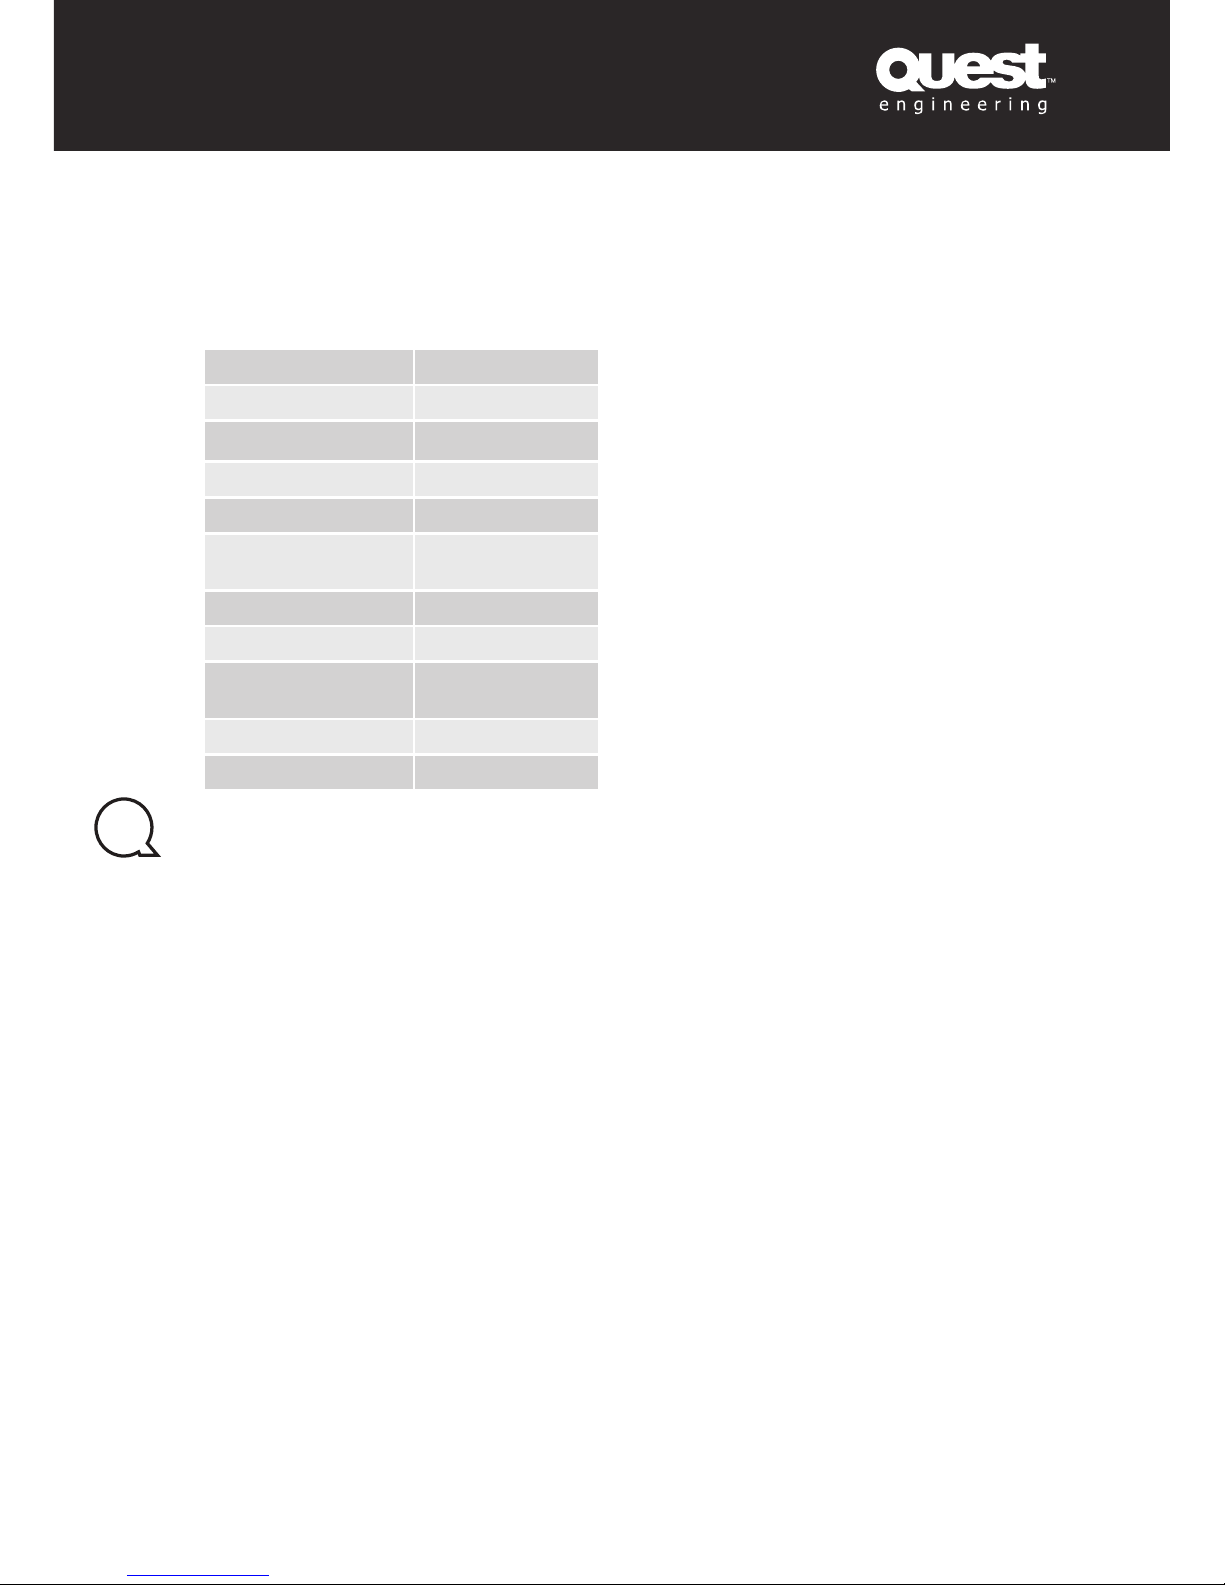
Freq.Range(-10dB): 45Hz~200Hz
Freq.Response(-3dB): 50Hz~180Hz
Max Calculated SPL: 131dB
Amplifier Power: 1000W
LF Transducer: 15” /100mm
Crossover Frequency: 80Hz~180Hz
Adjustable
Input Connector: Line XLR
Output Connector: Pre output XLR
AC Input: AC220~240V
50Hz/60Hz
Net Weight: 35Kg
Shipping Weight: 38Kg
Page 11

Page 12

www.questaudio.net
Register Your Product
Thank you for choosing Quest. Please take the time
to complete your product registration card which is
included with the packaging.
Registering your Quest Engineering product will:
• CONFIRM YOUR WARRANTY
• REGISTER YOUR PRODUCT
• PROTECT YOUR NEW PRODUCT
REGISTER ONLINE:
www.questaudio.net/registration
 Loading...