

Page 1

WLAN 802.11g mini-PCI Module
User Manual
Version: 1.0
Sep. 2003
Page 2

1
Copyright Statement
No part of this publication may be reproduced, stored in a retrieval system, or
transmitted in any form or by any means, whether electronic, mechanical,
photocopying, recording or otherwise without the prior writing of the publisher.
Windows™ 98SE/2000/ME/XP are trademarks of Microsoft® Corp.
Pentium is trademark of Intel.
All copyright reserved.
Page 3

2
Federal Communication Commission Interference Statement
This equipment has been tested and found to comply with the limits for a Class
B digital device, pursuant to Part 15 of the FCC Rules. These limits are
designed to provide reasonable protection against harmful interference in a
residential installation. This equipment generates, uses and can radiate radio
frequency energy and, if not installed and used in accordance with
the instructions, may cause harmful interference to radio communications.
However, there is no guarantee that interference will not occur in a particular
installation. If this equipment does cause harmful interference to radio or
television reception, which can be determined by turning the equipment off and
on, the user is encouraged to try to correct the interference by one of the
following measures:
- Reorient or relocate the receiving antenna.
- Increase the separation between the equipment and receiver.
- Connect the equipment into an outlet on a circuit different from that to which
the receiver is connected.
- Consult the dealer or an experienced radio/TV technician for help.
FCC Caution: To assure continued compliance, (example - use only shielded
interface cables when connecting to computer or peripheral devices) any
changes or modifications not expressly approved by the party responsible for
compliance could void the user's authority to operate this equipment.
This device complies with Part 15 of the FCC Rules. Operation is subject to the
following two conditions:
(1) This device may not cause harmful interference, and
(2) This device must accept any interference received, including interference
that may cause undesired operation.
IMPORTANT NOTE:
This transmitter must not be co-located or operating in conjunction
with any other antenna or transmitter.
Page 4

3
Table of Contents
1. INTRODUCTION 4
1.1 THE WLAN 802.11G MINI-PCI MODULE..............................................................4
1.2 FEATURES ................................................................................................................4
2. PLANNING YOUR WIR ELESS NETWORK 5
2.1 NETWORK TOPOLOGY.............................................................................................5
2.2 AD-HOC VERSUS INFRASTRUCTURE MODE............................................................5
3. SOFTWARE INSTALLATION AND UNINSTALLATION 7
3.1 SETUP WIZARD INSTALLATION.......................................................................7
3.2 ADDITIONAL SETUP PROCESSES .............................................................................9
3.3 DISABLE WINDOWS XP ZERO-CONFIGURATION .................................................11
3.4 UNINSTALLATION...................................................................................................12
4. USING THE CONFIGURATION UTILITY 14
4.1 OVERVIEW .............................................................................................................14
4.2 ACCESSING THE CONFIGURATION UTILITY .........................................................14
4.3 LINK STATUS..........................................................................................................18
4.4 SITE MONITOR.......................................................................................................19
4.5 STATISTICS.............................................................................................................20
4.6 DIAGNOSTICS.........................................................................................................21
4.7 INFORMATION........................................................................................................22
APPENDIX A: TROUBLESHOOTING23
APPENDIX B: GLOSSARY 26
APPENDIX C: SPECIFIC ATION 31
Page 5

4
1. Introduction
1.1 The WLAN 802.11g mini-PCI Module
802.11g is the 54Mbps wireless networking standard that's almost five times faster
than the widely deployed 802.11b products found in homes, businesses, and public
wireless hotspots around the country — but since they share the same 2.4GHz radio
band, 802.11g devices can also work with existing 11Mbps 802.11b equipment. The
new 802.11g mini-PCI Module has both standards built in, so you can connect your
notebook to existing 802.11b infrastructure, and also the new screaming
fast 802.11g networks. The included Setup Wizard will walk you through configuring
the module to your network's settings, step by step.
Once you're connected, you can keep in touch with your e-mail, access the Internet,
and share files and other resources such as printers and network storage with other
computers on the network, wherever you wander. At home, you can surf the web or
use instant messaging to chat with friends while sitting out on the patio. You'll also be
able to connect with any of the growing number of public wireless hotspots springing
up in coffee shops, airport lounges, hotels and convention centers. And as those
hotspots upgrade to the new high-speed 802.11g standard, you'll be ready to take
advantage of the increased speeds. Get connected to current-standard 802.11b
networks today, and be prepared for the future with the WLAN 802.11g mini-PCI
Module.
1.2 Features
l High-speed 802.11g networking for your notebook computer
l Data rates up to 54Mbps -- 5 times faster than 802.11b
l Also interoperates with 802.11b networks (at 11Mbps)
l Wireless security -- up to 128-bit WEP encryption
Page 6
5
2. Planning Your Wireless Network
2.1 Network Topology
A wireless local area network (WLAN) is exactly like a regular local area network
(LAN), except that each computer in the WLAN uses a wireless device to connect to
the network. Computers in a WLAN share the same frequency channel and SSID,
which is an identification name for wireless devices.
2.2 Ad-Hoc versus Infrastructure Mode
Unlike wired networks, wireless networks have two different modes in which they
may be set up: infrastructure and ad-hoc. An infrastructure configuration is a
WLAN and wired LAN communicating to each other through an access point. An
ad-hoc configuration is wireless-equipped computers communicating directly with
each other. Choosing between these two modes depends on whether or not the
wireless network needs to share data or peripherals with a wired network or not.
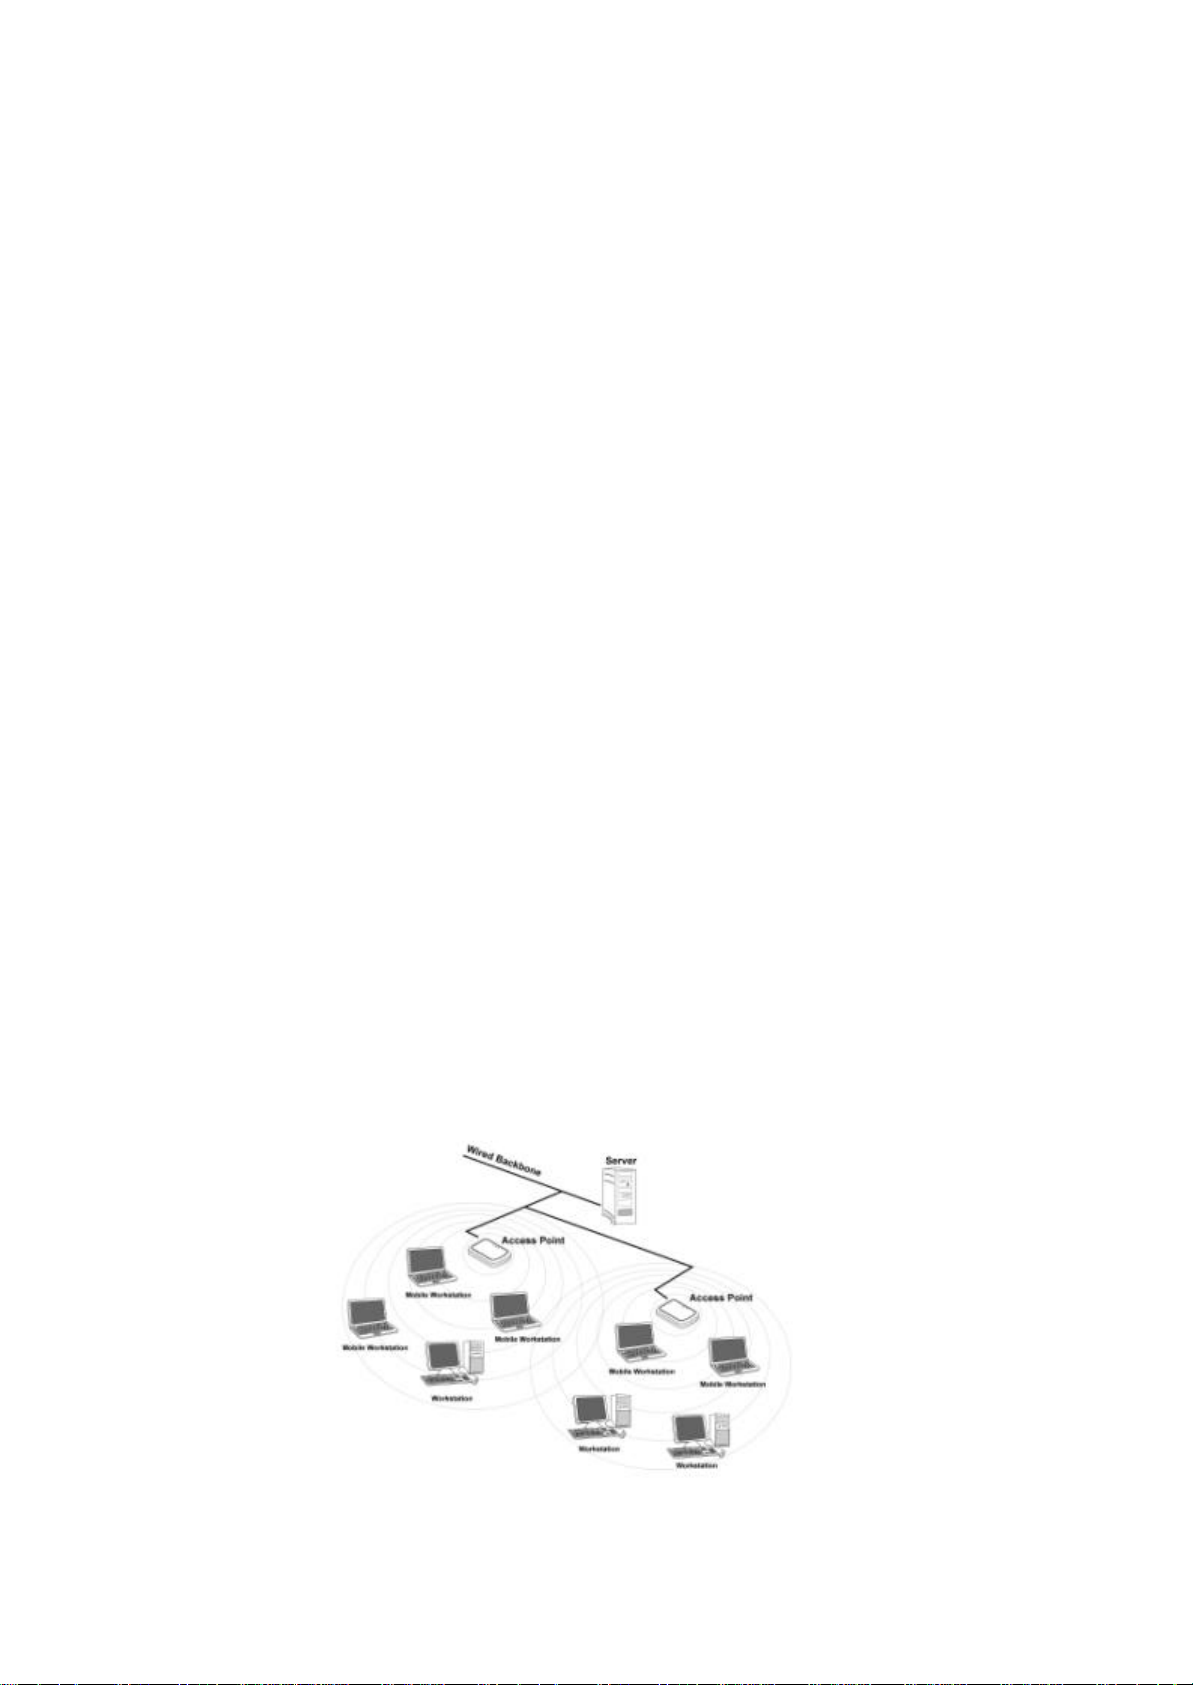
If the computers on the wireless network need to be accessed by a wired network or
need to share a peripheral, such as a printer, with the wired network computers, the
wireless network should be set up in infrastructure mode. (See Figure 2-1.) The
basis of infrastructure mode centers around an access point, which serves as the main
point of communications in a wireless network. Access points transmit data to PCs
equipped with wireless network cards, which can roam within a certain radial range of
the access point. Multiple access points can be arranged to work in succession to
extend the roaming range, and can be set up to communicate with your Ethernet
(wired) hardware as well.
Figure 2-1
Page 7

6
If the wireless network is relatively small and needs to share resources only with the
other computers on the wireless network, then the ad-hoc mode can be used. (See
Figure 2-2.) Ad-hoc mode allows computers equipped with wireless transmitters and
recei vers to communicate directly with each other, eliminating the need for an access
point. The drawback of this mode is that, in Ad- Hoc mode, wireless-equipped
computers are not able to communicate with computers on a wired network. And, of
course, communication between the wireless-equipped computers is limited by the
distance and interference directly between them.
Figure 2-2
Page 8
7
3. Software Installation and Uninstallation
Note! The Installation Section in this User Manual describes the first-time installation
for Windows. To re-install the driver, please first uninstall the previously
installed driver. See Chapter 3.2 “Uninstallation” section in this User Manual.
3.1 Setup Wizard Installation
Follow the steps below to complete the driver/utility installation:
1. Insert the Installation Software CD into the CD-Rom Drive.
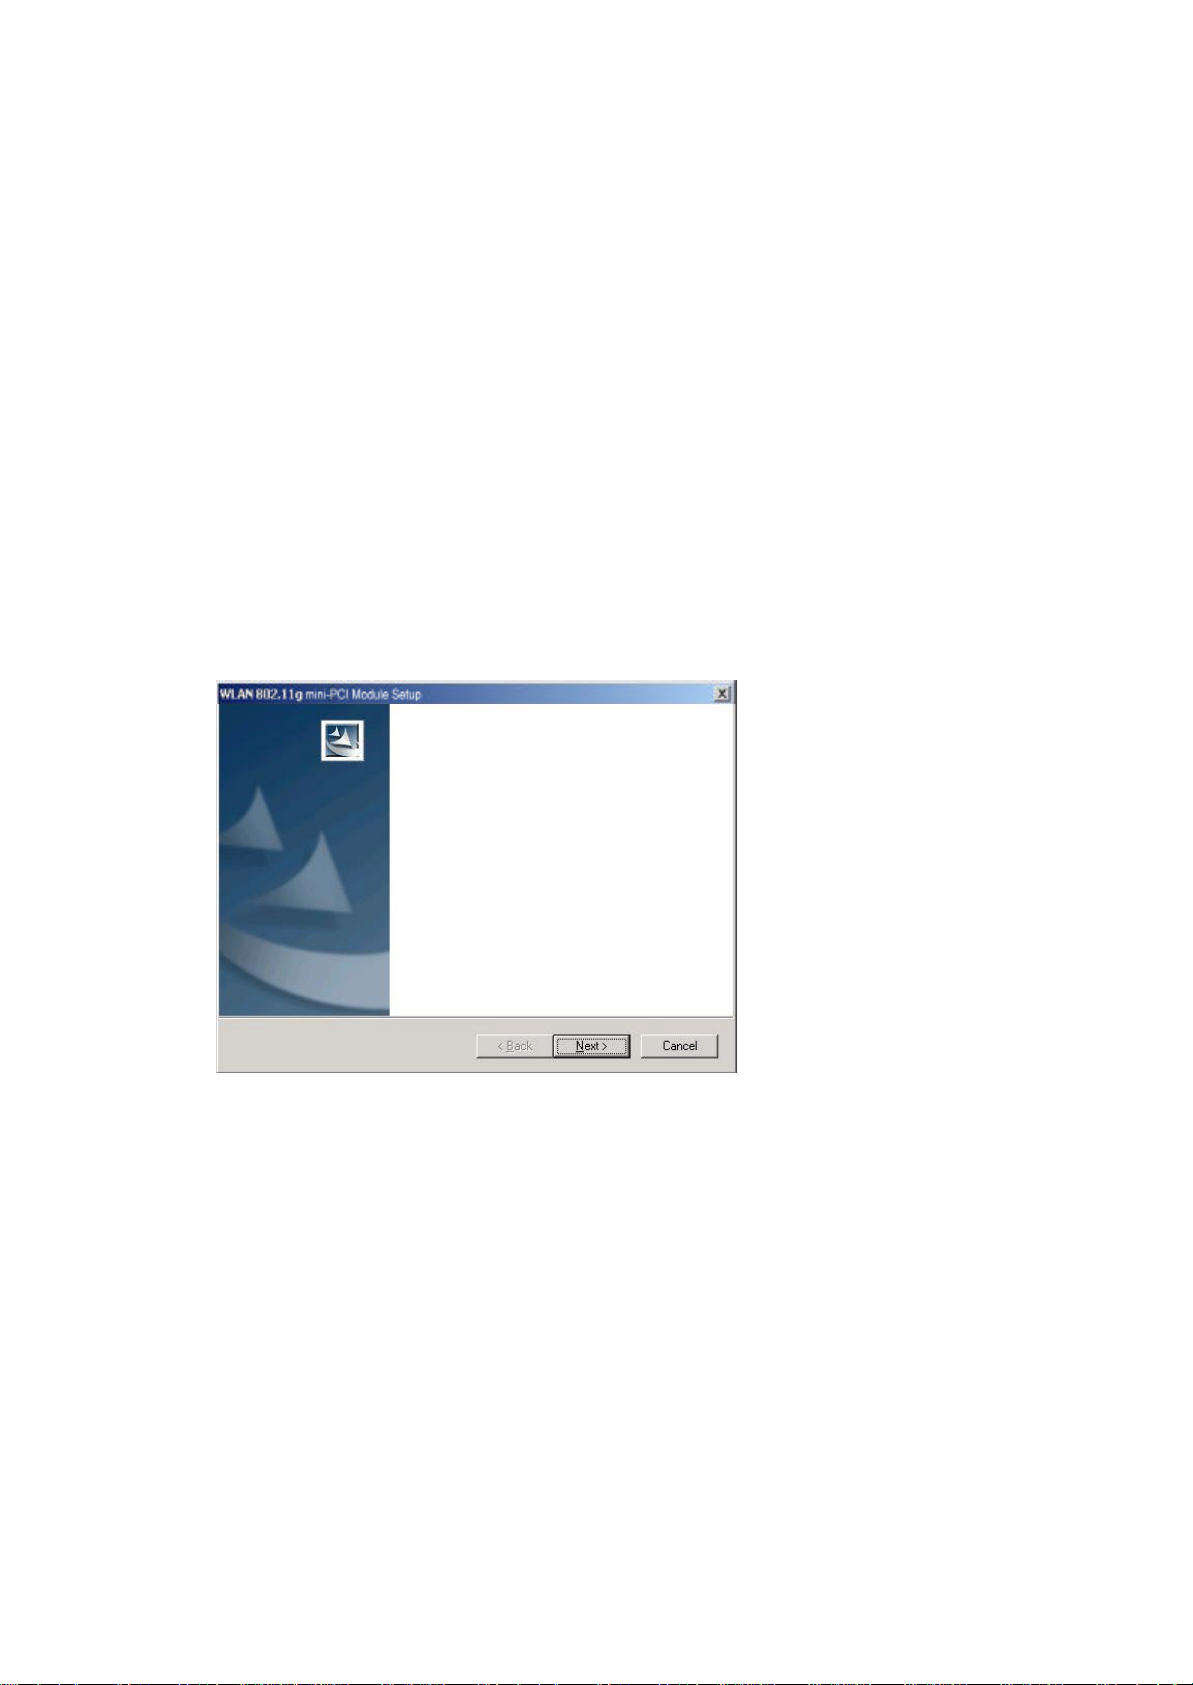
2. Click “Next”.
Welcome to the InstallShield Wizard for WLAN
802.11g mini-PCI Module
The InstallShieldR Wizard will install WLAN 802.11g
mini-PCI Module on your computer. To continue, click Next.
Page 9
8
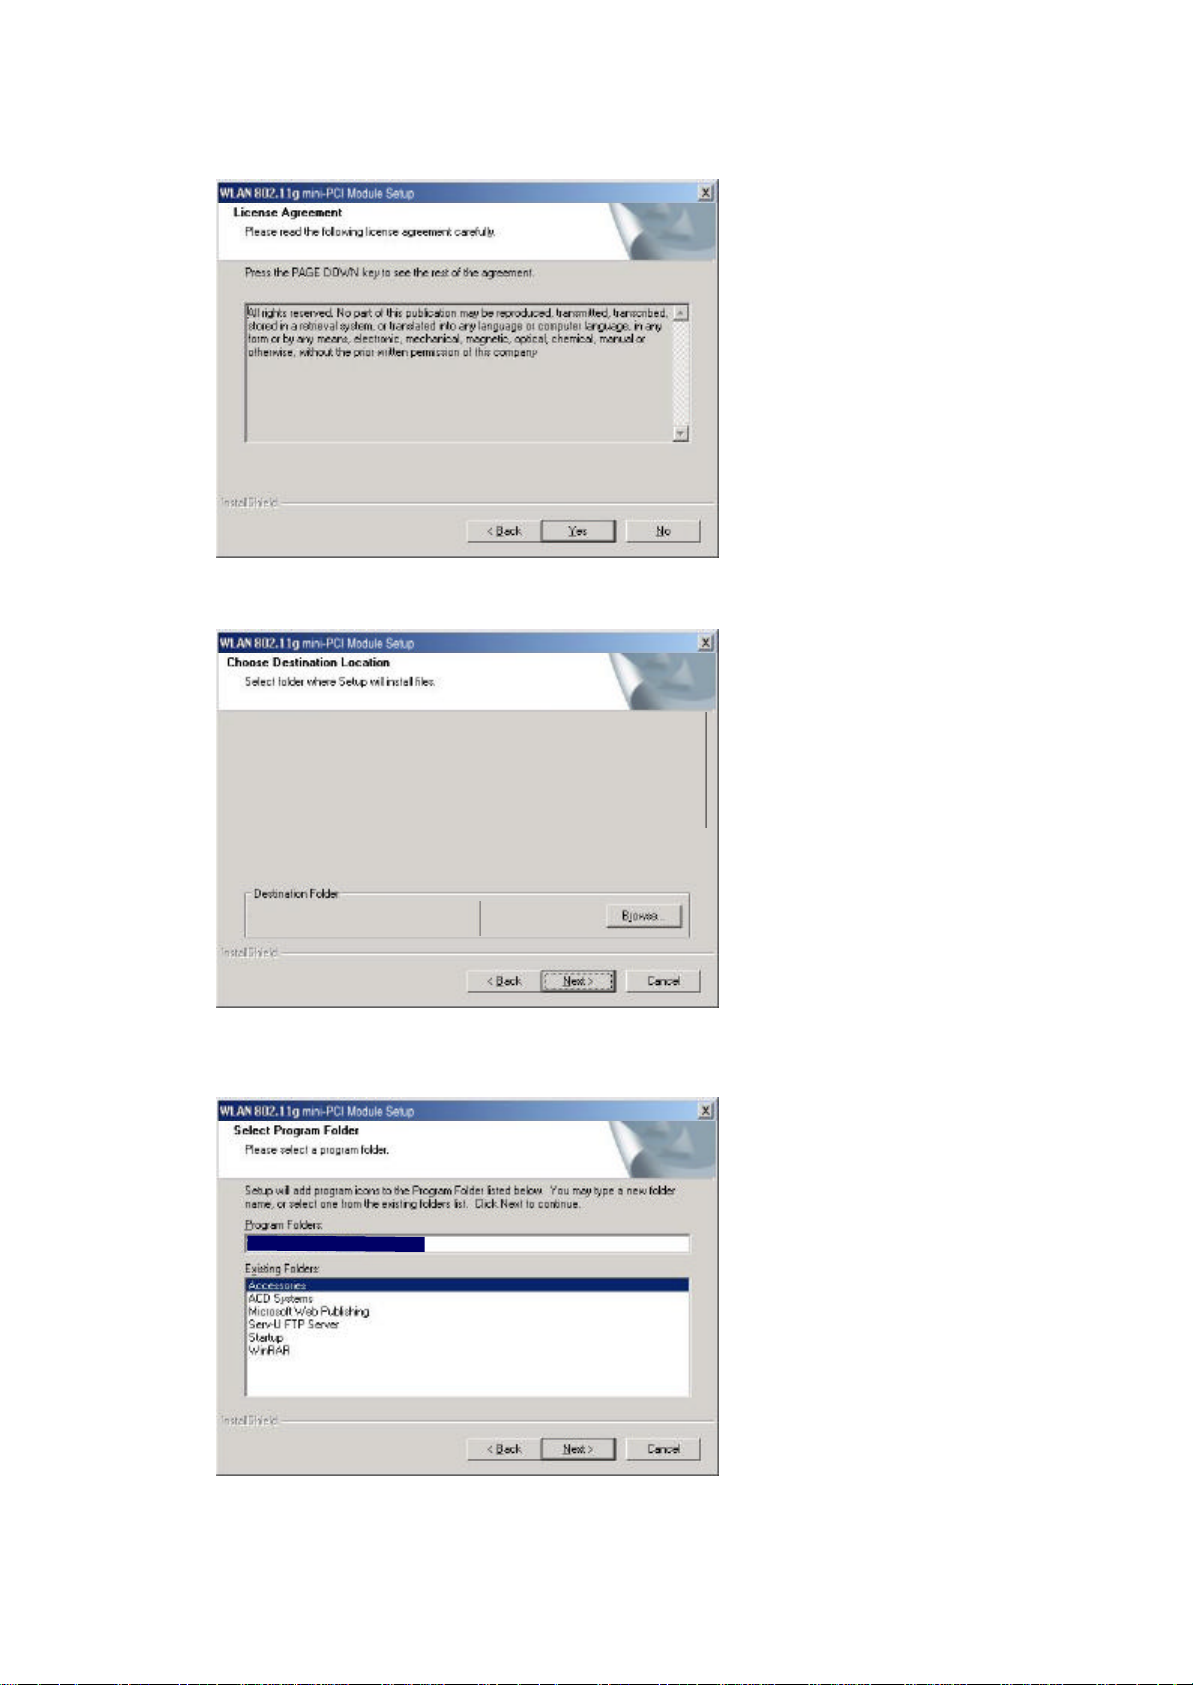
3. Read the License Agreement and click “Yes” .
To install to this folder, click Next. To install to a different folder, click Browse
4. Click “Next” to continue or click “Browse” to choose a destination folder.
Setup will install WLAN 802.11g mini-PCI Module in the following folder.
and select another folder.
C:\Program Files\WLAN 802.11g mini-PCI Module\
5. Click “Next”.
WLAN 802.11g mini-PCI Module
Page 10
9
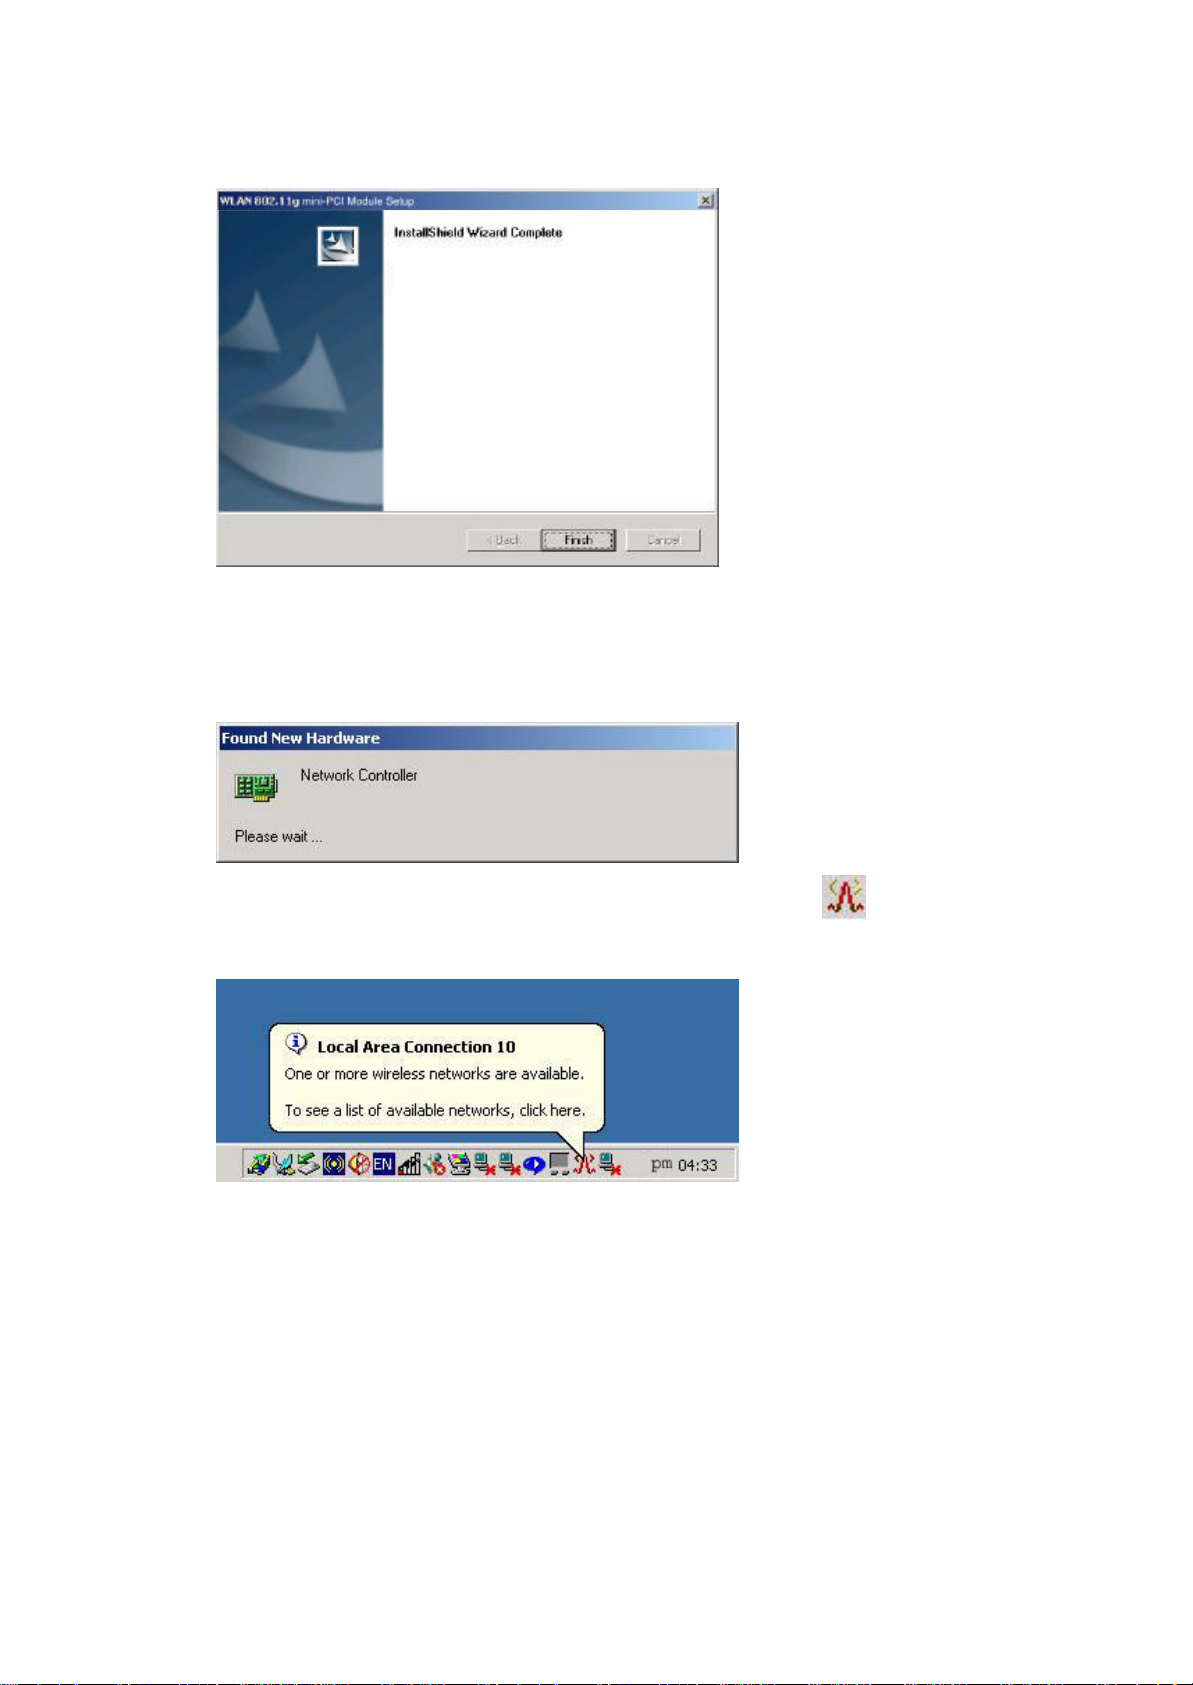
6. Click “Finish”.
Setup has finished installing WLAN 802.11g mini-PCI
Module on your computer.
7. The Windows Operating System will find the new hardware and automatically
install it. (For Windows 98SE or Windows Me, please restart your computer
before inserting the Adatper).
8. You may now see the WLAN 802.11g mini-PCI Module shortcut on
windows system tray.
3.2 Additional Setup Processes
During software installation procedure, each operating system may prompt different
speci fic options. Mostly, you will be asked to add some necessary protocols and to
edit some networking settings.
1. Windows 98SE: The system may request the original Windows CD during
the installation process. Please check with the network administrator for
Page 11

th e values of the settings. When the installation is finished, you’ll have to
restart your computer.
2. Windows Me: Please check with the network administrator for the values
of the settings. Please restart your computer when the installation is
finished.
3. Windows 2000: Please check with the network administrator for the values
of the settings. Select “Install the software automatically” when the
window with this option appears, and then click “Next” to continue
installation.
4. Windows XP: Select “Install the software automatically” when the window
with this option appears, and then click “Next” to continue installation.
Note that before using the WLAN 802.11g mini-PCI Module Utility, please
disable the Windows XP Zero-Configuration first.
10
Page 12

3.3 Disable Windows XP Zero-Configuration
In Windows XP, it is recommended that you use the WLAN 802.11g mini-PCI
Module Utility. Right after the installation, before opening the Utility, please follow
the steps below to disable the Windows XP Zero Configuration:
1 Go to “Control Panel” and double click “Network Connections”.
2 Right-click “Wireless Network Connection” of WLAN 802.11g mini-PCI
Module, and select “Properties”.
3 Select “Wireless Networks” tab, and uncheck the check box of “Use Windows to
configure my wireless network settings”, and then click “OK”.
11
Page 13

3.4 Uninstallation
Note! Before uninstallation, please close all running programs.
1. Click Start>Programs>WLAN 802.11g mini-PCI Module>Uni nstall WLAN
802.11g mini-PCI Module.
2. Choose “Remove”. Click “Next”.
Welcome to the WLAN 802.11g mini-PCI Module Setup Maintenance program. This
program lets you modify the current installation. Click one of the options below.
3. Click “OK” to start Uninstall.
12
Page 14

4. Click “Finish”. Uninstall is now completed.
InstallShield Wizard has finished performing maintenance
operations on WLAN 802.11g mini-PCI Module.
13
Page 15

4. Using the Configuration Utility
4.1 Overview
Use the Configuration Utility to search for available wireless networks, connect to
wireless network, or check the link status.
4.2 Accessing the Configuration Utility
1. After software installation, the WLAN 802.11g mini-PCI Module
Configuration Utility icon will appear in your system tray. In Windows XP,
please first close the XP Zero Configuration function. (Please refer to chapter
3.3) Doubleclick the icon .
2. This Tab will appear with listing the available network. Please select the
appropriate network and click “Connect” to connect to the wireless network.
You may click “Advanced” to have advanced setting as next page.
Fig. 4-1
Note: If the network you choose is WEP enable, please contact with the Network
Administrator for Network Key.
Note: Once connected, the WLAN 802.11g mini-PCI Module shortcut will
become
14
Page 16

3. Select “Advanced” in previous page, and you will enter this window.
In Wireless Networks Tab:
-Enable Radio: Choose “Enable Radio” to enable radio. You usually are
requested to uncheck Enable Radio while in the airplane or in the hospital.
User can also find this function on system tray menu.
-Available networks: List all the available networks, and you can choose
the appropriated network and click “Configure”. The selected network will
be listed in Preferred networks. Click “OK” to connect to the wireless
network.
Fig. 4-2
4. Click “Advanced” button in Fig. 4-2.
5. You may select “Automatically connect to non-preferred network” in Fig.
4-3 to activate this function, if needed. It will connect to the available
network automatically. Click “Close”.
15
Page 17

Fig. 4-3
6. Click “Properties” in Fig. 4-2.
7. If the selected Network is WEP enabled, you need to enter Network Key in
Fig. 4-4. Contact with the Network Administrator for Network Key.
Fig. 4-4
16
Page 18

8. Select the chosen item in Fig. 4-5 to switch the network to ad hoc mode.
Fig. 4-5
17
Page 19

4.3 Link Status
The Link Status tab shows information of Linked Network Name, Current
Channel, Current Transmission Rate, Own MAC Address, Current Connection
State, Wireless Network Adapter IP Address, Network Connection Type and
Signal Strength.
18
Page 20

4.4 Site Monitor
This tab gives you the information of all the available Access Points in the
network, such as their signal strength and WEP status, so that you can select the
Access Point with the strongest signal for better performance.
You may select the appropriated “Network Name” and click”Advanced” to see
the detailed information.
19
Page 21

4.5 Statistics
This tab describes the Current Activity of the connection, such as Packet Sent
and Received.
20
Page 22

4.6 Diagnostics
Click “Run” button to check errors in hardware, firmware, and software of your
WLAN 802.11g mini-PCI Module. In case of any errors occur, please print it
out to present to your dealer or distributor.
21
Page 23

4.7 Information
WLAN 802.11g mini-PCI Module
This tab provides you the version information of Firmware, Driver and Utility.
Network Utility
22
Page 24

Appendix A: FAQ
1. Can I run an application from a remote computer over the wireless network?
This will depend on whether or not the application is designed to be used over a
network. Consult the application’s user guide to determine if it supports operation
over a network.
2. Can I play computer games with other members of the wireless network?
Yes, as long as the game supports multiple players over a LAN (local area network).
Refer to the game’s user guide for more information.
3. What is Spread Spectrum?
Spread Spectrum technology is a wideband radio frequency technique developed by
the military for use in reliable, secure, mission-critical communications systems. It is
designed to trade off bandwidth efficiency for reliability, integrity, and security. In
other words, more bandwidth is consumed than in the case of narrowband
transmission, but the trade-off produces a signal that is, in effect, louder and thus
easier to detect, provided that the receiver knows the parameters of the
spread-spectrum signal being broadcast. If a receiver is not tuned to the right
frequency, a spread-spectrum signal looks like background noise. There are two main
alternatives, Direct Sequence Spread Spectrum (DSSS) and Frequency Hopping
Spread Spectrum (FHSS).
4. What is DSSS? What is FHSS? And what are their differences?
Frequency -Hopping Spread-Spectrum (FHSS) uses a narrowband carrier that changes
frequency in a pattern that is known to both transmitter and receiver. Properly
synchronized, the net effect is to maintain a single logical channel. To an unintended
receiver, FHSS appears to be short-duration impulse noise. Direct-Sequence
Spread-Spectrum (DSSS) generates a redundant bit pattern for each bit to be
transmitted. This bit pattern is called a chip (or chipping code). The longer the chip,
the greater the probability that the original data can be recovered. Even if one or more
bits in the chip are damaged during transmission, statistical techniques embedded in
the radio can recover the original data without the need for retransmission. To an
unintended receiver, DSSS appears as low power wideband noise and is rejected
(ignored) by most narrowband receivers.
5. Would the information be intercepted while transmitting on air?
23
Page 25

WLAN features two-fold protection in security. On the hardware side, as with Direct
Sequence Spread Spectrum technology, it has the inherent security feature of
scrambling. On the software side, WLAN offers the encryption function (WEP) to
enhance security and access control.
6. What is WEP?
WEP is Wired Equivalent Privacy, a data privacy mechanism based on a 64-bit or
128-bit shared key algorithm, as described in the IEEE 802.11 standard.
7. What is infrastructure mode?
When a wireless network is set to infrastructure mode, the wireless network is
configured to communicate with a wired network through a wireless access point.
8. What is roaming?
Roaming is the ability of a portable computer user to communicate continuously
while moving freely throughout an area greater than that covered by a single access
point. Before using the roaming function, the workstation must make sure that it is the
same channel number with the access point of dedicated coverage area.
To achieve true seamless connectivity, the wireless LAN must incorporate a number
of different functions. Each node and access point, for example, must always
acknowledge receipt of each message. Each node must maintain contact with the
wireless network even when not actually transmitting data. Achieving these functions
simultaneously requires a dynamic RF networking technology that links access points
and nodes. In such a system, the user’s end node undertakes a search for the best
possible access to the system. First, it evaluates such factors as signal strength and
quality, as well as the message load currently being carried by each access point and
the distance of each access point to the wired backbone. Based on that information,
the node next selects the right access point and registers its address. Communications
between end node and host computer can then be transmitted up and down the
backbone. As the user moves on, the end node’s RF transmitter regularly checks the
system to determine whether it is in touch with the original access point or whether it
should seek a new one. When a node no longer receives acknowledgment from its
original access point, it undertakes a new search. Upon finding a new access point, it
then re-registers, and the communication process continues.
9. What is ISM band?
The FCC and their counterparts outside of the U.S. have set aside bandwidth for
24
Page 26

unlicensed use in the ISM (Industrial, Scientific and Medical) band. Spectrum in the
vicinity of 2.4 GHz, in particular, is being made available worldwide. This presents a
truly revolutionary opportunity to place convenient high-speed wireless capabilities in
the hands of users around the globe.
10. What is the IEEE 802.11g standard?
Approved in June, 2003 as an IEEE standard for wireless local area networks
(WLANs), 802.11g offers wireless transmission over relatively short distances at up
to 54 megabits per second (Mbps) compared with the 11 megabits per second of the
802.11b (Wi-Fi) standard. Like 802.11b, 802.11g operates in the 2.4 GHz range and is
thus compatible with it.
25
Page 27

Appendix B: Glossary
802.11b – One of the IEEE standards of wireless networking hardware. Products that
adhere to a specific IEEE standard will work with each other, even if they are
manufactured by different companies. The 802.11b standard specifies a maximum
data transfer rate of 11Mbps, an operating frequency of 2.4GHz, and WEP encryption
for security. 802.11b networks are also referred to as Wi-Fi networks.
802.11g – Refers to the proposed extension of the IEEE 802.11 standard for wireless
networking, which has not been ratified by IEEE. The 802.11g specifications
specifies a maximum data transfer rate of 54Mbps using OFDM modulation, an
operating frequency of 2.4GHz, backward compatibility with IEEE 802.11b devices
and WEP encryption for security.
Ad-hoc Network - An ad-hoc network is a group of computers, each with a wireless
adapter, connected as an independent 802.11 wireless LAN. Ad-hoc wireless
computers operate on a peer-to-peer basis, communicating directly with each other
without the use of an access point. Ad-hoc mode is also referred to as an Independent
Basic Service Set (IBSS) or as peer-to-peer mode, and is useful at a departmental
scale or SOHO operation.
CTS (Clear To Send) – An RS-232 signal sent from the receiving station to the
transmitting station that indicates it is ready to accept data.
Default Gateway - The router used to forward all traffic that is not addressed to a
station within the local subnet.
DHCP (Dynamic Host Configuration Protocol)- A protocol that lets network
administrators manage centrally and automate the assignment of Internet Protocol (IP)
addresses in an organization’ s network. Using the Internet’s set of protocol (TCP/IP),
each machine that can connect to the Internet needs a unique IP address. When an
organization sets up its computer users with a connection to the Internet, an IP address
must be assigned to each machine. Without DHCP, the IP address must be entered
manually at each computer and, if computers move to another location in another part
of the network, new IP address must be entered. DHCP lets a network administrator
supervise and distribute IP address from a central point and automatically sends a new
IP address when a computer is plugged into a different place in the network.
26
Page 28

DHCP uses the concept of a “lease” or amount of time that a given IP address will be
valid for a computer. The lease time can vary depending on how long a user is likely
to require the Internet connection at a particular location. It’ s especially useful in
education and other environments where users change frequently. Using very short
lease, DHCP can dynamically reconfigure networks in which there are more
computers than there are available IP address.
DHCP supports static addresses for computers containing Web servers that need a
permanent IP address.
DNS – The domain name system (DNS) is the way that Internet domain name are
located and translated into Internet Protocol (IP) addresses. A domain name is a
meaningful and easy-to-remember “handle” for an Internet address.
DSSS (Direct-Sequence Spread Spectrum) – DSSS generates a redundant bit pattern
for all transmitted data. This bit pattern is called a chip (or chipping code). Even if
one or more bits in the chip are damaged during transmission, statistical techniques
embedded in the receiver can recover the original data without the need for
retransmission. To an unintended receiver, DSSS appears as low power wideband
noise and is rejected(ignored) by most narrowband receivers. However, to an intended
receiver (i.e. another wireless LAN endpoint), the DSSS signal is recognized as the
only valid signal, and interference is inherently rejected (ignored).
Dynamic IP Address – An IP address that is automatically assigned to a client station
in a TCP/IP network, typically by a DHCP server. Network devices that serve
multiple users, such as servers and printers, are usually assigned static IP addresses.
ESS (Extended Service Set) – A set of more than two or more BSSs (multiple access
points) forming a single network.
Firmware – Code that is written onto read-only memory (ROM) or programmable
read-only memory (PROM). Once firmware has been written onto the ROM or
PROM, it is retained even when the device is turned off.
IEEE – The Institute of Electrical and Electronics Engineers. The IEEE describes
itself as “the world’ s largest technical professional society – promoting the
development and application of electro-technology and allied sciences for the benefit
of humanity, the advancement of the profession, and the wellbeing of our members.”
The IEEE fosters the development of standards that often become national and
27
Page 29

international standards. The organization publishes a number of journals, has many
local chapters, and several large societies in special areas, such as the IEEE Computer
Society.
Infrastructure Network – An Infrastructure network is a group of computers or
other devices, each with a wireless adapter, connected as an 802.11 wireless LAN. In
infrastructure mode, the wireless devices communicate with each other and to a wired
network by first going through an access point. An infrastructure wireless network
connected to a wired network is referred to as a Basic Service Set (BSS). A set of two
or more BSS in a single network is referred to as an Extended Service Set(ESS).
Infrastructure mode is useful at a corporation scale, or when it is necessary to connect
the wired and wireless networks.
IP Address – In the most widely installed level of the Internet Protocol(IP) today, an
IP address is a 32 – binary digit number that identifies each sender or receiver of
information that is sent in packet across the Internet. When you request an HTML
page or send e-mail, the Internet Protocol part of TCP/IP includes your IP address in
the message ( actually, in each of the packets if more than one is required) and sends it
to the IP address that is obtained by looking up the domain name in the Uniform
Resource Locator you requested or in the e-mail address you’re sending a note to. At
the other end, the recipient can see the IP address of the Web page requester or the
e-mail sender and can respond by sending another message using the IP address it
received.
IPCONFIG – A utility that provides for querying, defining and managing IP
addresses within a network. A commonly used utility, under Windows NT and 2000,
for configuring networks with static IP addresses.
ISP – An ISP (Internet service provider) is a company that provides individuals and
companies access to the Internet and other related services such as Web site building
and virtual hosting.
LAN – A local area network (LAN) is a group of computers and associated devices
that share a common communications line and typically share the resource of a single
processor or server within a small geographic area ( for example, within an office
building).
MAC Address – The MAC (Media Access Control) address is your computer’ s
28
Page 30

unique hardware number.
mIRC – mIRC runs under Windows and provides a graphical interface for logging
onto IRC servers and listing, joining and leaving channels.
Network Mask – also known as the “Subnet Mask”.
OFDM – Developed for wireless applications, Orthogonal Frequency Division
Multiplexing (OFDM) technology offers superior performance-increased data rates
and more reliable transmissions- than previous technologies, such as DSSS. OFDM is
a scheme in which numerous signals of different frequencies are combined to form a
single signal for transmission on the medium. OFDM works by breaking one
high-speed data stream into a number of lower-speed data streams, which are than
transmitted in parallel. Each lower speed stream is used to modulate a sub-carrier.
Essentially, this creates a multi-carrier transmission by dividing a wide frequency
band or channel into a number of narrower frequency bands or sub-channels. OFDM
is also used for other applications, including powerline networking.
Roaming - In an infrastructure mode wireless network, this refers to the ability to
move out of one access point's range and into another and transparently reassociate
and reauthenticate to the new access point. This reassociation and reauthentication
should occur without user intervention and ideally without interruption to network
connectivity. A typical scenario would be a location with multiple access points,
where users can physically relocate from one area to another and easily maintain
connectivity.
SSID (Service Set Identifier) - An identification name that wireless devices use to
make connections. In order for wireless devices to communicate, they must all be set
to the same channel and they all must use the same SSID. For instance, if you are
using an access point to connect two computers using wireless devices, the access
point and each of the wireless devices must use the same SSID. Even if they are set to
the same channel, they cannot communicate unless the SSID is the same.
Static IP Address - A permanent IP address that is assigned to a node in a TCP/IP
network.
Subnet Mask - The method used for splitting IP networks into a series of subgroups,
or subnets. The mask is a binary pattern that is matched up with the IP address to turn
29
Page 31

part of the host ID address field into a field for subnets.
TCP (Transmission Control Protocol) - A method (protocol) used along with the IP
(Internet Protocol) to send data in the form of message units (datagram) between
network devices over a LAN or WAN. While IP takes care of handling the actual
delivery of the data (routing), TCP takes care of keeping track of the individual units
of data (called packets) that a message is divided into for efficient delivery over the
network. TCP is known as a "connection oriented" protocol due to requiring the
receiver of a packet to return an acknowledgment of receipt to the sender of the
packet resulting in transmission control.
TCP/IP (Transmission Control Protocol/Internet Protocol) - The basic
communication language or set of protocols for communications over a network
(developed specifically for the Internet). TCP/IP defines a suite or group of protocols
and not only TCP and IP.
UDP (User Datagram Protocol) - A method (protocol) used along with the IP
(Internet Protocol) to send data in the form of message units (datagram) between
network devices over a LAN or WAN. While IP takes care of handling the actual
delivery of the data (routing), UDP takes care of keeping track of the individual units
of data (called packets) that a message is divided into for efficient delivery over the
network. UDP is known as a “connection-less” protocol due to NOT requiring the
receiver of a packet to return an acknowledgment of receipt to the sender of the
packet (as opposed to TCP). WEP (Wired Equivalent Privacy) - A data privacy
mechanism based on a 64- bit shared key algorithm, as described in the IEEE 802.11b
standard. WINIP CFG - Configuration utility based on the Win32 API for querying,
defining and managing IP addresses within a network. A commonly used utility under
Windows 95, 98SE, and Me.
WLAN (Wireless Local Area Network) - A group of computers and associated
devices that communicate with each other wirelessly.
30
Page 32

Appendix C: Specification
Items Contents
1. Modulation type 11g:DSSS&OFDM;11b:DSSS
2. Procedure to modulation off
3. Number of channels
4. Carrier frequency of each channel
5. Bandwidth of each channel
6. L.O. frequency of receiver 2412~2462MHz
7. Transmitter or Transceiver * Transceiver
8. Power Rating (DC/AC, Volt rating) 3.3Vdc/550mA Max
9. Maximum output power to Antenna
10. Duty Cycle 100% test mode
11. Basic function of product Wireless data communication
Use Broadcom MFG Tool to transmit signal in
single carrier mode
11g:11 channels for FCC
11b: 11 channels for FCC
11b&11g:11channels
2.412,2.417,2.422,2.472,432,2.437,2.442,2.447,2
.452,2.457,2.462GHz
11g : 16.44MHz
11b :11.12MHz
11b:17.57dBm
11g:19.78dBm
12. I/O Port or data cable if any MiniPCI
14. Operation temperature range 0 ~ 75 degree C
31
 Loading...