

Page 1

G200 SERIES NOTEBOOK PC
QUICK START GUIDE
October 2002
Page 2

NOTICE
This manual and any examples contained herein are provided “as is” and are subject to
change without notice. Quanta Computer Inc. makes no warranty of any kind with regard to
this manual, including, but not limited to, the implied warranties of merchantability and fitness
for a particular purpose. Quanta Computer Inc. shall not be liable for any errors or for
incidental or consequential damages in connection with the furnishing, performance, or use
of this manual or the examples herein.
Consumer transactions in Australia and the United Kingdom: The above disclaimers and
limitations shall not apply to Consumer transactions in Australia and the United Kingdom
and shall not affect the statutory rights of Consumers.
© Copyright Quanta Computer Inc. 2002. All rights reserved. Reproduction, adaptation, or
translation of this manual is prohibited without prior written permission of Quanta Computer
Inc., except as allowed under the copyright laws.
The programs that control this product are copyrighted and all rights are reserved. Reproduction, adaptation, or translation of those programs without prior written permission of
Quanta Computer Inc. is also prohibited. Portions of the programs that control this product
may also be copyrighted by Microsoft Corporation, Phoenix Technologies, Ltd., ATI
Technologies Inc., S3 Graphics Incorporated, Intel Corporation, and Adobe Systems
Incorporated. See the individual programs for additional copyright notices.
This product incorporates copyright protection technology that is protected by method
claims of certain U.S. patents and other intellectual property rights owned by Macrovision
Corporation and other rights owners. Use of this copyright protection technology must be
authorized by Macrovision Corporation and is intended for home and other limited viewing
uses only unless otherwise authorized by Macrovision Corporation. Reverse engineering or
disassembly is prohibited.
Microsoft©, MS-DOS©, and Windows© are U.S. registered trademarks of Microsoft
Corporation. Pentium and the Intel Inside logo are U.S. registered trademarks and
Celeron™ and SpeedStep™ are U.S. trademarks of Intel Corporation. Adobe© and Acrobat© are trademarks of Adobe Systems Incorporated.
2
Page 3

CONTENTS
NOTEBOOK PC ............................................................................................. 1
QUICK START GUIDE ................................................................................... 1
NOTICE........................................................................................................... 2
TAKING CARE OF YOUR NOTEBOOK PC ...................................................4
1 BEFORE YOU START .............................................................................. 7
1-1 Making sure you have everything .................................................. 7
1-2 Finding where everything is located .............................................. 8
1-2-1 OPENING THE DISPLAY PANEL ................................................................... 8
1-2-2 TOP AND FRONT COMPONENTS ................................................................. 8
1-2-3 LEFT-SIDE PANEL COMPONENTS ............................................................. 10
1-2-4 RIGHT-SIDE PANEL COMPONENTS ............................................................11
1-2-5 BACK PANEL COMPONENTS ..................................................................... 12
1-2-6 BOTTOM COMPONENTS ............................................................................ 13
2 GETTING STARTED ............................................................................... 15
2-1 Power Sources............................................................................... 15
2-1-1 CONNECTING THE POWER ADAPTERS .................................................... 15
2-1-2 RECHARGING THE BATTERIES .................................................................. 16
2-1-3 REPLACING THE BATTERY ........................................................................ 17
2-3 Starting Your Notebook PC ........................................................... 18
2-3-1 POWER ON ................................................................................................. 18
2-3-2 BOOT SEQUENCE ...................................................................................... 18
2-3-3 BIOS SETUP UTILITY .................................................................................. 19
3 TROUBLESHOOTING ............................................................................ 20
3-1 Identifying the Problem ................................................................. 20
3
Page 4
TAKING CARE OF YOUR
NOTEBOOK PC
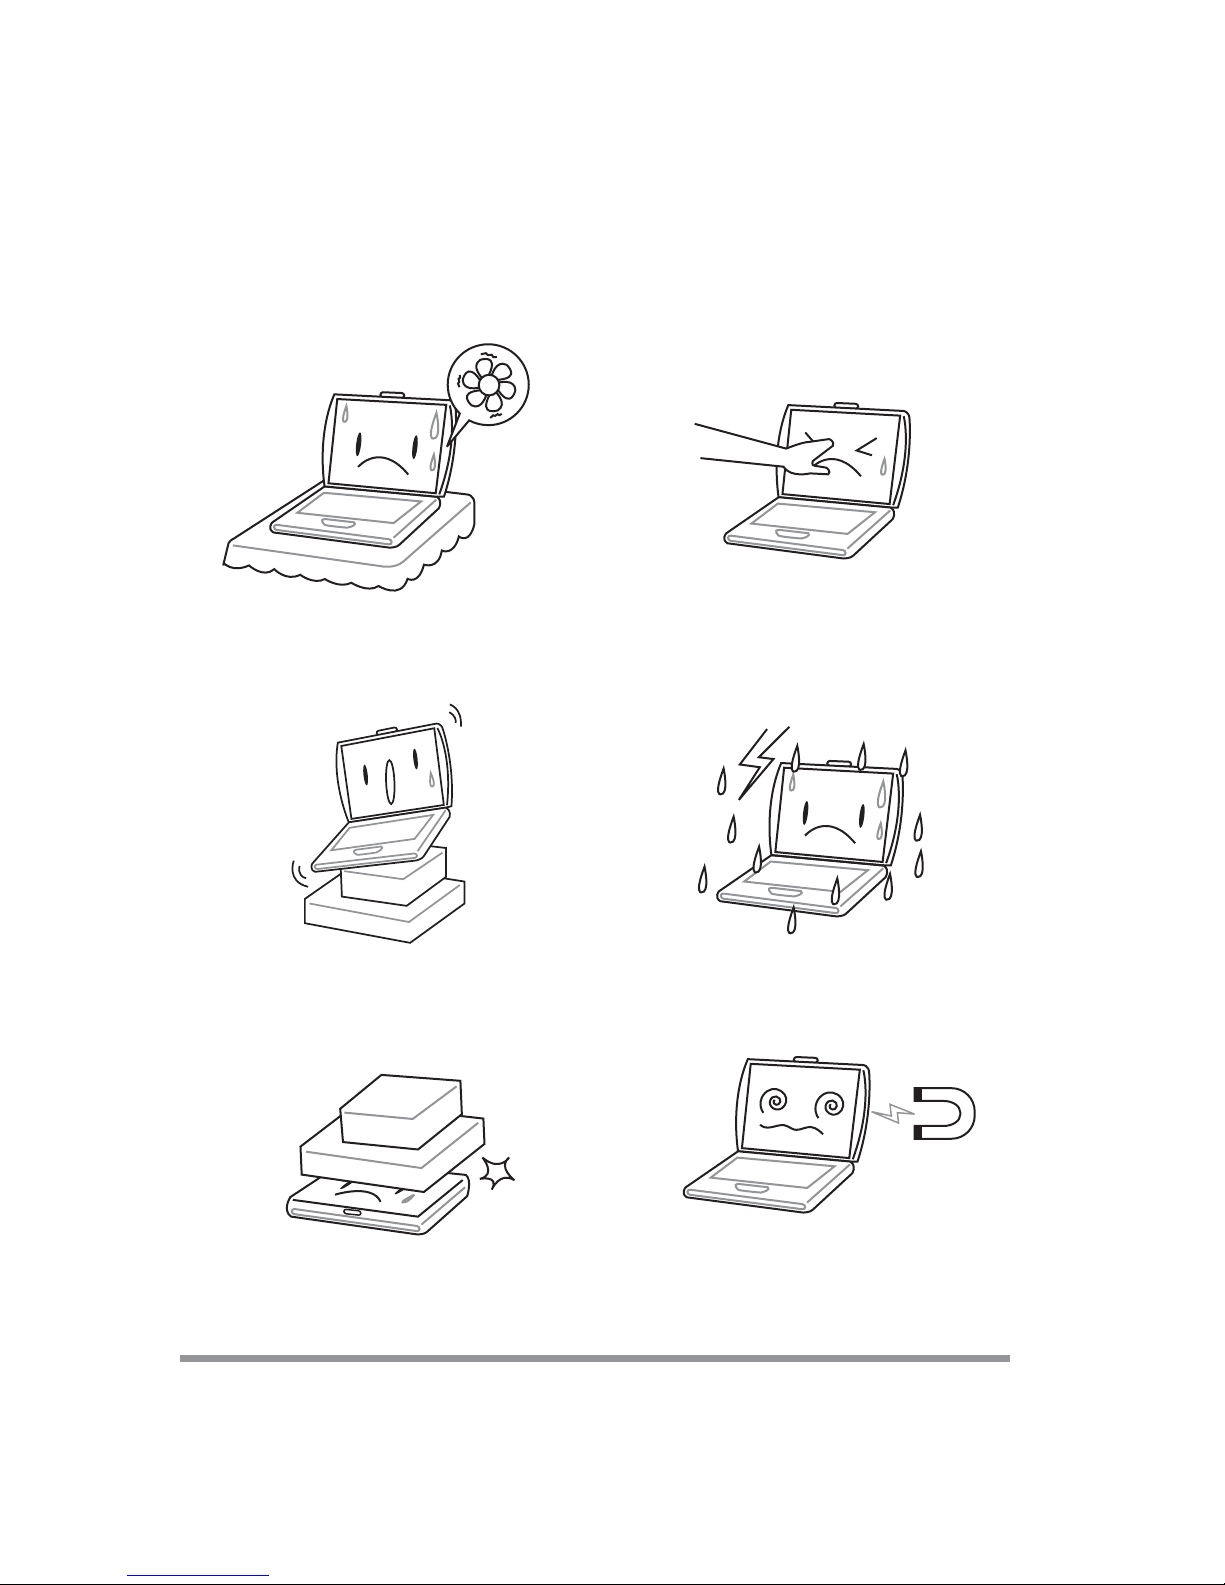
To prevent possible overheating of the computer’s
processor, make sure you don’t block the openings provided for ventilation.
DO NOT place on uneven or unstable work surfaces.
DO NOT press or touch the display panel.
DO NOT use your notebook computer under harsh
conditions.
DO NOT place or drop objects on the computer
and DO NOT apply heavy pressure on it.
4
PB
DO NOT subject the computer to magnetic fields.
Page 5
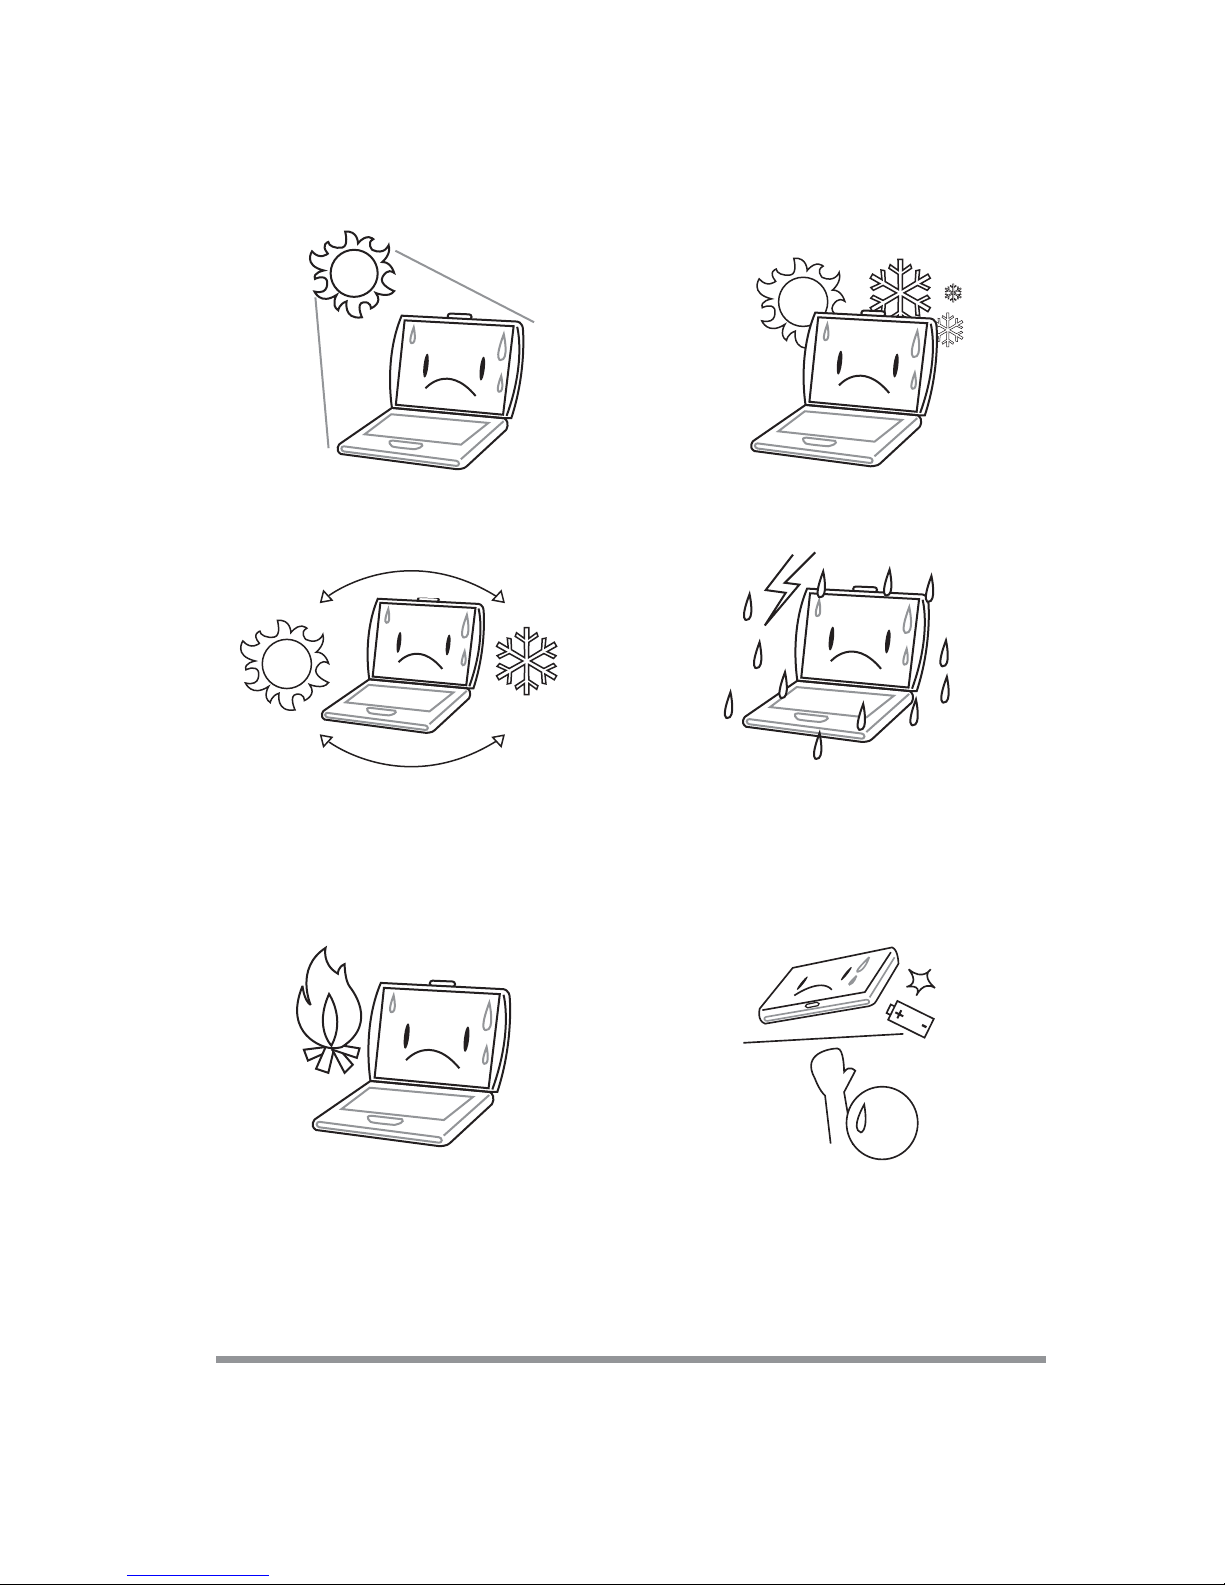
DO NOT expose to direct sunlight. DO NOT use or store in extreme temperatures.
Avoid sudden changes in temperature or humidity
by keeping it away fromA/C and heating vents.
DO NOT place near fire or other sources of heat. DO NOT tamper with the batteries. Keep them away
DO NOT expose the computer to rain or moisture.
from children.
5
Page 6

DO NOT expose to dust and/or corrosive chemicals.
DO NOT slam your notebook shut and never pick
up or hold your notebook by the display.
DO NOT spray water or any other cleaning fluids
directly on the display.
6
PB
If you are traveling with your computer, remember
to carry it as hand luggage. Do not check it in as
baggage.
Page 7

1 BEFORE YOU START
1-1 Making sure you have everything
When you receive your notebook PC, unpack it carefully, and check to make sure you
have all the items listed below. For a pre-configured model you should have the following:
• Notebook Computer
• Lithium ion battery, pre-installed
• AC adapter with AC power cord
• Phone/Modem (RJ-11) telephone cable
• Driver and Applications CD
• Quick Start Guide (this document)
• User Guide
Depending upon the configuration of your notebook, you may have also received the
following items:
• DVD Application CD
• CD-RW Application CD
• DVD / CD-RW Combo Application CD
Once you have checked and confirmed that your notebook system is complete, read
through the following pages to learn about all of your notebook components.
7
Page 8

1. BEFORE YOU START
1-2 Finding where everything is located
1-2-1 OPENING THE DISPLAY PANEL
1. Slide the latch located at the top of the display panel to the right. This releases the
locking mechanism and raises the display slightly.
2. Lift the display backwards, being careful not to touch the screen, until it is at a
comfortable viewing angle.
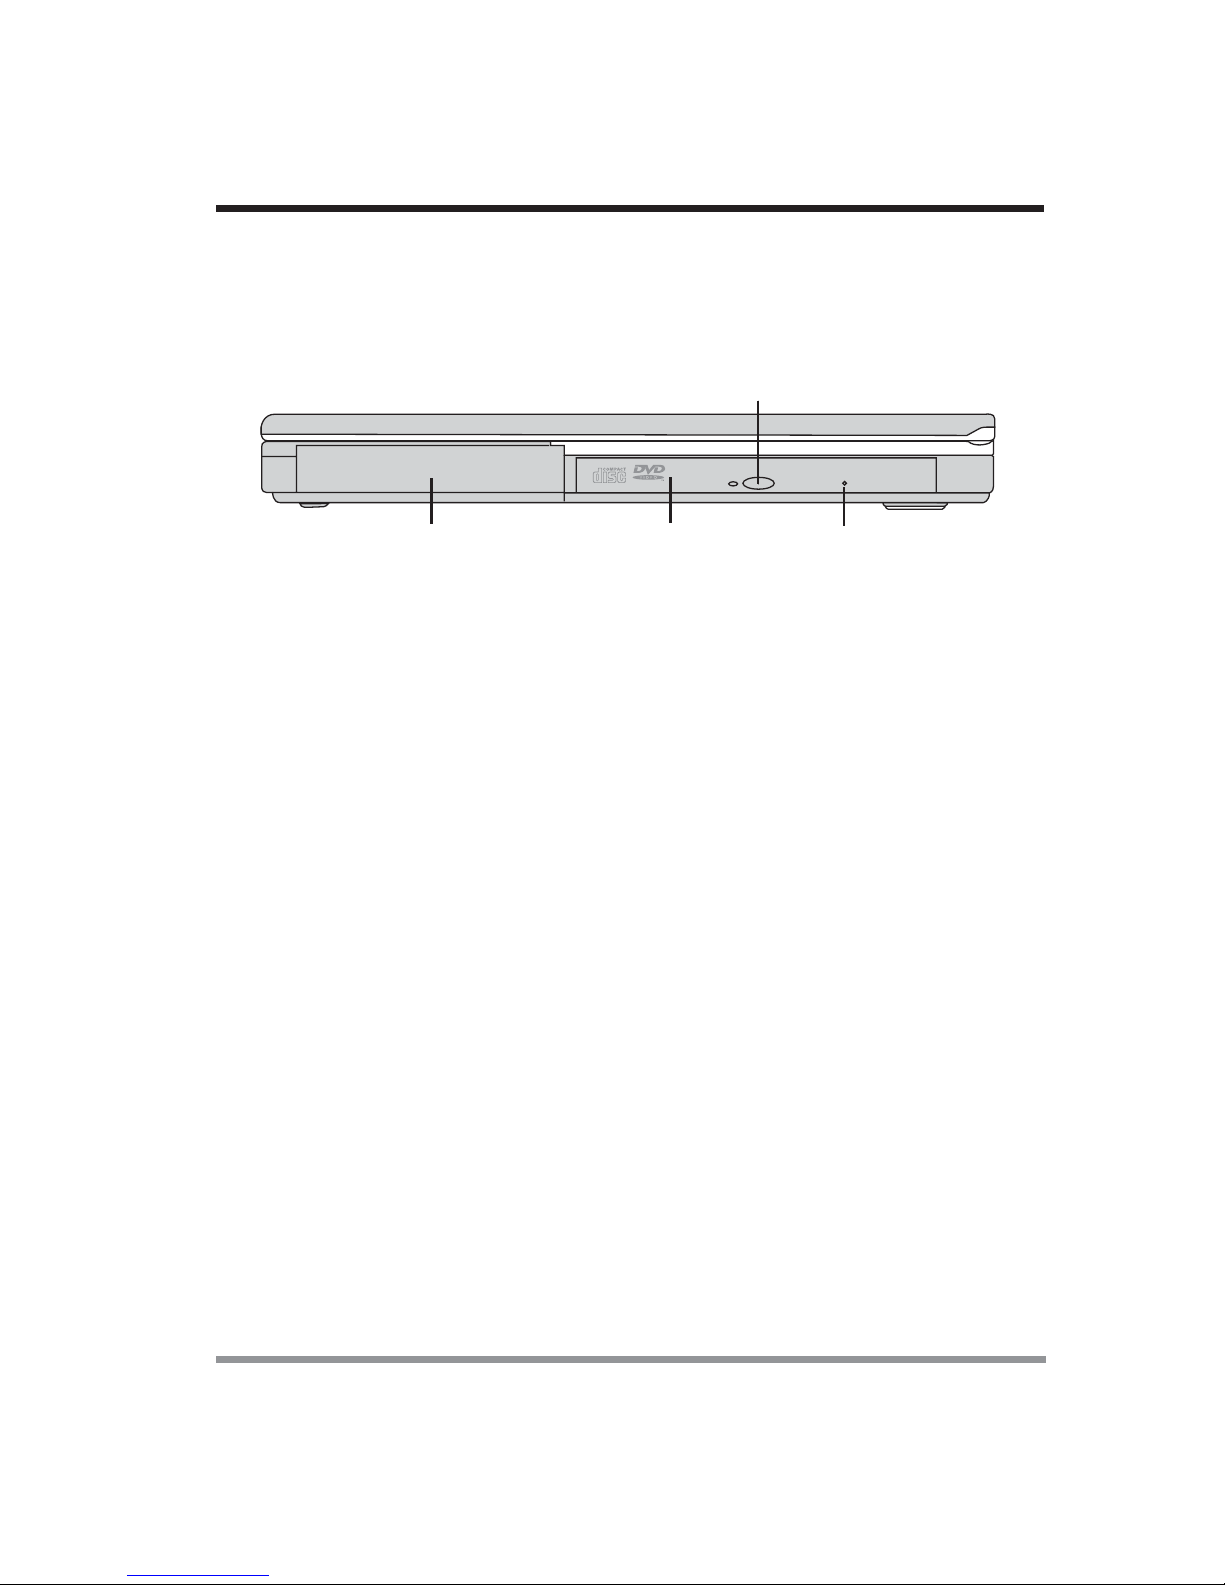
1-2-2 TOP AND FRONT COMPONENTS
The following is a brief description of your notebook’s top and front components.
DisplayPanel
Latch
Stereo
Speaker
Battery
Indicator
Suspend/Resume/
PowerOnButton
ScrollButton
Power
Indicator
DisplayPanel
Application
Panel
StatusDisplay
Indicator
Keyboard
TouchPadPointingDevice
StereoSpeaker
PB
8
Page 9

1. BEFORE YOU START
Display Panel Latch
The display panel latch locks and releases the display panel.
Display Panel
The display panel is a color LCD panel with back lighting for the display of text and
graphics.
Application Panel
The Application Panel allows you to either launch your favorite applications with the
touch of a button or to use as a Optical Drive when your unit is on.
Status Display Indicators
The Status display indicator lights correspond to specific components of your notebook.
(See suspend notebook activity without powering off, resume your notebook from
suspend mode, and power on your notebook when it has been shut down from Windows. (See Suspend/Resume/Power On Button in 2-3-1 Power On for more
information.)
Stereo Speakers
The built-in dual speakers allow for stereo sound.
Keyboard
A full-size keyboard with dedicated Windows keys.
Touchpad Pointing Device
The Touchpad pointing device is a mouse-like cursor control with three buttons (left,
right, and scroll buttons).
Power/Battery Indicators
The power and battery LEDs on the front of the unit allow you to monitor power and
battery status while the system is closed.
9
Page 10

1. BEFORE YOU START
1-2-3 LEFT-SIDE PANEL COMPONENTS
The following is a brief description of your notebook’s left-side components.
Anti-Theft
Lock Slot
Modem
Por t
(RJ-11)
LAN Port
(RJ-45)
Microphone
Jack
PC Card
Eject Button
Headphone
Jack
PC Card
Slot
Internal Floppy
Disk Drive
Floppy Disk
Eject Button
Anti-theft Lock Slot
The anti-theft lock slot allows you to attach an optional physical lock-down device.
Modem (RJ-11) Telephone Jack
The Modem (RJ-11) telephone jack is used to attach a telephone line to the internal
56K modem.
Microphone Jack
The microphone jack allows you to connect an external mono microphone.
PC Card Slot
The PC Card Slot allows you to install one Type II or Type III PC Card.
Internal Floppy Disk Drive
A standard floppy disk drive to accommodate 3.5” floppy disks.
Headphone Jack
The headphone jack allows you to connect headphones or external speakers with
amplifer.
LAN Jack (RJ-45)
The LAN jack is designed to support a 10 Base-T or 100 Base-TX standard RJ-45
plug.
10
Page 11
1. BEFORE YOU START
1-2-4 RIGHT-SIDE PANEL COMPONENTS
The following is a brief description of your notebook’s right-side components.
OpticalDrive
EjectButton
Lithiumion
BatteryBay
Optical
Drive
EmergencyOpticalDrive
TrayRelease
Lithium ion Battery Bay
The internal battery pack can be removed for installation of a fully charged battery
pack. (See 2-1-3 Replacing the Battery for more information.)
Optical Drive
The Optical Drive allows you to play back a media disc.
Optical Drive Eject Button
The Optical Drive Eject Button allows you to open the Optical Drive tray to remove or
install a DVD, CD-R, or CD-ROM.
Emergency Optical Drive Tray Release
The Emergency Optical Drive Tray Release allows you to open the Optical Drive tray
without powering on your notebook.
11
Page 12

1. BEFORE YOU START
1-2-5 BACK PANEL COMPONENTS
The following is a brief description of your notebook’s back panel components.
Parallel
Port
Infrared
Port
PS/2
Port
Power
Jack
DC
USB
Ports
IEEE
1394
Port
Serial
Port
External
Monitor
Port
Infrared Port
The fast IrDA compatible port allows you to communicate wirelessly with another
IrDA-compatible infrared device without a cable.
DC Power Jack
The DC power jack allows you to plug in the AC adapter to power your notebook and
charge the internal Lithium ion battery.
PS/2 Port
The PS/2 port allows you to connect an external PS/2 keyboard, mouse or numeric
keypad.
IEEE 1394 Port
The 1394 port is used to connect between your and a peripheral such as a digital video
camera.
USB Ports
The two USB ports allow you to connect Universal Serial Bus devices.
Serial Port
The serial port allows you to connect serial (RS-232C) devices. (This is also sometimes
referred to as a COM port.)
12
Page 13

1. BEFORE YOU START
External Monitor Port
The external monitor port allows you to connect an external monitor.
Parallel Port
The parallel port allows you to connect parallel devices, such as a printer. (This is also
sometimes referred to as an LPT port.)
1-2-6 BOTTOM COMPONENTS
The following is a brief description of your notebook’s bottom panel components.
Main Unit and
Configuration Label
Lithium ion
Battery Bay
Hard Disk Drive Bay
Memory
Compartment
Main Unit and Configuration Label
The configuration label shows the model number and other information about your
notebook. In addition, the configuration portion of the label has the serial number and
manufacturer information that you will need to give your support representative. It
identifies the exact version of various components of your notebook.
13
Page 14

1. BEFORE YOU START
Lithium ion Battery Bay
The battery bay contains the internal Lithium ion battery. It can be opened for the
removal of the battery when stored over a long period of time or for swapping a discharged battery with a charged Lithium ion battery.
Memory Compartment
The memory compartment contains the system RAM.
14
Page 15

2 GETTING STARTED
2-1 Power Sources
Your notebook PC has two possible power sources: a primary Lithium ion battery or an
AC adapter.
2-1-1 CONNECTING THE POWER ADAPTERS
The AC adapter provides power for operating your notebook PC and charging the
battery.
Connecting the AC Adapter
1. Plug the DC output cable into the DC power jack of your notebook PC.
2. Plug the AC adapter into an AC electrical outlet.
Switching from AC Adapter Power to Battery Power
1. Be sure that you have at least one charged battery installed.
2. Remove the AC adapter. Your notebook will automatically switch from DC power
to battery power.
POINT The Lithium ion battery is not charged upon purchase. Initially,
you will need to connect the AC adapter to use your notebook
PC.
15
Page 16

2. GETTING STARTED
2-1-2 RECHARGING THE BATTERY
The Lithium ion battery is recharged internally using the AC adapter. To recharge the
battery, make sure the battery that needs to be charged is installed in your notebook PC
and connect the AC .
There is no memory effect on the Lithium ion battery, therefore you do not need to
discharge the battery completely before recharging. The charge times will be significantly
longer if your notebook PC is in use while the battery is charging. If you want to charge
the battery more quickly, put your notebook PC into Suspend mode, or turn it off while
the adapter is charging the battery.
Low Battery State
When the battery is running low, a low battery notification message will appear. If you
do not respond to the low battery message, the batteries will continue to discharge until
they are too low to operate. When this happens, your notebook PC will go into Suspend mode. There is no guarantee that your data will be saved once the notebook
reaches this point.
CAUTION To protect your notebook PC from damage, use only the power
adapter that came with the notebook PC because each power
adapter has its own power output rating.
Once your notebook PC goes into Dead Battery Suspend mode you will be unable to
resume operation until you provide a source of power either from an adapter, or a
charged battery. Once you have provided power, you will need to press the Suspend/
Resume button to resume operation. In the Dead Battery Suspend mode, your data can
be maintained for some time, but if a power source is not provided promptly, the Power
indicator will stop flashing and go out, meaning that you have lost the data that was not
stored. Once you provide power, you can continue to use your notebook PC while an
adapter is charging the battery.
Shorted Battery
The Status Indicator panel uses a symbol inside the battery outline of the Battery Level
indicator to display the operating level available in that battery. If this display shows a
Shorted Battery, it means that the battery is damaged and must be replaced so it does
not damage any other parts of your notebook PC.
16
Page 17

2. GETTING STARTED
2-1-3 REPLACING THE BATTERY
With the purchase of an additional battery, you can have a fully charged spare to swap
with one that is not charged.
1. Have a charged battery ready to install.
2. Shut down your notebook PC and disconnect the AC adapter.
3. Slide the battery release latch while pulling the battery from the bay.
4. Remove the battery from the bay.
5. Slide the new battery into the bay. The pins will automatically align with the connec-
tor.
6. Press the battery in until the battery release latch snaps into place.
7. Plug in the AC adapter and turn the power on.
POINT If the Lithium ion battery connector is not fully seated, you may
not be able to use your notebook PC or charge your battery.
BatteryLatch
17
Page 18

2. GETTING STARTED
2-3 Starting Your Notebook PC
2-3-1 POWER ON
Suspend/Resume/Power On Button
The suspend/resume/power on switch is used to turn on your notebook from its off
state. Once you have connected your AC adapter or charged the internal Lithium ion
battery, you can power on your notebook.
POINT When you turn on your notebook be sure you have a power
source. This means that at least one battery is installed and
charged, or that the AC adapter is connected with AC power.
Press the suspend/resume/on button located above the keyboard to turn on your
notebook. If you need to take an extended break, you may either place it in Suspend
mode or turn it off directly.
CAUTION Do not carry your notebook around with the power on or subject
it to shocks or vibration, as you risk damaging your notebook.
When you power on your notebook, it will perform a Power On Self Test (POST) to
check the internal parts and configuration for correct functionality. If a fault is found,
your notebook PC will emit an audio warning and/or an error message will be displayed. Depending on the nature of the problem, you may be able to continue by
starting the operating system or by entering the BIOS setup utility and revising the
settings.
After satisfactory completion of the Power On Self Test (POST), your notebook will
load your operating system.
CAUTION Never turn off your notebook during thePower On Self Test
(POST), or an unrecoverable error may occur.
2-3-2 BOOT SEQUENCE
The procedure for starting-up your notebook is termed the Bootup sequence and
involves your notebook’s BIOS. When your notebook is turned on for the first time,
the main system memory is empty, and it needs to find instructions to start up your
notebook. This information is stored in the BIOS program. Each time you power on or
restart your notebook, it goes through a boot sequence which displays a flash screen
until your operating system is loaded. During booting, your notebook is performing a
18
Page 19

2. GETTING STARTED
standard boot sequence including a Power On Self Test (POST). When the boot
sequence is completed without a failure and without a request for the BIOS Setup
Utility, the system displays the operating system’s opening screen.
The boot sequence is executed when:
• You turn on the power to your notebook.
• You restart your notebook from the Windows Shut Down dialog box.
• The software initiates a system restart. Example: When you install a new application.
2-3-3 BIOS SETUP UTILITY
The BIOS Setup Utility is a program that sets up the operating environment for your
notebook. Your BIOS is set at the factory for normal operating conditions, therefore
there is no need to set or change the BIOS environment to operate your notebook.
The BIOS Setup Utility configures:
• Device control feature parameters, such as changing I/O addresses and boot
devices.
• System Data Security feature parameters, such as passwords.
Entering the BIOS Setup Utility
To enter the BIOS Setup Utility, do the following:
1. Turn on or restart your notebook.
2. Press the [F2] key once the flash screen appears on the screen. This will open the
main menu of the BIOS Setup Utility with the current settings displayed.
3. Press the [RIGHT ARROW] or [LEFT ARROW] key to scroll through the other
setup menus to review or alter the current settings.
19
Page 20

3 TROUBLESHOOTING
Your notebook PC is sturdy and subject to few problems in the field. However, you
may encounter simple setup or operating problems that you can solve on the spot, or
problems with peripheral devices, that you can solve by replacing the device. The
information in this section helps you isolate and resolve some of these straightforward
problems and identify failures that require service.
3-1 Identifying the Problem
If you encounter a problem, go through the following procedure before pursuing complex troubleshooting:
1. Turn off your notebook PC.
2. Make sure the AC adapter is plugged into your notebook PC and to an active AC
power source.
3. Make sure that any card installed in the PC Card slot is seated properly. You can
also remove the card from the slot, thus eliminating it as a possible cause of failure.
4. Make sure that any devices connected to the external connectors are plugged in
properly. You can also disconnect such devices, thus eliminating them as possible
causes of failure.
5. Turn on your notebook PC. Make sure it has been off at least 10 seconds before
you turn it on.
6. Go through the boot sequence.
7. If the problem has not been resolved, contact your support representative.
20
Page 21

3. Troubleshooting
Before you place the call, you should have the following information ready so that the
customer support representative can provide you with the fastest possible solution:
• Product name
• Product configuration number
• Product serial number
• Purchase date
• Conditions under which the problem occurred
• Any error messages that have occurred
• Hardware configuration
• Type of device connected, if any
See the Configuration Label on the bottom of your notebook for configuration and serial
numbers.
21
Page 22

22
 Loading...