

Page 1
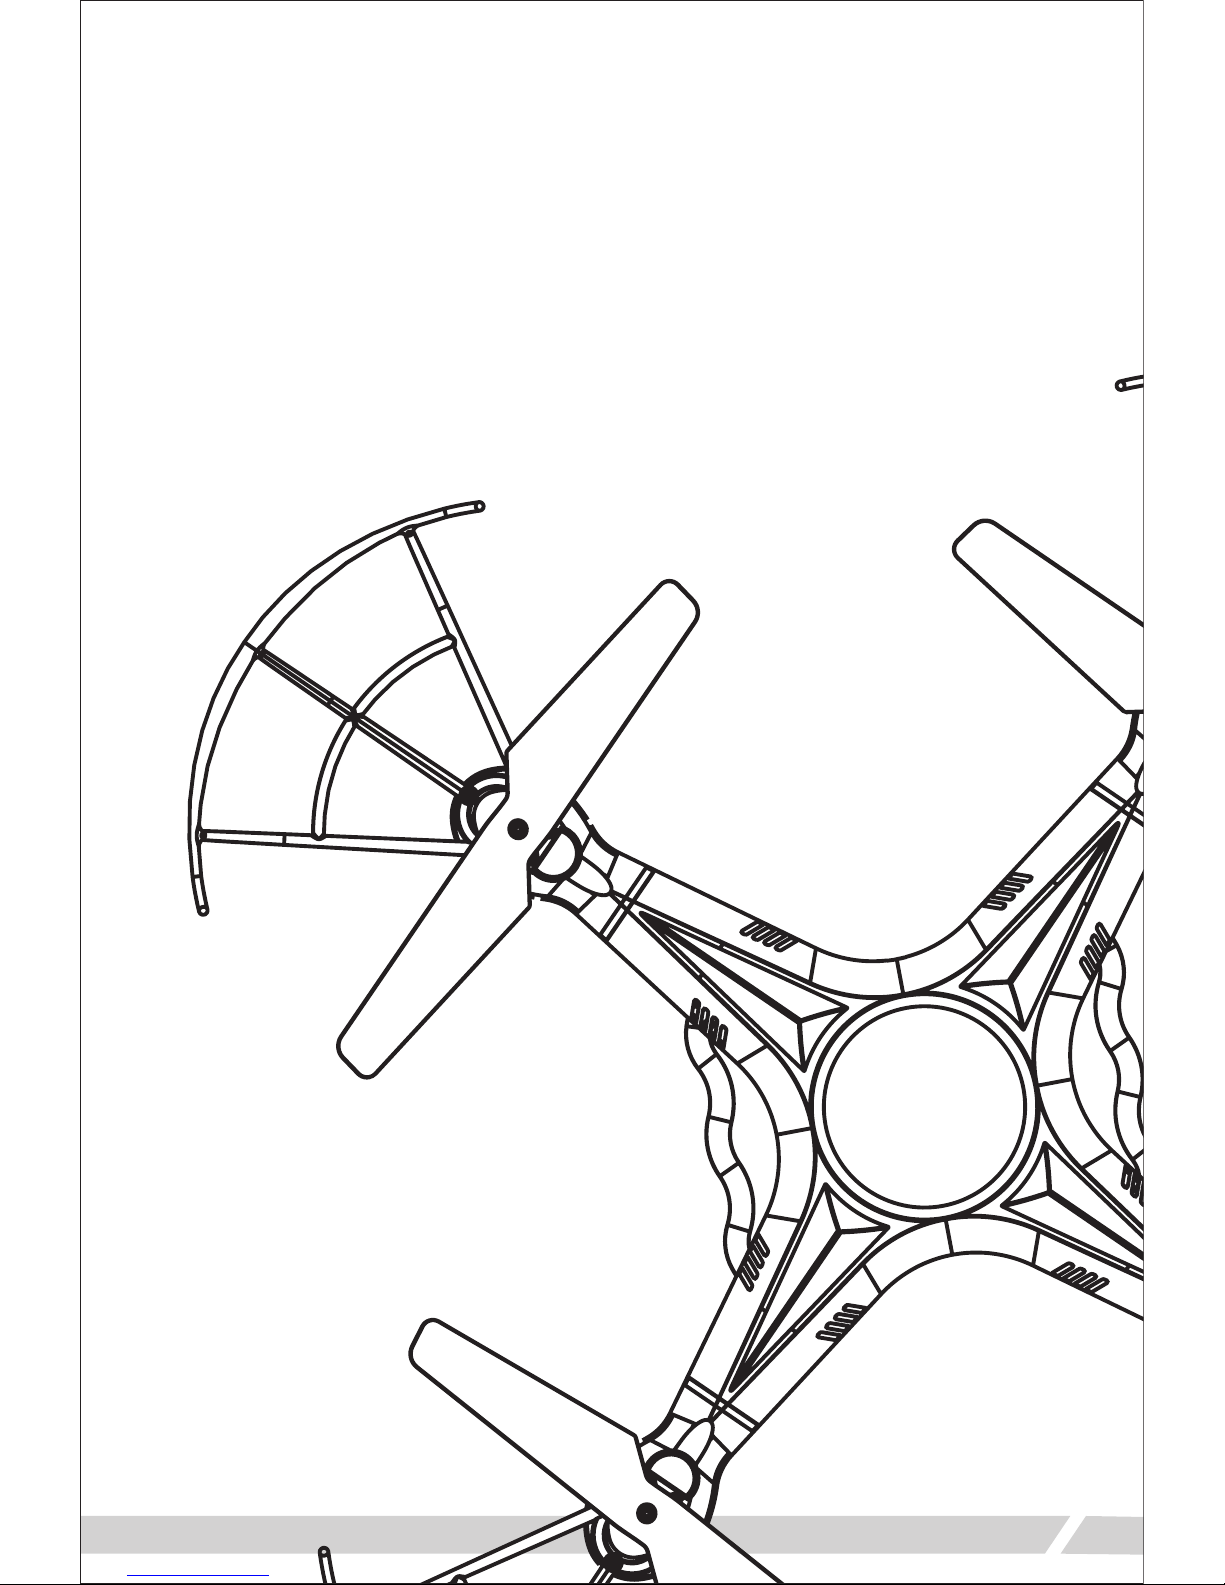
quadrone
Instruction Manual
sparrow
Page 2

• All instructions, warranties and other collateral documents are subject
to change at the sole discretion of our company.
Introduction
Table of Contents
Notice
• Thank you for choosing Quadrone! This is a four-axis aircraft that can
fly outdoors, in order to make it easier to control the aircraft. Please
carefully read this manual before operating your Quadrone. Please
keep this manual for future reference.
• Before your first flight, please take the time to carefully read this manual
containing important flight information which will help your first flight go
more smoothly.
Introduction 1
Table of Contents 1
Notice 1
Warning 2
Additional Warnings and Precautions 2
Safety Notes 2
Included 3
Quadrone Diagram 4
Remote Controller Diagram 4
Remote Controller Battery Installation 4
Charging Your Drone 5
Battery and Charger Specifications 5
Syncing the Quad and Remote 5
Flight Controls 6
Practice Tips 7
Trimming the Quad 7
Flips and Rolls 8
Speed Selection 8
Headless Mode 9
One Key Return 9
Changing the Blades 9
Troubleshooting 9
1
Page 3
Warnings
Safety Notes
Additional Warnings and Precautions
• If this is your first time flying a quadcopter read the manual carefully.
Seek the help of an experienced pilot to help you fly. These safety
instructions are intended not only for the protection of your Quadrone
but also to protect your own safety. Improper operation can cause
injury or property damage.
• This product is suitable for indoor and outdoor use. Please make sure
you choose a flight area with no obstacles and maintain a safe distance
from people and pets. Do not operate near power lines.
• Read the ENTIRE instruction manual to become familiar with the
features of the product before operating. Failure to operate the product
correctly can result in damage to the product, personal property or
cause serious injury. This is a sophisticated hobby product. It must be
operated with caution and common sense, and requires some basic
mechanical ability. Failure to operate this product in a safe and
responsible manner could result in injury or damage to the product or
property. This product is not intended for use by children without direct
adult supervision. This manual contains instructions for safety,
operation and maintenance. It is essential to read and follow all the
instructions and warnings in this manual, prior to assembly, set up or
use, in order to operate correctly and avoid damage or serious injury.
1. Age Recommendation: Not for children under 14 years of age. This is
not a toy.
2. Always operate in open spaces away from obstacles, people, and
hazards.
3. Always follow directions and warnings for this and any optional
equipment carefully. (chargers, rechargeable battery packs, etc)
4. Always keep small parts and electrical parts out of the reach of
children.
5. Always avoid water exposure to all equipment not specifically
designed and protected for this purpose. Moisture can cause damage
to electronics.
6. Never place any portion of the model in your mouth as it could cause
serious injury or even death.
7. Never operate your model with low batteries.
• RC models are composed of many precise electrical components. It is
important to keep the model and associated equipment away from
moisture and other contaminants. The introduction of exposure to
water or moisture in any form can cause the model to malfunction
or crash. Do not operate or expose to rain or moisture.
• To avoid a potential fire hazard from batteries, do not short, reverse
polarity, or puncture batteries. Battery charging should be done under
adult supervision at all times, at a location out of reach of children. Do
not mix Ni-Cad and Alkaline batteries.
• Make sure the batteries are installed correctly to ensure correct
polarity. If you do not plan to use your Quadrone for an extended
period of time, remove the batteries from the controller to avoid battery
leakage which may damage the controller. Please dispose depleted
batteries according to local laws and ordinances.
• Li-Polymer batteries have higher operational risks compared to other
batteries. It is imperative to follow proper operational guidelines. The
manufacturer and dealer assume no liability for accidental damages
caused by improper usage. Do not use any other charger other than
the supplied charger included in this packaging in order to avoid
potential fire or explosion. Do not crush, disassemble, burn,
or reverse polarity.
• RC models are made from various forms of plastic very susceptible to
damage or deformation due to extreme heat and cold temperatures.
Make sure not to store the model near any heat source or
adverse temperatures.
2
Page 4
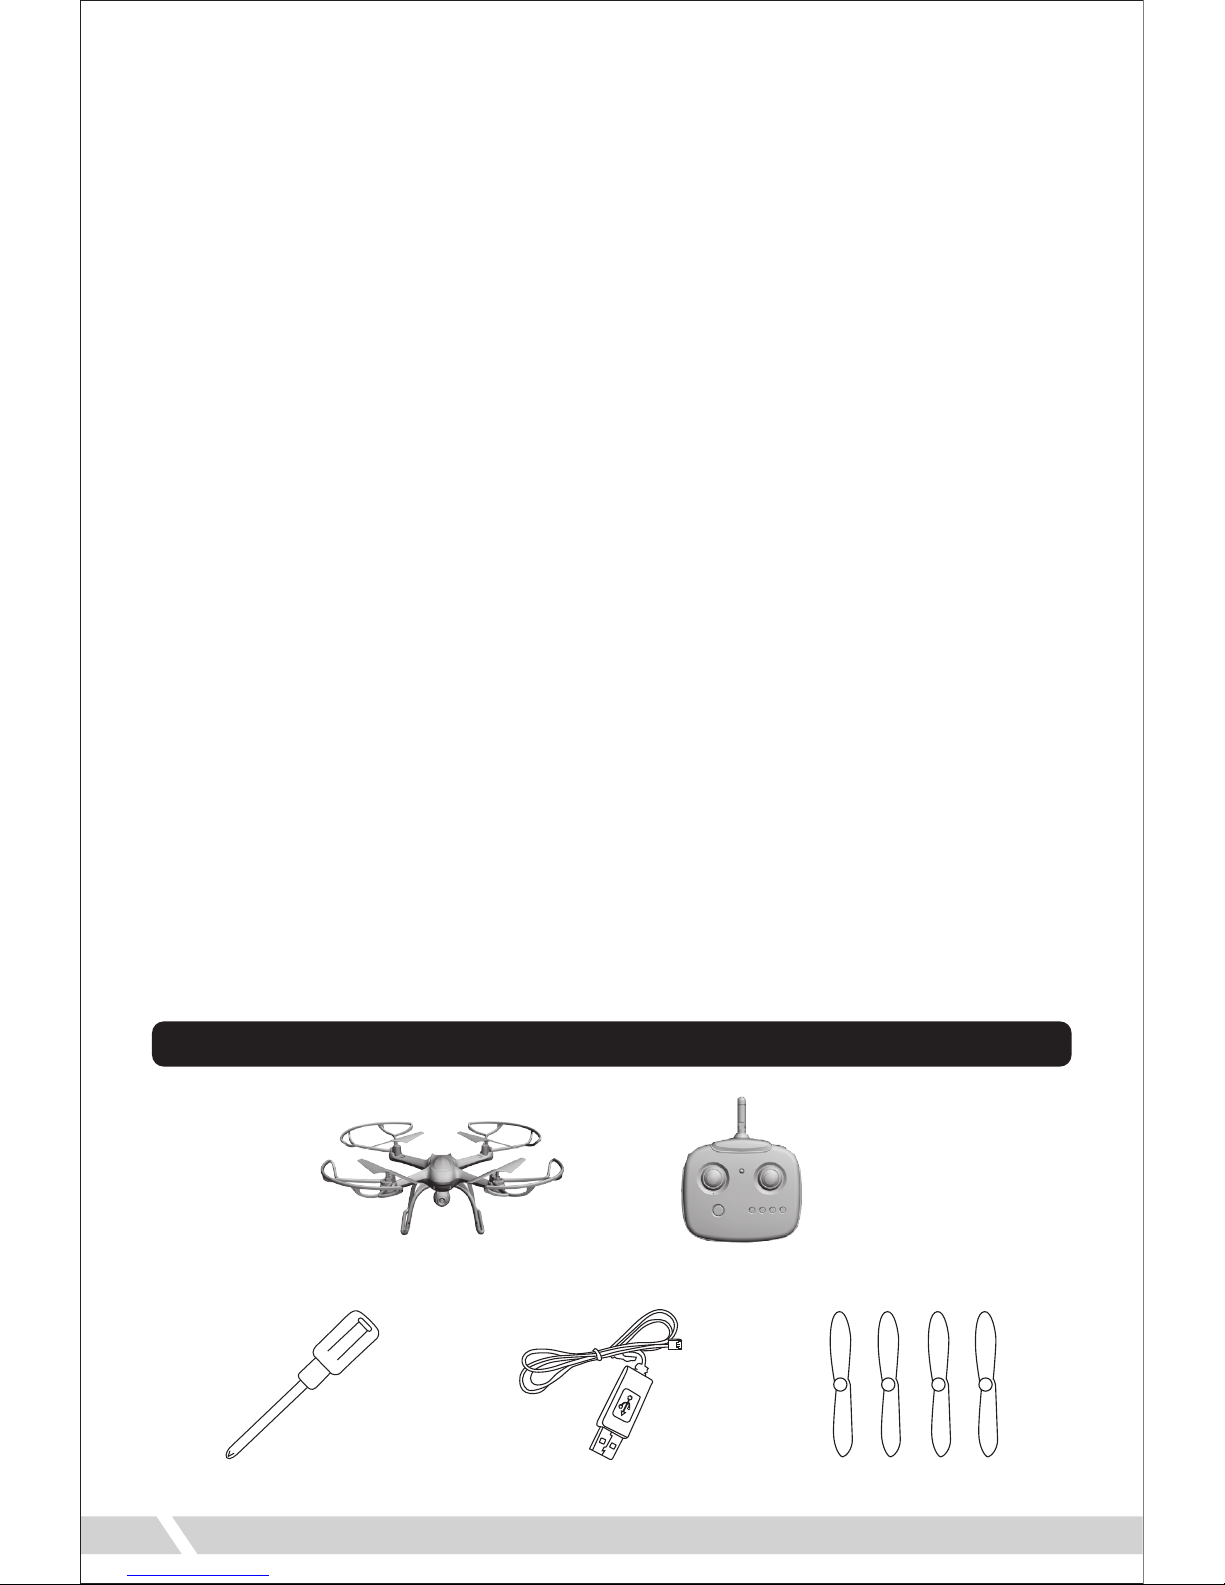
Included
• RC models are composed of many precise electrical components. It is
important to keep the model and associated equipment away from
moisture and other contaminants. The introduction of exposure to
water or moisture in any form can cause the model to malfunction
or crash. Do not operate or expose to rain or moisture.
• To avoid a potential fire hazard from batteries, do not short, reverse
polarity, or puncture batteries. Battery charging should be done under
adult supervision at all times, at a location out of reach of children. Do
not mix Ni-Cad and Alkaline batteries.
• Make sure the batteries are installed correctly to ensure correct
polarity. If you do not plan to use your Quadrone for an extended
period of time, remove the batteries from the controller to avoid battery
leakage which may damage the controller. Please dispose depleted
batteries according to local laws and ordinances.
• Li-Polymer batteries have higher operational risks compared to other
batteries. It is imperative to follow proper operational guidelines. The
manufacturer and dealer assume no liability for accidental damages
caused by improper usage. Do not use any other charger other than
the supplied charger included in this packaging in order to avoid
potential fire or explosion. Do not crush, disassemble, burn,
or reverse polarity.
• RC models are made from various forms of plastic very susceptible to
damage or deformation due to extreme heat and cold temperatures.
Make sure not to store the model near any heat source or
adverse temperatures.
Quadrone Sparrow x1 Remote Controller x1
Extra Blades x4USB Charger x1Screwdriver x1
3
Page 5

Remote Controller Diagram
Remote Controller Battery Installation
1. Use the included screw driver to open the battery cover. Rotate counter
clockwise to loosen screw.
2. Insert 4 AA batteries into the remote. Make sure the batteries are
installed in the correct polarity as indicated in the controller. Do not mix
old and new batteries or batteries with different chemistries.
3. Reattach battery cover.
4
Left
Trim
Power
Button
Throttle
Joystick
Power
Indicator
Photo /
Headless Mode
Speed Selection
Directional
Joystick
Flip
Button
Video Camera /
One Key Return
Forward
Trim
Backward
Trim
Right
Trim
Page 6

Battery and Charger Specifications
Charging Your Drone
Syncing the Quad and Remote
1. Turn on your Quadrone by plugging the battery into the drone. Place it
on a flat surface. The red lights on the Quadrone will begin to flash. Do
not move the Quadrone during the syncing process to ensure the
gyroscope stays balanced.
2. Lower the Throttle joystick of the remote to its lowest position. Press the
power button on the remote to turn it on. The remote will beep and
Quadrone’s lights will continue flashing.
3. Push the Throttle joystick to its highest position and the remote will
beep again. The lights on the quad will now flash at a slower rate. Move
the joystick to its lowest position one more time and the remote will beep
a third time. The lights on the quad will stop flashing and remain on. The
Quadrone and remote controller have been synced together. You are now
ready to fly.
Battery Type
Li-Po Battery 3.7V 250 mAh
1.5V
(GP 15G R4P)
Quadrone
Flight Time:
Approx. 10 Minutes
Approx. 30 Minutes
(Charging current approx. 0.35A)
Non-Rechargeable
Remote
Operation Time:
18 Hours
Carbon-Zinc
Battery
(Non-Rechargeable)
Battery
Specification
Usage Duration Charge Time
5
• To charge your Quadrone, first disconnect
the battery from the drone and slide it out
of its holder. Plug the provided USB
charger into a USB port. Now connect the
USB charger to the battery. A red light on
the charger will turn on, indicating the
battery is now charging. The red light will
turn off again once the charging process
has completed. Always charge your
Quadrone under adult supervision and
out of the reach of children. Charging
time is approximately 30 minutes. When
you are ready to fly your Quadrone again,
reinsert the battery into its slot on the
bottom of the drone.
Page 7

Flight Controls
• If you are not going to use your Quadrone for an extended period of
time, please take out the batteries in your remote controller. Potential
battery leakage could occur and possibly damage the remote or create
a fire hazard.
• Before flying your Quadrone, it is highly recommended that you
familiarize yourself completely with its controls. Read through the
instruction manual completely before attempting your first flight.
Push up on the throttle
joystick. The Quadrone will
begin to ascend.
Pull down on the throttle
joystick. The Quadrone will
begin to descend.
Elevation
Push the directional joystick
to forward. The Quadrone
will fly forward.
Push the directional joystick
to the left. The Quadrone
will turn to left.
Forward/Backward
Push the directional joystick
to the right. The Quadrone
will fly to the right.
Push the directional joystick
to the left. The Quadrone
will fly to left.
Aileron
Push the throttle joystick to
the right. The Quadrone will
turn to right.
Push the throttle joystick to
the left. The Quadrone will
turn to left.
Turning
6
Page 8

Practice Tips
Trimming the Quad
• Use these recommended practice exercises to become a better
Quadrone pilot:
• If your Quadrone is leaning to or favoring a side, you may need to use
the trim feature to balance it out so it flies straight.
Elevation: Raise the Quadrone using the throttle joystick. Gradually
lower the Quadrone so it lands softly to the ground.
Direction: Move the Quadrone in a cross pattern using the directional
joystick. Move forward, backward, left, right, and back to its
original position.
Turning: Turn the Quadrone in a throttle joystick. Turn left and right
repeatedly, and back to its original position.
Flying: Once you have mastered the previous three exercises,
draw a circle on the ground. Practice flying within the
confines of the circle. Narrow the circle as your skills
progress.
If the Quadrone leans
forward, press the B button
until it balances out.
If the Quadrone leans
backward, press the F
button until it balances out.
Forward/Backward
If the Quadrone leans to the
right, press the L button
until it straightens out.
If the Quadrone leans to the
left, press the R button until
it straightens out.
Left/Right
7
Page 9

Flips and Rolls
Speed Selection
• Your Quadrone can perform impressive
flips and rolls in midair. In order to do
this, press the flip button on your remote
during flight. Move the directional
joystick in any direction and the aircraft
will perform a coinciding flip.
* If the trim buttons do not correct the problem, you will
have to recalibrate your drone. To do so, place the quad
on a flat surface. Hold both joysticks in a down and
outward position for three seconds. The lights on the
quad will flash as recalibration process operates.
Once the lights on the quad stop blinking, recalibration
is complete.
• Your Quadrone can fly at three speeds. To select a speed, press the
Speed Selection button on your remote. Your remote will beep each
time you switch speeds.
Photo / Video Camera Function
• Your Quadrone can take pictures and video
while flying.
• To take a picture, press and hold the button
in order to not activate Headless Mode. Wait
for the indicator light to flash then press the
button again to take pictures.
• To activate video mode, press and hold the
button in order to not activate the One-Key
Return. The indicator light will flash signifying
that the Quadrone is recording. To end the
video, simply press the Video button again.
Slow Speed: 1 Beep
Medium Speed: 2 Beeps
Fast Speed: 3 Beeps
8
Photo Video
Page 10

Changing the Blades
• If a blade breaks or falls off your Quadrone during a crash, it will be up
to you to repair it. Simply push one of the extra blades onto the
exposed motor. It is important for the correct blade to be put on the
correct motor or the drone will not fly correctly. A letter is marked on
each blade to indicate which motor it should go on.
See diagram below:
A
B A
B
A
9
Headless Mode
• When in Headless Mode, no matter what direction
the quadcopter faces, it will respond according to
the direction pushed on the remote. (Forward on
the remote will make the quadcopter fly forward,
even if it is pointing in another direction.) To enter
Headless Mode, land the Quadrone on a flat
surface. Press the Headless Mode button. The
remote will beep and the lights on the quad will
begin to flash. To exit Headless Mode, simply press
the button again. The remote will beep again and
all lights will remain on and return to normal.
One-Key Return
• When One-Key Return, no matter what direction the
quadcopter faces, the pilot will simply have to pull the
Directional Joystick back and the quadcopter will fly back
to the remote. To enter One-Key Return press the
One-Key Remote button. The remote will beep and the
lights on the quad will begin to flash. To exit One-Key
Return, press the button again or press forward on the
Directional Joystick. The remote will beep again and all
lights will remain on and return to normal.
Page 11

DGL Toys™ is an innovative division of DGL Group, Ltd.
Other trademarks and trade names are those of their respective owners.
DGL Toys,
195 Raritan Center Parkway, Edison, NJ 08837.
Specifications, colors and contents may vary from illustrations.
WARNING: This product may
contain a chemical known to
the State of California to cause
cancer, or birth defects, or
other reproductive harm.
PROP 65 WARNING
Manufactured in China.
Batch Ref: XXXX
Model Number: XXXX
Conforms to safety requirements of ASTM, FCC, & CPSIA.
WARNING:
CHOKING HAZARD-Small parts.
Not for children under 3 years.
Tested to compl y with FCC standard s.
FOR HOME O R OFFICE USE.
This devi ce complies with p art 15 of the FCC
Rules. O peration is subj ect to the follow ing two
conditions:
(1) This device may not c ause harmful
interference and
(2) This devi ce must accept any inte rference
received, including interference that may cause
undesired operation.
BATTERY WARNING:
• Do no mix alkaline, standard (carbon zinc), rechargeable (nickel hydride) batteries.
• Do not mix old and new batteries.
• Non-rechargeable batteries should not be recharged.
• Rechargeable batteries should be removed from the appliance before being charged.
• Rechargeable batteries should be charged under adult supervision only.
• Exhausted batteries should be removed.
• The supply terminals should not be short-circuited.
• Only batteries of the same or equivalent type are recommended to be used.
• Batteries should be inserted with the correct polarity.
Problem Cause Solution
Drone’s LED lights blink continuously
for more than 4 seconds after quad is
turned on. No response to controller.
No response after quad is turned on.
1. Replace batteries.
2. Reinstall batteries at correct
polarity.
Recharge quad battery.
Motor does not respond to throttle.
Motor spins but doesn’t take off.
Quad is making a loud vibration
noise.
Quad still wanders forward after trim
adjustment.
Forward trim is too high.
1. Lower forward trim.
2. Recalibrate drone.
Cannot fly after crash.
1. Motor fell out.
2. Gear loosened.
1. Reinstall motor.
2. Tighten gear.
Bent or damaged rotor blades.
1. Remote batteries have been
depleted.
2. Batteries are installed at
incorrect polarity.
1. Bent rotor blades.
2. Quad battery is depleted.
1. Replace damaged blade.
2. Recharge battery.
Replace damaged blade.
Battery has been depleted.
Unable to sync to
remote controller.
Repeat power
sequence and re-sync.
(See pg. 5)
Troubleshooting
10
 Loading...