


The Trusted Source
®
Self-Recovery Winch
Operator
’s Guide
Instruction and Operation Manual

2
Q-Series Winch
Record this data for your records as shown below:
Date of Purchase: ____________________________________
Model Number: _______________________________________
Serial Number on Gearbox Leg: ________________________
Serial Number on Motor Leg: ___________________________
On the Gearbox Leg: Find the 11 digit number
beginning with “QD”
On the Motor Leg: Find the 12 digit number
beginning with “S”

Table of Contents
Section I: Q-Series Winch Operation and Care
Defining: Warning, Caution and Notice ........................5
Symbol Index
..............................................................6
General Safety Precautions .....................................7-15
Winch Anatomy (the parts of the winch) ..................16-17
Clutch Operation ........................................................18
Remote Control Switch...............................................19
Cleaning ...................................................................20
Maintenance & Battery Recommendations ................20
Use & Care of Synthetic Winch Line............................21
Troubleshooting ........................................................22
Section II: Q-Series Winching Guide
Winching Guide Introduction ......................................23
Par
t 1 - Before you use your Q Series Winch
Prepare winch line before you use your winch.............23
Practice, practice, practice ........................................24
Plan your pull and pull to the plan ..............................24
Winching guidelines to always remember ...................25
Part 2 - Essential Winch Accessories & Equipment
Leather Gloves..........................................................26
Winch Hook Strap .....................................................27
Tree Trunk Protector..................................................27
3

Heavy Duty D -Ring....................................................28
Snatch Block ............................................................28
Shovel & Hand Tools .................................................29
Other Useful Off Road Accessories ........................29-31
Part 3 - Setting up the pull
How to choose an anchor point .................................32
Steps 1 -5: Setting up the pull ...............................33-35
Anchoring to a live tree..............................................35
Anchoring to a dead tree, rock or stump ....................35
Anchoring to another vehicle......................................35
Steps 6-11: Setting up the pull...............................35-37
Part 4 - Engaging your Winch for the pull
Steps 12-16: ..........................................................38-41
Part 5 - Vehicle Recovery Winch Rigging Options
Creating a Straight Pull..............................................42
Increasing winching power with a Snatch Block ..........43
Double Line Pull........................................................44
Triple Line Pull ..........................................................45
Buried Object Anchor.................................................45
Conclusion ...............................................................45
4
The Trusted Source
®
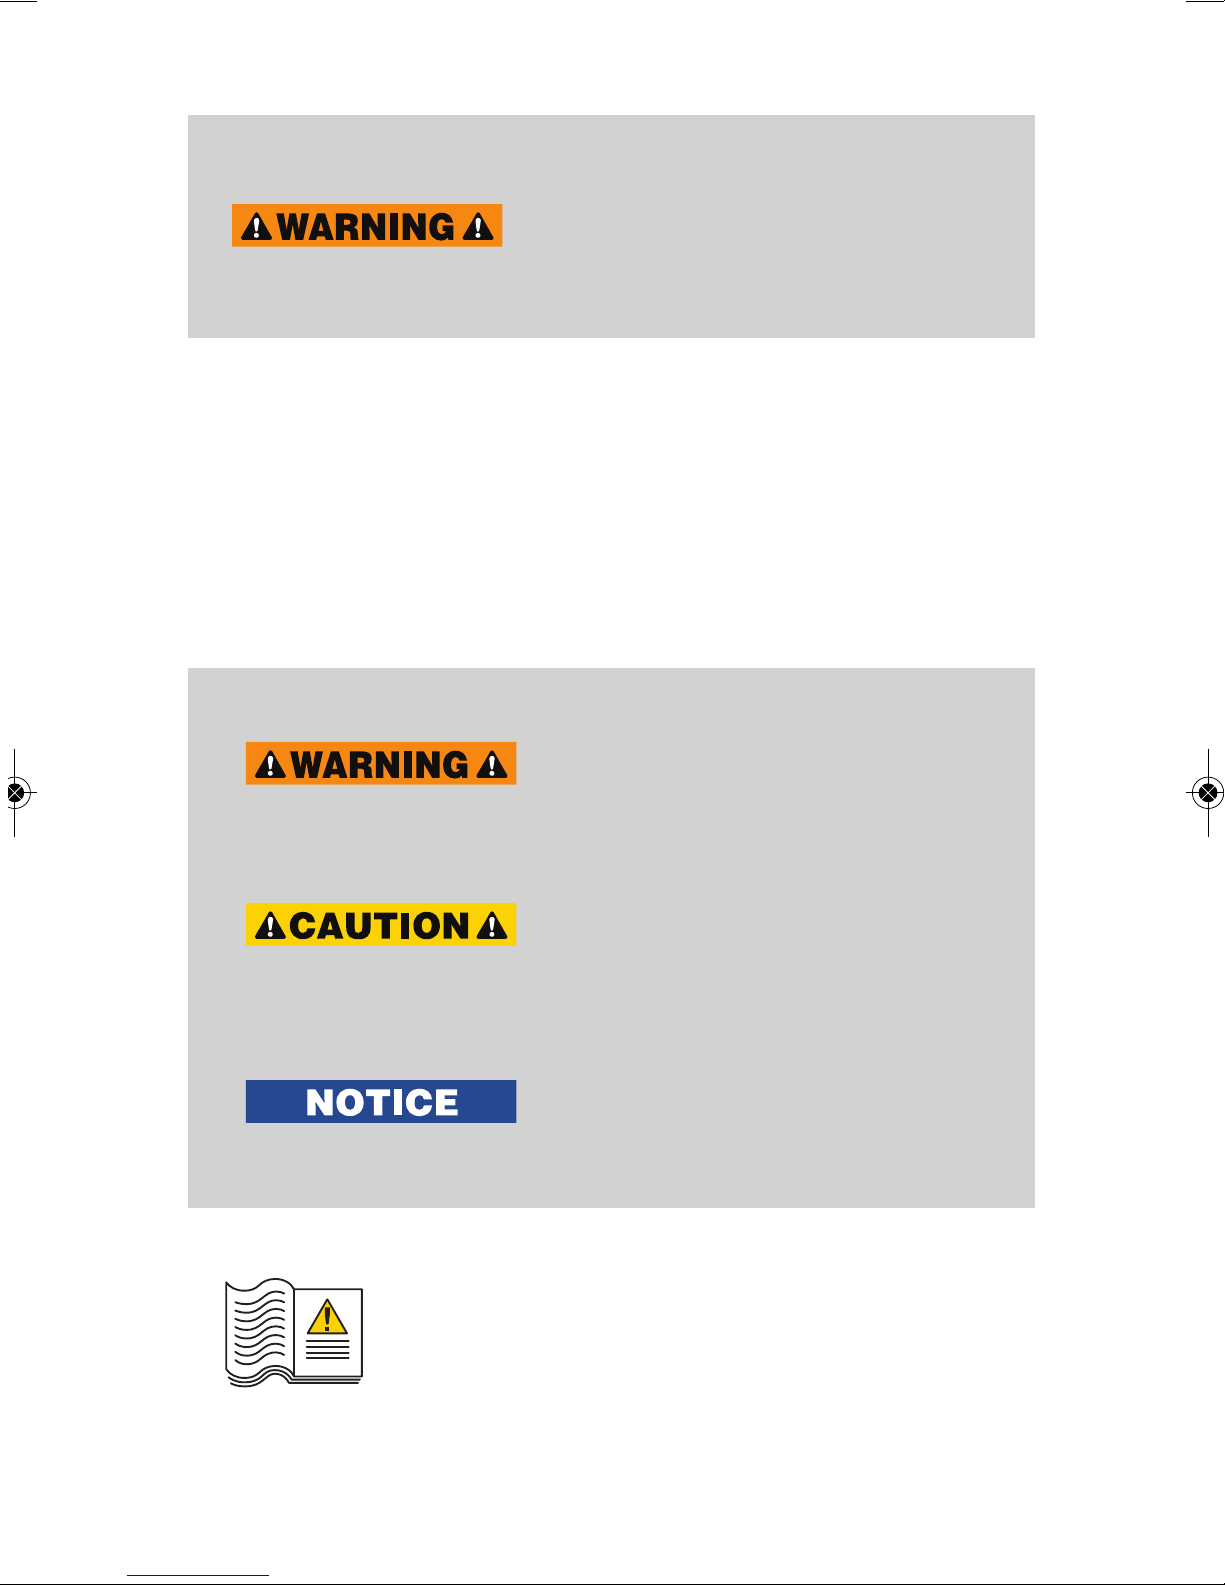
A Few Words About Product Safety:
Your safety and the safety of others is very important.
To help you avoid risks and make informed decisions this
manual contains safety messages about your Q-Series
self-recovery winch. Individual safety messages and
sections of this manual may be preceded by the safety alert
symbol ! [in triangle] and one of three signal words:
Pay careful attention to all WARNINGS,
CAUTIONS AND NOTICES throughout this
user guide and ALWAYS WORK SAFELY.
5
AVOID RISK OF SERIOUS INJURY BY
READING ALL SAFETY MESSAGES AND
PROCEDURE NOTICES CONTAINED IN
THIS OPERATORS GUIDE AND THE ACCOMPANYING INSTALLATION MANUAL
BEFORE ATTEMPTING TO INSTALL OR
USE YOUR WINCH
a hazardous situation which, if not
avoided, could result in death or
serious injury. You CAN be KILLED
or SERIOUSLY HURT if you do not
follow instructions.
a hazardous situation which, if not
avoided, could result in minor or
moderate injury. You CAN be
moderately HURT and also may
suffer property damage if you
do not follow instructions.
Careful attention is required to
this instruction or operation but
does not generally relate to personal injury. Damage to product
or other property may result if
you don’t follow instructions.

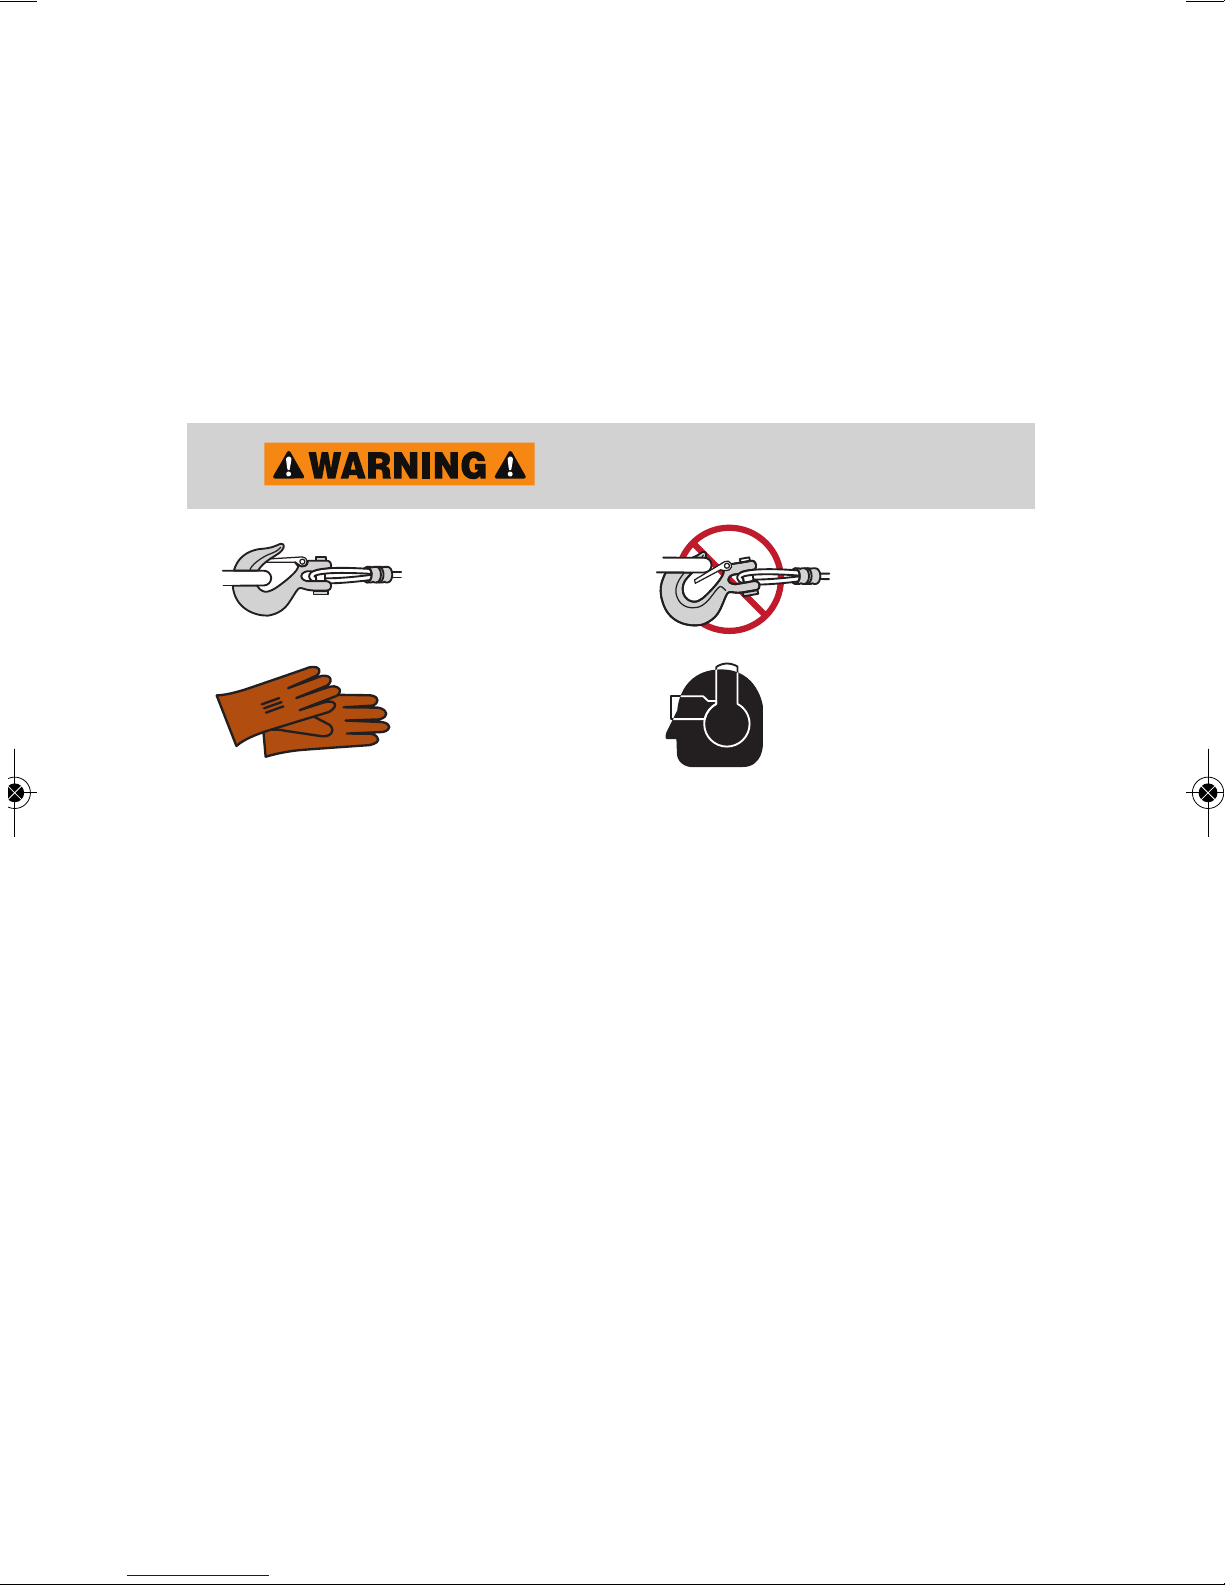
Explanation of Symbols:
Your safety and the safety of others is very important.
To help you avoid risks and make informed decisions.
6
f
Always Wear
Leather Gloves
Read the Instruction
Manual
Always Wear Hearing
and Eye Protection
Keep Fingers Clear o
Fairlead Pinch Point
Never Use Winch
as a Hoist
Never Apply Load to
Hook Tip or Latch
Wind Rope on Bottom
of Drum
Always Use Supplied
Hook Strap
Properly Seat Load in
Throat of Hook
Do Not Move
People
Never Wind Rope
Over Top of Drum
Sharp Edge Hazard
Moving Parts Hazard
Hot Surface Hazard
Finger/Fairlead
Crushing Hazard
Hand Piercing/
Cutting Hazard
Fire and Burn Hazard
Explosion/
Bursting Hazard
Q
7
Section I: SAFETY CONSIDERATIONS
In order to be useful as a vehicle self-recovery tool, your Q
series winch uses a powerful electric motor to develop a
winch line pull of roughly 11500 lbs. In order to avoid risk
of injuries, all users and bystanders to winch operations
should acquaint themselves with the following important
safety considerations.
MOVING PARTS ENTANGLEMENT HAZARDS
Failure to observe these instructions could lead
to serious injury or death.
ALWAYS ensure hook latch is closed
and not supporting load.
NEVER apply load to hook tip or latch.
Apply load only to the center of hook.
NEVER use a hook whose throat opening has
enlarged, or whose tip is bent or twisted.
ALWAYS use a hook with a latch.
ALWAYS ensure the operator and bystanders are
aware of the stability of the vehicle and/or load.
ALWAYS keep wired remote control lead and
power cord clear of the drum, rope, & rigging.
Inspect for cracks, pinches, frayed wires or loose
connections. Damaged components must be
replaced before operation.
MOVING PARTS
ENTANGLEMENT HAZARDS LIST
Always Wear
Leather Gloves
Properly Seat Load in
Throat of Hook
Never Apply Load to
Hook Tip or Latch
Always Wear Hearing
and Eye Protection

Installation Safety continued:
ALWAYS pass remote lead thru window (and not through
pinch point of the door) when used in vehicle
ALWAYS Know Your Winch. Take time to fully read the
Instructions and/or Operations Guide, and/or Basic
Guide to Winching Techniques, in order to understand
your winch and its operations.
NEVER exceed winch or winch rope rated capacity.
Double line using a snatch block to reduce winch load.
ALWAYS wear heavy leather gloves when handling
winch rope to avoid injury from burrs.
NEVER use winch or winch rope for towing.
Shock loads can damage, overload and break rope.
NEVER use a winch to secure a load.
NEVER operate this winch when under the influence
of drugs, alcohol or medication.
NEVER operate this winch if under 16 years of age.
Installation Safety:
ALWAYS use an approved mounting system that
exceeds the capacity of your winch.
ALWAYS use grade 5 (grade 8.8 metric) or better
hardware. Never weld mounting bolts.
ALWAYS use factory approved mounting hardware,
components, and accessories.
NEVER use bolts that are too long.
8
MOVING PARTS
ENTANGLEMENT HAZARDS LIST

Installation Safety continued:
ALWAYS complete the winch installation and hook
attachment before installing the wiring.
ALWAYS keep hands clear of winch rope, hook loop,
hook and fairlead opening during installation, operation,
and when spooling in or out.
ALWAYS position fairlead with printed warning
readily visible on top.
ALWAYS prestretch rope and re-spool under load before
use. Tightly wound rope reduces chances of “binding”,
which can damage the rope.
Winching Safety:
ALWAYS ensure the clutch is fully engaged
or disengaged.
ALWAYS inspect winch rope, hook, and slings before
operating winch. Frayed, cut or damaged winch rope
must be replaced immediately. Damaged components
must be replaced before operation.
ALWAYS Protect parts from damage.
ALWAYS remove any element or obstacle that may
interfere with safe operation of the winch.
ALWAYS be certain the anchor you select will withstand
the load and the strap or chain will not slip.
ALWAYS use supplied hook strap whenever spooling
winch rope in or out, during installation and operation.
9
MOVING PARTS
ENTANGLEMENT HAZARDS LIST
Properly Seat Load in
Throat of Hook
Never Apply Load to
Hook Tip or Latch

Winching Safety continued:
ALWAYS require operators and bystanders to be aware
of vehicle and or load and stay clear of cable and vehicle
path in case winch line fails or vehicle rolls.
ALWAYS be aware of stability of vehicle and load during
winching, keep others away. Aler t all bystanders of
an unstable condition.
ALWAYS while assuring at least five wraps remain on
drum, unspool as much winch line as possible when
rigging. Double line or pick distant anchor point.
Always take time to use appropriate rigging
techniques for a winch pull.
NEVER touch winch rope or hook while someone else is
at the control switch or during winching operation.
NEVER engage or disengage clutch if winch is under
load, winch rope is in tension or drum is moving.
NEVER touch winch rope or hook while under tension
or under load.
ALWAYS stand well clear of winch rope and load
and keep others away while winching.
NEVER use vehicle use vehicle power to increase load on
winch cable. Combined load or shock load can damage,
overload and break winch rope.
NEVER wrap winch rope back onto itself.
ALWAYS Use a choker chain or tree trunk protector
on the anchor.
10
MOVING PARTS
ENTANGLEMENT HAZARDS LIST
Properly Seat Load in
Throat of Hook
Never Apply Load to
Hook Tip or Latch
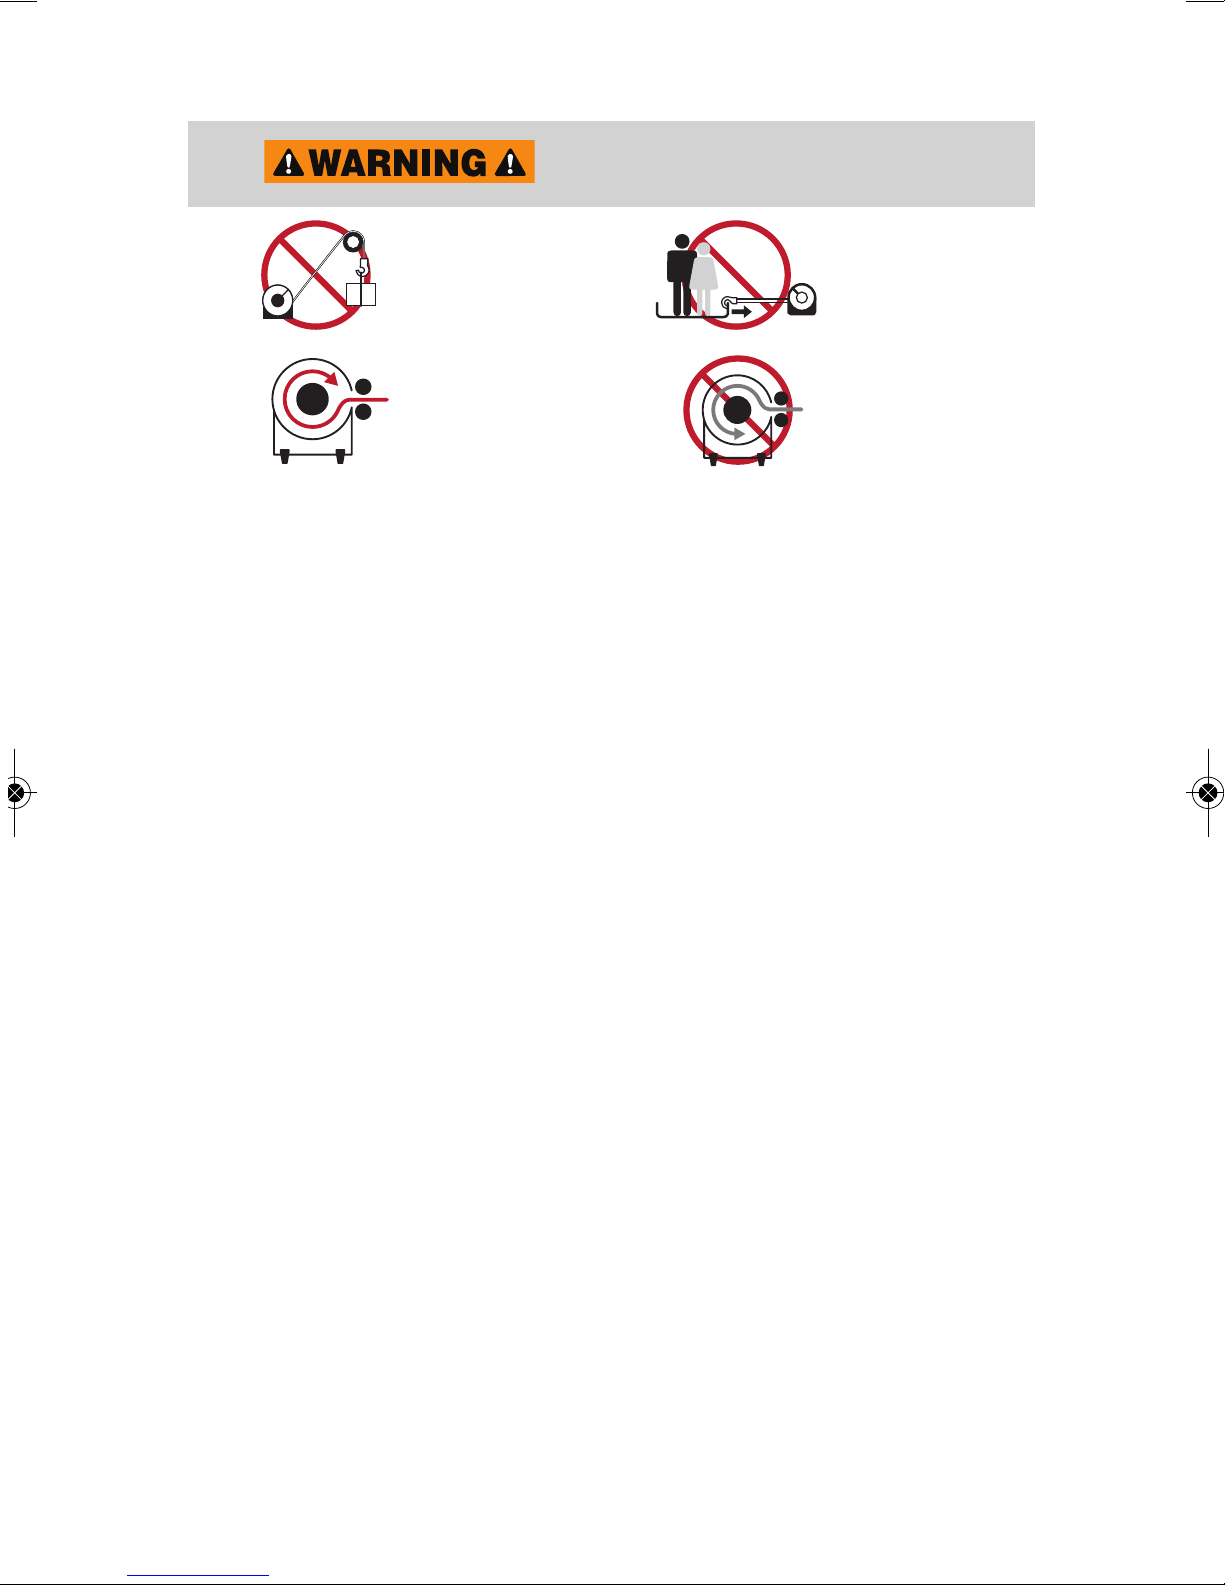
FALLING OR CRUSHING HAZARDS:
ALWAYS stand clear, keep hands clear,
keep others away.
NEVER operate winch with less than 5 wraps of rope
around the drum. Rope could come loose from the drum,
as the rope attachment to the drum is not designed to
hold a load.
NEVER use winch as a hoist or to suspend a load.
ALWAYS be certain anchor will withstand load, use
appropriate rigging and take time to rig correctly.
NEVER use winch to lift or move persons.
ALWAYS spool the rope onto the drum in the direction
specified by the winch warning label on the winch and/or
documentation.
11
FALLING OR CRUSHING
HAZARDS LIST
Never Use Winch
as a Hoist
Do Not Move
People
Wind Rope on Bottom
of Drum
Never Wind Rope
Over Top of Drum

CUT AND BURN INJURY HAZARDS
ALWAYS wear heavy leather gloves when
handling winch rope to protect from burrs.
ALWAYS be aware of possible hot surfaces at
winch motor, drum or rope during or after winch use.
CHEMICAL AND FIRE HAZARDS
ALWAYS remove jewelry and wear eye protection.
NEVER route electrical cables across sharp edges.
Never route electrical cables near parts that get hot.
NEVER route electrical cables through or near
moving parts.
ALWAYS place the supplied terminal boots on wires
and terminals as directed by the installation instructions.
NEVER lean over battery while making connections.
NEVER route electrical cables over battery terminals.
NEVER short battery terminals with metal objects.
12
CUT AND BURN INJURY
HAZARDS LIST
CHEMICAL AND FIRE
HAZARDS LIST
Hand Piercing/
Cutting Hazard
Fire and Burn Hazard
Hot Surface Hazard
Explosion/
Bursting Hazard
Sharp Edge Hazard
Moving Parts Hazard

CHEMICAL AND FIRE HAZARDS continued
ALWAYS verify area is clear of fuel lines, fuel tank,
brake lines, electrical wires, etc., when drilling.
ALWAYS consult installation manual for proper
wiring details.
ALWAYS insulate and protect all exposed wiring
and electrical terminals.
CUT AND BURN INJURY HAZARDS
NEVER let winch rope slip through your hands.
ALWAYS wear heavy leather gloves when
handling winch rope.
13
CHEMICAL AND FIRE
HAZARDS LIST
CUT AND BURN INJURY
HAZARD LIST
Hand Piercing/
Cutting Hazard
Hot Surface Hazard

MOVING PARTS ENTANGLEMENT HAZARDS
NEVER leave remote control where it can be activated
during free spooling, rigging, or when the winch is not
being used.
NEVER leave the winch remote control plugged in when
installing, freespooling, rigging, servicing or when the
winch is not being used.
ALWAYS avoid side pulls which can pile up winch line
at one end of the drum.
This can damage the winch line or winch.
ALWAYS ensure the clutch is fully engaged
or disengaged.
ALWAYS use care to not damage the vehicle frame when
anchoring to a vehicle during a winching operation.
NEVER submerge winch in water.
ALWAYS store the remote control in a protected,
clean and dry area.
14
MOVING PARTS ENTANGLEMENT
HAZARD LIST
f
AVOID WINCH AND
EQUIPMENT DAMAGE
Finger/Fairlead
Crushing Hazard
Keep Fingers Clear o
Fairlead Pinch Point

Q
Safety Summary:
As you can see, winching must be taken seriously.
The preceeding Warnings, Cautions and Notices may seem
like a lot to absorb, but in summary we think you will agree
that these Warnings, Cautions and Notices are fairly
straight forward and sensible.
After careful consideration of the various potential
hazards associated with improper use, the operator can
move forward to utilize this powerful and reliable piece
of equipment to enhance the off-road experience.
In the next section of this guide, we will illustrate the
primary components and features of your Q Series winch,
and discuss care and maintenance of the product.
Photos & Graphics in this guide:
Some graphics in this guide may not exactly match your
winch. All information and instructions given in this
guide applies to your model except when noted.
15

Section I: Winch Anatomy
This section will familiarize you with the name and
purpose of the major Q Series Winch parts & components.
1. Controller:
Sends the flow of electrical power to the winch motor to
tell the winch what you want it to do. The remote switch
has three positions: Power In, Power Out and Off. Long
cord allows operator to stand clear of the winch line.
2. Synthetic Winch Line (with Chafe Guard):
Q-Series winches with synthetic winch line are 85’ in length
and 3/8” in diameter. The synthetic line is wrapped around
the winch drum and fed through an aluminum hawse style
fairlead. The line is attached to the clevis hook.
3. Safety Latch:
The safety latch is a spring loaded mechanism to assist in
keeping rigging apparatuses in place. Be sure the safety
latch is free of debris and check the clevis hook periodically
to ensure safety latch is functioning properly.
16
1
2
3
5
9
10
6
7
8
4
Chafe Guard

4. Clevis Hook:
The clevis hook connects your vehicle to a recovery point.
Ensure that the hook is securely fastened to the winch line.
5. Nylon Hook Strap:
A 12” long strap that holds the clevis hook. Made to keep
fingers away from the hawse fairlead while winch line is
being spooled in. Winches have tremendous force and can
remove fingers or limbs within a pinch point. Place the
hook into the loop end of the strap and hold the strap
between the thumb and the forefinger.
6. Hawse Fairlead (Machined Aluminum):
The fairlead guides the winch line onto the winch drum
and minimizes wear and tear to the line as it goes through
the winch mount or bumper.
7. Clutch Control:
Clutch Lever allows manual engagement/disengagement
from the gear train. Clutch must be fully engaged or in free
spool. Never attempt to shift lever when cable under
load (see WARNINGS section).
8. Solenoid Pack:
The solenoid pack is an electromechanical switch that
transfers power from the car battery to the winch motor
enabling the winch operator to change direction of the
winch drum rotation.
9. Winch Drum: (Spool)
The hardened metal cylinder core around which the winch
line is wound. Driven by the Winch Motor.
10. Winch Electric Motor:
Winch motor is powered by the vehicle battery. The winch
motor provides the power and motion to the gear
mechanism, which turns drum to wind the winch line.
17

Battery Friendly Product:
Our powerful 4.8 HP series wound
motor and class leading low gear
ratios give fast line speeds with a
“Battery Friendly” low current
draw that will get the most
winching time from your battery's
available charge state.
Clutch Operation:
There are two positions of the clutch handle. The Clutch is
either “engaged” or “free spooling”. Clutch allows
operator to manually engage or disengage the spooling
drum from the gearset using the clutch lever.
NEVER engage or disengage clutch
if the winch is under load, the winch
rope is under tension or the spool
is moving in any way.
18
Engaged Free Spool

Remote Control:
The remote control plugs into the winch
control box, allowing the operator to
control the winch direction, as well as stand well clear of
the winch line while operating the winch.
Remote Control
Switch Positions:
Switch Up = Winch Out
Switch Down = Winch In
Switch Center = Motor Off
Always use extreme
caution when remote
is connected.
19
NEVER leave the winch remote
control plugged in when not in use.
NEVER allow remote to activate
winch during free spooling or rigging.

Winch Care
and Cleaning:
Do not direct very
high-pressure water
at your winch. Use
low-pressure (normal) car wash soap
and water to clean
your winch. With the
remote control disconnected and the protective boot covering the remote control socket, wash normally with your
vehicle. During winter exposure to road salt, wash the
winch as soon as possible to avoid corrosion. Always wash
per the recommendations above.
Battery Requirements:
A fully charged battery and good
connections are essential to the
proper operation of your winch.
The minimum requirement for a 12
volt automotive DC battery is 650
Cold Cranking Amps. Ask your
Quadratec sales representative for
details about heavy-duty batteries
and terminals for your vehicle.
General Maintenance:
All moving parts within the winch have been lubricated at
the factory using high temperature lithium grease. No
internal lubrication is required. Check battery cables and
electrical connections at regular 3 month intervals to be certain they are clean and tight at all connection points.
Inspect winch line before & after each winching operation.
20

Synthetic Winch Line Care:
Regular use of your winch will
result in normal wear to the
winch line. Most wear occurs
slowly and may be considered
acceptable and safe. Excessive
and abnormal wear can present a dangerous situation. Continuous pulls can overheat
the winch drum and melt the winch line! If melting has occurred and the winch line becomes fused to the drum, discard the damaged line and replace with a new line.
Use a line protector / chafe guard to protect the winchline
when it touches the ground or rocks. Do not tie knots in
your winch line to repair it. Only hook directly to the hook
or thimble but never to the rope. Use only mild soap and
water to clean your winchline. Regularly inspect and
replace severely abraded winch lines.
Normal wear shown at left
consists of light fuzzing or the
outer strands with some discoloration. Monitor condition of
the winch line during all use.
Moderate to excessive wear
consists of one or more of the
following: Heavy fuzzing,
pulled strands, broken strands
& stiff or melted sections. This
level of wear reduces working
strength of the line and the line
should be replaced.
21
New line:
no visible wear
Used line:
Normal visible wear
Used line:
Excessive wear, replace!

22
Symptom
Possible Cause
Suggested Remedy
Motor does not
turn on
Switch assembly not
connected properly
Insert switch assembly firmly to the
connector.
Loose battery cable
connection
Tighten nuts on cable
connectors.
Solenoid
malfunctioning
Tap Solenoid to free contact, applying 12V
(for 12V motor) or 24V (for 24V motor) to coil
terminal directly. Solenoid will make an
audible clicking when activating.
Defective switch
assembly
Replace switch assembly.
Defective motor
Check voltage at armature port with switch
pressed. If voltage present, replace motor.
Water has
entered motor
Drain and dry. Run in short bursts without
load until completely dry.
Motor runs
too hot
long period of
operation
Let winch cool down periodically.
Motor runs slow
or lacking power
battery run down
Recharge battery by running vehicle engine.
Insufficient current
or voltage
Clean, tighten or replace connector.
Motor runs but
cable does not turn
Clutch not engaged
Push clutch handle into IN position, if that
does not work, seek professional assistance.
Motor runs in one
direction only
Defective or stuck
solenoid
Tap solenoid to free contacts.
Repair or replace solenoid if needed.
Defective switch
assembly
Replace switch assembly.
Quick Reference Winch Troubleshooting Guide
Please Note: Another copy of this troubleshooting guide
appears in your separate 12 page Q Series Electric Winch
Installation Manual.

Section II: Q-Series Winching Guide
Congratulations on your recent purchase of a Q series
winch from Quadratec. This high quality winch has the
power and performance to give you years of safe winching
capabilities if you use it properly. The following guide will
help you in using your Q series winch in the safest and most
effective manner. Please review the following winching
guide
in its entirety
before you use your winch and please
take note to the warnings and cautions as they are there to
protect you and others around you.
Part 1- Before you use your Q Series Winch
Using your winch is straight forward and is designed to be
very user friendly. However, the use of a winch in a parking
lot vs. on the trail where there are unforeseen obstacles and
challenges are two completely different situations. To make
sure you are ready for a trail recovery, we highly suggest
the following steps/actions be taken ahead of your trip to
ensure a safe and pleasant experience.
Prepare your winch line
before you use your winch.
The winch line must then be
pre-tensioned. Do NOT use the
winch line without pre-tensioning it. First, place clutch in
Free Spool position and slowly
unspool all of the winch line from the drum. You now need
to pre-stretch your winch line to ensure that there’s an even
stretch to eliminate any weak points. To stretch your winch
line, begin with 5 or 6 snug wraps around the drum and
set up a secure anchor point and pull your vehicle (in neutral gear) with the winch up a slight flat incline. See steps
12-14 to properly set up this pull with full understanding
of all safety precautions. To fully stretch the winch line, you
23

will need about 500 lbs. of tension on the cable during this
operation. Once you have completed this pull, be sure to
rewind cable in nice tight rows not allowing the upper
rows to intertwine with the lower rows. Please see step 15
for the proper method for rewinding your winch line as this
is an extremely important procedure.
Practice, practice, practice.
Like any new skill and new product, using your winch
effectively takes some getting used to. If you do get into a
recovery situation, you want the peace of mind and
experience of knowing that you have used your winch
before. This is especially true for using your new winch as
the last thing you want to worry about is learning how to
use the winch when you are already stuck. At that point,
you will need to concentrate on the best method to get
safely “unstuck”.
Plan your pull and “pull to the plan”.
This is extremely important. If you get into a recovery
situation, you will need to methodically plan your pull to
ensure safety and to eliminate the chance of vehicle and/or
24

winch damage. You alone are in charge of your pull so
do
not
rush to get it done. Plan your recovery and pull to the
plan is the best way to safely get out of any situation. Prior
practice using your winch and having the correct tools and
accessories available
before
a needed recovery will help you
with your plan and allow you the best options for a safe
winch pull.
Winching guidelines to always remember
Each recovery operation is different from the last. However,
if you always remember the following guidelines, each pull
will be a safe and successful pull:
>
Think Safety at all times.
>
Plan your pull and pull to the plan.
>
Practice using your winch often.
>
Assess your situation carefully and take your time.
>
Always use the proper equipment for each pull.
>
Always use leather gloves
>
Never let the winch line slide through your hands.
>
You are in charge of the pull and should be
the ONLY person to handle the winch, the winch
controller and winch line.
Q
25

Part 2- Essential Winch Accessories & Equipment
Your Q series winch is the ultimate recovery tool. However,
this winch is designed to be used with other helpful
accessories to safely ensure you can get “un-stuck”. You
never know how or where you will get stuck and having
the right tools will help increase the usefulness of your
winch while creating a safe winching experience.
At the minimum we suggest the following accessories be
carried with you at all times. All of these items are readily
available by themselves or in handy money saving kits from
Quadratec.com:
>
Leather Gloves
>
Winch Hook Strap (Standard on Q Series Winch)
>
Tree Trunk Protector
>
Heavy Duty D-Ring
>
Snatch Block
>
Shovel, Hand Tools and Safety Goggles
Leather Gloves
Winch line is quite strong. It
can have sharp barbs
and/or slivers on the line
that can cut your hands. To
protect yourself you should
always use leather gloves
while using your winch.
Please also note that before
you begin your recovery operation, you should remove or
secure all loose clothing to make sure it does not interfere
with the winch and can not possibly create a safety hazard.
26
Winch Hook Strap
Each Q series winch
includes a nylon winch
hook strap. If not already
attached to your winch
hook, you should immediately attach this strap before using your winch. This
strap allows you to keep your fingers away from the hawse
fairlead when the winch line is being spooled in and
prevent the possibility of finger or hand pinching. If you do
not have the hook strap, purchase one or use a length of
cord or something similar.
This is extremely important.
Tree Trunk Protector
This is a must if you plan on winching to a live tree or other
large anchor point. Using a chain or straight cable on a live
tree can harm/kill the tree so always remember to “Tread
Lightly”. Also, you should never hook back to your winch
cable when wrapping around a log or other stationary
anchor point as it can damage your winch line. Having a
tree trunk protector will provide a secure anchor point
without damaging your winch line.
27

Heavy Duty D-Ring
The D-Ring is a safe device for connecting the
looped ends of cables or
straps creating a secure
winching point. The DRing “pin” is threaded
for easy on/off and is
perfect for attaching to snatch blocks. Make sure your
D-Ring is the proper size for your application. Each has a
rating embossed on the side of the ring.
Snatch Block
One of the most
useful accessories
you can carry with
you is a “snatch
block” that allows
you to not only increase your pulling
power, but it also
can help get you out of angled recoveries where you do not
have a straight pull directly from the winch. By using a
snatch block doubled back from an anchor point to your
vehicle, your pulling capacity increases dramatically. You
can roughly double the pulling power of your winch. We
estimate pulling power actually increases about 1.5 times
due to the angle of the cable and bearing friction created
by the snatch block. Regardless, if you are in a deep-stuck
situation, by using a snatch block you can take the effective
pulling power of a 9000 lb. winch to over 13,500 lbs.! Extra
pulling power not only prolongs the life of your winch, it
also makes those extra tough situations more manageable.
It is important to note that by using a snatch block your
line speed will be reduced by about 40% so be patient. You
will get more power but less recovery speed.
28
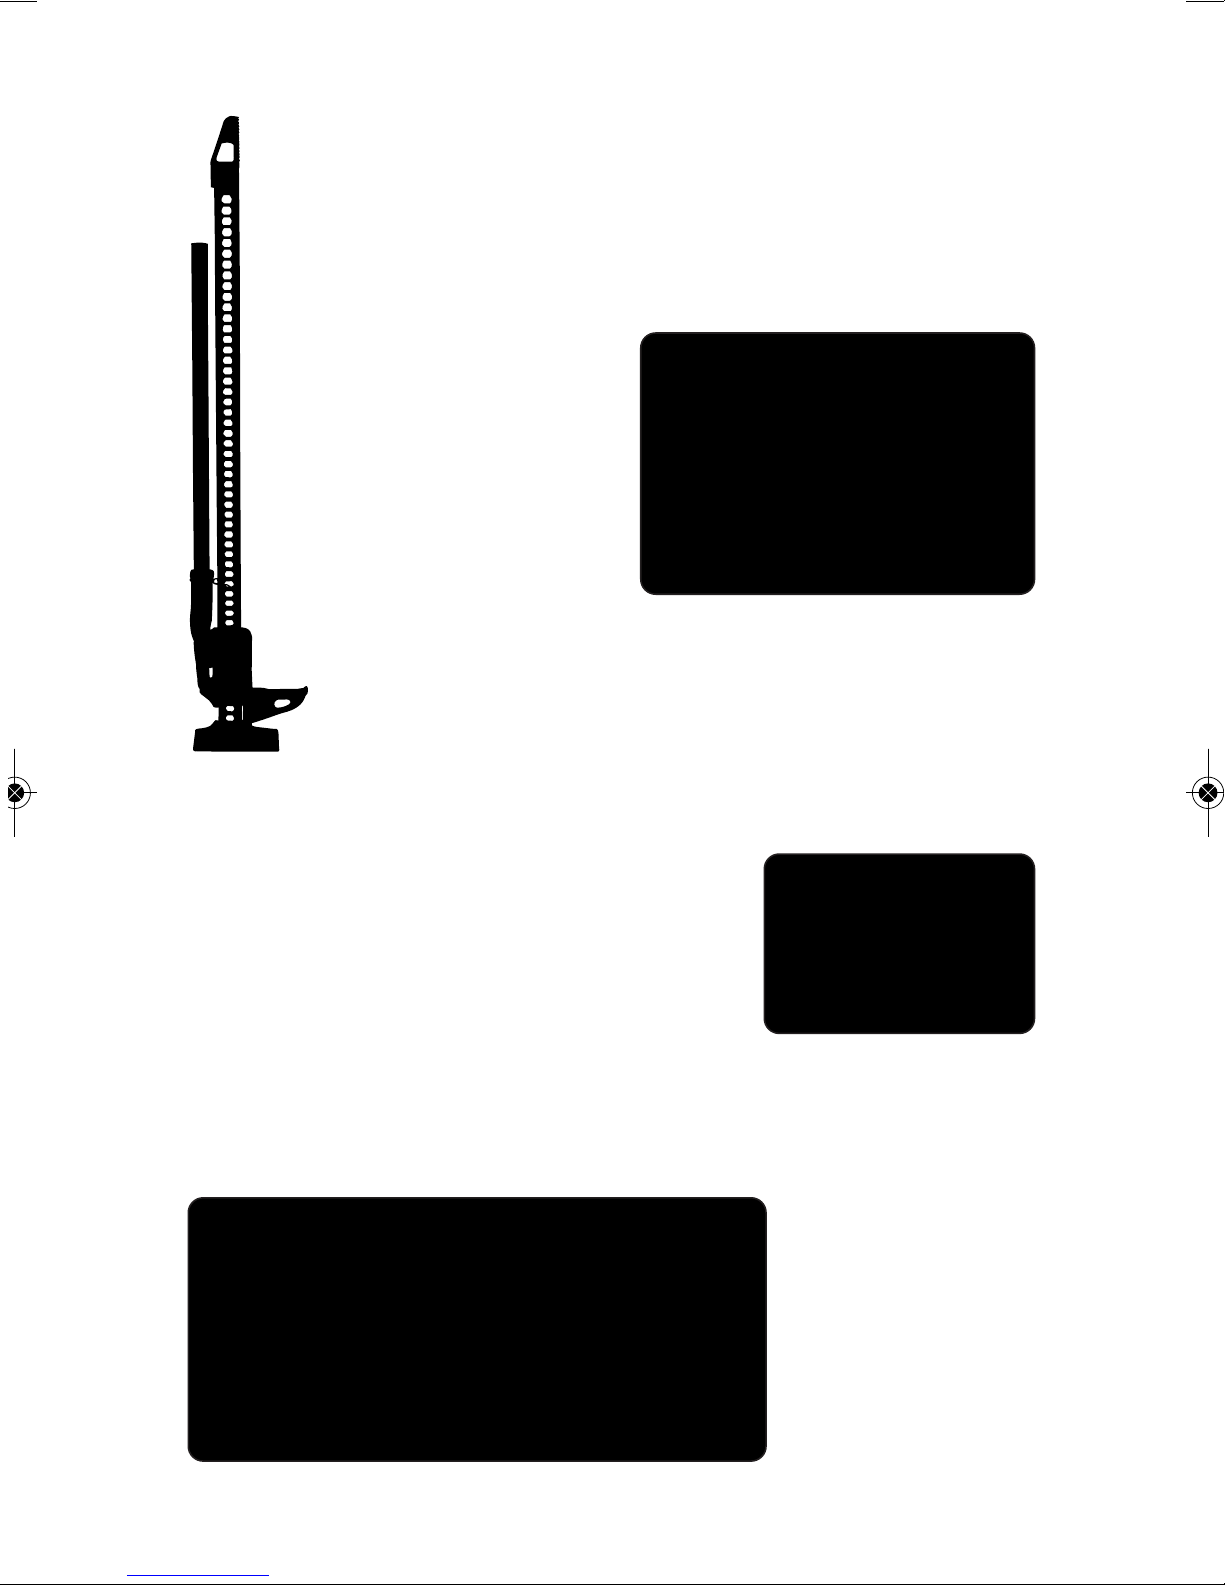
Shovel & Other Hand tools
Depending on your situation, sometimes just having
a winch is not enough. We recommend carrying
compact tools such as a shovel, Hi-Lift® Jack or
multi tools to help you out of those extra tough
situations. New off road
shovel designs actually
fold up and are easily
stored under a seat. In
this case, it is better “to
have it and not need it
rather than need it and
not have it!”
Tow Hooks and Choker Chain
As with all off road adventures the gear you
carry other than what is suggested above is de-
termined by the terrain you will be going through.
If you do plan on using your winch due to advanced trail
conditions we suggest that you have
front and rear tow hooks mounted to
the frame of your vehicle. These tow
hooks will become critical when you
need to connect back to your vehicle
when using a snatch block or if you
need a secure pull point for your buddy to pull you out.
Another tool of the off road is a choker chain. This heavy
duty chain with hooks on each end can be used as a way
to securely
attach to an
alternate anchor
point (not to a
live tree) like a
buried spare
tire, buried log
or a large rock.
29

30
Safety Goggles
Each of us only gets one set
of eyes. We strongly
suggest you always wear
safety goggles or glasses to
reduce the possibility of any
flying object or debris
contacting your eyes.
Winch Line Dampener
Like in a playground game of
“tug of war” if the other team
lets go, the rope can come
flying toward you. A winch
line draped with a dampener
such as a winch line blanket
or even a heavy jacket can catch some of the energy if a
winch line “lets loose” for any reason. We carry a variety
of affordable winch line blankets. In a pinch, a jacket or
heavy garment can perform a similar function. Experienced
off roaders have also used a heavy branch or log to capture
this energy in some instances.
Line Dampener
Heavy Jacket
Leaning heavy
branch
Recommended Winch Accessories:
Available at www.quadratec.com
>
Winch Gloves
>
Tree Savers
>
D-Ring Shackles
>
Snatch Block
>
Off Road Shovel
>
Hi-Lift Jack:
>
Tow Hooks
>
Line Dampener
A quick search in the online Quadratec Product Search
will show all current category options,
or call 800-745-5337 to place an order
31
Q
Gloves Tree
D-Ring Snatch Block
Shovel Hi - Lift
Tow Hook Dampener

Part 3 - Setting up the pull
Now that you have become familiar with your Q Series
Winch, follow the steps below to get setup for your
winch pull:
How to choose an anchor point
A secure anchor point is critical to all winching and recovery operations. An anchor must be strong enough to hold
secure while under the stress of winching. When choosing
an anchor point, you’ll want an anchor point that will
enable you to pull straight in the direction the vehicle will
move that is as far away as possible. This allows the winch
to pull with the greatest pulling power and the winch line
to wind tightly and evenly onto the spooling drum creating
a clean pull.
Hook the line as low as possible to the anchor point for the
greatest leverage. If a “straight line” pull is not
achievable, you will need to either choose a different
anchor point or use a snatch block to create a straight line
pull. See Section V - Rigging Techniques for various rigging
options using a snatch block.
Natural anchors include trees, stumps, and rocks. If no
natural anchors are available or when recovering another
vehicle, your vehicle becomes the anchor point. In this case,
be sure to put transmission in neutral, apply the hand brake
32

and block wheels to prevent your vehicle from moving.
Important Note
for vehicles with automatic transmissions:
If you leave your vehicle in park you risk wedging or
damaging the parking sprag. If you are really in a bind and
have no natural anchor points or other vehicle to anchor
to, you can bury a log or your spare tire deep in the ground
with a Choker Chain attached to create an anchor point.
The same can be done with a large log. This type of anchor
point should be only used if all else fails.
Warning: Shock
or snap loads will over load line, hook and winch mount.
Do not use vehicle power or movement to increase force
during winch operation.
Step One: Plan a safe pull
Review your current situation
and plan for a safe pull.
Determine the most secure
anchor point and determine
ahead of time how you will
secure to this point.
Step Two: Wear Gloves
and Disengage Clutch
Locate and put on heavy duty
leather gloves. Disengage the
clutch on the winch to allow
it to free spool by turning the
clutch lever to “disengage”.
Do Not
attach the remote
control to winch at this time.
33
Disengage Clutch

Step Three:
Place Strap on Hook
Attach green winch strap
to winch hook. Put the
hook into the strap loop
and hold strap between
the thumb and forefinger
ensuring you will be well
clear of the winch hook.
Step Four: Pull out Wire
Pull out enough winch line to
reach your anchor point while
keeping some tension on the
wire to ensure it does not get
tangled in itself.
Step Five: Secure Winch Line to Anchor Point
Secure the winch line to the anchor point using one of the
options below. Never attach the winch hook back to the
cable after wrapping it around the anchor point. This will
cause damage to the line and can cause a serious safety
issue. When attaching to a tree, rock, buried tire or stump
always use a tree trunk protector or a choker chain
(Choker chain is never to be used on a live tree).
34
Protect
live trees
Always use
strap on the hook

Anchoring to a Live Tree
Wrap the Tree Trunk protector as low as possible around a
large diameter tree. Hook the two looped ends into a heavy
duty D-Ring. Connect the D ring to the loop that holds the
winch hook and secure the screw in clevis pin. Do not over
tighten the clevis pin.
Anchoring to a dead tree, rock or stump
Use the same method as above with the tree trunk protector or a choker chain ensuring you have a secure attachment and a strong anchor point. Pulling to a dead tree or
rock can be tricky as the root system of a dead tree may not
hold the pressure you are putting on it. The same may be
true for a rock that is not deep seated in the ground.
Warning: keep operator and bystanders clear of cable,
vehicle and fall line of rock tree or other anchor.
Anchoring to another vehicle
This is one of the most common off road anchoring points.
Attach to the anchor vehicle’s frame mounted tow hook or
directly to the vehicle frame. Do not wrap the hook back
around the winch line. Make sure the vehicle you are anchoring to is in neutral (not in park), has the wheels blocked
and the parking brake on.
Warning: shock or snap loads
will over load cable, hook and winch mount. Do not use
vehicle power or movement to increase force during winch
operation.
Step Six: Fully Engage
Winch Clutch
To lock the winch clutch,
proceed to turn the Clutch
handle to the handle position marked “Engaged”.
35
Clutch Engaged

Step Seven: Attach Winch Remote Control
Attach the remote to the winch keeping the remote winch
cable behind the winch.
Step Eight: Make sure
winch line has a damper
This is a very important
safety step. Place a blanket,
large jacket, tree branch or
designed line weight on the
middle portion of the winch
line (in between anchor
point and the winch). This “cable wrap/object” will help
absorb the energy if the winch line breaks. During the
winching operation make sure this line wrap does not enter
the hawse fairlead. If this wrap does fall off during the
winching operation do not attempt to replace it until the
tension is taken off the winch line. Take the tension off the
cable then adjust the object/cable wrap.
Step Nine: Tension the Cable before the Real Pull
Stepping to the side of the winch, put tension on the winch
line by slowly pulsing the winch. As the tensioning
36

operation proceeds, make sure the winch cable is winding
evenly on the winch drum.
Step Ten: Place remote over driver side door mirror
Move the winch remote back to towards the vehicle cab
and place over the driver’s side view mirror. If you plan on
winching from inside the cab of your vehicle, run the
remote cable through an open window and not through the
door as the door will pinch the remote cable.
Step Eleven:
Check Hook Rigging
Walk to the anchor
point and check the
anchor to make sure it
and the winch line
attachment is secure
and stable.
37
Unwind some
wire rope

Part 4 - Engaging your Winch for the Pull
Now that you have set up the winching operation correctly,
you are ready to initiate the pull. To make sure this operation goes as safely as possible,
you will need to create a large
safety zone
around the winching
area. In this zone you want to
make sure there are no people or
animals that could be harmed
incase the operation does not go
as planned.
Under no circumstances should
there be people in front, behind
or in zone of the line, anchor or
vehicle in case line or anchor
fails or vehicle rolls. It is up to
you to make sure that the winch
area is clear and you should
make sure everyone around you
knows that you are executing
the winching operation.
Step Twelve: Start the Pull
With an established safety zone in place, a line wrap secure
on the middle of the line and with the winch line in a slight
tension state, you can now begin the winching operation.
Start your vehicle’s engine and from inside the vehicle (or
from safe distance to the side of the vehicle with the vehicle
in neutral) begin the winching operation slowly taking up
the remainder of the slack in the line by intermittently
pulsing the winch. Avoid taking up the slack in the line
quickly causing a jerking of the line. This can put undue
stress on the winch and line. Once under tension,
continue the pull until the vehicle begins to move out from
38
Establish
Safety Zone

the obstacle. Winch slowly and steadily for a period not to
exceed 1-1.5 minutes per pull. Exceeding 90 second pulls
will place a strain on your electrical system and the winch.
Taking a short break in-between 60 second pulls allows the
battery to recharge itself and therefore provide the
maximum pulling power.
Step Thirteen: Things to check During the Pull
Make sure the all of the following is happening during the
pulling process:
✔
The winch line is pulling in tightly across the winch
drum and not to one side. This is extremely
important as a “side pull” can damage your winch or
the cable can become bound up and possibly break.
✔
Avoid “Shock” or “Jerk” pulls during the winching
process. These hard hitting pulls can create undue
stress on the winch line and potentially cause it to
break. “Slow and steady” should be the mantra
on all winching operations.
39
Make the pull from
inside the cockpit.

Step Fourteen: Verify Pull Results
Is it unstuck? Once the vehicle is on secure ground and is
able to be safely driven, the pull is over. Stop the winching
process, put the vehicle in park/gear and set the parking
brake. Carefully reduce the tension on the line and remove
the winch line from the anchor point making sure the line
remains untangled.
Step Fifteen: Neatly Rewind the Winch Line
Now that your winching operation is complete, you will
need to properly rewind the winch line back onto the
winch drum. This is an extremely important step as a
tangled winch line can cause future problems if and when
you use your winch again. This step can be very dangerous
as when you are rewinding your winch line there is a
greater chance of getting your fingers pinched in the fairlead. Follow these steps carefully: Arrange the remote control cable to the side so it cannot be caught in the winch.
Check the line already wound on the winch to make sure it
is wound tight and even. If it is not, take the time to
straighten out the layers. Keeping the line under light
40

tension by holding it
with a gloved hand,
slowly spool the rope
back onto the drum
guiding it into even
tight rows. Do not let
the line slide through
your hands! Walk the
rope to the winch and
stop when necessary
to retrieve more line
and straighten and tighten the rows. Repeat this process
until the winch hook is the same distance as the full length
of the remote control from the winch (Approximately 12
feet). Attach the loop of the hook strap to the winch hook.
Hold the attached hook strap between the thumb and forefinger to keep tension on the winch line and walk the line
towards the fairlead. To prevent serious injury, when the
hook gets close to the fairlead, make sure you are holding
onto the winch strap keeping all fingers and limbs away
from the fairlead/hook area. If you do not have the hook
strap, use a length of cord or something similar.
Step Sixteen:
Disconnect Remote and Replace Solenoid Cap
Once the winch line is secure back on the winch, unhook
the remote control and carefully store in a safe, dry place.
Replace the rubber cap back on the solenoid box.
41
Q

Part 5 - Recovery Winch Rigging Options
Every recovery situation is different and in some cases you
may be in a situation where you need to use a snatch block
to create a straight line pull, increase your winching power
due to a deep stuck situation or you have limited space to
create an effective pull. These types of situations can occur
at any time so we highly recommend carrying a Snatch
Block at all times as part of your usual trail recovery tools.
Creating a Straight Pull:
During a winching operation it is
extremely important that you have a
straight pull therefore eliminating the
chance of the winch line bunching up
on one side of the winch or the other.
Sometimes due to obstacles or the
location of a proper anchor point, this
Snatch Block
Tree Saver
42

straight pull is not possible. The use of a snatch block to
create a 90 degree angle as shown below will create this
straight line pull and provide the pulling power necessary.
Increasing winching power with a Snatch Block
The power of your winch is increased when you have more
layers of winch line removed from your winch due to the
ratio reduction by the lack of diameter of the line on the
drum of the winch. By using a snatch block to
effectively double or triple the length of line used in the pull,
you can gain significant power (1.5 times from a
double line pull) from the use of a snatch block.
43
Changing the direction of the pull
requires use of a tree saver and a
snatch block, secured to a point
directly in front of vehicle being
recovered. This allows rope to wind
properly onto winch drum.

Double Line Pull:
A Double Line Pull is used when a
vehicle is thought to be “deep stuck”
in mud or on a very steep slope where
extra pulling force is required. Start
by feeding out enough winch line
rope to free the winch hook. Attach
the hook to your vehicle’s frame/tow
hook and run the line through a
snatch block. Disengage the clutch
and, using the snatch block, pull out
enough line to reach your anchor
point. Secure to the anchor point with
a tree trunk protector or choker chain
with the use of a D-Ring. After
rigging, review steps 12 through 16
for proper winching technique.
Triple Line Pull:
You will need two Snatch Blocks, two
44
Running wire rope
through snatch block

anchor points and three D-Rings to
perform a triple line pull. Using the
same techniques as the double line
pull, find a heavy duty mounting
location on your vehicle (Frame
mounted attachment point) for the
first snatch block and the D-Ring attachment. Keep a 90 degree angle between the winch and run the winch
line to the first anchor-point and
through the second snatch block
mounted to the anchor point secured
with a tree trunk protector or choker
chain with the use of a D-Ring. Secure
the cable back to the vehicle and put
the winch line through the first
snatch block. Run the winch line to
the second anchor point and secure to
the anchor point with a tree trunk
protector or choker chain with the use
of a D-Ring.
After rigging, review steps 12 through
16 for proper winching technique.
45
Attaching D-Ring
to snatch block

Pull of Last Resort: A Deep Buried Anchor Point
It is possible to be stuck in a spot where, although you
would want to winch there is no anchor point such as a
tree or large boulder. This is typical of getting stuck at a
beach or in the desert.
In this rare event, using a shovel, you must dig a
substantial hole to bury a large object secured with a
choker chain as an anchor point. Large objects to consider
may include an oversize spare tire, a large boulder or a
sizeable log. Simply put, the deeper you bury the object the
better the technique will work.
46

QQ
Thank You!
We appreciate your purchase of this Q11500i Winch with
Synthetic Line. You just got “More Winch for Less Money”
than other winches sold in this price category.
Keep this guide in the glovebox of the vehicle with winch
installed. Record your serial numbers for reference and the
installation instructions and warranty card with your other
automotive records.
Always think of safety first while winching!
By observing the techniques and cautions of this manual,
you will gain the know-how to make a safe and successful
off-road vehicle recovery. The satisfaction of getting
un-stuck from a sticky situation in the field is one of the
true pleasures of the off-road lifestyle.
At Quadratec, we are here to serve you with both online
and expert human resources. If you require assistance or
have questions about your winch or winch-related
accessories, please call
800-745-6037
during normal
business hours.
Our 24 hour website at
www.quadratec.com
has facts,
photos, and valuable information such as extra copies
of downloadable instructions.
Guide version Q091812
Part# 12999.1025
Quadratec, Inc. © 2012
47

The Trusted Source
®
 Loading...