

Page 1
!
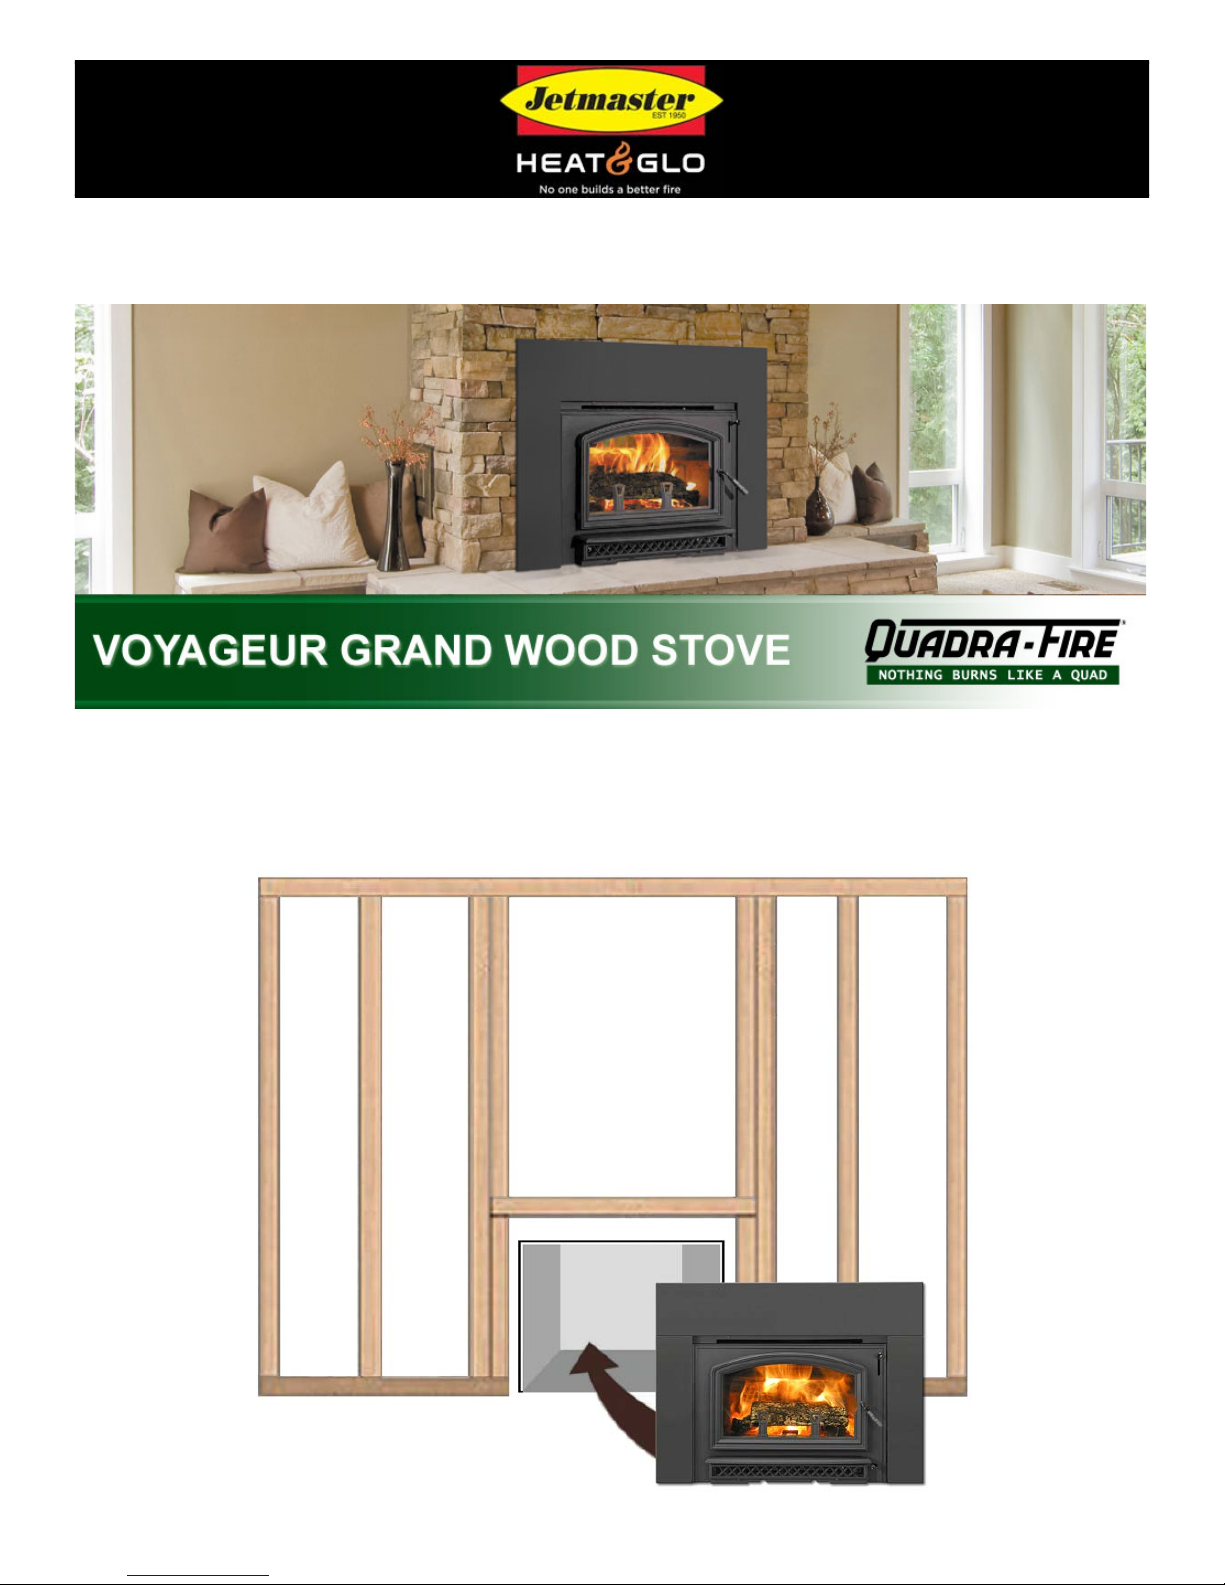
Introducing the Grand Voyager Zero Clearance Box
Now you can install a Grand Voyager
into a timber frame…
!
!
!
!
!
!
!
!
!
Page 2
The Grand Voyager Zero Clearance Box allows the product to be installed into
a combustible wall, with minimum clearances and without brick or block work
using the framing dimensions and clearances illustrated below.
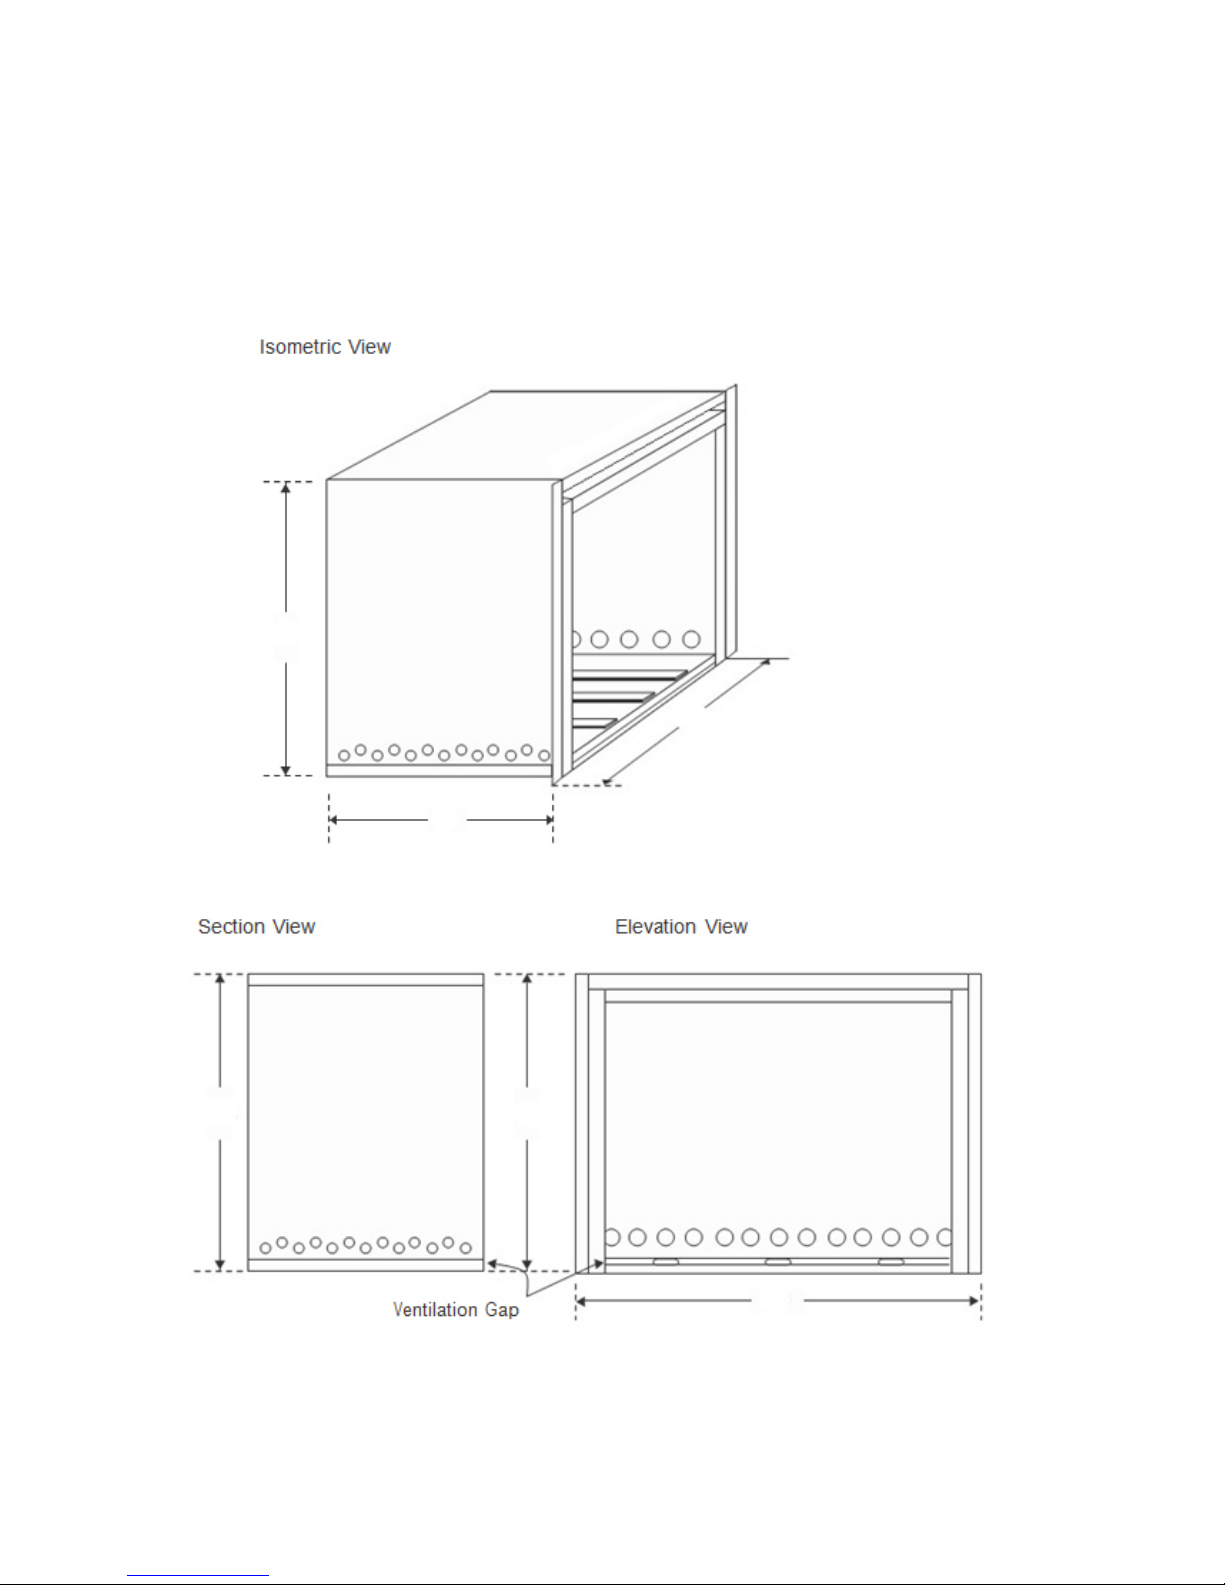
Zero Clearance Box Dimensions
!
!
!
!
!
!
!
!
!
!
!
!
!
!
!
!
!
!
!
!
!
!
**Dimensions are subject to change at our discretion, please check with our office for further details.
685!
560!
980!
685!
685!
980!
Page 3
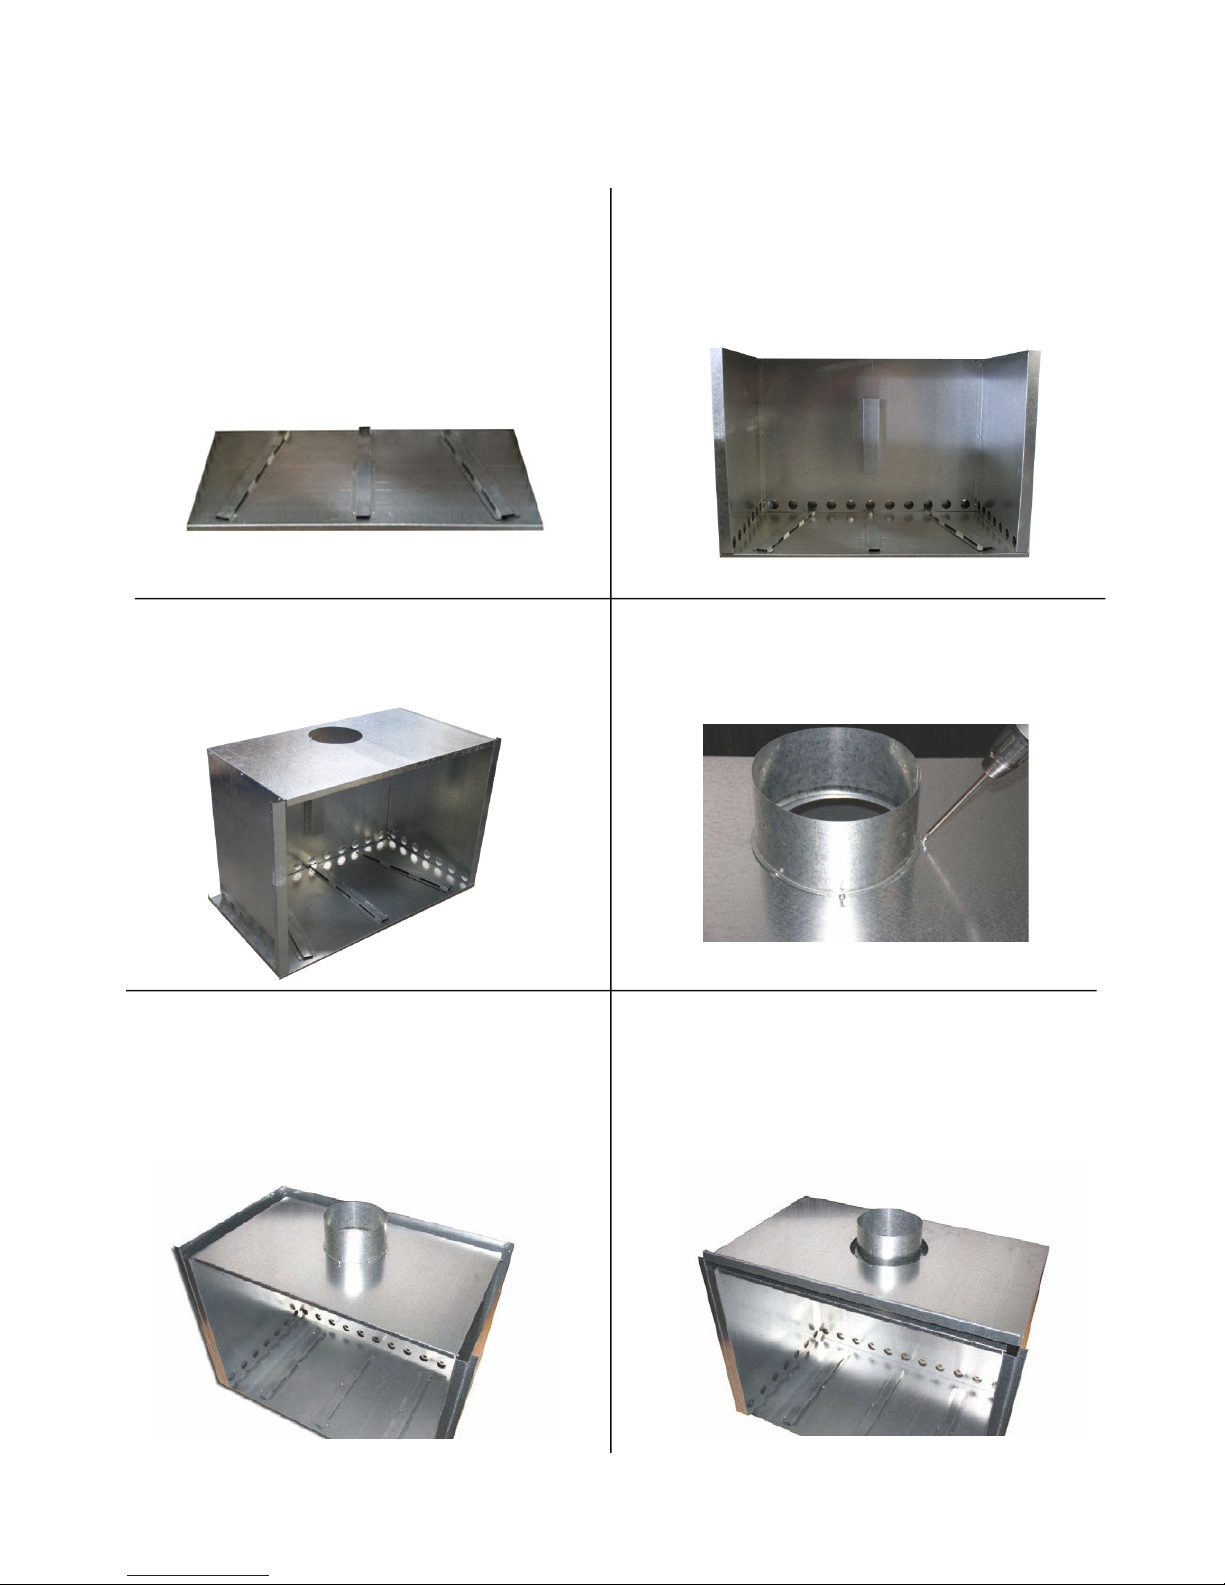
Zero Clearance Box Assembly Details
! !
Step 1
Lay down the bottom panel with folded
edges facing upwards, and the nonfolded edge turned frontwards.
!
Step 2
Screw rear spacer, inner left, inner right
and inner back panels together, with the
returns facing outwards.!
Step 3
Screw the inner top panel in place.
Step 4
Screw the 200mm collar in place.
Step 5
Screw the outer left, outer right and
outer rear panels in place with the vent
holes to the bottom, and the returns
facing outwards!
Step 6
Screw the outer top panel into place.
!
* Images for illustration purposes only, some detai ls may change
Page 4

!
!
!
!
!
!
!
!
!
!
The triple skin flue must be installed with a Zero Clearance Box, as per
Australian standards. A 25mm clearance from the outer 10” casing to any
combustible material must be maintained.
Please see heater owner’s manual for other clearances and more information.
* Images for illustration purposes only, some details may change
Step 7
Screw the 250mm collar in place
!
Step 8
Stainless bend is supplied to match
the height of the triple skins.
Page 5

Framing Dimensions for Zero Clearance Box
!
!
!
!
Page 6

Hearth Requirements for Zero Clearance Box
!
!
30!
560!
575!
30!
40!
Page 7

Minimum Clearances & Hearth Requirements for
Zero Clearance Box
SECTION VIEW
!
!
!
!!
Page 8

**Dimensions are subject to change at our discreti on, please check with our office for further details!
Minimum Clearances & Hearth Requirements for
Zero Clearance Box
ELEVATION – MANTEL CLEARANCES
PLEASE NOTE: These specifications relate to Zero Clearance installations only. For installations into an
existing fireplace, refer to the Voyageur Grand Installation Manual.
JETMASTER HEAT & GLO
444 Swan Street, Richmond. P: (03)9429 5573 E: info@jetmastervic.com.au
W: quadrafire.com.au
 Loading...