

Qomo INTERACTIVE WHITEBOARD, QWB56, QWB200 SLIM, QWB300 SLIM, QWB100WS Owner's Manual
INTERACTIVE WHITEBOARD
Owner’s Manual

Table of Contents
What’s In The Box............................................................................... 2
QOMO Whiteboard System Requirements........................................ 3
Introduction ......................................................................................... 4
Whiteboard Software Features........................................................... 5
How to Install Hardware...................................................................... 6
How to Install Software..................................................................... 15
How to Use Whiteboard Annotation Software................................. 20
Troubleshooting Guide..................................................................... 21
QOMO Interactive Whiteboard User Tips ........................................ 23
Specifications..................................................................................... 24
Technical Support ............................................................................. 28
1

What’s In The Box
Thank you for your purchase of the QOMO Interactive Whiteboard. If any
items are missing or damaged, please contact your authorized reseller
immediately.
CONTENTS:
White Board * 1 pc Writing Pen *3 pc
USB Cable 49 ft (7.5m) * 1 pc Erase * 1 pc
Installation CD * 1 pc Floor Stand (Optional) *1 set
Warranty Card * 1 pc Castor (Optional) * 1 set
Pen Tray (Optional) * 1 pc Wall-mounting Bracket (Optional) * 1 set
2

QOMO Whiteboard System Requirements
Lowest Environmental Requirements:
· CPU: 300MHz×86
· Memory: 128M
· Display Card: Support 256 or above
· Hard Disk: 100M
· Screen Display Resolution:
800×600、1024×768、
1280×1024
·
USB1.1 port
Recommended:
· CPU: 1GHz×86
· Memory: 256M or above
· Display Card: Support 256 or above
· Hard Disk: 500M
·
Screen Display Resolution: 1024×768 、1280×1024
·
USB port
Software Running Environment: Microsoft Windows 2000/XP/
32 bits vista
3

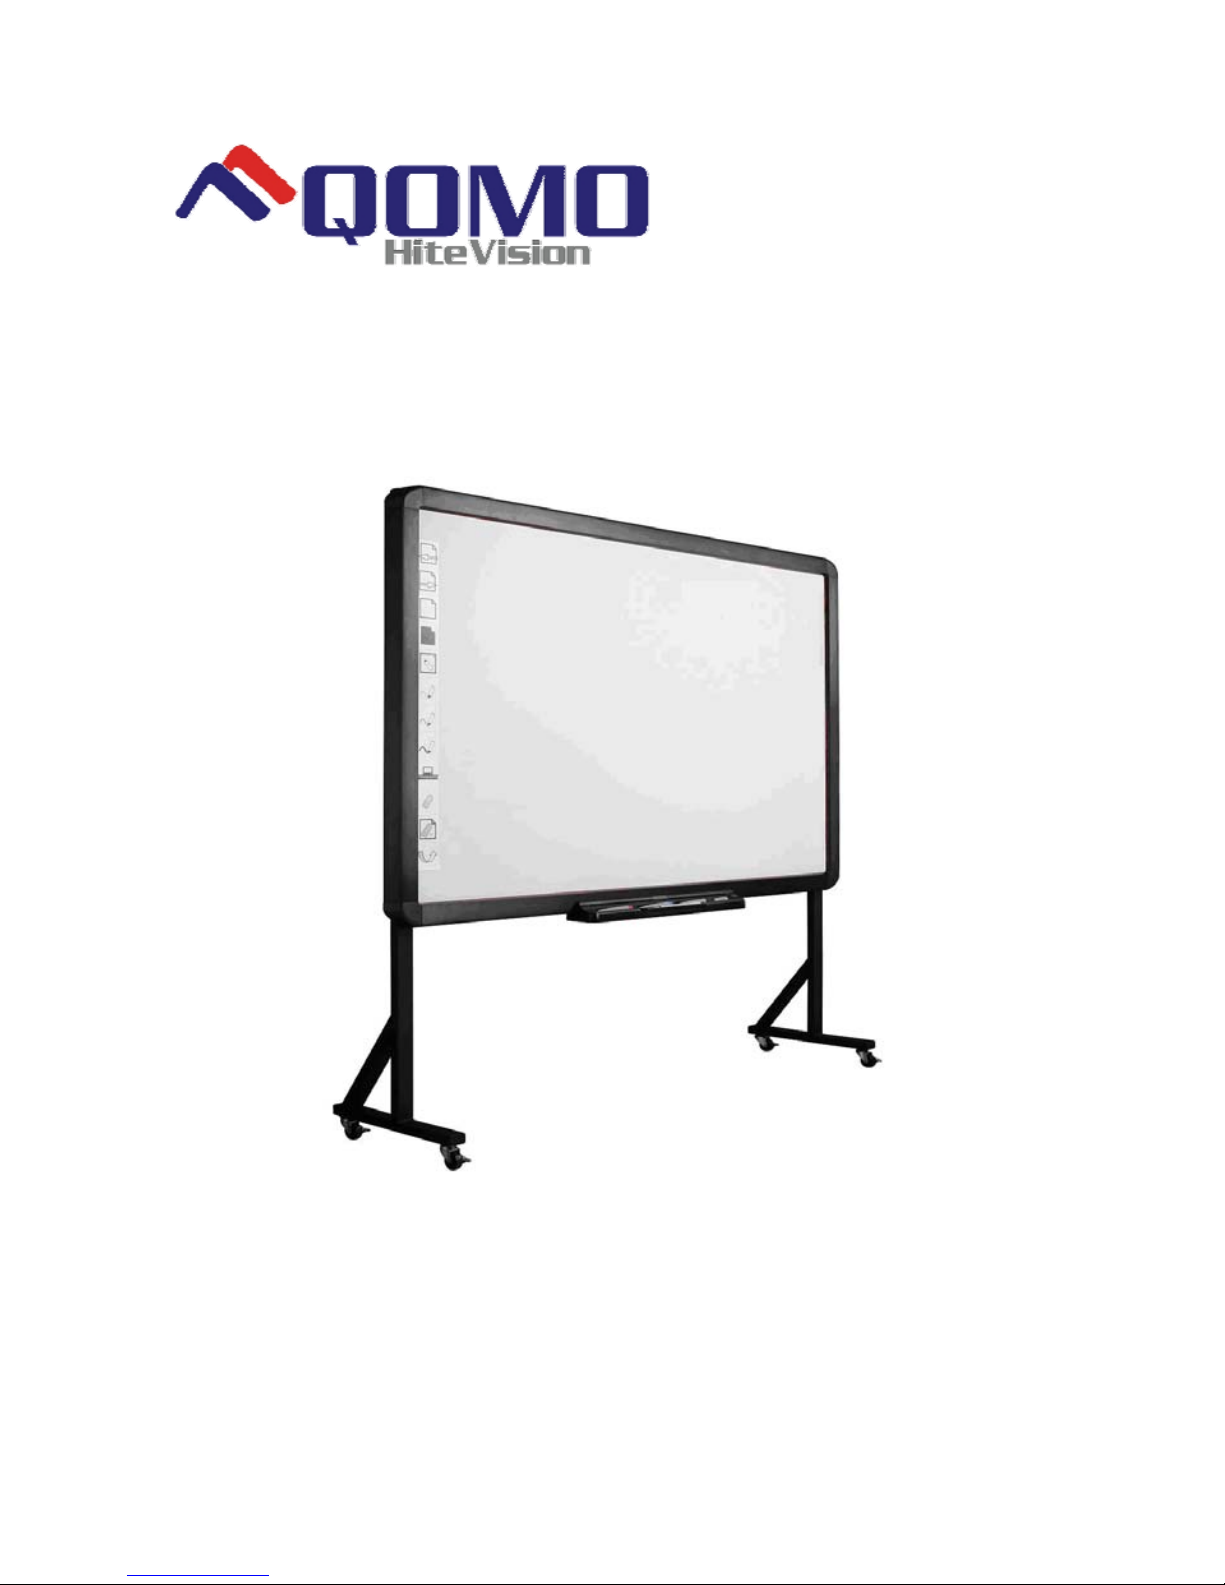
Introduction
QOMO’s Interactive Whiteboard uses infrared technology. Working
seamlessly with a projector and computer, the QOMO Interactive
Whiteboard provides more convenient, interactive and effective
presentations. Perfect for school auditoriums, conference rooms, trade
shows, symposiums and lecture halls. Users can write on the screen
using the included pens, wand or the user’s finger.
Writing: Write, draw and perform mouse functions with your finger.
The Whiteboard displays your penmanship inst antaneously.
Annotating: The user can operate and annotate over any computer
applications, or save notes directly into Flow! Software, including
PowerPoint, Word, Excel, MEPG JPEG, AVI and etc.
Interacting: In video conferencing, both parties can share data and
write in real time just like a standard conference room. Once
integrated with Polycom or other video conferencing systems, using
QOMO’s Interactive Whiteboard can improve video conference
results and efficiency. The system can support up to 40 writing
locations.
Touch System: QOMO Interactive Whiteboard is sensitive to touch
speed and can be used as a high-resolution interactive white board.
Touch Recognition: Can recognize touch of a single-finger, certain
gesture, right-click, left-click and double click.
Hot Keys: Hot keys located on the side(s) of the boards providing
quick access to frequently used keys.
Energy conservation: Controls energy consumption within 0.5W.
No need for additional power supply.
4

Whiteboard Software Features:
Designed for teaching and conference systems.
High gain and low gla re screen.
Saves images in Vector image format. Vector images take up less
storage sp ace and makes file transferring easier and faster
Users can customize pen type, line width, and color schemes to fit
their individual preferences.
Powerful screen functio ns supports real-time editing
Graphic tools allow users to choose a background, in put graphics and
images.
Paintbrush pen is speed sensitive
W riting file all ows for easy conve rsion to many other formats such as:
PDF, JPG, GIF, PNG, TIFF, BMP, etc.
Graphic tools and Hot Keys allow users to choose a pen to annotate,
or use as a mouse control. The 12 Hot Keys function as: Page Up
& Down, Insert White Background, Insert Black Background, Select
Pen Size, Eraser, Save and Cancel.
Supports other application software.
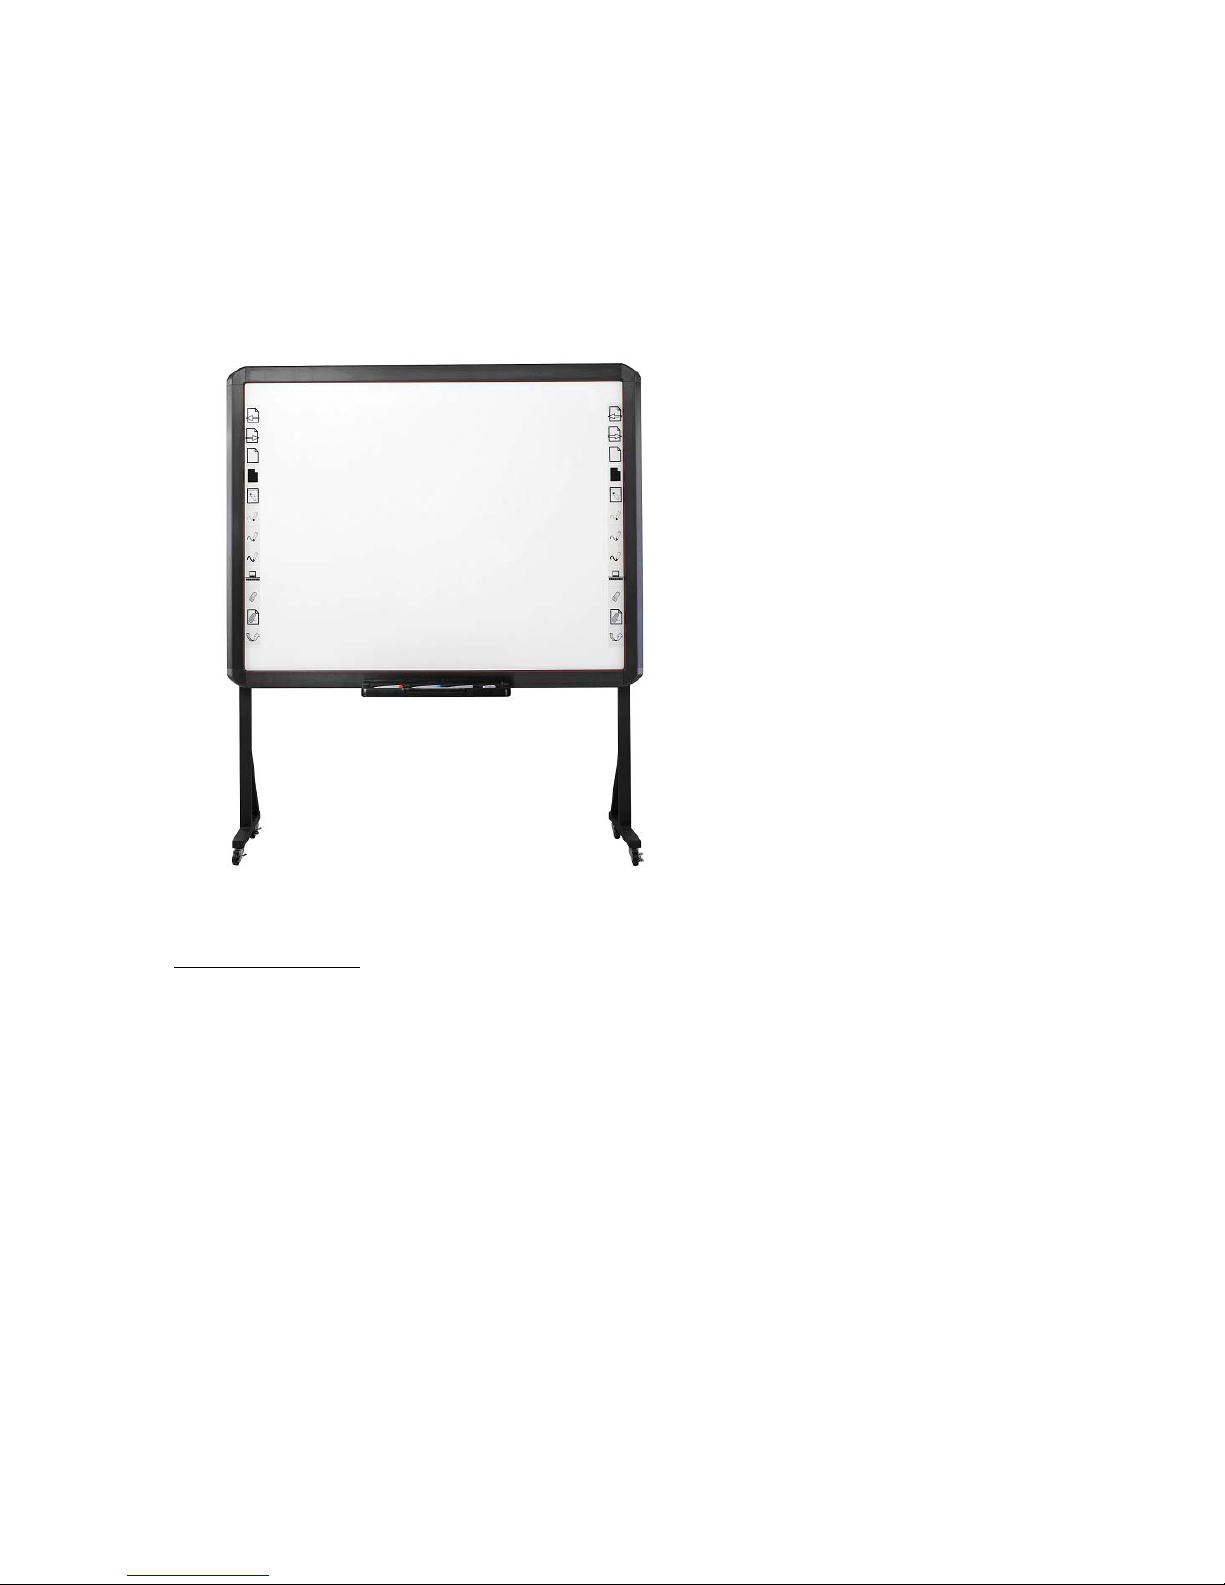
Note: The projection area is outlined at the upper left and lower rig ht corner of
the board using these icons
(“ ”). Please project onto this area for best
results.
5
How to Install Hardware
1. How to install QWB56/200/300/100WS hardware
Install Pen Tray: In the frame of the board, prior to securing the pen tray you
will find a slot that accommodates a Kensington lock. If you would like to use
a Kensington lock insert and loop the cable through the center hole on the
frame, position the pen tray in line with the four screws, and then screw the
pen tray in place. (Shown below)
6
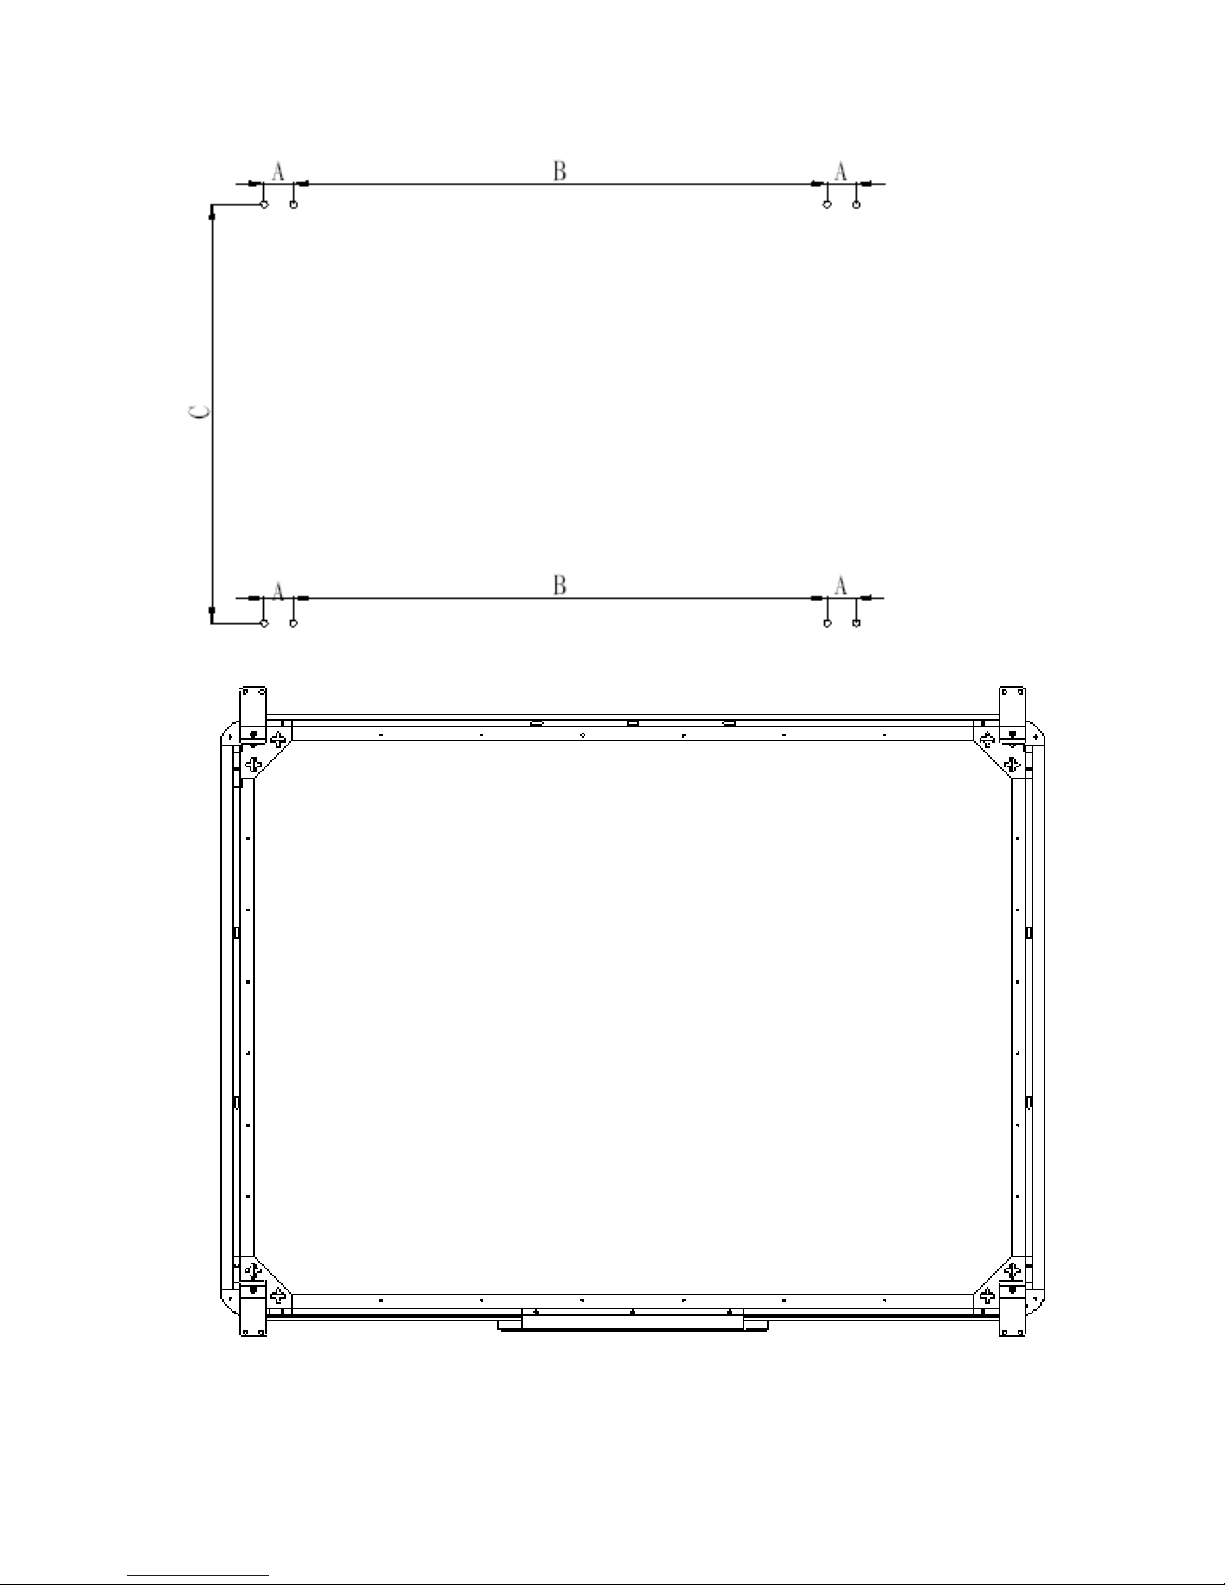
Install Wall-mounting: Set desired height according to user’s preferences.
Using the wall-mounting brackets as a template, place the 8 stilettos on the
wall and screw bolts into each hole. Align the wall-mounting brackets onto the
bolts and tighten the bolts. Check that each location hole faces each
corresponding bolt and hang the white board to the wall. (As shown below)
7
8
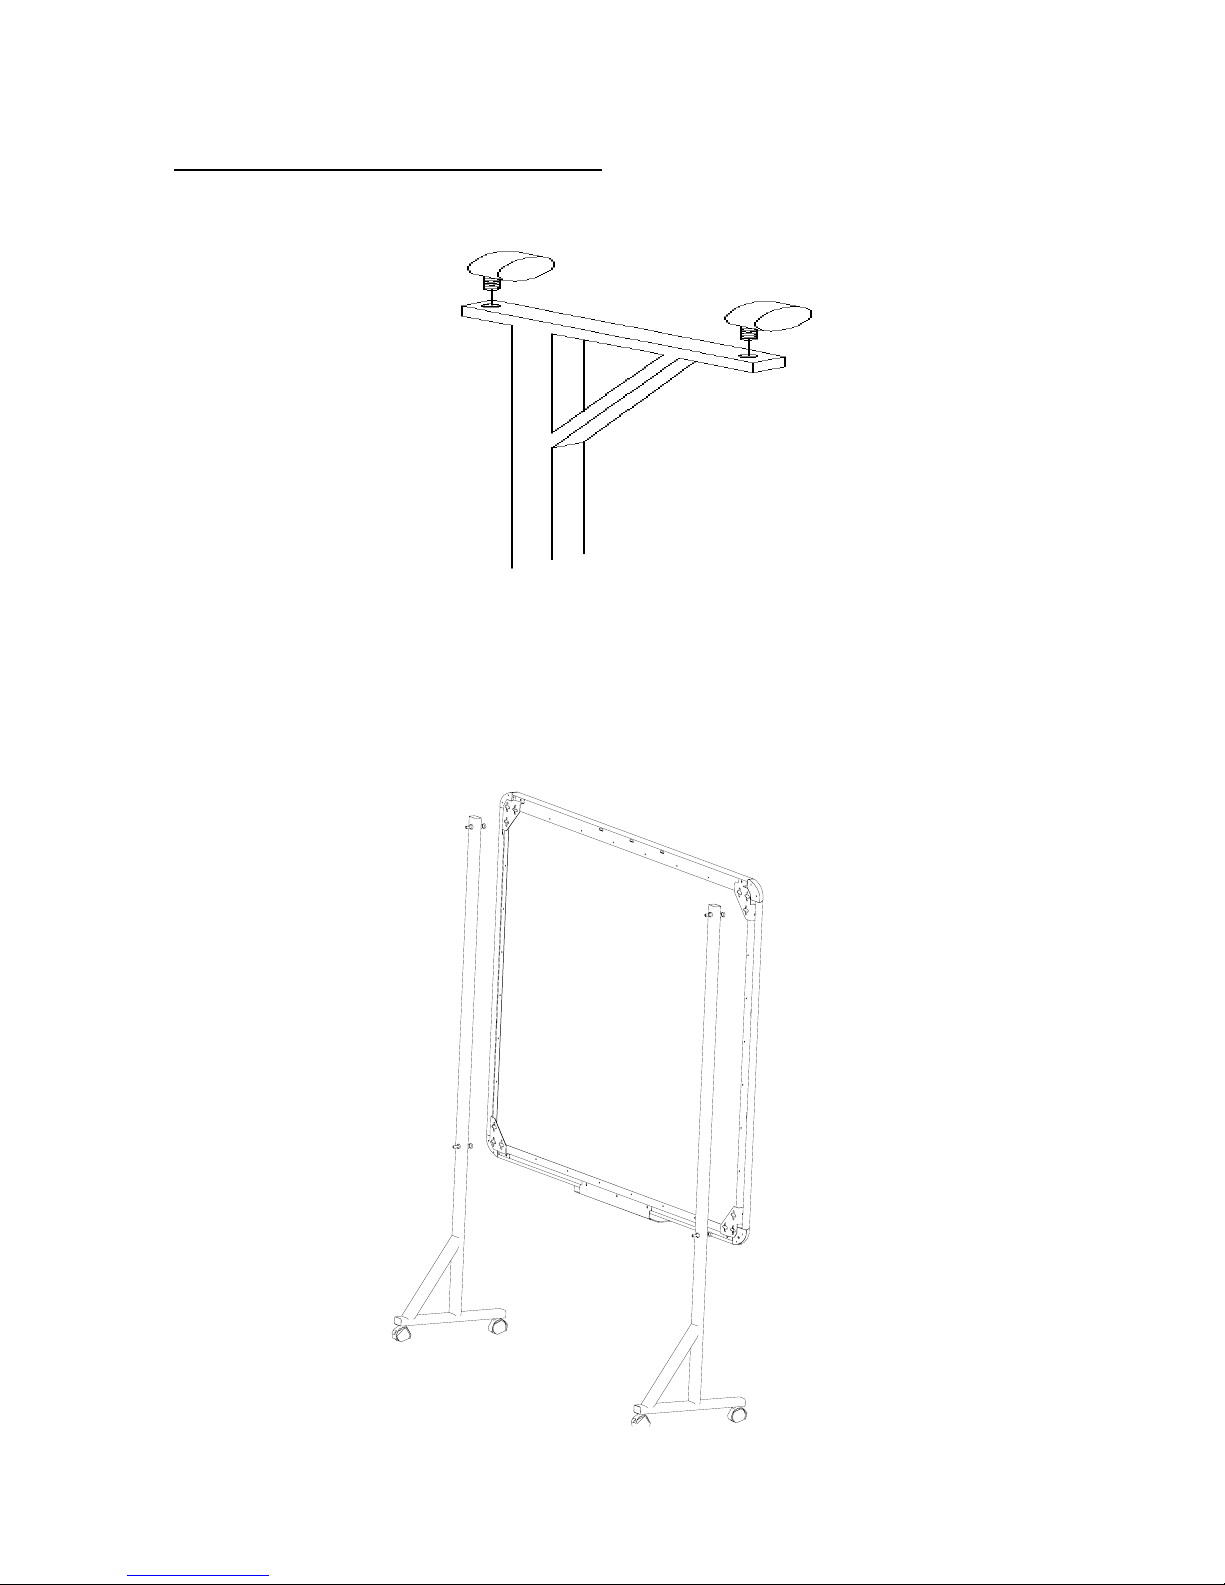
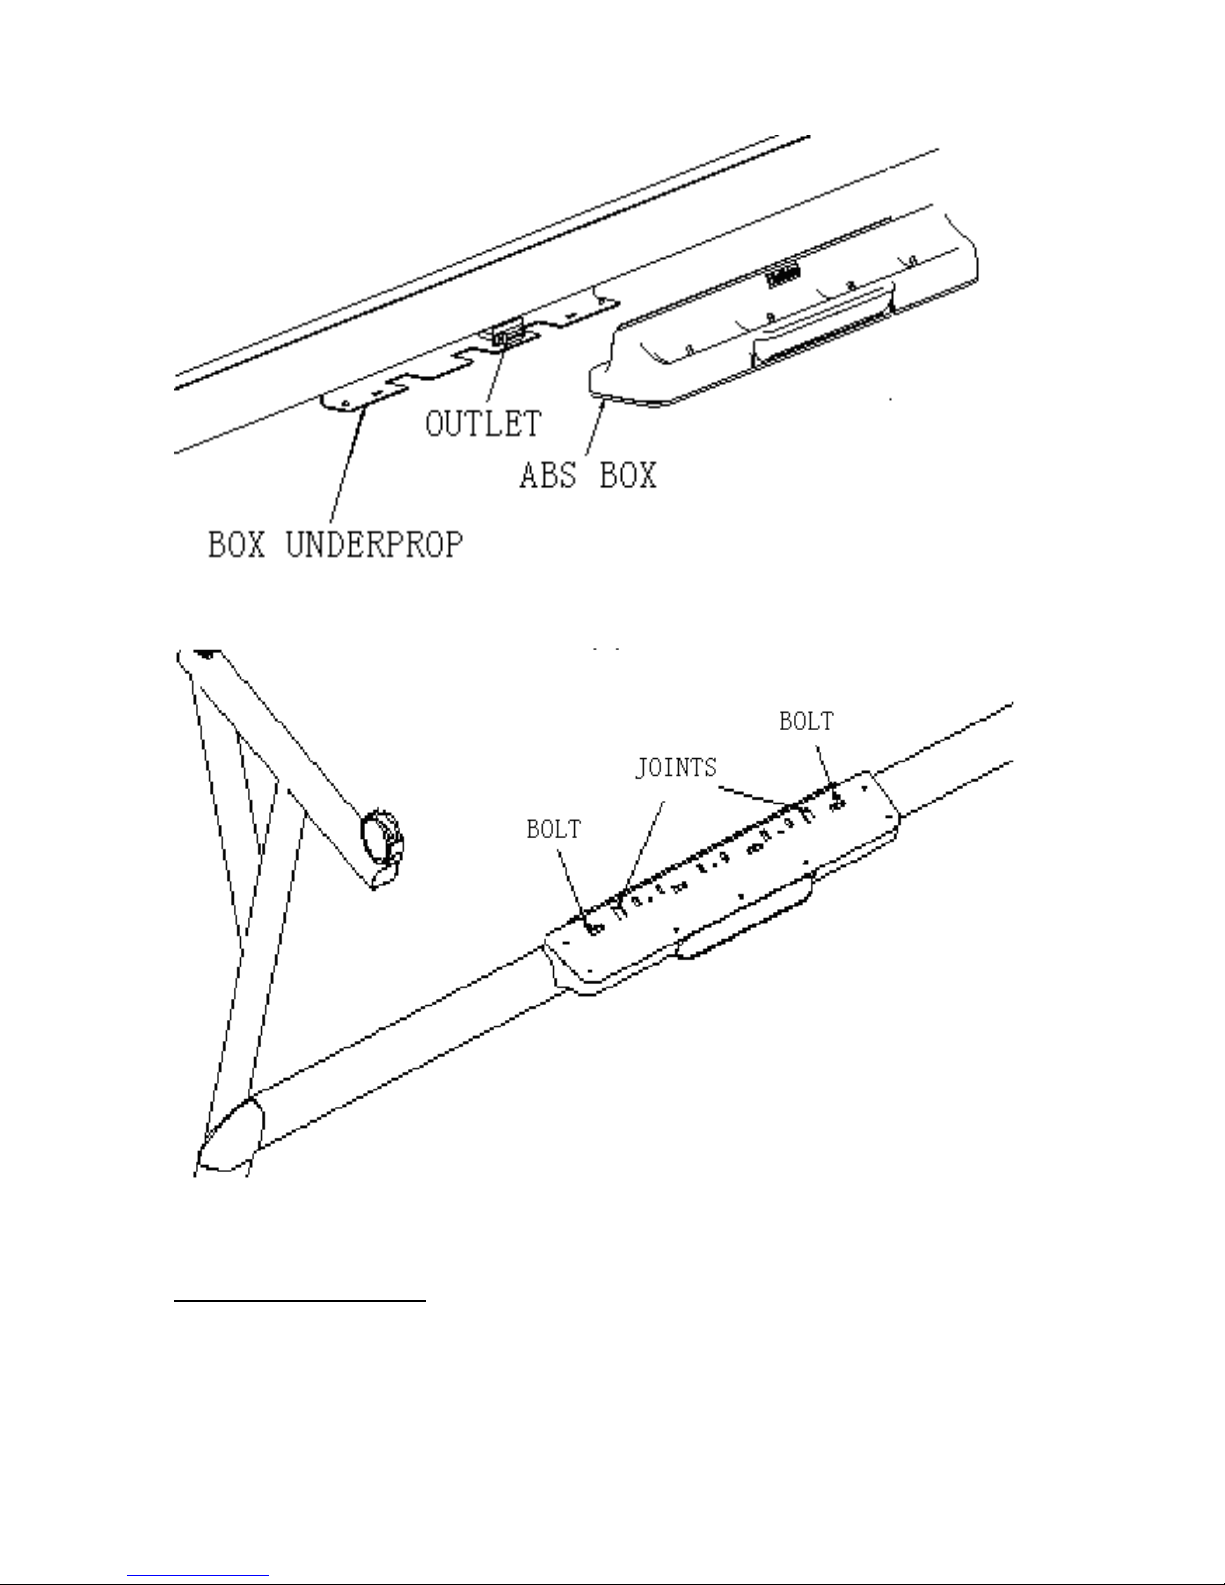
Install White Board on a Floor Stand:
(1) Lock all four casters in the down position (as shown)
(2) With an assistant’s help, hang Interactive whiteboard on the floor stand by
lowering the two bolts onto the top hooks and securing the bottom bolts into
the bottom hooks. There are two heights for hanging according to use r’s
preferences.(as shown below)
9
 Loading...