

Page 1
1
Activity Modes-QRF900
Normal Quiz
This is a traditional question/answer quiz. The students view the questions and answer
options on the screen and submit their answers into the responders.
See the Quick Guide for detailed directions.
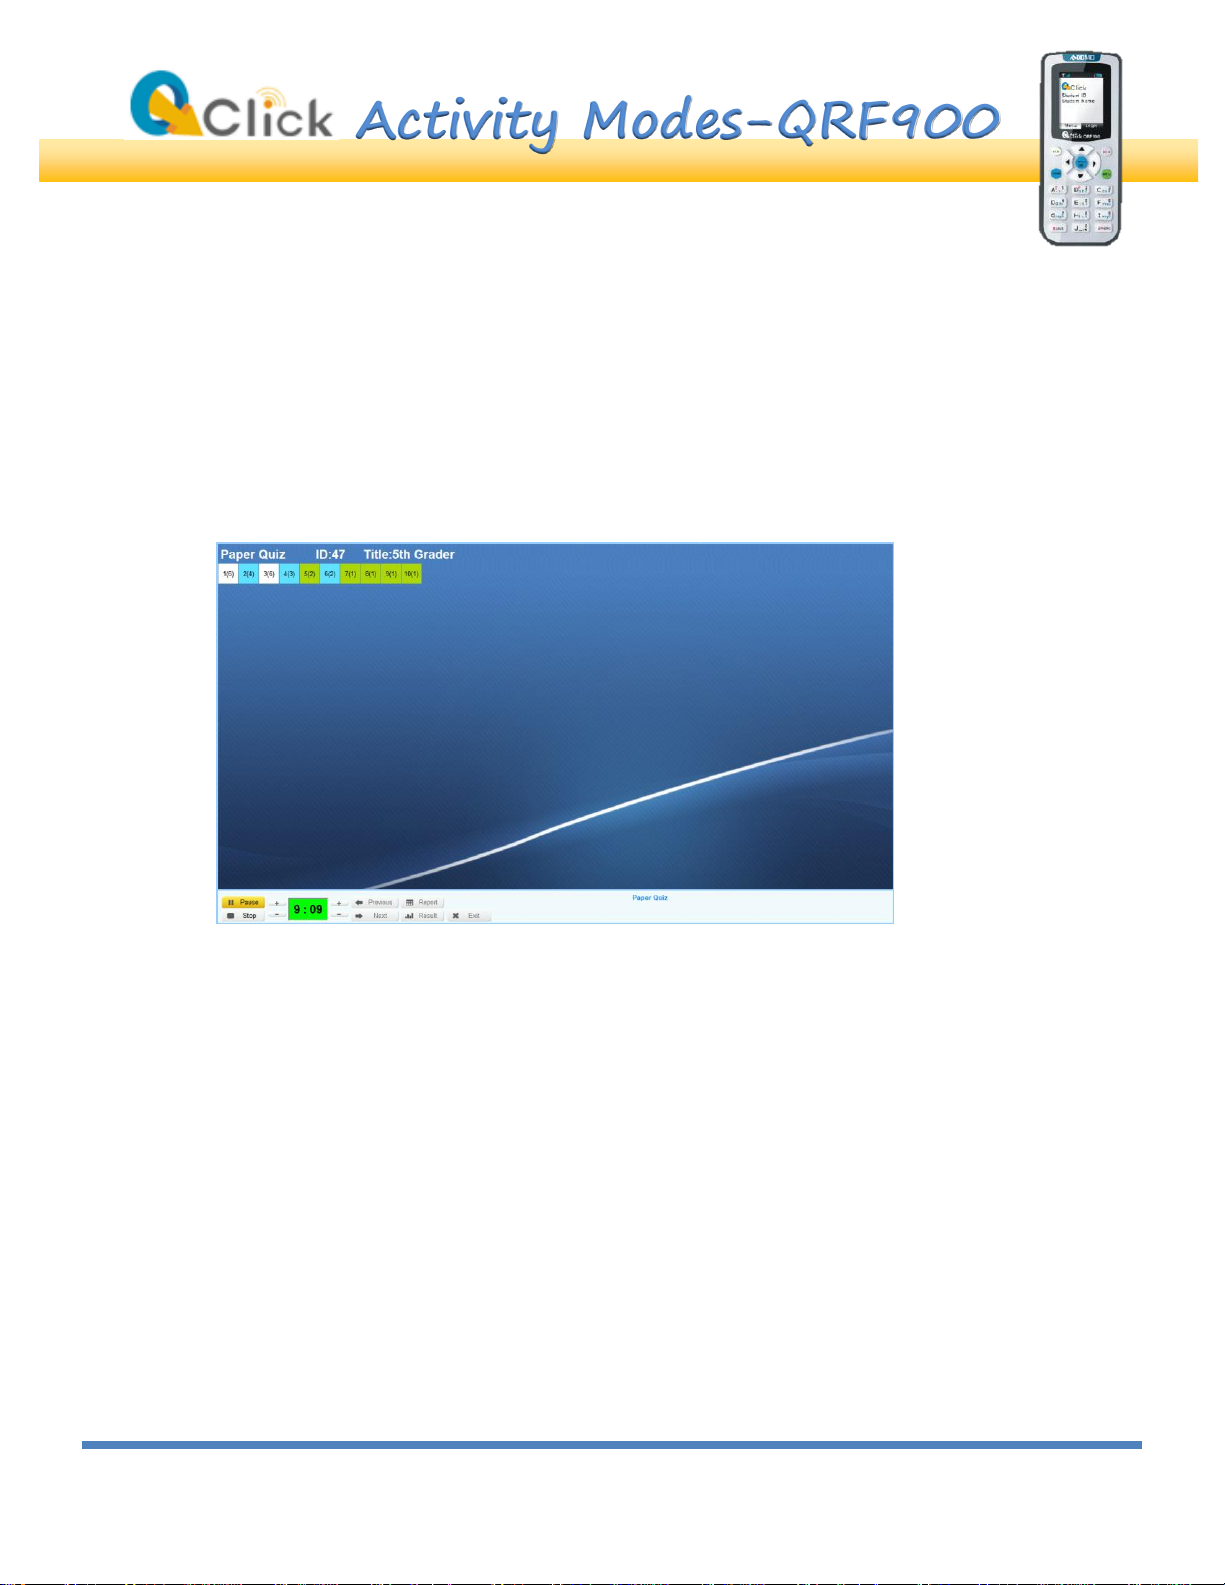
Paper Quiz
This quiz requires the questions to go on a handout that students will receive. However,
they will use their responders to submit their answers. An answer sheet needs to be
created in the Exam Editor feature. (See directions on how to set up an answer sheet.)
Run a Paper Quiz
1. If you load a quiz, you will have the option to send the questions to the students’
remotes. Select F1 “Send Questions” when you run the quiz.
Note: If you load an answer sheet, the questions won’t be in the student remotes.
2. Start the quiz. Enough time needs to be allowed for the students to submit ALL of
their answers.
3. When the students are done, they will click on the Option menu and select Send
Answer. Their ID box on the screen will turn blue.
© Copyright 2012 QOMO HiteVision, LLC. All Rights Reserved
Page 2
2
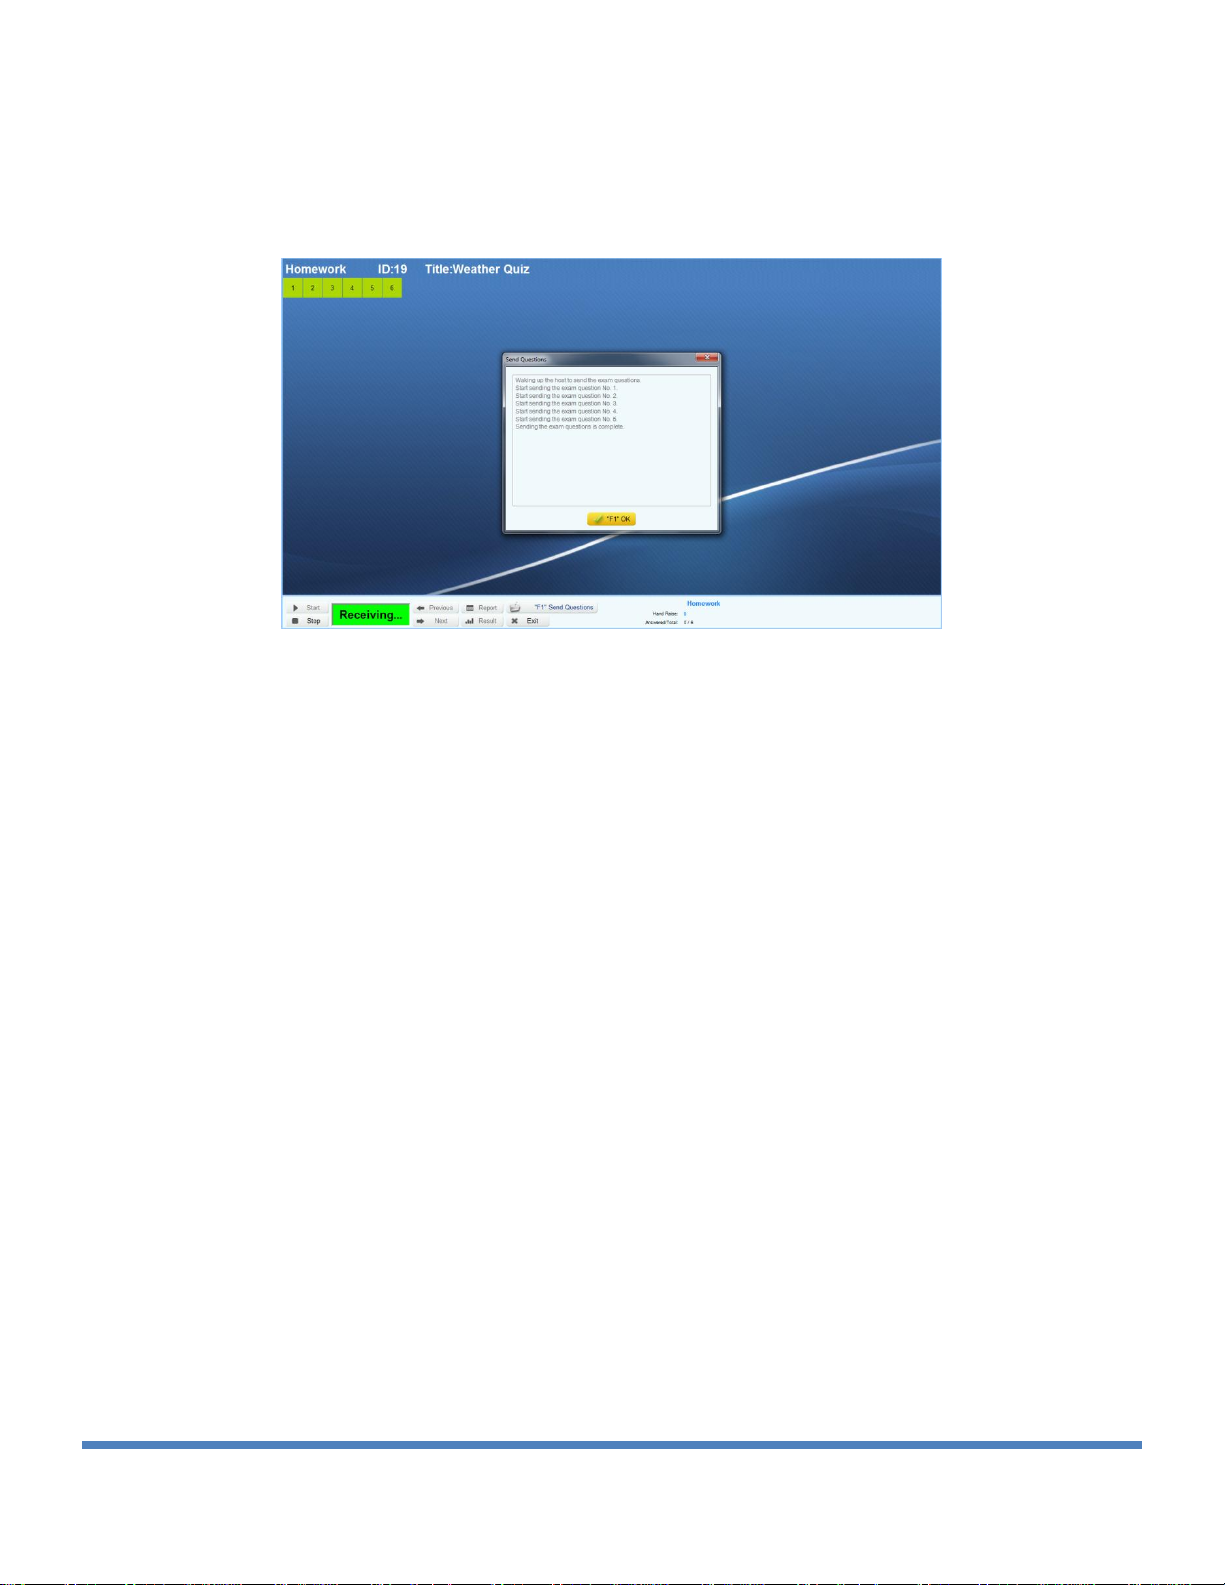
Homework
The homework quiz allows the students to take their responders home and submit their
answers. The exam is downloaded into their remotes in class, the student enters their
answers on their own then the answers are uploaded to the teacher’s computer.
Loading a quiz to the student remotes:
1. Load the class and the quiz. Have the students log into their remotes.
2. Click on F1 to send the questions to the student remotes. A
box will appear showing that the questions are being loaded to the remotes.
3. Have the student select the option screen on their remotes and select to exit.
4. The students can access their quiz later by going into the main menu and
selecting the exam list.
Loading the students’ responses to the computer:
1. Load the class and the quiz. Have the students log into their remotes.
2. Run the quiz and hit the start button. The timer will say “Receiving”.
3. The student remotes will automatically display the exam. Have the students
click OK.
4. A menu will appear. Have students select “Send Answer” in their menus. When
it goes through successfully, their ID box on the QClick screen will turn blue.
© Copyright 2012 QOMO HiteVision, LLC. All Rights Reserved
Page 3

3
Rush Quiz
A rush quiz is a type of game where the person who clicks on the responder first, is given
the opportunity to answer the question.
Run a Rush Quiz
1. Start the quiz. The timer won’t start until a student hits a button on the remote.
2. When the first person hits a button, their ID box will turn red and the timer
automatically begins to count down.
3. When the student submits their answer, the timer automatically stops.
4. If they answered correctly, their box turns blue. If they answered incorrectly,
their box turns brown and points are eliminated from the student’s total points.
(Go to Quiz Setup to change the number of deducted points)
Note: Deducted points are only supported in this activity mode.
Elimination Quiz
The elimination quiz is a game where everybody gets a chance to answer, but if they
answer incorrectly, they are eliminated from the game.
© Copyright 2012 QOMO HiteVision, LLC. All Rights Reserved
Page 4

4
Run an Elimination Quiz
1. Begin the quiz.
2. Students will submit their responses. The student’s boxes will turn blue to indicate
that they answered.
3. After the timer stops, the student boxes change to green if they got the answer
right and brown if they got the answer wrong.
4. The students who answered incorrectly cannot answer any more questions for the
rest of the quiz.
Note: The histogram only applies to those who are still able to participate.
Multiple Mode
Multiple Mode allows you to have each question set up in the activity as a Normal Quiz type
question, an Elimination Quiz type question, or a Rush Quiz type question. If elimination
questions are consecutive, then the eliminated players will not be able to participate with
that next question. If an elimination quiz question is followed by a rush quiz question, all
of the students—regardless of their previous answers—will be
allowed to participate.
To create a multiple mode quiz, go to Exam Editor and click on Setup.
For each question, select a different activity mode for each
question.
Survey
A survey collects data without requiring an answer key. Numbers are assigned to the
responses as high or low; which are used as a numeric evaluation of the survey. Weight
needs to be assigned to the survey before it is conducted.
© Copyright 2012 QOMO HiteVision, LLC. All Rights Reserved
Page 5

5
Set Up a Survey Session
1. Click on Exam Editor and click on Setup.
2. Click on the Activity Mode menu and select
Survey.
3. Select the number of responses. A Survey
Weight Response box will appear.
4. Choose value points for each response.
5. Save your settings after you’ve edited each
question.
Vote
The voting mode collects data without an answer sheet or weighted responses. The
reports and results show a number count and a percentage of how many people selected
the different options.
Set Up a Voting Session
1. Click on Exam Editor and go to Setup.
2. Click on the Activity Mode menu and select survey.
3. Select the number of responses.
4. Click on the Save Settings button when you are finished
setting up the quiz.
Attendance
Attendance mode allows the teacher to take attendance. It can
be saved in the database and it can be viewed immediately after
the activity.
© Copyright 2012 QOMO HiteVision, LLC. All Rights Reserved
Page 6

6
Run an Attendance Session
1. Select a class.
2. Click Run.
3. Choose how much time you are going to allow for
students to sign in by adding or subtracting time from
the timer.
4. Click the Start button
5. The students can press any button to sign in.
6. When the activity is stopped, click on Results. Totals
of the number and percentage of present and absent
students will be shown. Click F1 to view the list of
absent students.
Freestyle
Freestyle allows the teacher to collect data without having a quiz or an answer sheet
created ahead of time. The correct answers are submitted by the teacher during the
quiz, either before each question begins or at the end of each question. Short answer
responses cannot be used in this mode. Freestyle only supports Normal, Rush, and
Elimination modes only.
Run a Freestyle Quiz
1. Select a class.
2. Click on the Freestyle box and hit run.
3. Login the teacher’s remote.
4. Go into Menu on the teacher’s remote.
5. Select Set Question. A list of the type of questions appears. Select your question
© Copyright 2012 QOMO HiteVision, LLC. All Rights Reserved
Page 7

7
type. An option summary screen appears.
6. Select how many answer choices there is for your questions so that it is highlighted
blue.
7. Push the down arrow to select the correct answer. Select the answer so that it is
highlighted blue.
8. Push OK to record the answer. This will automatically start the timer for the
students to respond.
9. For a new question, select next, and repeat the answer selection process.
Note: If you run the quiz in Freestyle mode, like a normal quiz,
without submitting the correct answer first, a box will appear
when the timer stops that will prompt you to select the right
answer.
How to Create an Answer Sheet
1. Click on Exam Editor and click on Setup.
2. At the top of the screen, click on the Answer Sheet tab. You will notice that the
question number defaults to #1.
3. Click on Question Mode and select the type of answer.
4. Click on activity mode to select the type of activity.
5. Set the point limit and time limit.
6. In the Correct Answer Selection box, click
on the bubble next to the right answer.
7. At the top click the Add button to add
another question. Repeat the above steps
until your answer sheet is complete.
8. Save the file. It will save as a .sep file,
which you will have to load for certain
activity modes.
© Copyright 2012 QOMO HiteVision, LLC. All Rights Reserved
Page 8

8
Offsite Mode
Offsite Mode allows you to conduct an activity without being connected to a computer.
The activity can be uploaded to the teacher remote ahead of time or it can be conducted
in Freestyle mode.
How to Upload an Activity to the Teacher Remote:
1. On the teacher remote select Offsite.
2. Open up the QClick program with the dongle plugged in. Select a class and load a
quiz.
3. On the teacher remote, select Loading Information. The quiz will automatically run
on the computer. A box containing your class information appears, as well as a menu
4. Select Load All Info to download the class list and the quiz information. A
download status bar will appear showing that the information has downloaded.
5. In the menu, select Exam List to view the downloaded quizzes.
How to Run an Activity in Offsite Mode:
1. Click on “Begin Session” in the teacher remote. A blue and white screen shows with
class, exam, and activity information. The yellow line highlights the field that you
can change.
2. To change the class, hit “ok”. This brings up a list of all of the class lists that are
stored in the teacher remote.
3. Select the Exam and Activity mode.
4. Have the students log in.
5. Click the Start button. A summary screen of the quiz appears. Conduct the quiz
using the teacher remote.
6. Click on “Return” to end the activity. Save the session with a name.
How to Upload a Quiz Session into QClick:
1. Click on the Reports button on the QClick main screen. Click on Session and click
Start.
2. In the teacher remote, click on menu and select Upload Session. A list of all of the
sessions appears. Select the quiz.
3. The exam information will appear on the computer screen. Click on “Save”.
© Copyright 2012 QOMO HiteVision, LLC. All Rights Reserved
 Loading...