

Page 1
1
866.990.QOMO | 46950 Magellan Dr, Wixom, MI 48393 | info@qomo.com
QUICK
START
GUIDE
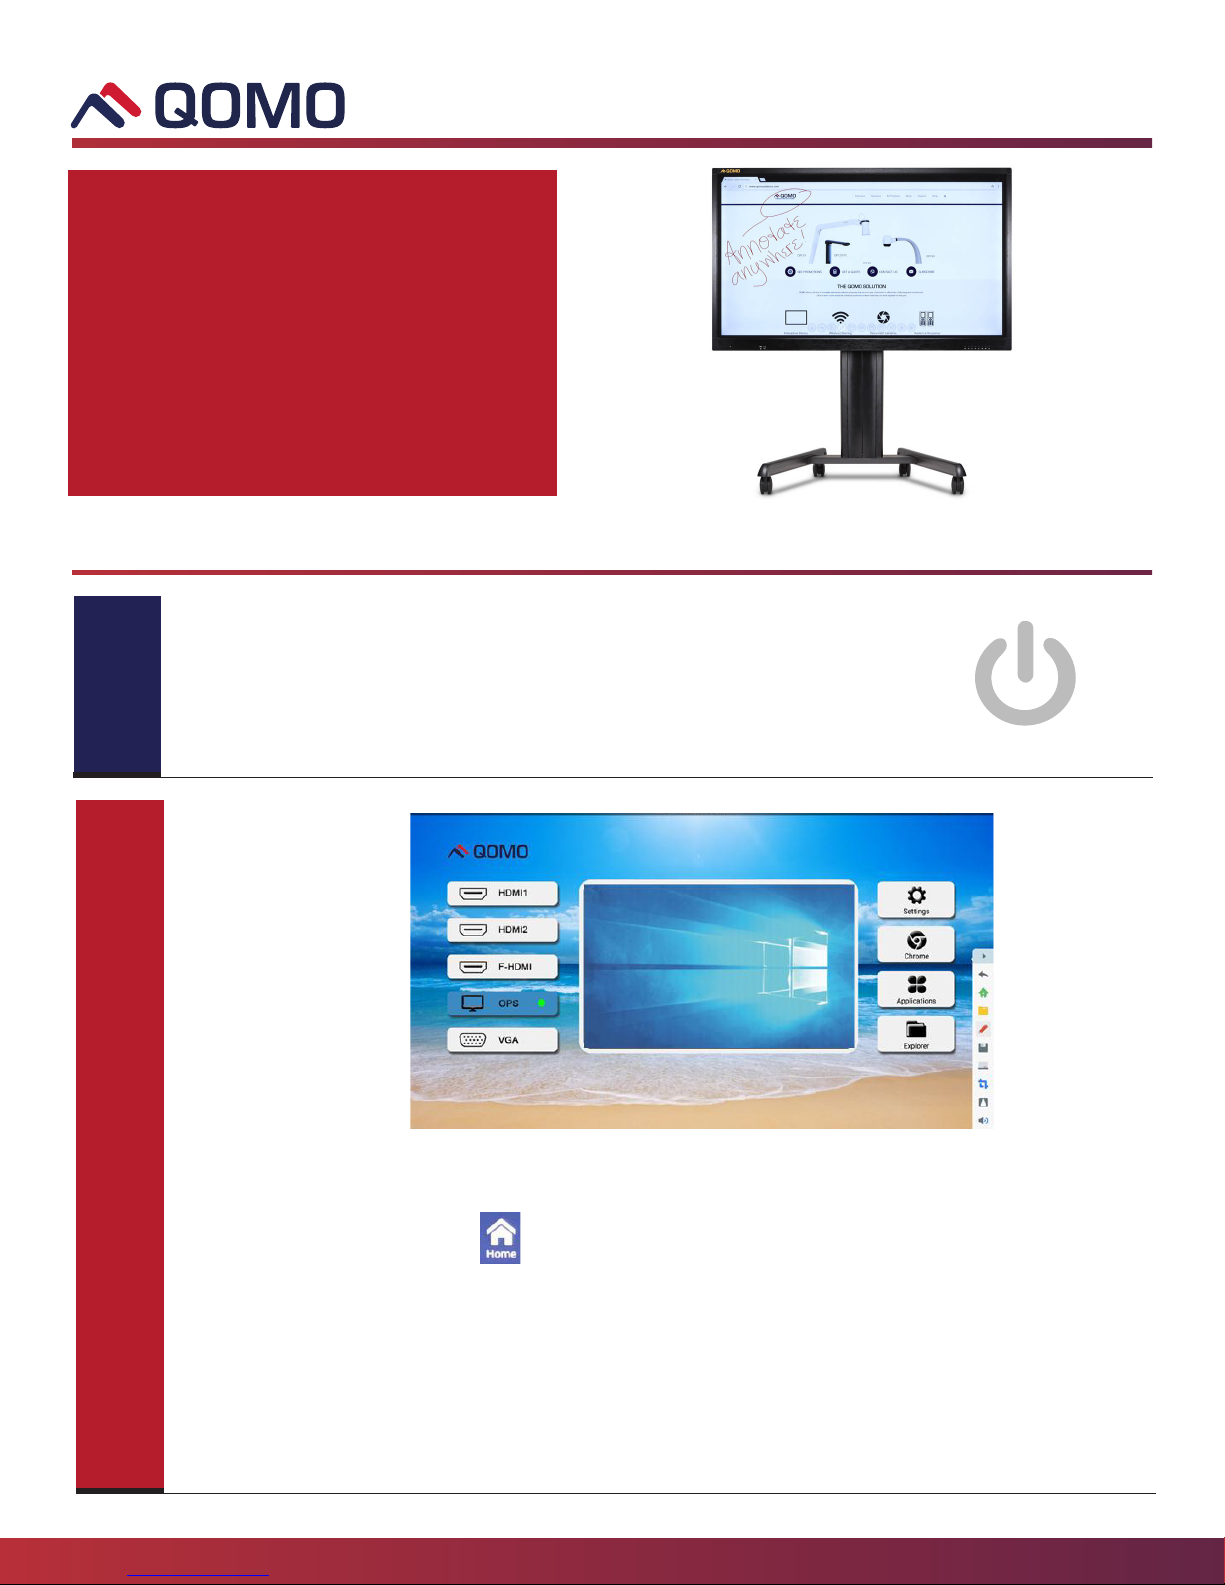
Journey 13 Interactive Panels
Turn on System
Power Indicator: At the bottom right hand side of your panel frame
there is a series of buttons. The rst button on your right is the power
button. When powered on, the indicator light will turn green.
2
Android Home Page
This is the rst screen that will appear on your Journey 13 IFP. To return to this screen at
any time, press the Home button on the Android navigation.
On this screen you have access to
• Main Source Inputs with Preview Screen
• Settings
• Browser
• Apps
• File Explorer
• Date and Time
Page 2
3
866.990.QOMO | 46950 Magellan Dr, Wixom, MI 48393 | info@qomo.com
Settings
The settings menu allows you to customize your panel. Select your network, change
background image, set time/date and much more by navigating the menu.
4
5
QOMO’s unique Lock Screen feature allows you to set a custom security password.
Built-in Browser
This browser icon opens to the Google homepage via Chrome browser.
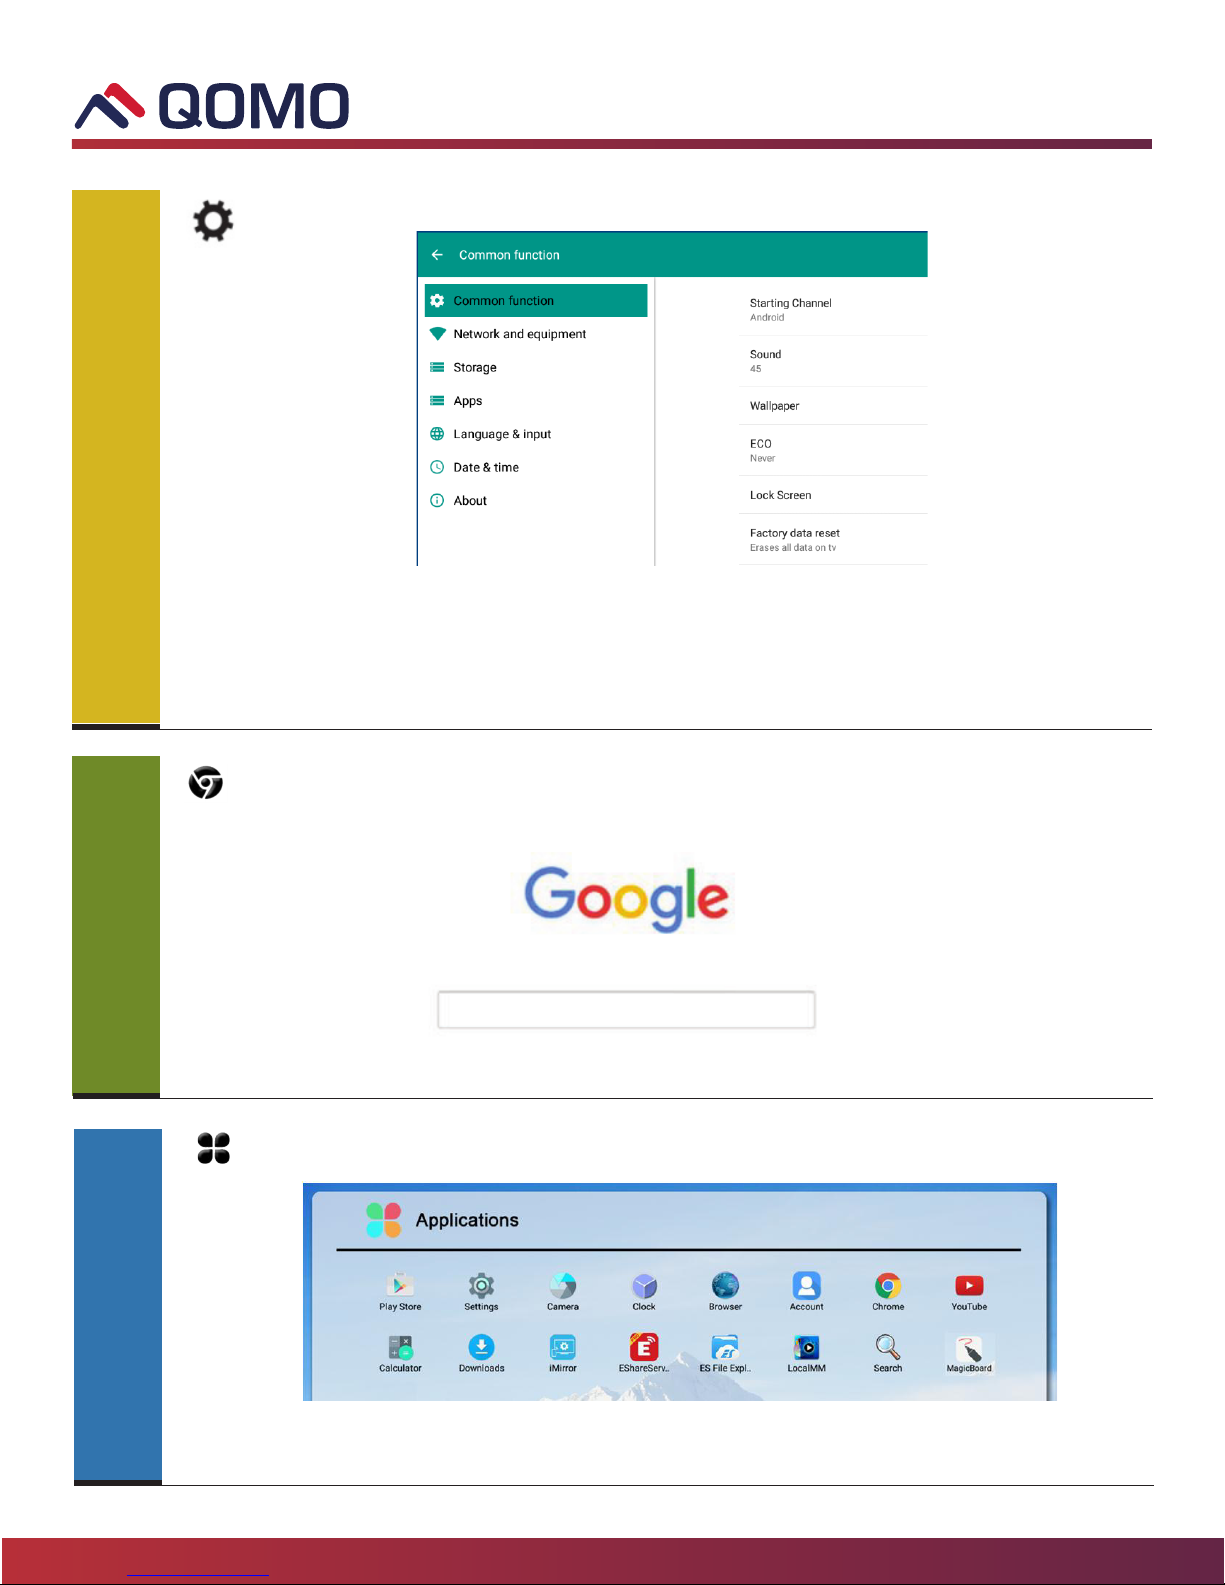
Android Apps
Apps takes you right to the section where everything happens! We’ve included some
hand-selected apps to meet your teaching and presentation needs.
Page 3

6
7
866.990.QOMO | 46950 Magellan Dr, Wixom, MI 48393 | info@qomo.com
File Explorer
Use the File Explorer to browse les stored on the Android OS or USB ashdrive.
8
Home/Return to Android home page
Return to previous interface
Decrease volume
Increase volume
Enter ECO mode to switch display to standby
Enter the OSD menu
Source
Power switch: Hold ON and OFF
These easy access buttons make teaching seamless.
If you ever get stuck, the home and back buttons are here!
*Model may vary with the number of ports here
For your conveniece, an Android USB port and one HDMI port are located at the bottom left of
the panel. The Android USB port is for connecting an external ashdrive to the Android OS. The
HDMI port is for connecting an external PC (Step 9), document camera, or other devices.
Page 4

866.990.QOMO | 46950 Magellan Dr, Wixom, MI 48393 | info@qomo.com
9
10
Connecting PC to Front HDMI
Easy 1-1 Display and Perfect for
Guest Speakers
1 Connect HDMI to computer
2 Connect HDMI to the HDMI port
located at the front left of the
Journey panel
3 Click on HDMI Front from the input
options on the HOME screen
4 To Enable Touch: With a USB A-B
cable, plug the A side to the
computer and the B side to the
USB B port in backside of the panel
HDMI SET UP
USB SET UP
Type A Type B
HDMI
Type B
HDMI
USB-Touch Out
Type A
11
Access the Android Tool Bar
To access the Android Tool Bar, swipe upwards from the bottom of screen.
Back: Return to previous interface
Home: Return to the Android home page
Task: Switch or end running programs
Input: Change signal source channel
Setting: Enter the settings page
Volume: Slide to increase or decrease the volume
Light: Slide to increase or decrease the brightness
Capture: Take a screenshot and automatically save it
Lock: Click to lock the screen. To enable lock feature and create a unique password, go to
the settings menu (Step 3).
Note: Quick Annotation
Magicboard- Whiteboard Software
Magicboard is a built-in whiteboard and annotation software. To access Magic-
board, click on the Magicboard icon in the applications menu (Step 5).
Magicboard can also be accessed when the Note feature (Step 10) is turned on.
Arrows on each side of the screen will appear. You can access Magicboard by
clicking on the whiteboard icon.
Page 5

Magicboard Icons
866.990.QOMO | 46950 Magellan Dr, Wixom, MI 48393 | info@qomo.com
12
13
Exit or Quit the program
Switch through existing slides
Pen tool. Press and hold icon to change color and thickness
Erase annotations
Undo / Redo
Background Color
Add a new slide
Rectangular selection tool
Add text (Check the “marquee” box to create a scrolling text)
Save le
Quick access les
14
Word Excel Powerpoint PDF Images Video
Android Apps
The panel comes with the following hand-selected Android Apps: YouTube, iMirror, Eshare,
Magicboard, PDF viewer and Oce 365 Word, PowerPoint, and Excel. Additional .APK App les
can be installed to the panel as desired.
EShare App
EShare is a cross-platform 1-1 screen sharing tool for smart
phones, computers and tablets.
1 Use the URL or QR Code at the bottom left of the EShare
home page to download the app to your device.
2 Once downloaded, open the EShare app on your device.
3 Make sure your device and the Journey 13 are on the
same network.
4 When you launch the app it will look for devices. Match
the name on the bottom left of the Eshare page on panel.
Display les, photos, and videos in real-time. Mobile devices
can also be used to control activity on the panel.
Page 6

15
iMirror icon on
the panel.
Airplay icon on
your device.
866.990.QOMO | 46950 Magellan Dr, Wixom, MI 48393 | info@qomo.com
iMirror
iMirror allows for Airplay enabled 1-1 screen sharing between Apple
devices, including iphones, ipads, and Macbooks.
1 Open iMirror app from Apps menu (Step 5 and 13)
2 Click on the Airplay icon on your Apple device
3 Select the number matching the one displayed on iMirror
Saving Magicboard Content
16
ENJOY
YOUR
1. Click the save icon (Step 12) from Magic
board to automatically save your
presentation to Android les.
2. Additionally, a QR code will appear. Using
the QR scanner on your mobile device, scan
and automatically download presentations
to your phone or tablet.
For Additional Help
Contact us at support@qomo.com
or 248-960-0985
Visit us at www.qomo.com
for training videos and more!
JOURNEY
866.990.QOMO | 46950 Magellan Dr, Wixom, MI 48393 | info@qomo.com
Copyright@2018 Qomo, LLC. All rights reserved. This document may not be copied in any form without permission from Qomo, LLC. Information in this
document is subject to change without notice.
/qomosolutions
2/20 | Version: 5.1
 Loading...