

Qisda UH100I, UH100N User Manual
No. Function No. Function
20
21
22
23
24
25
26
27
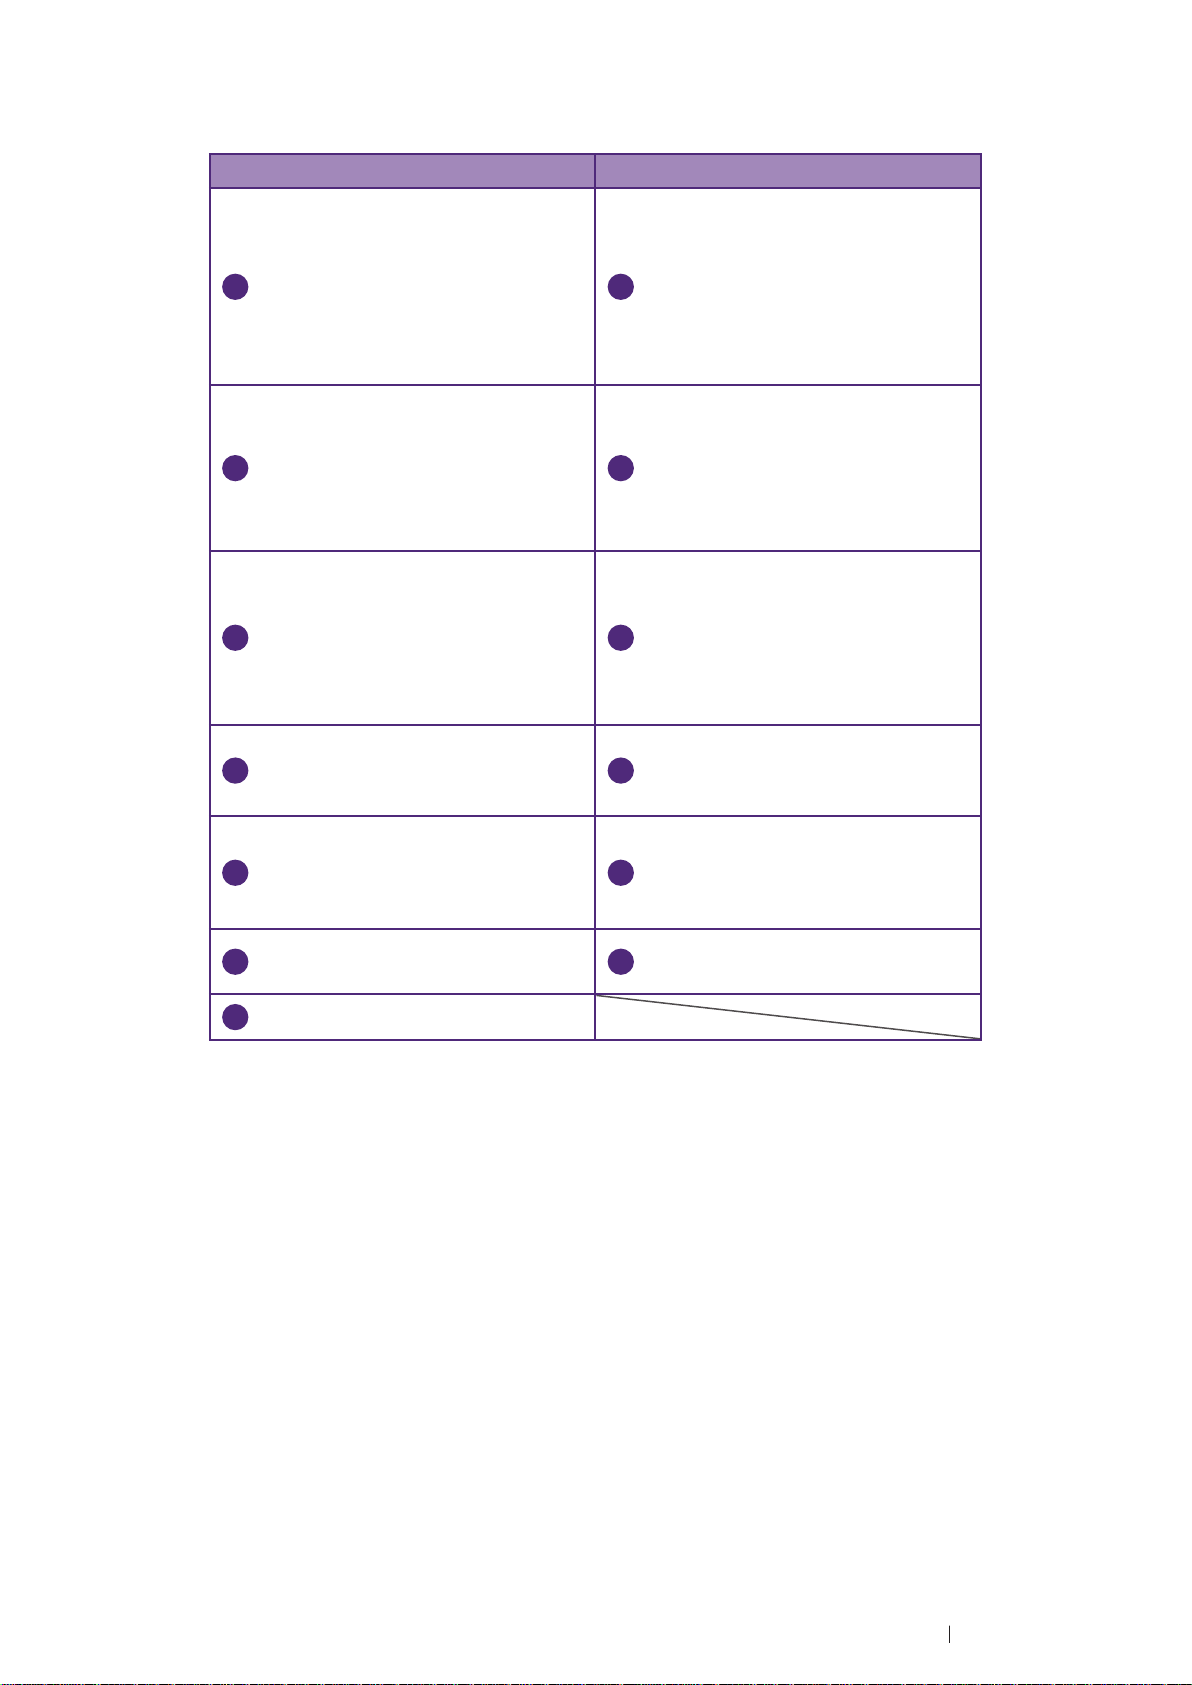
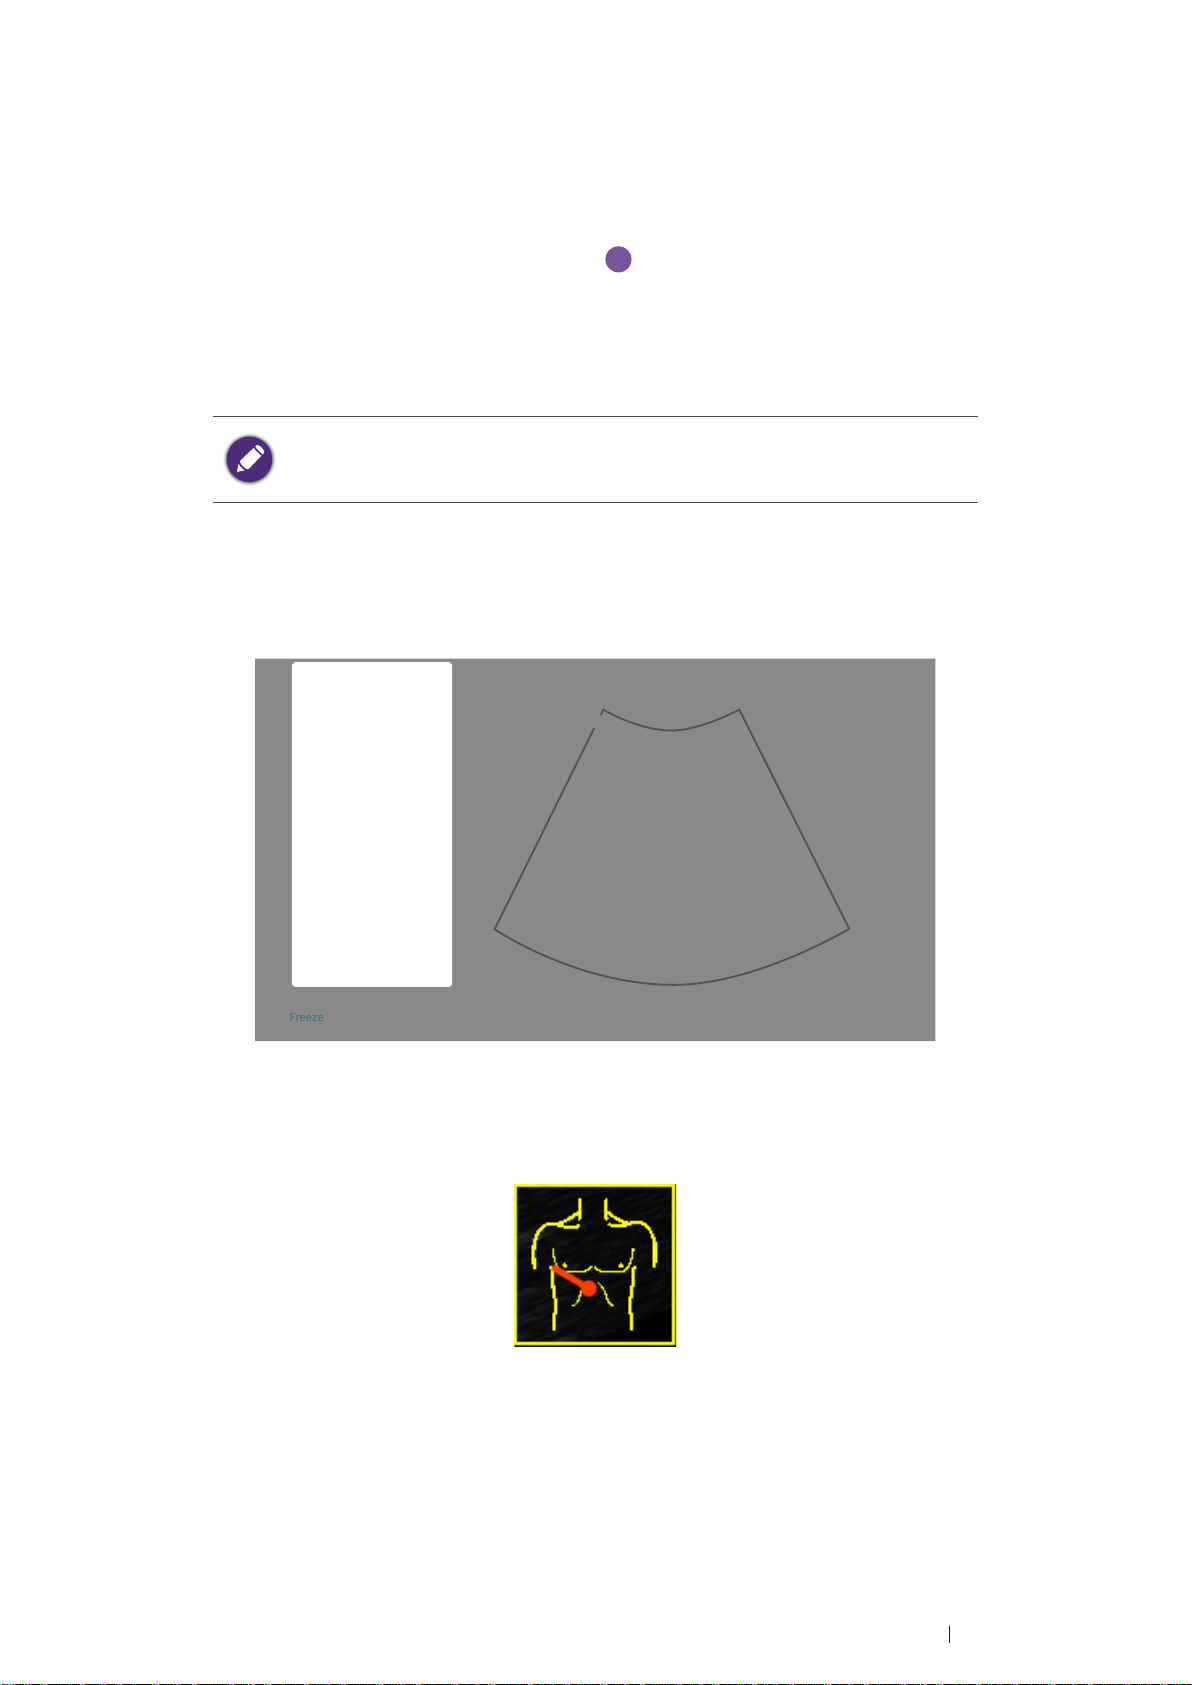
End Exam button
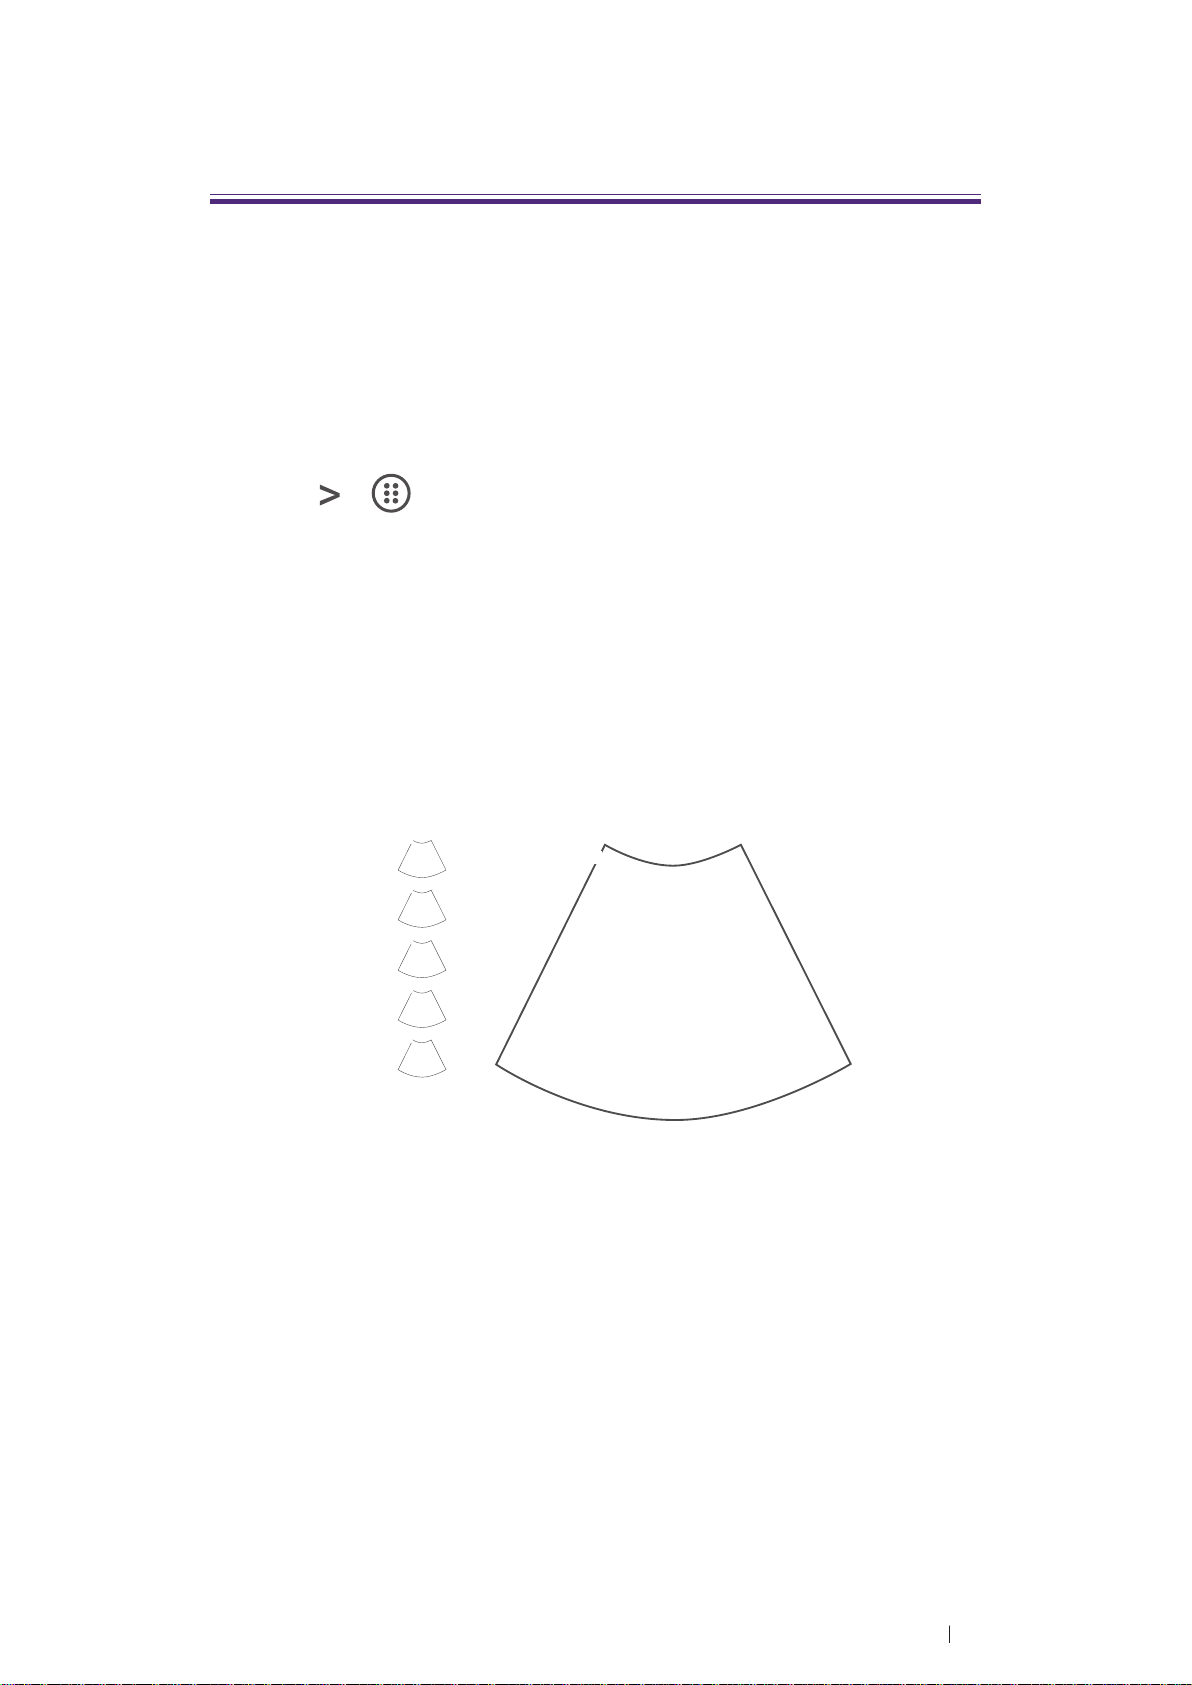
ROI (region of interest) area
Use the zoom function to zoom
in and pan across the current
image.
Close the current exam for
the current patient, and start a
new exam for the next patient.
All the value settings adjusted
during this exam will be stored
automatically.
(High) Resolution: Move the
cursor to the right for a clearer
yet superficial image.
(Deep) Penetration: Move the
PW Update button
Start/stop the PW trace.
cursor to the left for a deeper
yet less clear image.
TGC (Time Gain Compensation)
Slide any of the 8 TGC sliders
to adjust the gain for the desired
section of the 2D image.
M Update button
Tuning button
Optimize the image quality
during a real-time scan.
Start/stop the M trace.
Function key
Assign this button as a shortcut
to perform a function.
Thumbnail list
Thumbnails of the scanned
images/clips that are saved
Touch the left/right arrow to
toggle through different sets
of image control settings when
Freeze button
Freeze the current scan.
using duplex or triple modes.
Open the next page of the image
control settings (See page 56).
Image control settings
(See page 70)
Mode selection buttons
Basic operations
Identify the main screen layout
53
Imaging screen (Frozen)
4
6
7
8
9
3
5
1
2
1
2
3
4
5
6
7
8
9
During an exam, touch Freeze to review all the ultrasound images
stored in the cine buffer frame by frame, or play back these frames in
a continuous loop. The operator can also measure, calculate and add
annotations to the frozen images or clips.
Control panel
Menu
Distance Ellipse
Trace Calc
Measure Del
Annot Label
Arrow Annot Del
BDMK Probe Pos
Rotate Erase BDMK
Print
B Function
Freeze Save Image
Adam, Smith
1234567
12
Fun.Key Set Start Set End
27 01/01/1988
Liver
Figure 7 Frozen imaging screen (example)
No. Function No. Function
This image is added to a report.
Cine clip
09/03/2015 02:56PM
Dr. Johnson
1 490
Medical
Center
TI
MI
Probe
End Exam
The progress bar
Set the end point of the cine clip.
Save Image button
Save a frozen image or a clip to
the system hard drive.
Open the next page of the image
control settings. (See page 56)
Add annotations, including
arrows, texts and body marks,
to the current image using the
virtual keyboard .
Play back the recent image
frame sequence.
Set the start point of the cine
clip.
Freeze button (Enabled)
Touch this button again to return
to the real-time scan.
Print out the image from the
thermal printer connected to the
system via the USB connector.
Perform measurements and
calculations on the current
image.
Basic operations
Identify the main screen layout
54
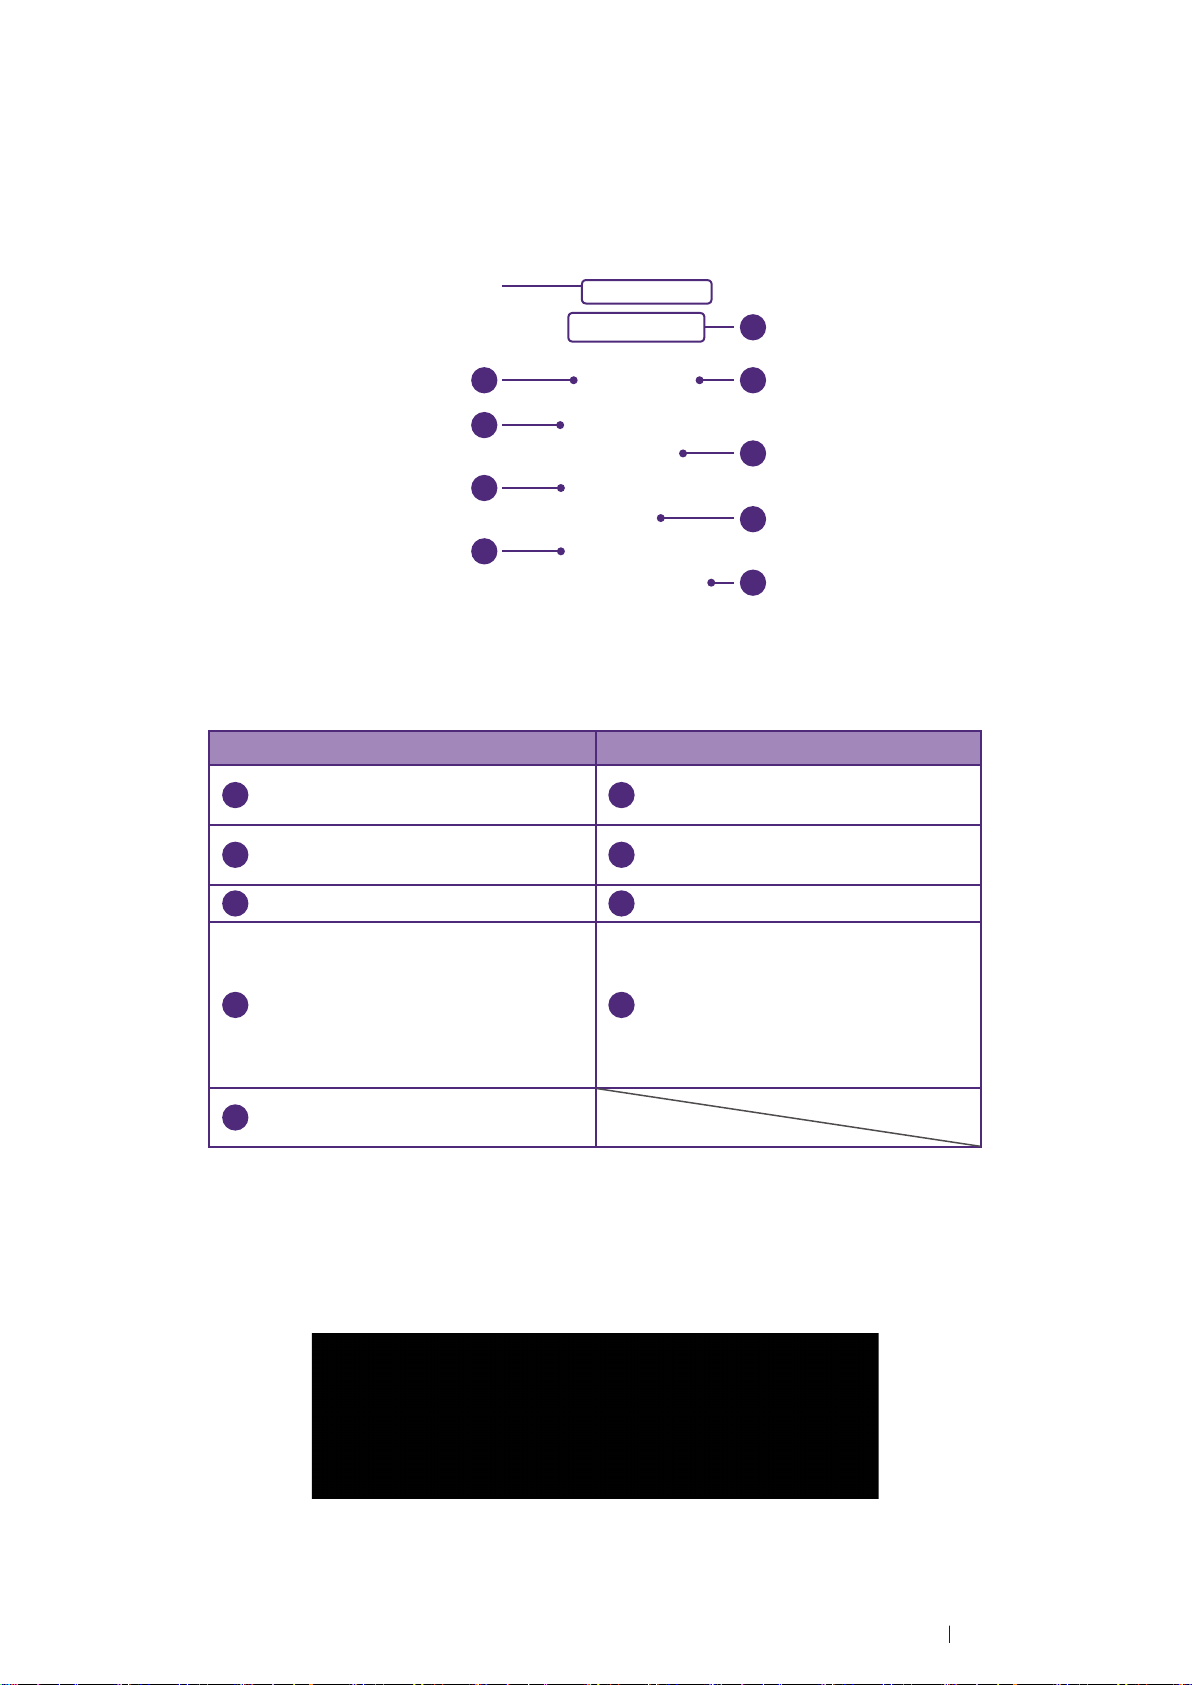
System tools
1
2
4
6
7
8
9
3
5
1
2
3
4
5
6
7
8
9
Touch anywhere on the system toolbar to open the system tools widget.
Touch an item to adjust its setting.
System
toolbar
No. Function No. Function
Manually set current date and
time.
Cast the system screen to an
external display.
Menu
B
14:56
M
Freeze Save Image
Figure 8 System tool widget
2015. 08. 07
Tuesday
LAN on
Cast display off
Used 85%
Connecting
Enable/Disable the Bluetooth
function.
Check and manage outgoing
queues.
Adjust the brightness.
Adjust the volume.
Display the percentage of the
system storage used. Follow
the pop-up message to free up
storage space by deleting exams
Manage the Ethernet settings
done in the appointed number of
weeks.
Enable/Disable the WLAN
function.
Virtual keyboard
Whenever the operator needs to enter text in a text field, simply touch
the field, and a virtual keyboard appears on the lower part of the screen.
Touch a letter to enter text; when finishing inputs, touch Done.
Figure 9 Virtual keyboard
Basic operations
Identify the main screen layout
55
Scan properties display
1
2
4
6
3
5
1
2
3
4
5
6
The imaging window includes a text display information about the current
scan.
Medical
Center
TI 0.27
MI 1.04
CLA
Gn 58
0
15.0cm 4FPS
1/ 1
M/ 80.0
Gn 45
M/ 80.0
1.0
15
20.0
1/ 3
-15
Figure 10 Scan properties display (example)
No. Function No. Function
Thermal index/Mechanical index
2D image control settings:
Gain/Depth/FPS/QBeam/PWR
Color wedge
Transducer type
Color image control settings:
Gain/PWR/PRF/Wall Filter/
Persistence
Grayscale wedge
Switch the control panel pages
The functions available on the control panel vary, depending on the scan
mode and the transducer connected.
Page 1
Touch to open the next page
(page 2).
Touch to display more functions
Page 2
(page 3).
Page 3
Touch to return to
Touch to return to
the first page (page 1).
Basic operations
the previous page
(page 2).
Identify the main screen layout
56

Add a new patient
The system allows skipping entering patient information if the operator
needs to start the ultrasound exam immediately. However, the images
and cine loops cannot be saved. We recommend that the operator
defines the patient within the system before scanning to avoid mix-ups
and to generate reports.
1. On the imaging screen, touch Menu > Patient.
Menu Patient
Edit Patient
New Patient
Pause Exam
Current Exam History
Save
Scan Previous
Patient Information
First name Middle Name Last Name
ID Gender DOB Age:
Exam History
Cardiology GY OB Abdomen Small Part Urology Vascular
Height cm Weight kg BSA: m2HR bpm
Blood Press
Accession Institution Operator
Referring physician Interpreting Physician
Description
Comment
mmHg RA Press mmHg
/
End Exam
Figure 11 Patient screen
2. Touch New Patient. Enter the patient information as much detail as
possible:
» Touch in a text entry field, and use the virtual keyboard below to
input contents.
» Touch Next on the keyboard to go to the next field.
» Touch Done on the keyboard.
To create a valid patient profile, at least the patient’s First name
and ID number should be filled in.
3. Touch Save.
To start scanning the patient, touch Scan.
To update patient information
1. On the patient screen, touch Edit Patient.
2. Enter the new information in the appropriate fields.
Basic operations
Add a new patient
57
3. Touch anywhere on the screen, the following system message
2
3
appears. Touch Save to save changes.
Load a work list
The system conforms with the Digital Imaging and Communications
in Medicine (DICOM) standard, which is the industrial standard for the
communication and management of patient data between devices in the
hospital. The operator can load patient information in a work list via the
DICOM server.
1. On the imaging screen, touch Menu > Work list.
Menu Worklist
Start exam
Scan Previous
Query Worklist
Name ID 234567
Worklist: 1 2015.08.29 All
Name ID Accession# Gender DOB
Keane Fox 234567 123456 M 19991109
Details
|
Accession#
Figure 12 Work list screen
2. Enter the query criteria in any of the Name/ID/Accession# fields,
and touch
to start the query. Patients matching the query will be
listed on the screen.
3. Select the number of patients to scan on the worklist from the dropdown menu.
To start scanning, select a patient, and then touch Start exam.
Basic operations
Load a work list
58

Select a preset
The system provides predefined presets for all supported transducers.
Choosing an exam loads optimized presets for image control settings,
based on the anatomy to be scanned, the transducer used, and the
scanning mode. The presets also specify the measurements appropriate
for the exams. The operator can directly use the optimized presets, or
adjust any of the image control settings as necessary for the specific
patient and the specific exam.
1. On the imaging screen, touch Menu > Preset. All the available
presets compatible with the connected transducer displays on the
preset screen.
Menu Preset Select Preset
Save current used preset as
Management
Export
Import
Preset Setup
Liver Obstetric
Currently used preset
Scan Previous
Figure 13 Preset screen
2. Touch the exam/preset to scan, and the operator will be redirected
automatically to the real-time imaging screen.
To modify current presets
1. On the preset screen, touch Movement.
2. Touch Move, and drag to re-arrange the order of the presets. To hide
an unwanted preset, touch Hide & Show Preset, and touch Off on
the preset.
3. Touch anywhere on the screen, the following system message
appears. Touch Save to save changes.
Basic operations
Select a preset
59
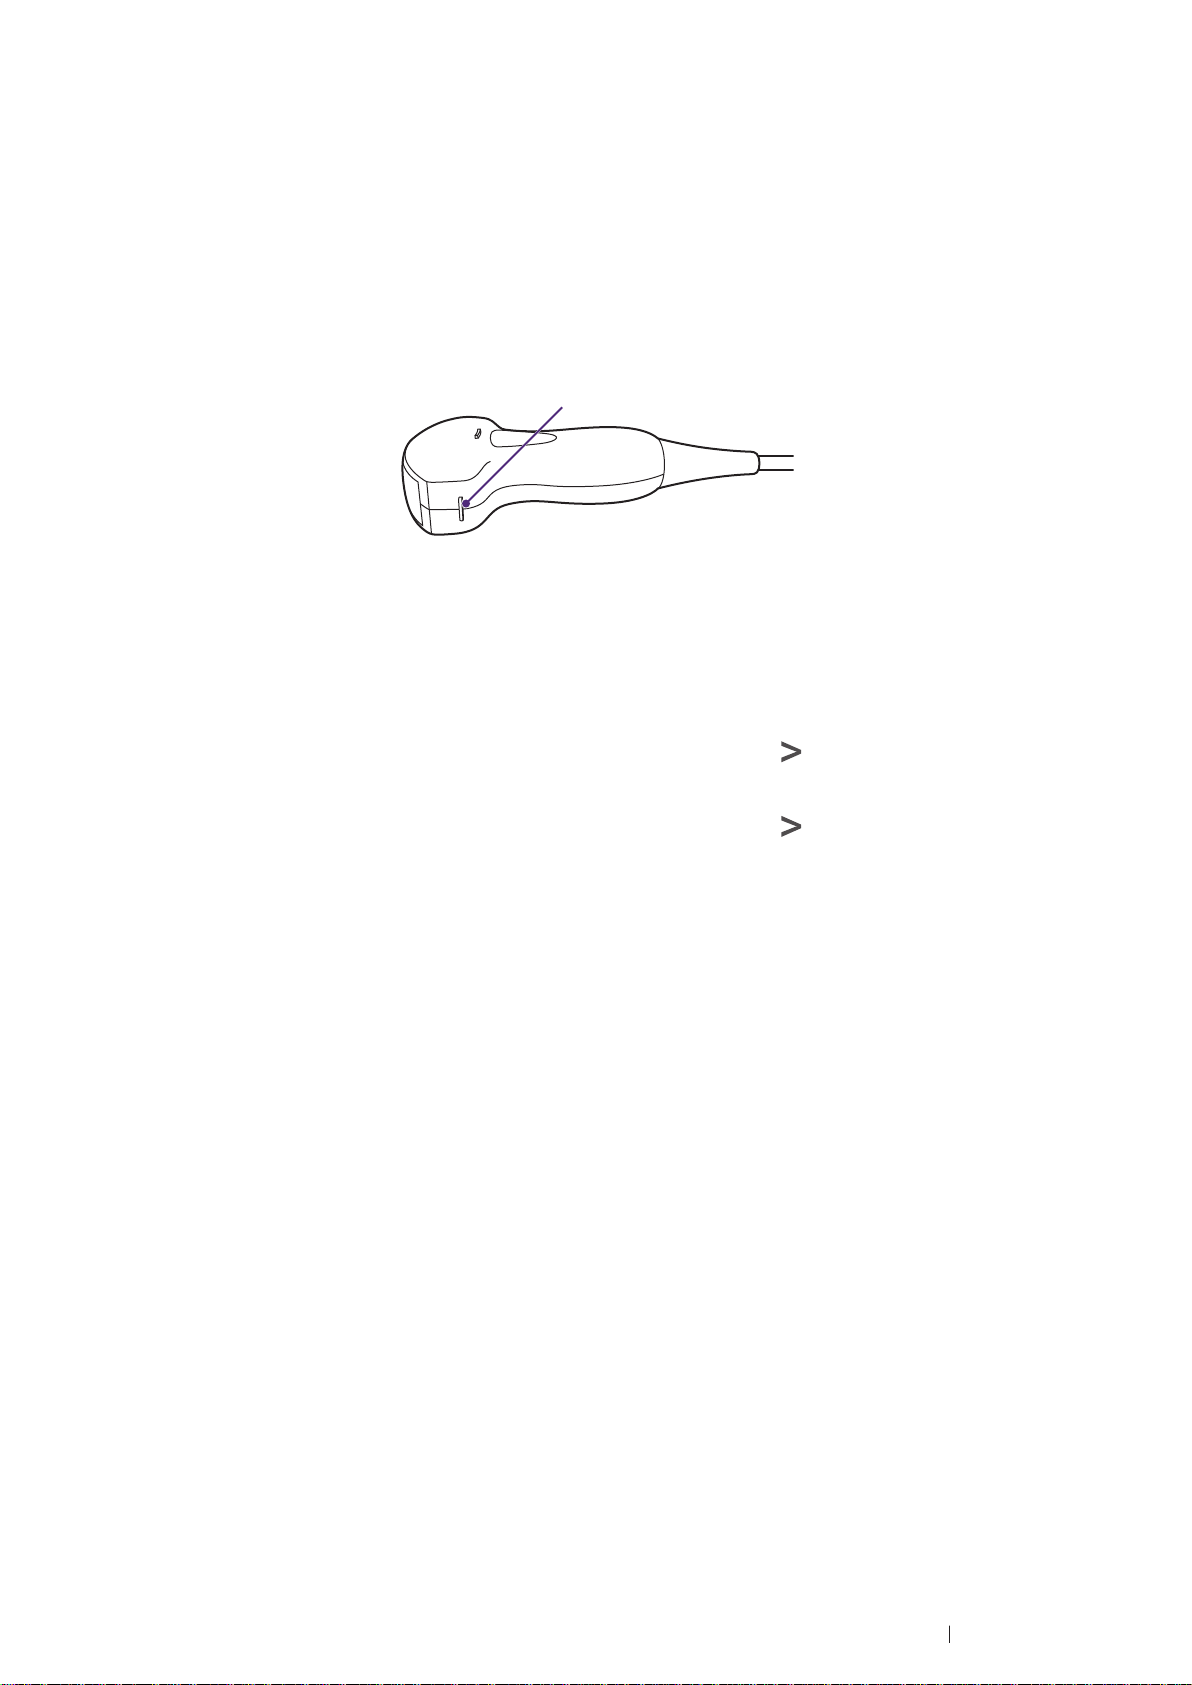
Set the transducer orientation
Upon entering all imaging modes, the orientation marker ( ) displays
at the default location (usually at the top left side of the image), and
suggests the operator the direction of holding the transducer. The
orientation marker on the screen corresponds to the position of the
orientation marking on the side of the transducer.
Orientation marker
Figure 14 Transducer orientation (Example transducer-C52A)
The operator can change the left/right orientation of the image (realtime or frozen) in various imaging (single or dual) without rotating the
transducer head itself.
To reverse left and right
On the imaging screen (real-time or frozen), touch
To reverse up and down
On the imaging screen (real-time or frozen), touch
> L/R.
> U/D.
Adjust the displayed image
On the real-time imaging screen, touch the corresponding mode
selection button to select a scan mode. Use the image control settings to
further optimize the image. For explanations and usage of these settings
on specific modes, please refer to their respective chapters.
The operator can also perform the following operations to adjust the
contents of the imaging window.
Basic operations
Set the transducer orientation
60
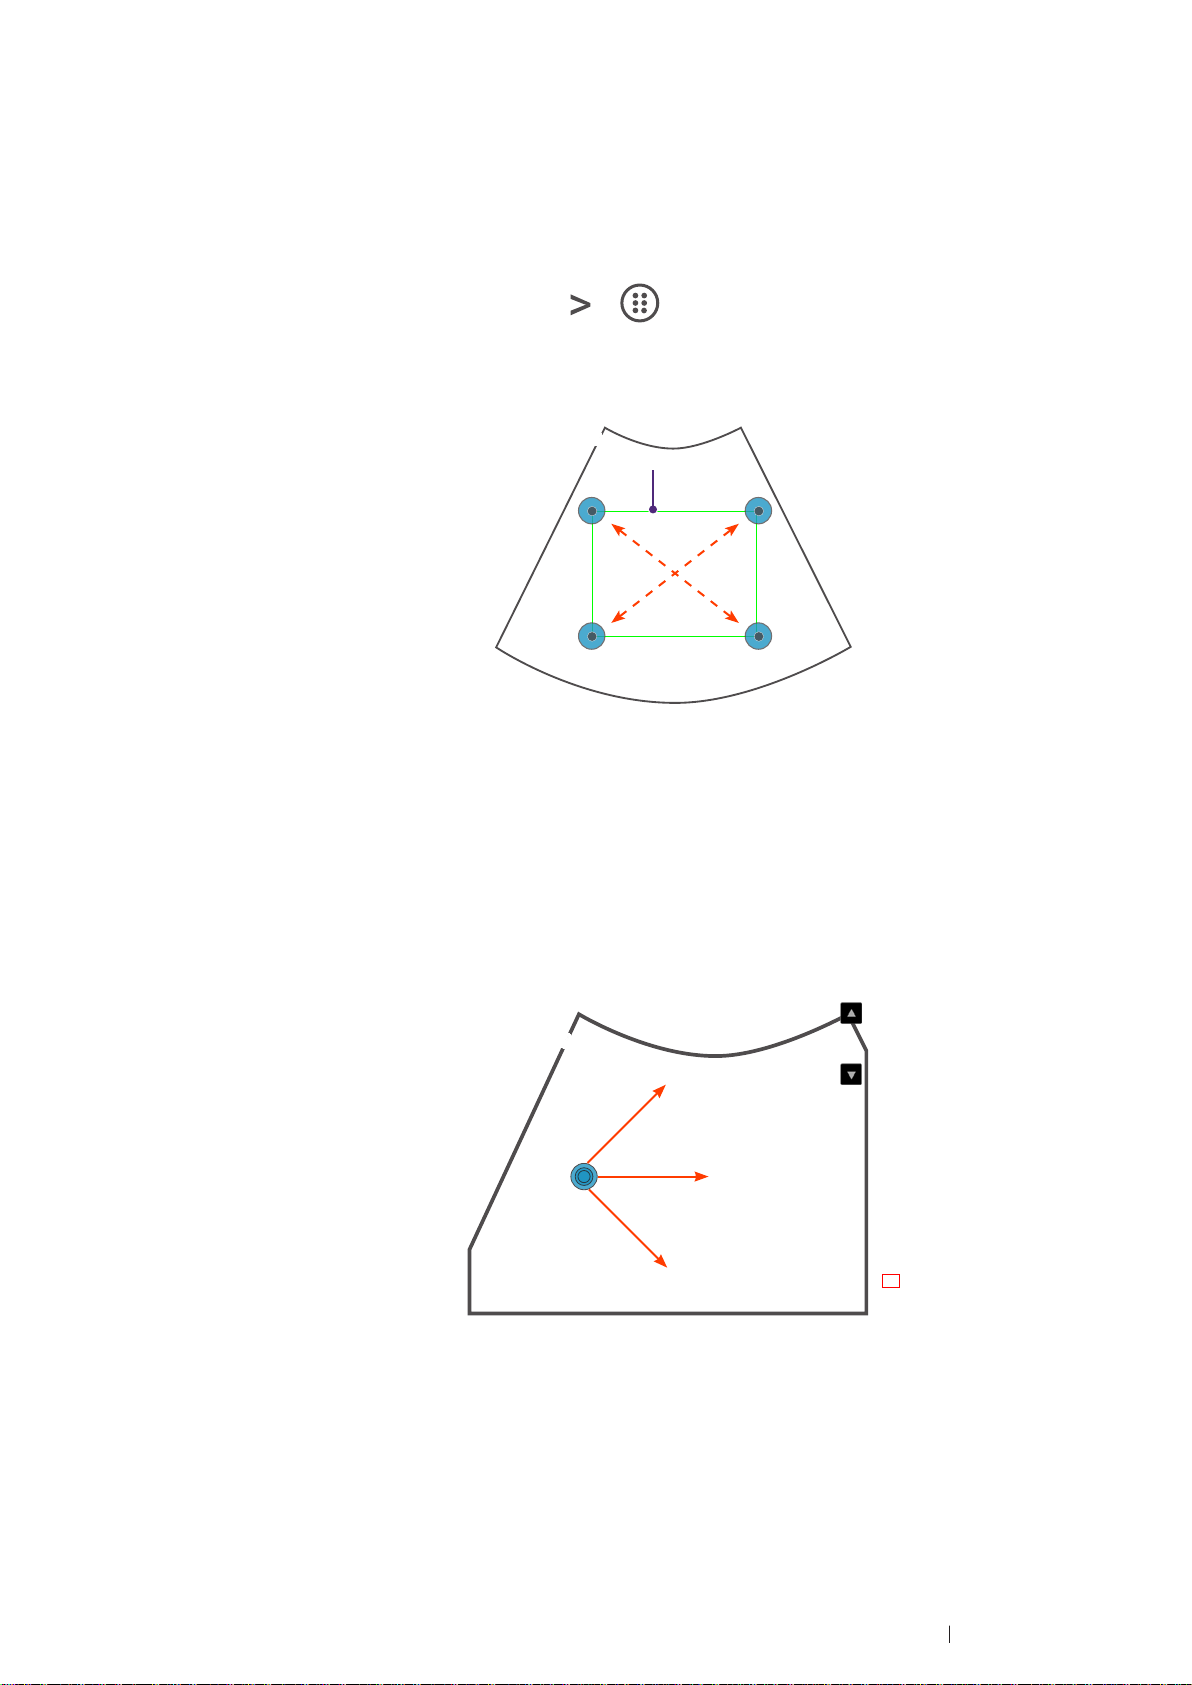
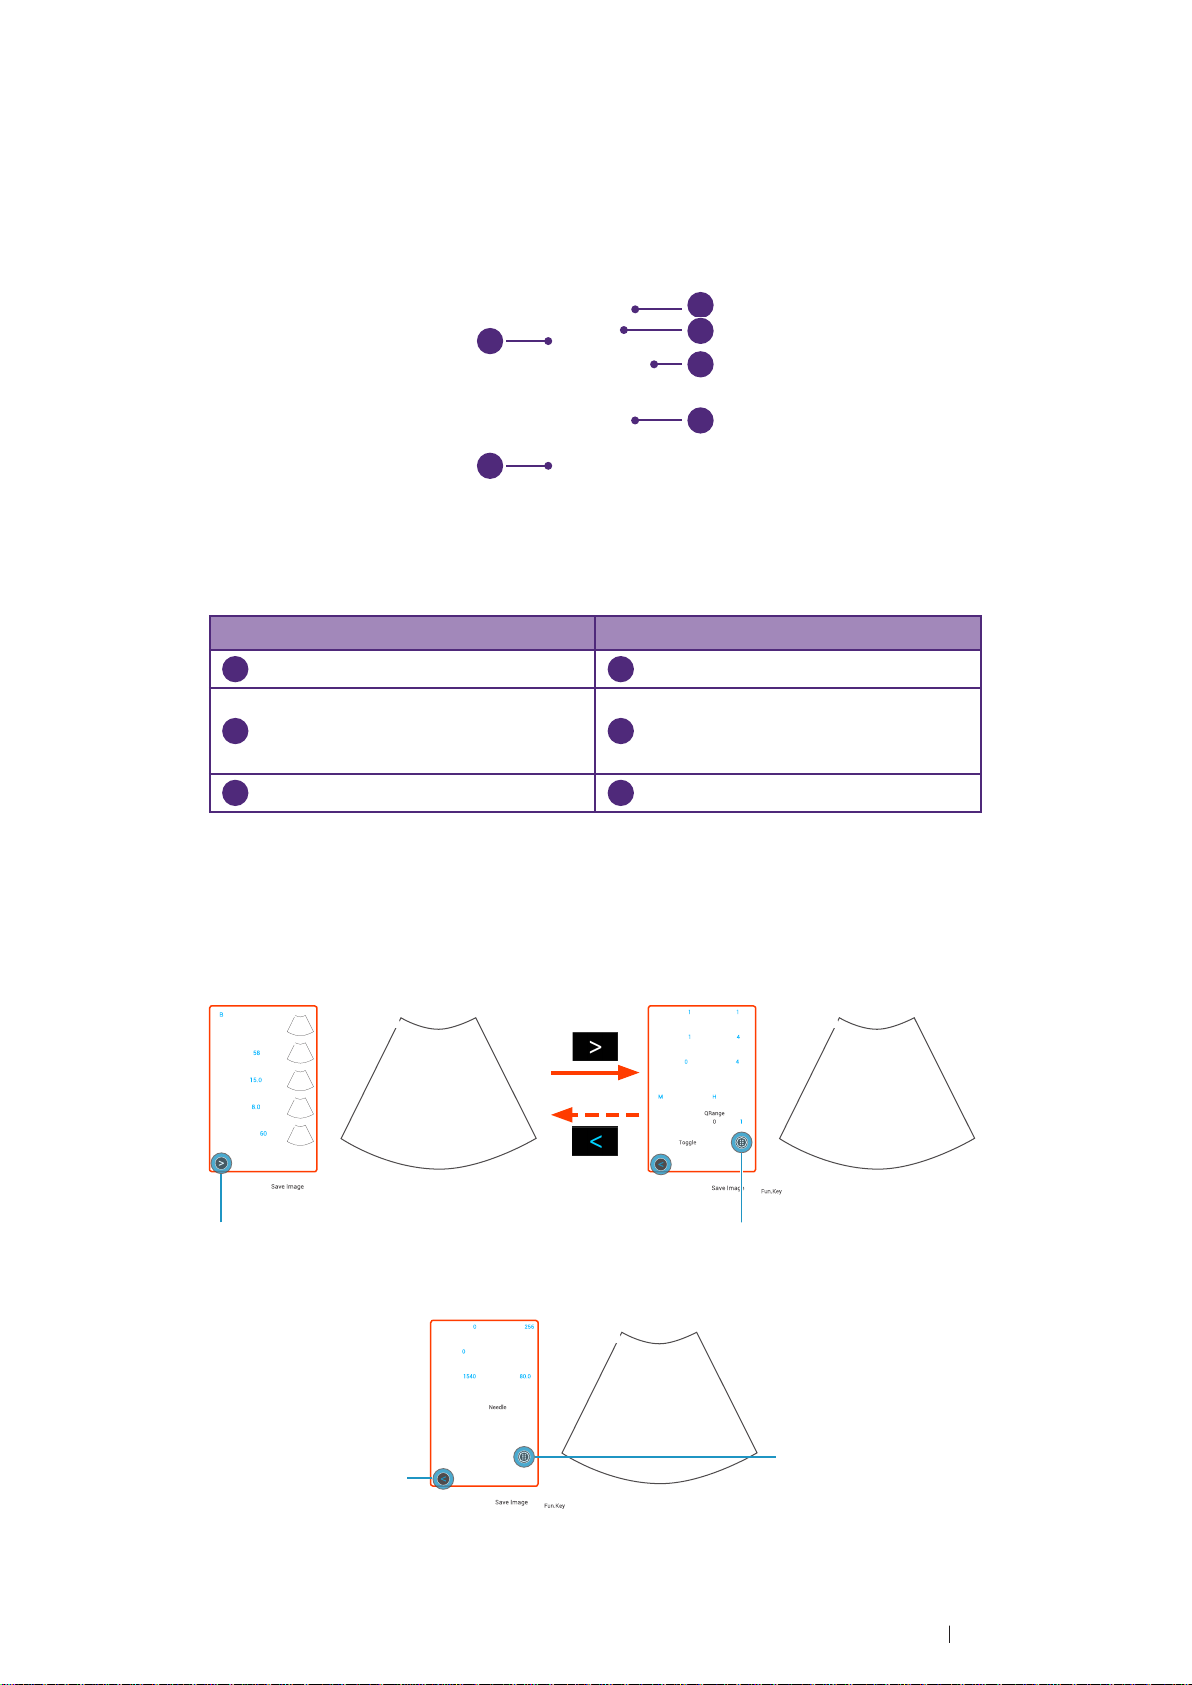
Enlarge an area of the image
To further examine the anatomy by enlarging a region of the image (realtime or frozen), use the zoom function.
1. On the imaging screen, touch
> > Zoom. The ROI (Region of
Interest) box appears on the center of the image.
Menu
Chroma Map 0 Sector Width 26
GSC 0 Sector Pos
Acoustic 1540 TX Power 80.0
Image
Zoom
Reverse
Annot Label Arrow
Probe
BDMK
Pos
B Function
Freeze Save Image
Erase
Needle
BDMK
Annot
Rotate Close
Adam, Smith
1234567
Del
Fun.Key Tuning TGC
Figure 15 Enlarge a ROI (normal image)
27 01/01/1988
Liver
ROI box
09/03/2015 02:56PM
Dr. Johnson
Penetration Resolution
Medical
Center
TI 0.11
MI 0.92
CLA
0
Gn 58
15.0cm 15FPS
1/ 1
M/ 80.0
60/ 0
0/ 4
Zoom View: 1.0x
End Exam
Touch and drag inside of the ROI box to move it to the area to
enlarge. Touch on any of the box’s four corners and drag to resize
the ROI box.
2. Touch anywhere outside the ROI box to enlarge selected area.
Menu
Chroma Map 0 Sector Width 26
GSC 0 Sector Pos
Acoustic 1540 TX Power 80.0
Image
Zoom
Reverse
Annot Label Arrow
Probe
BDMK
Pos
B Function
Freeze Save Image
Erase
Needle
BDMK
Annot
Rotate Close
Adam, Smith
1234567
Del
Fun.Key Tuning TGC
Figure 16 Enlarge a ROI (zoomed image)
27 01/01/1988
Liver
09/03/2015 02:56PM
Dr. Johnson
Penetration Resolution
Medical
Center
TI 0.11
MI 0.92
CLA
0 Gn 58
15.0cm 15FPS
1/ 1
M/ 80.0
60/ 0
0/ 4
Zoom View: 2.0x
End Exam
The operator can still move the enlarged area by touching and
dragging anywhere on the image.
Basic operations
Adjust the displayed image
61
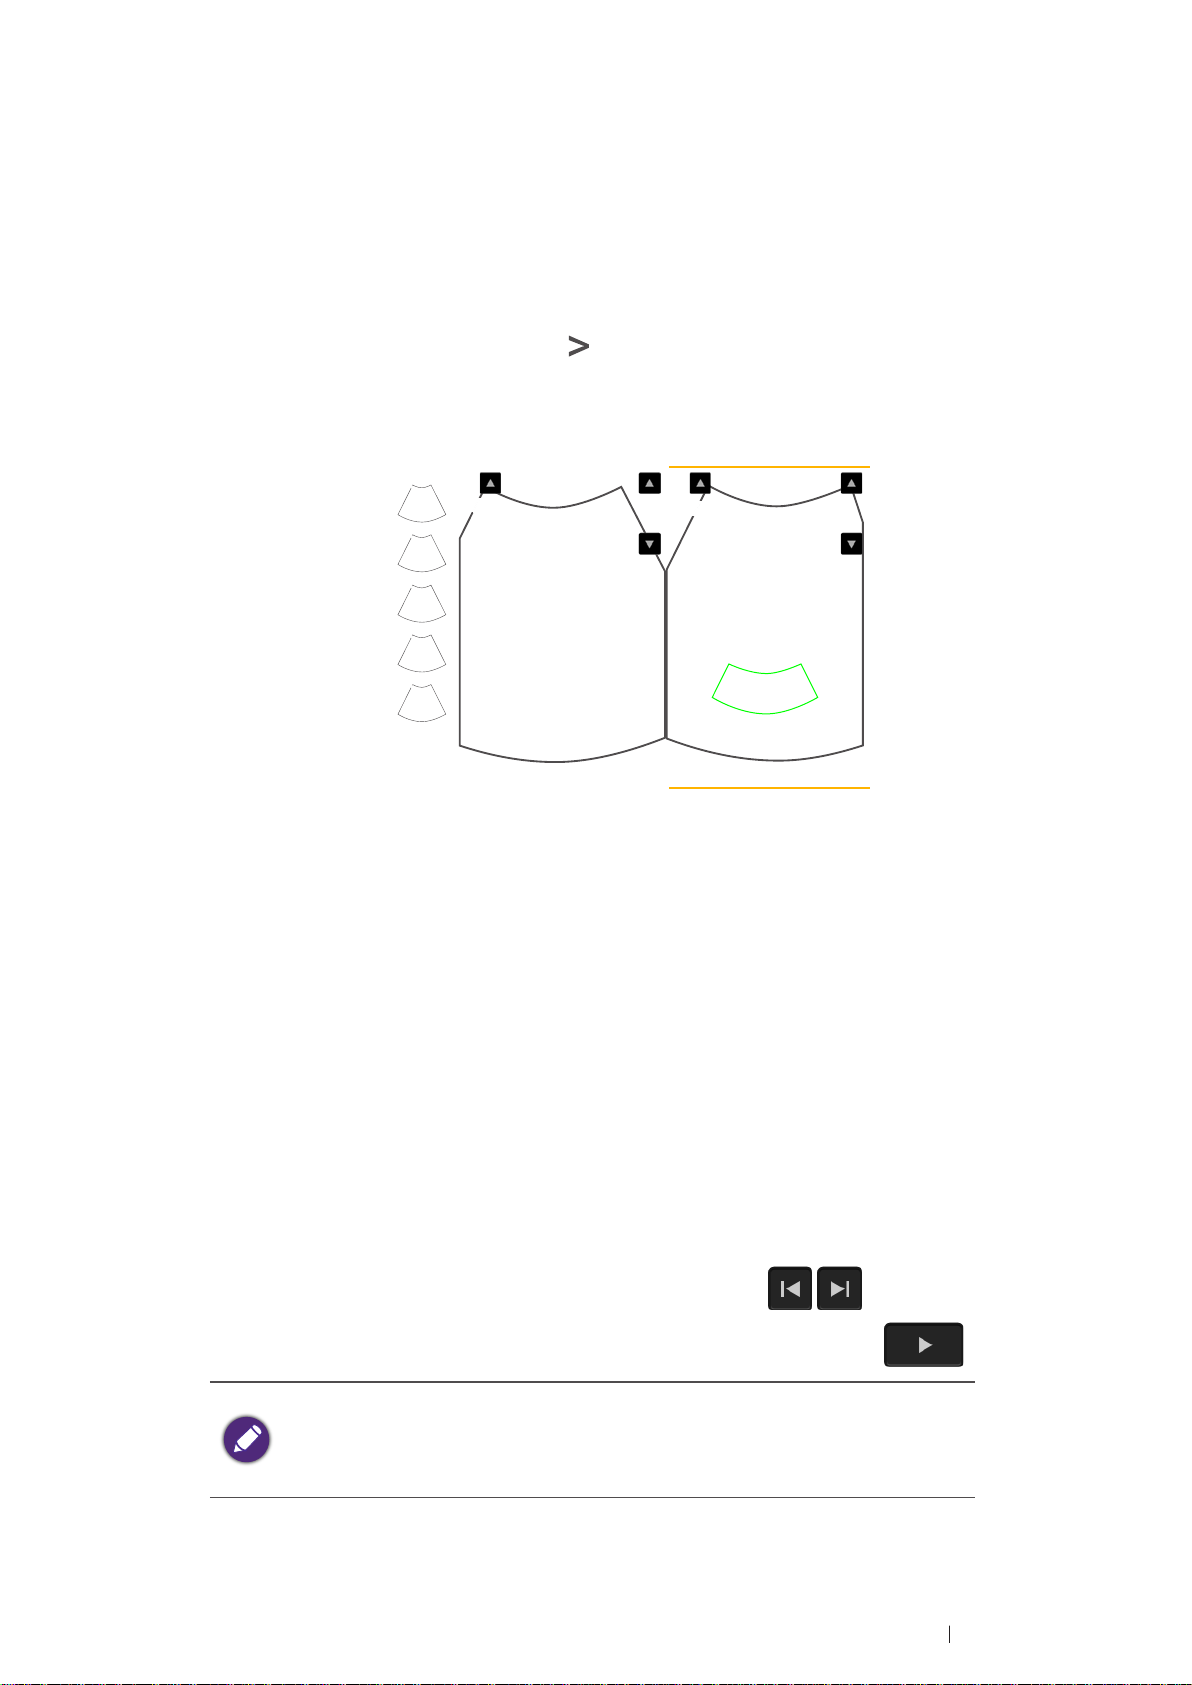
Split the imaging screen
The system allows splitting the imaging screen into two sections to view
two current scans for a patient. The operator can acquire one scan for
the patient, enable split screen, and then acquire another scan from a
different angle, location or with a different scan mode.
On the imaging screen, touch
> Dual. The ultrasound software
immediately freezes the current scan, and copies the current settings for
the image to the second screen.
Menu
B Color PW
M Power
Color Gain 45
PRF 1.0
Steering 0
WF 20.0
Color Function
Freeze Save Image
Adam, Smith
1234567
12
Fun.Key Tuning TGC
Figure 17 Dual screen
27 01/01/1988
Liver
09/03/2015 02:56PM
Dr. Smith
0 0
Penetration Resolution
Medical
Center
15
-15
TI 0.27
MI 1.04
CLA
Gn 58
15.0cm 4FPS
1/ 1
M/ 80.0
Gn 45
M/ 80.0
1.0
20.0
1/ 3
End Exam
To select a screen, touch Toggle. Only one screen can be active at a
time. The operator can then apply any image control settings and use
scan modes independently to either screen. For example, the operator
can acquire a 2D scan, activate dual screen, and then acquire a Color
Doppler scan in the second screen.
To leave the dual screen, touch Dual again.
Freeze an image
During a real-time scan, touch Freeze to freeze live ultrasound images
recorded by frame and stored temporarily in the cine buffer. Depending
on the mode selected, a certain number of frames are recorded.
To view the saved images frame by frame, touch / .
To play back saved images in a continuous cine loop, touch .
To re-start a new live scan, touch Freeze again.
If no frozen image or cine loop are saved, restart live scanning
erases the frame data. Make sure any needed images are saved
or printed before acquiring new scan data.
Basic operations
Freeze an image
62
Add annotations and measurements
b
a
c
a
b
On the frozen imaging screen, the operator can add annotations and
measurements to the ultrasound images in order to explain the anatomy.
If you return to the real-time imaging screen without saving the image, all
the annotations and measurements added will be cleared.
Annotations
Menu
Left Right
Upper Lower
Medial Lateral
Anterior Posterior
SAG TRANS
PROX MID
LT Kidney RT Kidney
LT Lobe RT Lobe
Aorta Liver
CBD IVC
Duodenum Fluid
Appendix Pancreas
Gallbladder Spleen
Caudate Bowel
Close
Adam, Smith
1234567
Delete Set Home Go home
27 01/01/1988
Liver
Lower
09/03/2015 02:56PM
Dr. Johnson
Tumor
1 490
Medical
Center
TI 0.11
MI 0.92
CLA
0
Gn 58
15.0cm 15FPS
1/ 1
M/ 80.0
60/ 0
0/ 4
End Exam
Figure 18 Add annotations
Arrow
Touch Arrow. An arrow appears at the text home position. Drag the
arrow to place it to the desired location
.
Text
1. Touch Annot. A virtual keyboard and a text cursor (I-beam) appear at
the text home position.
2. Type the texts directly. Touch Done on the keyboard to finish inputs.
3. Drag the text cursor to where you want the new texts to be, and
release it to place the texts
.
Set the text home position
The operator can choose a specified position in the image display as the
starting location, which is the text home position.
1. Touch Annot.
2. Drag the text cursor to the desired text home position.
3. Touch Set Home.
Basic operations
Add annotations and measurements
63
Label
c
1. Touch Label. A predefined text menu and a text cursor (I-beam)
appears at the text home position
.
2. Select a text label to place it at the current cursor position, and touch
Close.
3. Drag the cursor/label to where you want the texts to be.
The text labels are still editable. Touch the label to display the virtual
keyboard, and start editing the texts. Touch Done on the keyboard to
finish editing.
BDMK
1. Touch BDMK to display the body marker menu.
Menu
Body Mark (12)
Distance
Trace
Annot
Arrow
BDMK
Rotate
Print
Close
Freeze Save Image
Adam, Smith
1234567
Fun.Key Set Start Set End
27 01/01/1988
Liver
09/03/2015 02:56PM
Dr. Johnson
1 490
Medical
Center
TI 0.11
MI 0.92
CLA
Gn 58
0
15.0cm 15FPS
1/ 1
M/ 80.0
60/ 0
0/ 4
End Exam
Figure 19 Add a body mark
2. Select a body mark. A pictogram of the body mark with a transducer
indicator displays on the image.
Figure 20 Pictogram of the body mark (example)
3. Touch Probe Pos, Touch anywhere on the image and move to place
the body marker to the desired location on the body mark.
4. Touch Rotate. Touch anywhere on the image and move to rotate the
transducer indicator.
Basic operations
Add annotations and measurements
64
5. Touch and hold the pictogram, and drag to move it to the desired
a
c
b
a
location on the image.
To delete annotations added, including texts and arrows, touch
Annot Del to delete the last added annotations.
To delete the body mark added, touch Erase BDMK.
Measurements
Measurements accompanying ultrasound images supplement other
clinical procedures available to the attending physician. The operator
can perform as many measurements as needed.
Menu
Distance Ellipse
Trace Calc
Annot Label
Arrow Annot Del
BDMK Probe Pos
Rotate Erase BDMK
Print
Freeze Save Image
To delete measurements added, touch Measure Del to delete the last
added measurements.
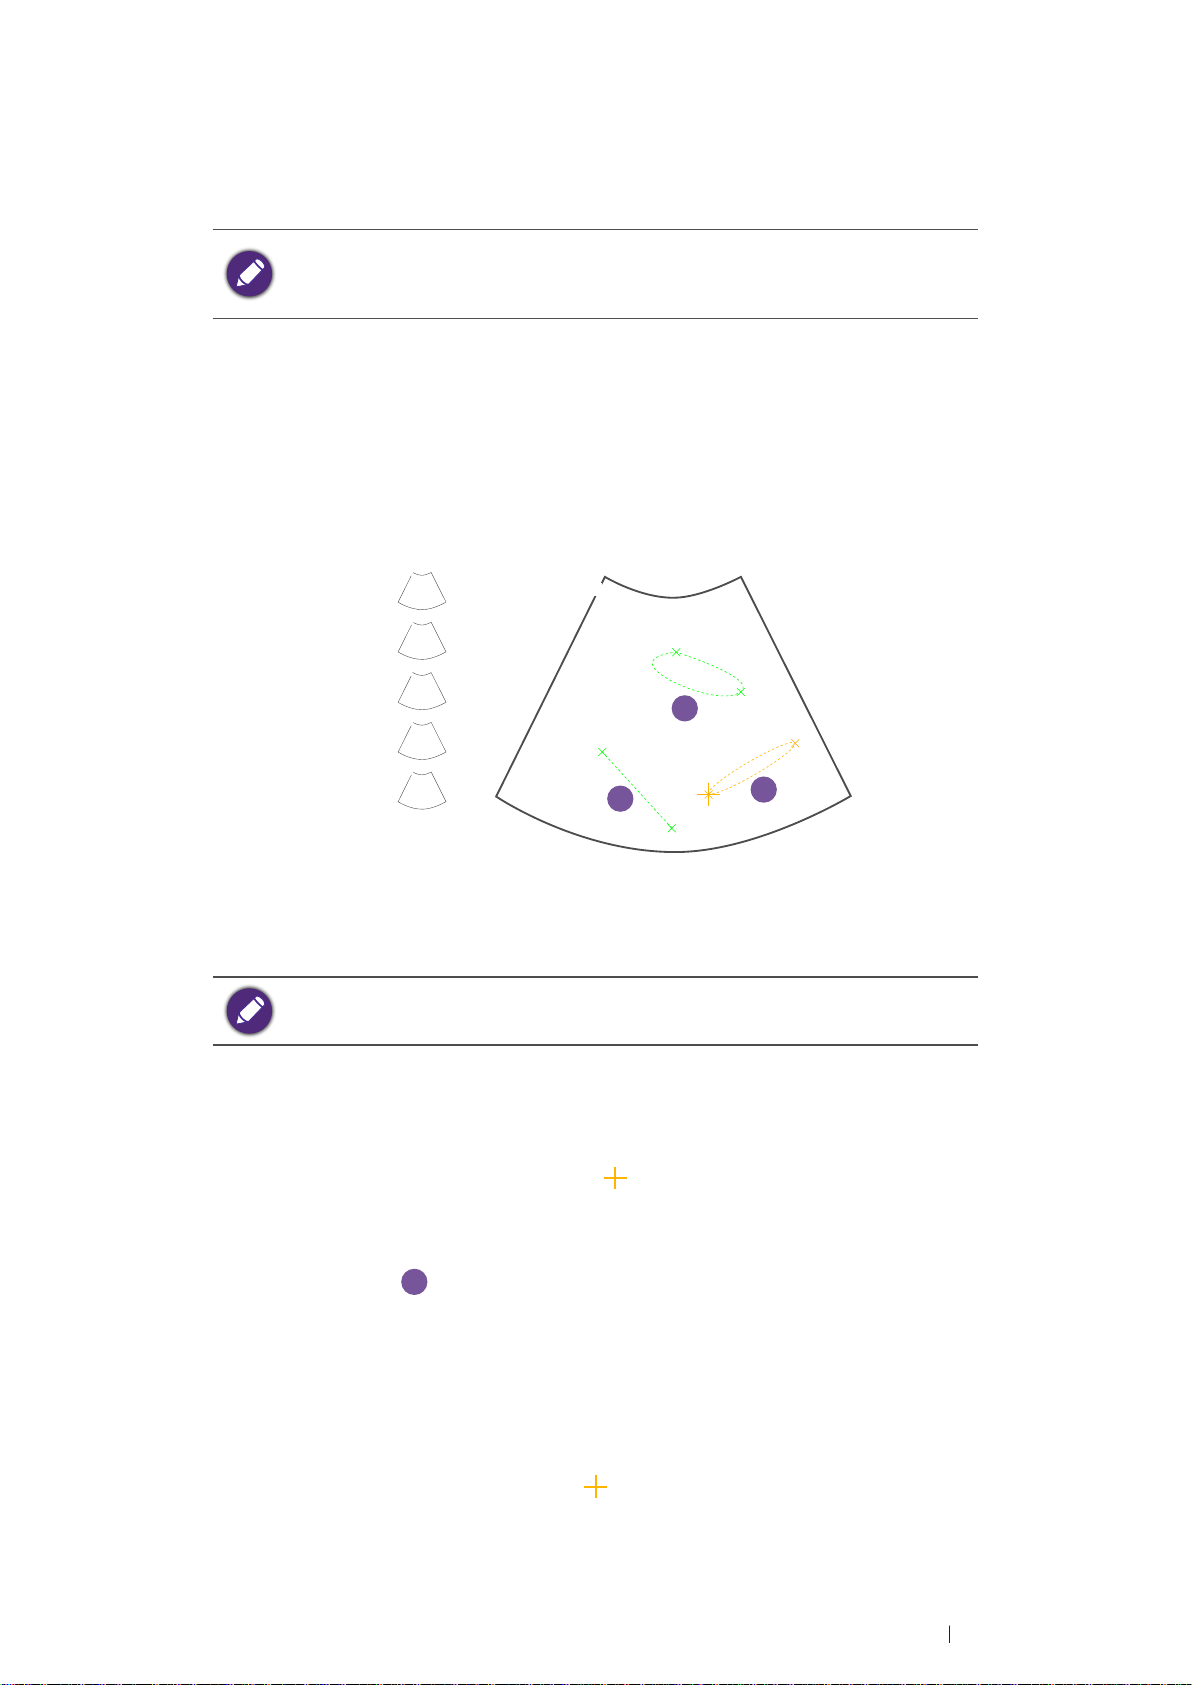
Distance
Measure Del
B Function
Adam, Smith
1234567
1 D 66.7 mm
2 TA 2641.5 mm
TB 0.5 mm
3 EA 119.8 mm
EP 122.6 mm
Ea 61.2 mm
Eb 2.5 mm
5
Fun.Key Set Start Set End
27 01/01/1988
Liver
2
2
09/03/2015 02:56PM
Dr. Johnson
1
1 490
Figure 21 Perform measurements
Medical
Center
TI 0.11
MI 0.92
CLA
Gn 58
0
15.0cm 15FPS
1/ 1
M/ 80.0
60/ 0
0/ 4
2
End Exam
Used to measure a distance.
1. Touch Distance. A “cross” cursor
appears on the image. Move the
target cursor to where you want to start measuring and release it.
2. Drag the target cursor to where you want to finish measuring, and
then release it
.
The measured results (values) appear on the top left corner of the
ultrasound image.
Trace
Used to trace an irregular shape.
1. Touch Trace. A “cross” cursor
cursor to where you want to start measuring and release it.
Basic operations
appears on the image. Move the
Add annotations and measurements
65

2. Drag the cursor along the outline of the object to trace.
b
c
Figure 22 Trace an outline
3. When the tracing is nearly done, release your finger and the system
completes the loop by drawing a line from the current cursor position
to the starting point
The measured results (values) appear on the top left corner of the
ultrasound image.
.
Ellipse
Used to measure a circumference.
1. Touch Ellipse. A “cross” cursor
target cursor to one end of the area you want to measure and release
it to set the start point of measurement.
2. Drag the target cursor to the other end of the desired area, and
release it to set the end point of measurement. An oval area is then
measured
The measured results (values) appear on the top left corner of the
ultrasound image.
.
appears on the image. Move the
Save and print the image
After adding needed annotations/measurements to the image, the
operator can save or print the image.
Save an image
On the frozen imaging screen, touch Save Image to save the current
frame as an image. The saved image will be displayed in the thumbnail
list.
Save a cine clip
To save the frames as a cine clip, touch and hold Save Image.
Print an image
To print out the image, touch Print.
Basic operations
Save and print the image
66

Review the image
On the frozen screen, scroll up and down on the thumbnail list to view
the thumbnails of all the saved images/clips. To further examine one or a
set of images/clips, touch the thumbnail(s) of the needed image or cine
clip to display the review screen.
Menu
Add to Report Gen Report
Export study Delete
Multi-Select 1*1
Multi-Image 1*1
Print Study List
B Function
Freeze Save Image
Adam, Smith
1234567
3/12
Fun.Key Set Start Set End
27 01/01/1988
Liver
07/08/2015 02:56PM
Dr. Johnson
Medical
Center
1
TI 0.11
MI 0.92
CLA
Gn 60
9.0cm 28FPS
0/ 1
M/ 80.0
3/ 1
0/ 4
End Exam
Figure 23 Review the image
Perform multiple selections
The operator can perform actions to more than one image/clip at a time.
Menu
Add to
Gen Report
Report
Export study
Delete
Multi-Select 3*3
Multi-Image 1*1
Print Study List
B Function
Freeze Save Image
12
Fun.Key Select All Deselect All
End Exam
Figure 24 Perform multiple selections
1. Touch the + button under Multi-Select. Scroll up and down on the
thumbnail window and touch to select up to 9 images/clips.
To quickly select all images, touch Select All.
To cancel all selections, touch Deselect All.
Basic operations
Review the image
67

2. Touch an action button. For example, touch Delete to delete all
selected images/clips.
Compare images
To compare the scanned images/clips, touch the + button under Multi-
Image.
Menu
Add to
Gen Report
Report
Export study Delete
Multi-Select 1*1
Multi-Image 2*2
Print Study List
B Function
Freeze Save Image
Please touch thumbnail to add to review list. Please touch thumbnail to add to review list.
12
Fun.Key
Please touch thumbnail to add to review list.
End Exam
Figure 25 Compare images
Scroll up and down the thumbnail list, and touch to select up to 4
images/clips to display for comparison.
Generate a report
1. On the review screen, touch the thumbnails of the desired images
and touch Add to Report.
2. Touch Gen Report to display the following screen.
Menu Report
Print Print Preview
Image Layout 1 column
Add Image Rem Image
Exam History Export
Save as Save
Scan Previous
Signature: / Study date: 2015/09/03 / Exam type: Cardiology
Institution: / Referring: / Interpreting:
Template template_1
Patient information
Name DOB Age
ID
Study Specific Information
Height cm
Blood Press
Prompts Findings
Comments
Ultrasound Image
Weight
/
kg BSA: m
mmHg
RA Press
Figure 26 Report screen
Basic operations
2
HR
mmHg
Review the image
bpm
End Exam
68
3. Fill in information about the patient and the study, if not complete, and
add comments using the virtual keyboard.
4. Scroll down to review the images added, and add comments to
individual images, if needed.
The operator can still add/remove images to/from the report without
going back to the review screen. Touch Add Image/Rem Image to
display the image editing screen. Check the desired images and
touch Add to Report or Remove from report.
5. Touch the + button under Image Layout to select the numbers of
columns for placing the images on a report.
6. Touch Print Preview to preview the report.
7. To print out the report, touch Print; to save the report, touch Save as,
select the file format and directory, and then touch Save.
Export the exam
The operator can export exams and images to an external storage or the
DICOM server. When exporting an exam, an image or a cine loop, the
system creates a uniquely named subdirectory for each exam, image or
loop.
The system provides three ways of exporting the exam:
On the review screen, touch Export study > Export to DICOM or
Export to external storage.
On the exam history screen, check the completed exams, and touch
Export Exam > Export to DICOM or Export to external storage.
On the report screen, touch Export > Export to DICOM or Export to
external storage.
To set the default export directory, exporting to DICOM automatically
after ending the exam and more, please go to Menu > Setting.
End the exam
An exam is not complete if the operator proceeds with a new exam
without ending the previous one.
To end the exam, touch End exam on the imaging screen.
To check the exam status, please go to Menu > Exam history.
Basic operations
Export the exam
69
5
Scan modes overview
All of the information in this chapter pertains to real-time imaging. Many
of the controls and functions change when the operator freeze the scan.
For information on using functions when the scan is frozen, please refer
to “Annotations” and “Measurements”.
On the real-time imaging window:
Touch the mode selection buttons to select a scan mode (See
“Imaging screen (Real-time)”).
Touch > to switch the control panel pages to go through the
available functions (See “Switch the control panel pages”).
B mode overview
The system delivers 2-dimensional digital imaging using 256 digital
beam-forming channels. This imaging mode delivers excellent
image uniformity, tissue contrast resolution, and steering flexibility in
frequencies from 2 MHz to 15 MHz.
Menu
B Color PW
M Power
B Gain 58
Depth 15.0
Focus 8.0
DYN Range 60
B Function
Freeze Save Image
Adam, Smith
1234567
12
Fun.Key Tuning TGC
27 01/01/1988
Liver
Penetration Resolution
Figure 27 B mode real-time scan
09/03/2015 02:56PM
Dr. Smith
Medical
Center
TI 0.11
MI 0.92
CLA
0
Gn 58
15.0cm 15FPS
1/ 1
M/ 80.0
60/ 0
0/ 4
End Exam
Scan modes overview
B mode overview
70
 Loading...