

Q Imaging Rolera Bolt CMOS, Rolera Bolt User Manual
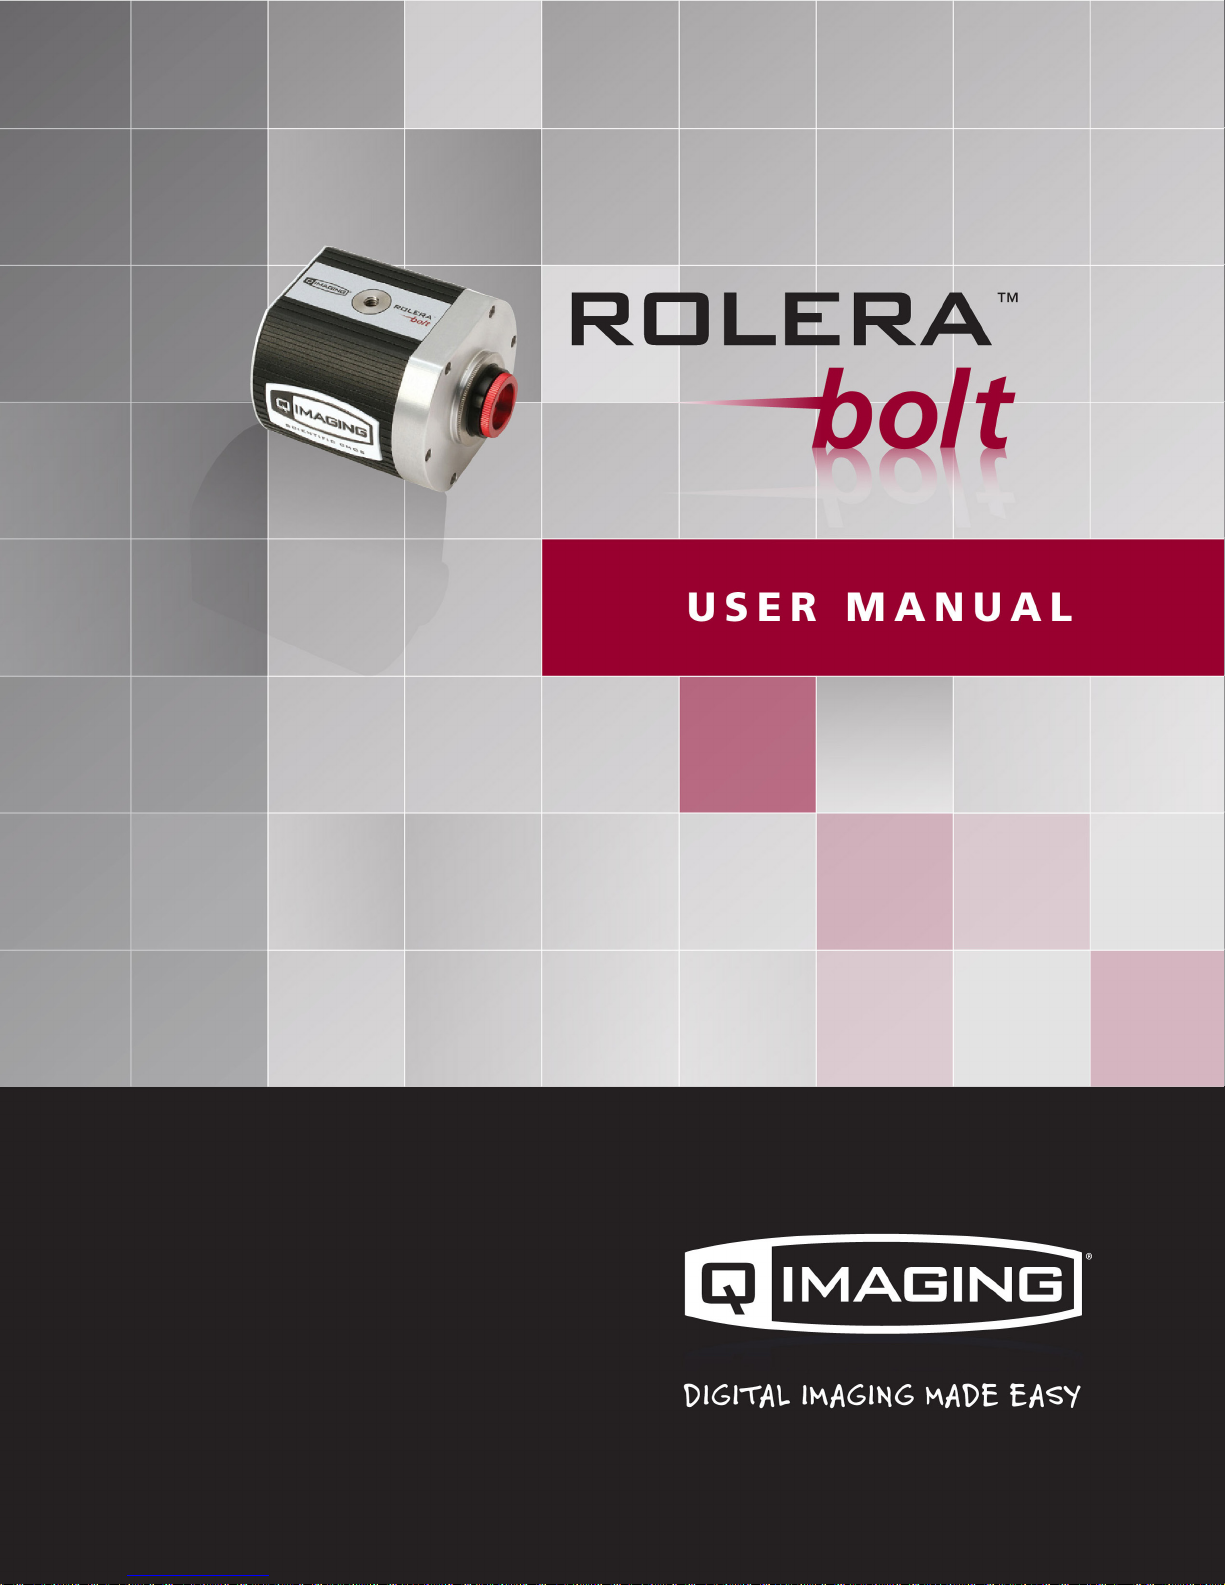
Rolera Bolt USER MANUAL
Applicability
This document applies to the Rolera Bolt camera. For the latest updates, please visit www.qimaging.com.
Notice of Copyright
Copyright © 2013 Quantitative Imaging Corporation. All rights reserved. Unauthorized duplication of this
document is prohibited.
Trademarks and Proprietary Names
QImaging, Rolera Bolt, and QCapture are trademarks of QImaging. Product names mentioned in this document
may be trademarks or registered trademarks of QImaging or other hardware, software, or service providers
and are used herein for identification purposes only. Microsoft® and Windows® are registered trademarks in
the U.S. and other countries of Microsoft Corporation and are used herein for identification purposes only.
Apple®and Macintosh® are registered in the U.S. and other countries by Apple Computer, Inc. and are used
herein for identification purposes only.
QImaging Corporation Address Information
19535 56th Avenue,
Suite 101
Surrey, BC, Canada V3S 6K3
604.530.5800
www.qimaging.com
QImaging Technical Support
Technical support is available to all registered users of QImaging products from 9am to 5pm Pacific
Standard Time.
support@qimaging.com
800.874.9789
http://www.qimaging.com/support
www.qimaging.com ©2013 QImaging. All rights reserved. QI_BOLT_UM_RevA1

Rolera Bolt USER MANUAL
QIMAGING LIMITED WARRANTY
Standard Product Warranty Plan
A Standard Product Warranty Plan is included with every QImaging camera purchase. This Warranty Plan
includes parts and labor for two full years! The Standard Product Warranty Plan is provided on all new and
used equipment, including retired demonstration cameras.
Extended Product Warranty Plan
Extended Product Warranty Plans are conveniently priced and very easy to purchase. Available for all QImaging
cameras, the Extended Product Warranty Plan includes parts and labor and is available in one-year increments
up to five years. If needed, QImaging also offers a Camera Loan Program.
When you purchase an Extended Product Warranty Plan from QImaging, you are assured of our commitment
to minimizing down times. Your needs are our top priority and we respond to them immediately. The QImaging
service and support team is focused on expediting your request to provide a fast and complete solution.
QImaging also offers on-site training as well as online operational training programs. These programs are
designed to get you up and running with your new camera quickly and efficiently.
Contact a QImaging Representative to learn more about Extended Product Warranty Plan options from
QImaging.
www.qimaging.com ©2013 QImaging. All rights reserved. QI_BOLT_UM_RevA1

Rolera Bolt USER MANUAL
Table of Contents
INTRODUCTION ............................................................................................................. 1
Power Requirements .........................................................................................................1
Host Requirements ............................................................................................................. 1
USB 2.0 Interface .............................................................................................................2
Cables ...............................................................................................................................2
Imaging Software for Your Camera ................................................................................... 2
INSTALLATION ............................................................................................................... 3
Step 1. Install Your Imaging Software ................................................................................ 3
Step 2. Connect the Rolera Bolt ........................................................................................3
Connecting the the camera to a PC/MAC desktop computer .............................................3
CAMERA BASICS ............................................................................................................. 5
Turning the Camera On and Off ........................................................................................ 5
Connecting the Rolera Bolt to Your Optics ........................................................................ 5
Understanding the LED Indicators .......................................................................................6
Capturing Images with the Rolera Bolt ..............................................................................6
Basic Camera Parameters ...................................................................................................6
Gain Controls ....................................................................................................................6
Exposure Controls .............................................................................................................6
CARING FOR YOUR CAMERA ....................................................................................... 7
TROUBLESHOOTING ...................................................................................................... 8
Resolving Problems with the Camera .................................................................................. 8
Unresolved Problems - Contacting QImaging Support ........................................................9
GLOSSARY .................................................................................................................... 10
APPENDICES .................................................................................................................. 12
APPENDIX A: Rolera Bolt Dimensions ...............................................................................12
www.qimaging.com ©2013 QImaging. All rights reserved. QI_BOLT_UM_RevA1
Rolera Bolt USER MANUAL
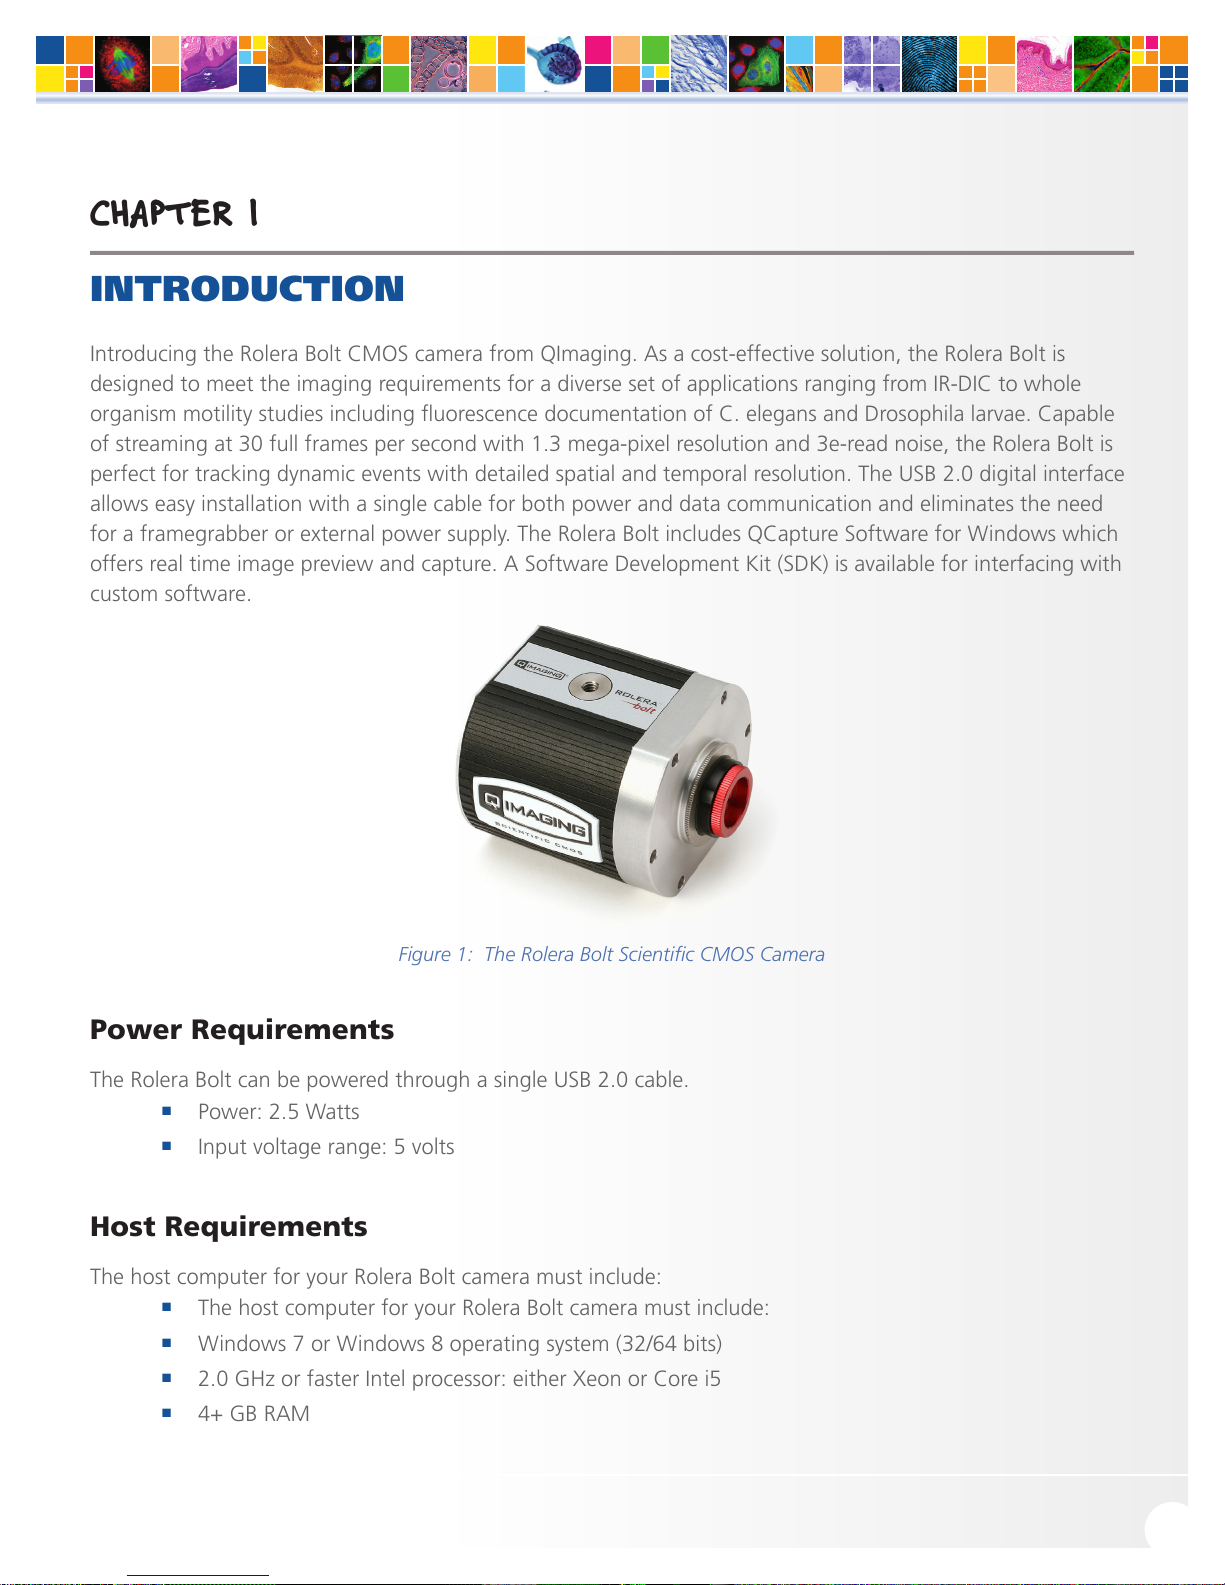
CHAPTER 1
INTRODUCTION
Introducing the Rolera Bolt CMOS camera from QImaging. As a cost-effective solution, the Rolera Bolt is
designed to meet the imaging requirements for a diverse set of applications ranging from IR-DIC to whole
organism motility studies including fluorescence documentation of C. elegans and Drosophila larvae. Capable
of streaming at 30 full frames per second with 1.3 mega-pixel resolution and 3e-read noise, the Rolera Bolt is
perfect for tracking dynamic events with detailed spatial and temporal resolution. The USB 2.0 digital interface
allows easy installation with a single cable for both power and data communication and eliminates the need
for a framegrabber or external power supply. The Rolera Bolt includes QCapture Software for Windows which
offers real time image preview and capture. A Software Development Kit (SDK) is available for interfacing with
custom software.
Figure 1: The Rolera Bolt Scientific CMOS Camera
Power Requirements
The Rolera Bolt can be powered through a single USB 2.0 cable.
■
Power: 2.5 Watts
■
Input voltage range: 5 volts
Host Requirements
The host computer for your Rolera Bolt camera must include:
■
The host computer for your Rolera Bolt camera must include:
■
Windows 7 or Windows 8 operating system (32/64 bits)
■
2.0 GHz or faster Intel processor: either Xeon or Core i5
■
4+ GB RAM
www.qimaging.com ©2013 QImaging. All rights reserved. QI_BOLT_UM_RevA1
1

Rolera Bolt USER MANUAL
■
250+ GB serial ATA (SATA) HDD and/or >64 GB solid state drive (SDD) for high-speed imaging and
storage
■
256+ MB slot-based ATI/NVIDIA video graphics card (i.e., not an “onboard/integrated graphics”
adapter)
■
CD-ROM drive or internet access to install the driver
■
At least one USB interface port
NOTE: Minimum requirements as of October 2013. Supported computer systems will change as
new cameras, computer hardware, and operating systems are introduced and older models then
become obsolete. For current information on recommended computer specifications, please visit:
http://www.qimaging.com/support/recommended-computer-specifications.php
USB 2.0 Interface
The Rolera Bolt is powered and controlled through a Universal-Serial-Bus (USB) 2.0 digital interface.
A single USB connection from the camera to the computer allows full control of the camera and rapid image
data transfer from the camera to the computer.
Cables
A USB 2.0 interface cable is included with the camera. One end of this cable connects to the available USB port
on the back of the camera; the other end of the cable plugs into one of your computer’s available USB ports or
external USB hub. The USB cable is typically used both for data communication and for supplying power to the
camera.
If the computer used does not supply the necessary power requirements of the camera, a separate power
connection exists on the back plate of the camera for external power input.
Imaging Software for Your Camera
Industry Standard Imaging Applications
The Rolera Bolt works with industry-standard Windows imaging software.
QCapture Suite Software
The Rolera Bolt operates on both Windows based systems. QCapture Suite Software for both systems is
available at www.qimaging.com. The easy-to-use QCapture software gives you complete control over the
camera’s settings and image capture functions. QCapture Suite also includes a TWAIN-compliant interface that
allows many Windows image-editing applications to acquire images using QImaging cameras.
www.qimaging.com ©2013 QImaging. All rights reserved. QI_BOLT_UM_RevA1
2
 Loading...