

Q Imaging Retiga 3000 User Manual
www.QIMAGING.com
Retiga 3000 USER MANUAL
Applicability
This document applies to the Retiga™ 3000 camera. For the latest updates, please visit www.qimaging.com.
Notice of Copyright
Copyright © 2014 Quantitative Imaging Corporation. All rights reserved. Unauthorized duplication of this
document is prohibited.
Trademarks and Proprietary Names
QCapture Pro™, and Retiga™ are trademarks of QImaging. PVCAM® and QImaging® are registered trademarks
of Roper Scientific, Inc. Product names mentioned in this document may be trademarks or registered
trademarks of QImaging or other hardware, software or service providers, and are used herein for identification
purposes only. Microsoft® and Windows® are registered trademarks in the U.S. and other countries of Microsoft
Corporation and are used herein for identification purposes only.
QImaging Corporation Address Information
19535 56th Avenue,
Suite 101
Surrey, BC, Canada V3S 6K3
604.530.5800
www.qimaging.com
QImaging Technical Support
Technical support is available to all registered users of QImaging products from 9am to 5pm Pacific
Standard Time.
support@qimaging.com
800.874.9789
http://www.qimaging.com/support/contact
www.qimaging.com ©2014 QImaging. All rights reserved. QI_Retiga3000_UM_Rev_A1

Retiga 3000 USER MANUAL
QIMAGING LIMITED WARRANTY
Standard Product Warranty Plan
A Standard Product Warranty Plan is included with every QImaging camera purchase. This Warranty Plan
includes parts and labor for two full years (starting from the shipping date of the camera). The Standard
Product Warranty Plan is provided on all new and used equipment, including retired demonstration cameras.
Extended Product Warranty Plan
Extended Product Warranty Plans are conveniently priced and very easy to purchase. Available for all QImaging
cameras, the Extended Product Warranty Plan includes parts and labor, and is available in one-year increments
up to five years.
When you purchase an Extended Product Warranty Plan from QImaging, you are assured of our commitment
to minimizing down times. Your needs are our top priority and QImaging responds immediately. The QImaging
Service and Support team is focused on expediting all customer requests to provide a fast and complete
solution.
QImaging also offers on-site training as well as online operational training programs. These programs are
designed to get you up and running with your new camera quickly and efficiently.
Contact a QImaging Representative to learn more about Extended Product Warranty Plan options.
www.qimaging.com ©2014 QImaging. All rights reserved. QI_Retiga3000_UM_Rev_A1
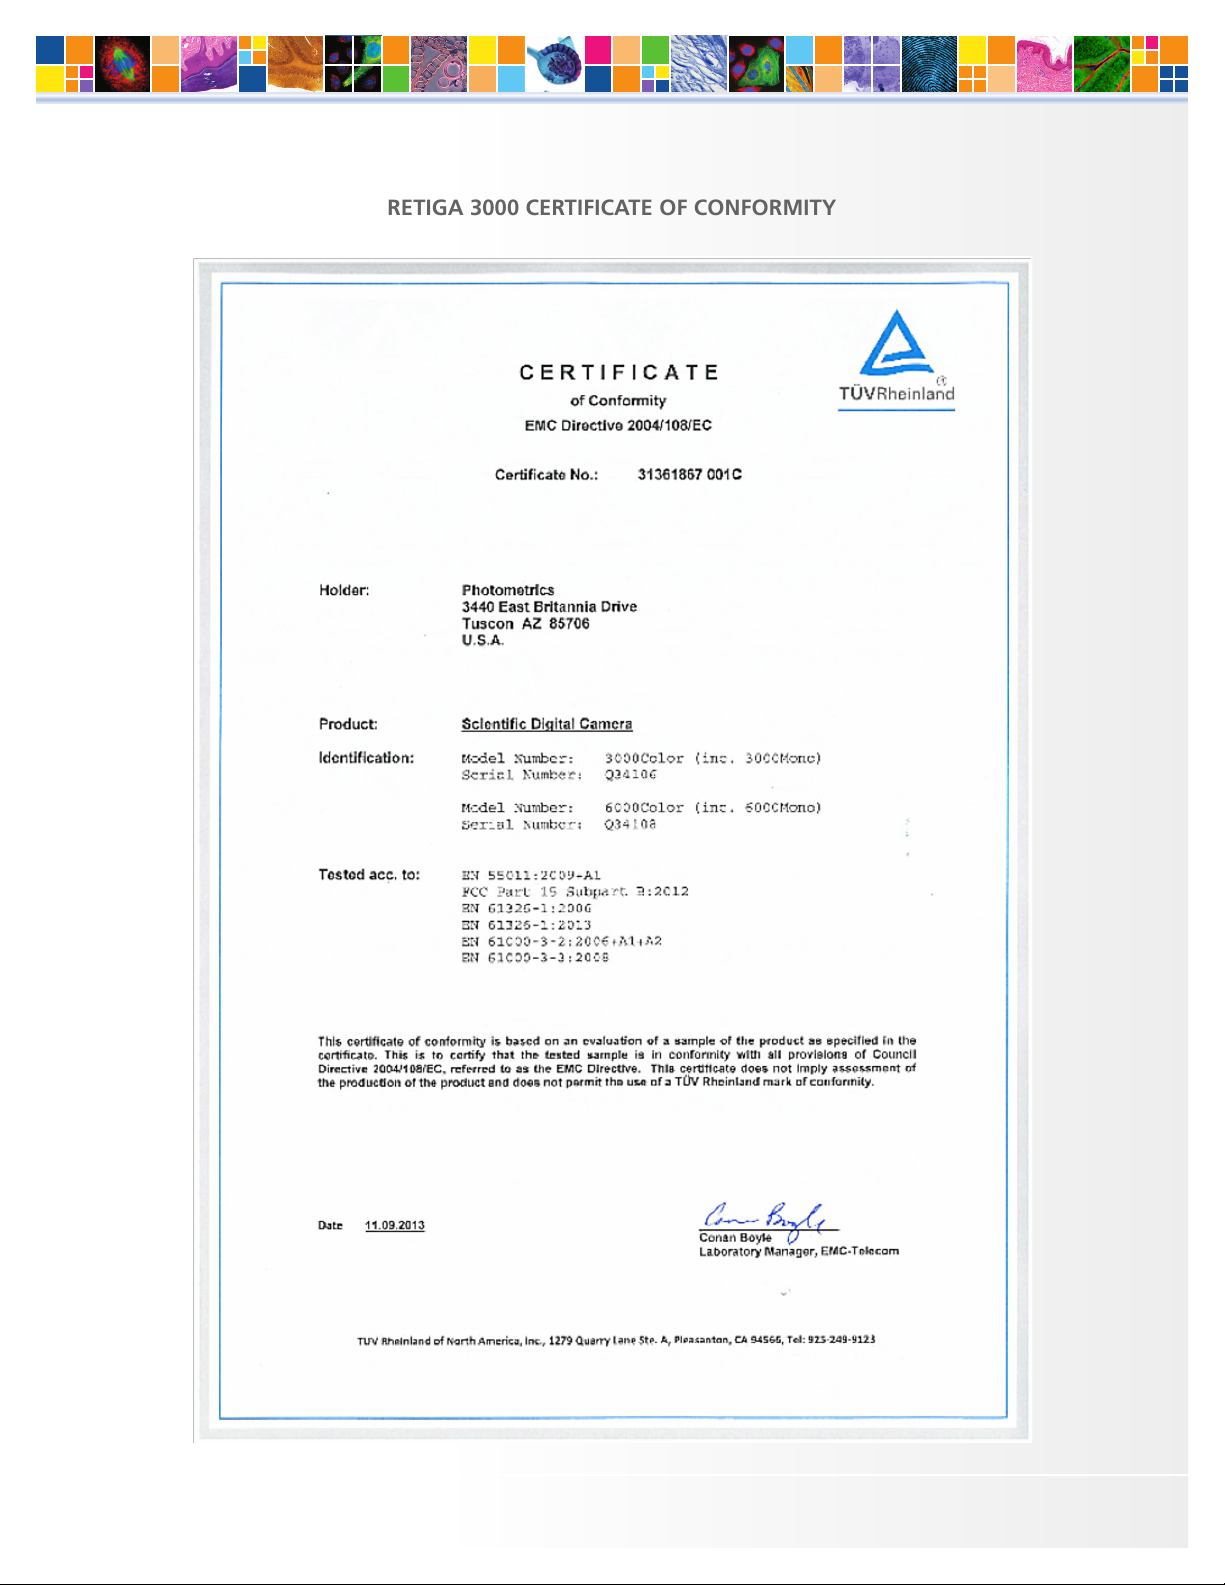
RETIGA 3000 CERTIFICATE OF CONFORMITY
Retiga 3000 USER MANUAL
www.qimaging.com ©2014 QImaging. All rights reserved. QI_Retiga3000_UM_Rev_A1

Retiga 3000 USER MANUAL
Table of Contents
INTRODUCTION ............................................................................................................. 1
System Components ........................................................................................................1
Precautions ........................................................................................................................2
Environmental Conditions for Operation and Storage ......................................................... 2
Microscopes, Lenses, Tripods .............................................................................................. 2
Cleaning ............................................................................................................................3
Repair ................................................................................................................................3
INSTALLATION ............................................................................................................... 4
Host Computer Requirements ............................................................................................4
Camera Power Requirements .............................................................................................5
Installation Step 1: Install the USB 3.0 PCIe Card ................................................................5
Installation Step 2: Install the Camera Driver .......................................................................5
Installation Step 3: Connect the Camera ...........................................................................6
USING YOUR RETIGA 3000 CAMERA ............................................................................ 7
Imaging Software ............................................................................................................... 7
Basic Camera Parameters ...................................................................................................7
Exposure Time ....................................................................................................................7
Gain State ......................................................................................................................... 7
Sensor Cooling ...................................................................................................................8
Clocking Mode ..................................................................................................................8
Clearing Mode ................................................................................................................... 9
ROI / Binning .................................................................................................................... 10
Device Synchronization ...................................................................................................10
TROUBLESHOOTING .................................................................................................... 13
Resolving Problems with the Camera ................................................................................ 13
Unresolved Problems - Contacting QImaging Support ......................................................14
SPECIFICATIONS ........................................................................................................... 15
Camera Dimensions (Front) ..............................................................................................15
Camera Dimensions (Bottom) ........................................................................................... 15
Additional Camera Measurements ...................................................................................15
Connectors on Back of Camera ........................................................................................ 16
Power Supply Specifications .............................................................................................16
Focal Plane Measurement ................................................................................................. 17
Sensor Specifications ....................................................................................................... 17
Sensor Orientation ...........................................................................................................18
I/O Connector Pinout .......................................................................................................18
APPENDIX A: USB Information ................................................................................... 20
USB 2.0 Chipset Incompatibility Notice ............................................................................. 20
Determining if a USB port is on a Root Hub ...................................................................... 21
www.qimaging.com ©2014 QImaging. All rights reserved. QI_Retiga3000_UM_Rev_A1
CHAPTER 1
INTRODUCTION
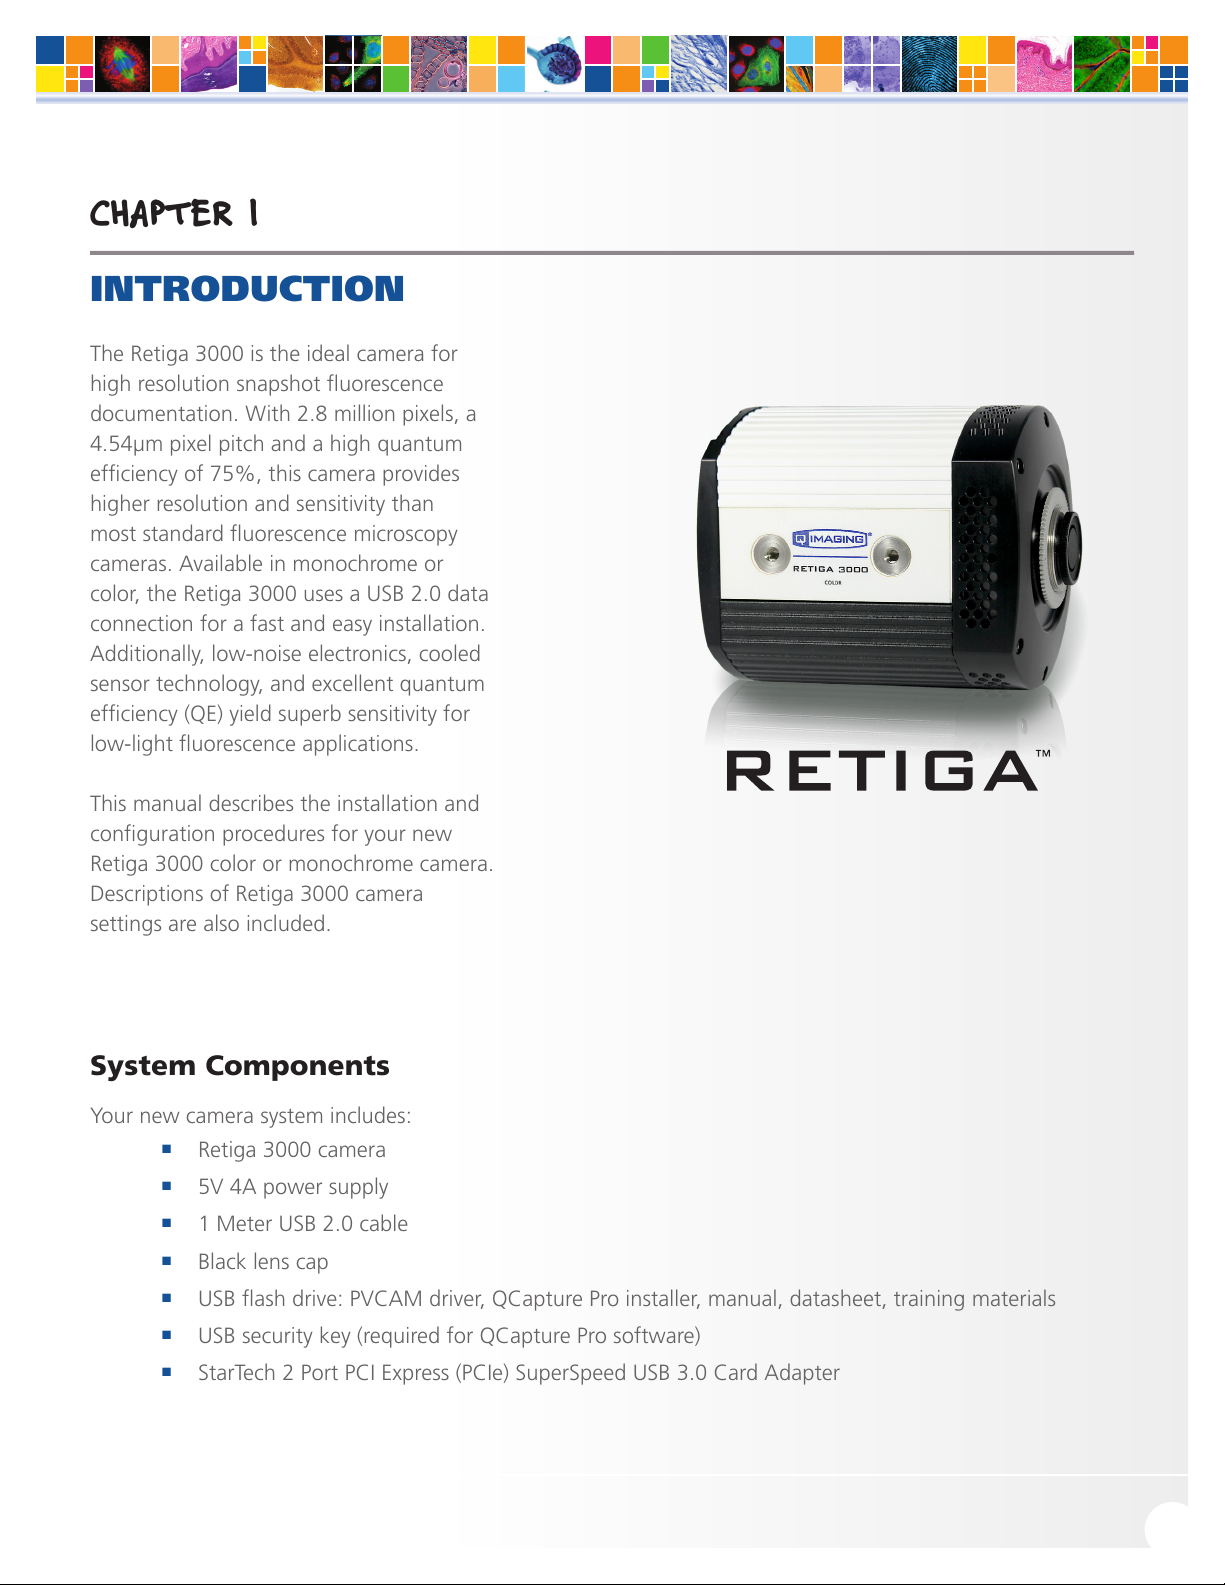
The Retiga 3000 is the ideal camera for
high resolution snapshot fluorescence
documentation. With 2.8 million pixels, a
4.54μm pixel pitch and a high quantum
efficiency of 75%, this camera provides
higher resolution and sensitivity than
most standard fluorescence microscopy
cameras. Available in monochrome or
color, the Retiga 3000 uses a USB 2.0 data
connection for a fast and easy installation.
Additionally, low-noise electronics, cooled
sensor technology, and excellent quantum
efficiency (QE) yield superb sensitivity for
low-light fluorescence applications.
This manual describes the installation and
configuration procedures for your new
Retiga 3000 color or monochrome camera.
Descriptions of Retiga 3000 camera
settings are also included.
System Components
Your new camera system includes:
■
Retiga 3000 camera
■
5V 4A power supply
■
1 Meter USB 2.0 cable
■
Black lens cap
■
USB flash drive: PVCAM driver, QCapture Pro installer, manual, datasheet, training materials
■
USB security key (required for QCapture Pro software)
■
StarTech 2 Port PCI Express (PCIe) SuperSpeed USB 3.0 Card Adapter
Retiga 3000 USER MANUAL
www.qimaging.com ©2014 QImaging. All rights reserved. QI_Retiga3000_UM_Rev_A1
1
Retiga 3000 USER MANUAL
Precautions
The CCD and other Retiga 3000 camera system electronics are extremely sensitive to electrostatic discharge
(ESD). To avoid permanently damaging the system, please observe the following precautions:
■
If you are using high-voltage equipment (such as an arc lamp) with your camera system, be sure to
turn the camera power on last and power the camera off first.
■
Never connect or disconnect any cable while the camera system is powered on.
■
Although you should turn off the camera’s power supply before disconnecting any camera system
cable, you do not need to power off your computer to detach the cables.
■
Use caution when triggering high-current switching devices (such as an arc lamp) near your
system. The CCD can be permanently damaged by transient voltage spikes. If electrically noisy
devices are present, an isolated, conditioned power line or dedicated isolation transformer is highly
recommended.
■
Always leave at least one inch of space around the camera housing.
■
Never open the camera. There are no user-serviceable parts inside the Retiga 3000 camera.
Opening the camera voids the warranty.
■
Use only the integrated USB 2.0 interface, cables, and power supply designated for this camera
system. Using non-Retiga 3000 cables or power supplies may result in permanent damage to your
system.
■
Do not use a C-mount lens that has optics that extend behind the flange of the lens.
Environmental Conditions for Operation and Storage
Your Retiga 3000 camera system should be operated in a clean, dry environment. The camera system’s ambient
operating temperature is 0°C to 30°C with 80% relative humidity, noncondensing.
Store the Retiga 3000 camera system in its original containers. To protect the system from excessive heat, cold,
and moisture, store at an ambient temperature between -20°C and 60°C with a relative humidity of 0% to
90%, noncondensing.
Microscopes, Lenses, Tripods
Retiga 3000 has a standard threaded video mount and can be mounted to any microscope that accepts a
standard C-mount adapter. The camera also allows you to install any lens that is compatible with a standard
threaded video mount as long as its optics do not extend behind the flange of the lens.
The Retiga 3000 camera can be mounted to a tripod using the tripod mounting attachment located on the
bottom of the camera. See the Specifications chapter for more information.
www.qimaging.com ©2014 QImaging. All rights reserved. QI_Retiga3000_UM_Rev_A1
2
Retiga 3000 USER MANUAL
Cleaning
Clean the exterior surfaces of the camera with a dry, lint-free cloth. To remove stains, contact QImaging
Support. To clean the camera’s imaging window, use only a filtered compressed-air source. Handheld cans are
not recommended, as they may spray propellant onto the window. Do not touch the window.
Repair
The Retiga 3000 camera system contains no user-serviceable parts. Repairs must be done by QImaging. Should
your camera system need repair, contact QImaging Support. Please save the original packing materials so you
can safely ship the camera system to another location or return it for repairs if necessary.
IMPORTANT: DO NOT OPEN the camera. Opening the Retiga 3000 camera voids the warranty.
www.qimaging.com ©2014 QImaging. All rights reserved. QI_Retiga3000_UM_Rev_A1
3
Retiga 3000 USER MANUAL
CHAPTER 2
INSTALLATION
This chapter will detail the proper installation of your Retiga 3000 camera. In order to install and use the
camera, the following items are required:
■
Retiga 3000 camera (supplied)
■
USB 2.0 data cable (supplied)
■
5V 4A power supply (supplied)
■
USB “installer” flash drive (supplied)
■
StarTech 2 Port PCIe SuperSpeed USB 3.0 Card Adapter (supplied)
■
110V/220V power connection
■
A PC that meets host computer requirements
Host Computer Requirements
The host computer for your Retiga 3000 camera must include:
■
Windows 7 operating system (32/64 bits)
■
2.0 GHz or faster Intel processor: either Xeon or Core i5
■
4+ GB RAM
■
250+ GB serial ATA (SATA) HDD and/or >64 GB solid state drive (SDD) for high-speed imaging and
storage
■
256+ MB slot-based ATI/NVIDIA video graphics card (i.e., not an “onboard/integrated graphics”
adapter)
■
CD-ROM drive or internet access to install the driver
■
One available PCIe slot
NOTE: Minimum requirements as of January 2014. Supported computer systems will change as
new cameras, computer hardware, and operating systems are introduced and older models then
become obsolete. For current information on recommended computer specifications, please visit:
http://www.qimaging.com/support/recommended-computer-specifications.php
www.qimaging.com ©2014 QImaging. All rights reserved. QI_Retiga3000_UM_Rev_A1
4
 Loading...