

Page 1

Distributed by Gama Electronics Pty. Ltd Australia
QHY 2”
5 Position
Filter Wheel
User’s guide
Ver. 1.0 Gama Electronics Pty. Ltd ©
Page 2
Thank you for purchasing a QHY
Filter wheel. I’m sure that it will give
you hours of pleasure by saving you
time swapping out filters.
Please take the time to read this
manual so you can familiarise yourself
with some basic understanding of how
the filter wheel works, and how to get
the most from it.
1) How to connect your filter wheel
When you first open your package, please check to make sure everything you ordered is there.
Contents
1 x QHY-Filter wheel
1 x RS-232 serial cable
1 x Drivers disk
Page 3
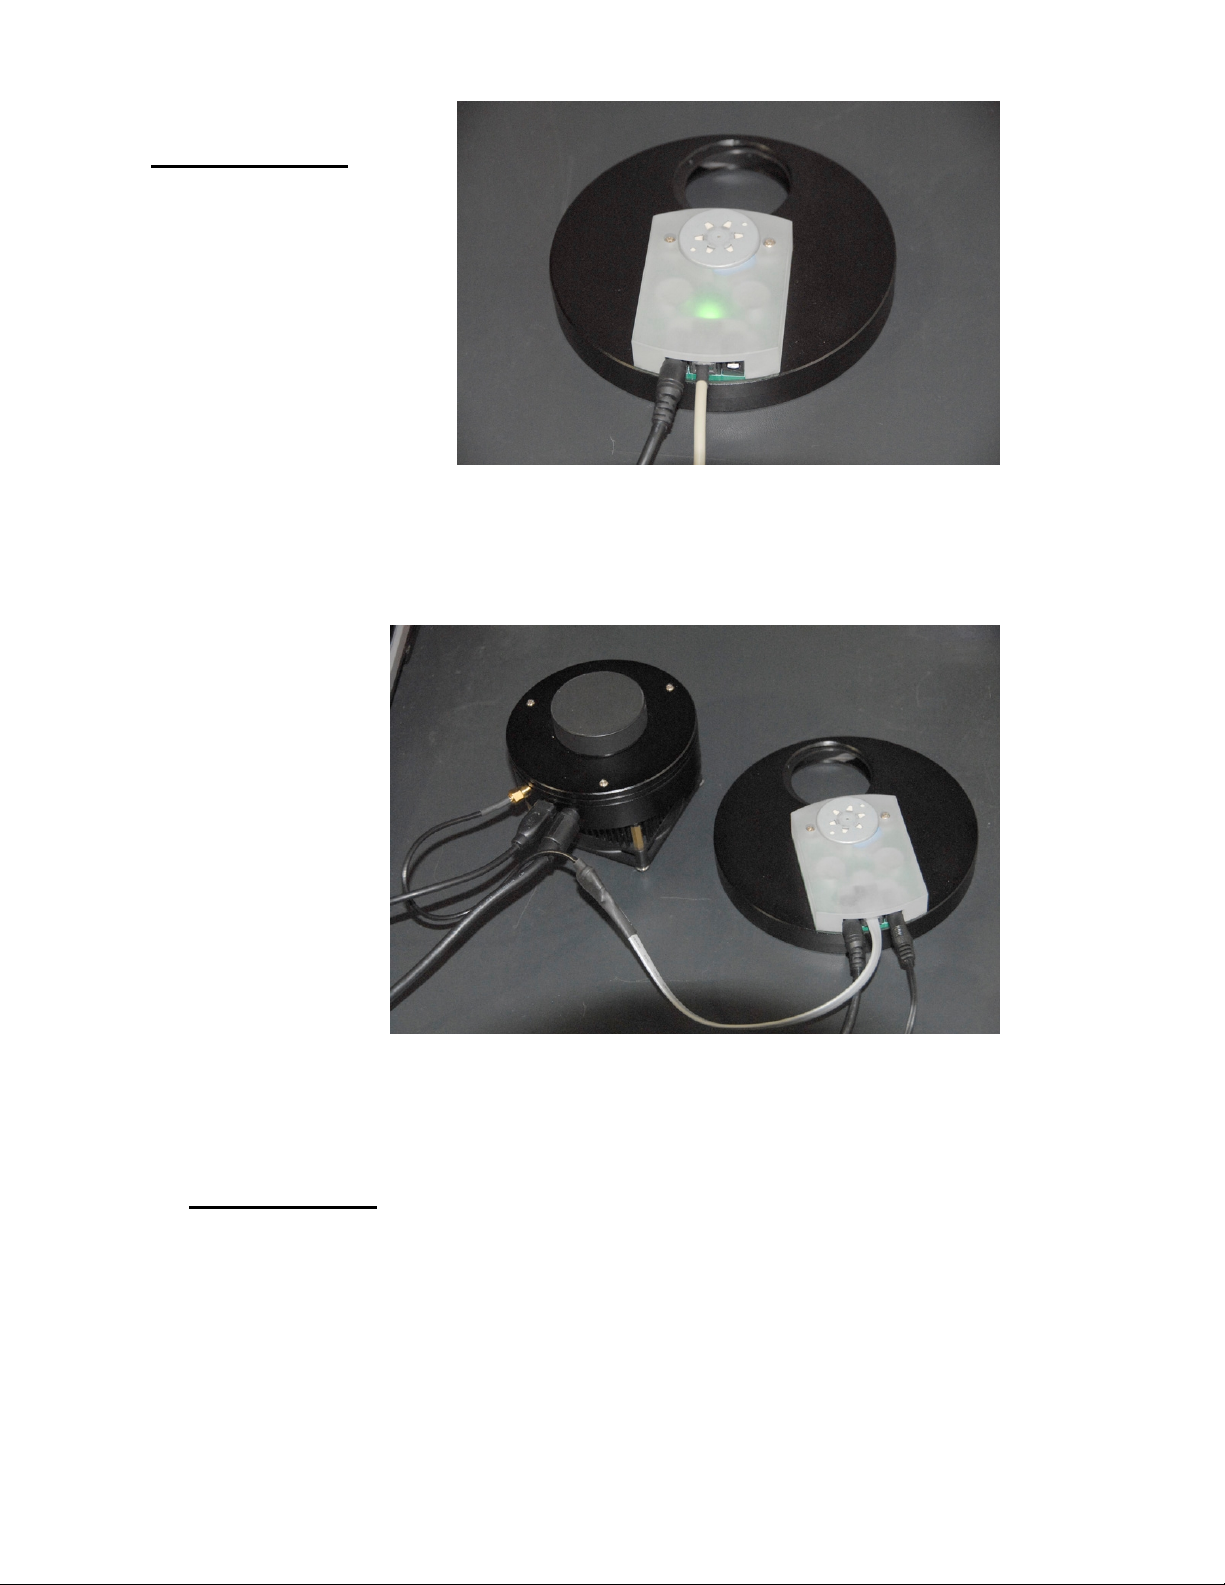
2) The connections :
Power may be applied in either port
With the spare port available for any
other device that may also need power.
Next connect the RS232 cable to the Power Power
middle connector and connect the
other end to a free RS232 port on your
computer.
You filter wheel should now have a RS-232
similar image as this one on the right.
If you wish to use the QHY-9 camera as the filter wheel host, then replace the RS-232 cable with the
cable specifically for the QHY-9, as shown in image.
QHY-9 serial cable
3) Installing Driver
Place you supplied drivers disk in your CD Rom, and proceed to install the required drivers.
If you want a stand alone filter wheel (Not driven by the QHY-9), then proceed to install the
the driver “QHYFWRS232ASCOM.exe” found in the “Ascom RS 232 Driver” directory.
If you have a QHY-9, and wish to drive the filter wheel with your camera (Direct), then you will
need to install “QHY9FWASCOMSetup.exe” which is found in the “Ascom QHY-9 direct”
directory.
Please make sure that you have the latest version of Ascom installed on your PC.
Page 4

4) Using the filter wheel
First you need to connect the RS-232 cable, then apply power.
Connect to the filterwheel using your prefered imaging software.
For instance, lets assume you have Maxim DL V5.xx.
Start Maxim and select your camera as normal, but you will now be able to select your filter wheel.
Simply click on the “Setup Filter” box and select “Ascom” as the filter wheel.
Then click on the “Advanced” box in the bottom left and select “QHY 2”FW(RS232)” from the drop down
menu.
Next select the coms port the filter wheel is attached too.
Or if you have a QHY-9 camera, and using the QHY-9 direct mini serial cable, then select
“QHY9FWFilterWheel”.
NOTE : Make sure you are using the QHY-9 Ascom camera driver when using the filter wheel
in “Direct” (Using the QHY-9 serial cable) connection, otherwise the program will hang.
Simply select Ascom in the CCD camera menu.
Select the camera, and also select your Gain and Offset
Found in the “Properties” menu.
Page 5

Click “OK” to finish off the configuration, and select “Connect” to start your imaging session.
You may now individually change filters by simply selecting the filter you want in the drop down list
You may rename the filters if you like. Look up the help in
Maxim DL on how to do this.
In this example, Red is in Slot 1, Green in slot 2 and so on.
In this example, the first slot (Red Filter) is selected, and the filter wheel will immediately move to the
selected position if its not on it already. Remember, the name is deceiving, as it is just a reference. It is the
slot position that determines the filter to be used.
Here once again in the “Options” menu of “Autosave” in MaximDL you can select your filters.
Page 6

5) Filter position calibration
In the event you need to align the filter position with the camera position, please read the following.
In some PC’s the mscomm32.ocx file should be registered (Run the “Install.bat” file).
Run the “Color wheel calibration.exe” file found in “Manual control and calibration software” directory.
Connect the Filter Wheel using the RS-232 cable.
The Buttons 1 – 5 are the Filter Wheel control buttons.
The five up, down buttons in the right are to adjust each position of the filter hole
The calibration procedure is :
First, find out which position needs to be adjusted. Then adjust the Up and Down buttons, and click the “Custom” button.
The Filter Wheel will flash if the data is accepted. Then click the control button to see if it is aligned correctly.
The “Factory” button is to set the Filter Wheel back to the Factory default settings.
6) Colorwheel program
The colorwheel program is found in Manual control and calibration software”.
This is a basic RS232 control program for controlling the Filter Wheel. It is a very basic
program, which can be used to quickly verify comms connections, etc.
Just run the “Colorwheel.exe” file, and connect to the com port having the Filter Wheel
connected. Then select 1, 2, 3 etc to select filter position 1, 2 , 3 etc.
Page 7

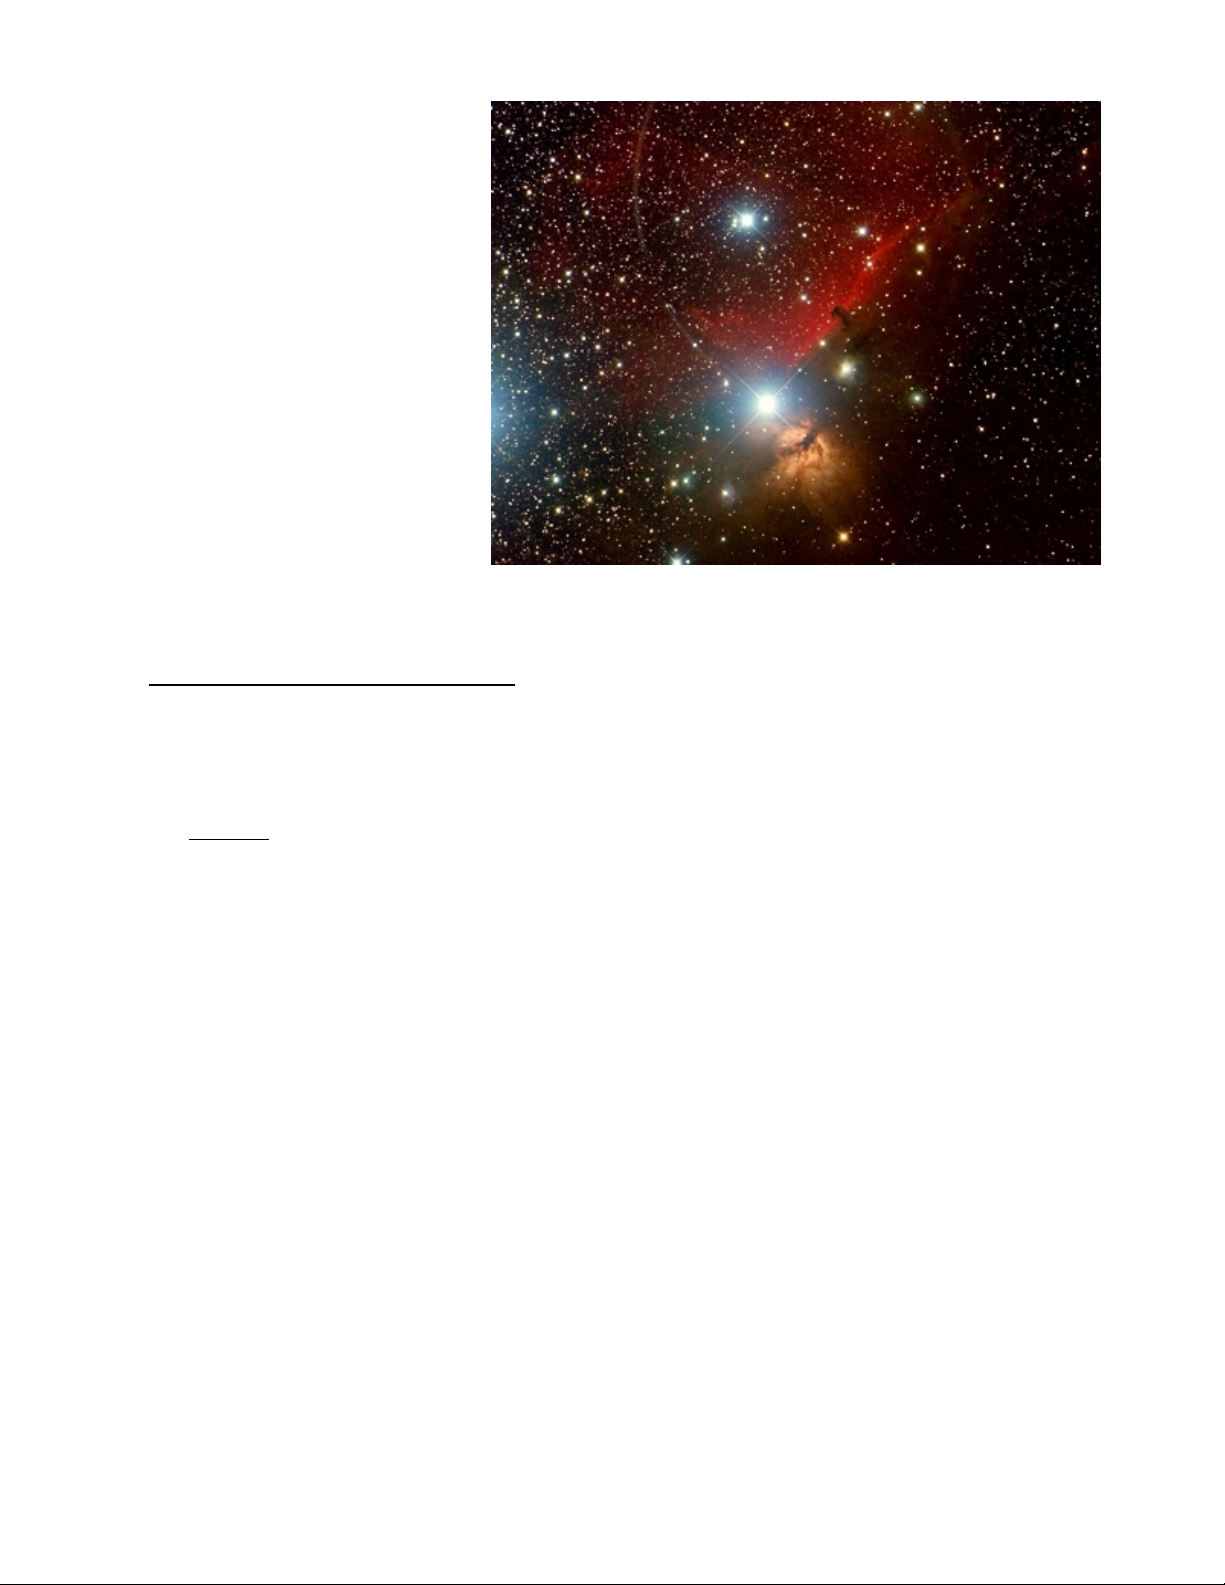
Image courtesy of Gerhard
Bachmayer
Produced and edited by Gama Electronics Pty. Ltd
No part of this document may be copied or printed without the prior permission of Gama Electronics ©
 Loading...