

Page 1
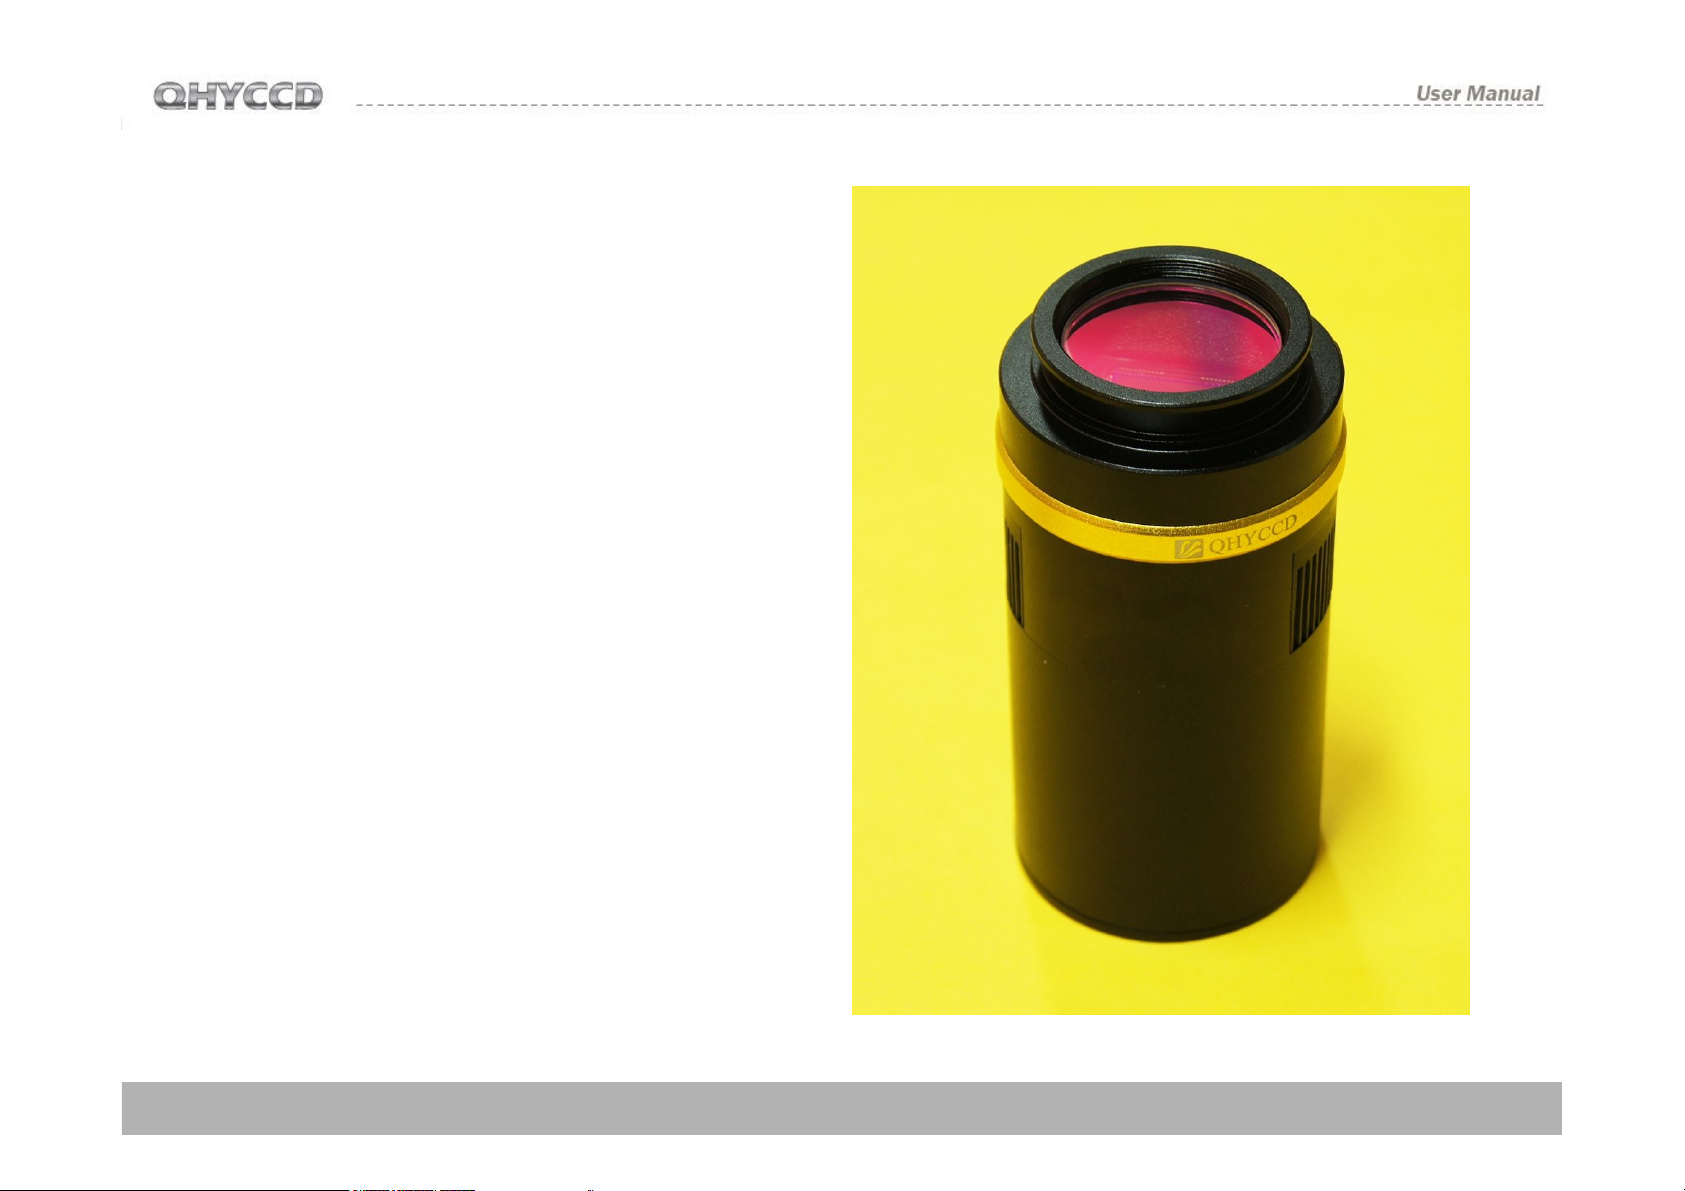
QHY8L
Cooled Color Astronomy CCD Camera
User Manual
QHY8L User Manual V1.0
Page 2
CONTENTS
1)SAFETY PRECAUTIONS--------------------------------------------------------------------------2
2)STANDARD EQUIPMENT-----------------------------------------------------------------------3
3) SEPARATELY SOLD ACCESSORIES---------------------------------------------------------5
4)CAMERA STRUCTURE AND INTERFACE CONNECTION------------------------------6
5)CAMERA DRIVERS INSTALLATION AND QUICKLY MASTERING -------------------7
6) DC201 IINPUT VOLTAGE RANGE--------------------------------------------------------------9
7)SERVICE TEMPERATURE AND HUMIDITY OF CAMERA--------------------------------9
8) HOW TO AVOID CCD SENSOR MOIST IN HIGH HUMIDITY-------------------------- 10
9)NOTES ABOUT LONG TERM USING AND REMOTE OBSERVATORY----------- 12
10) PROTECTION OF COOLER-------------------------------------------------------------------15
11) CLEAN THE SURFACE OF CCD CHIP-----------------------------------------------------16
12) SET ON THE GAIN and OFFSET ------------------------------------------------------------17
15)QHY8L CHANICAL DIMENSIONS --------------------------------------------------18
16)QHY8L Back Focus Lenght---------------------- --------------- ---------------19
17)THE METHOD OF THE CENTER AND ANGLE ADJUSTMENT RING -------------20
18) SOFTWARE ABC COURSE -------------------------------------------------------------------21
19) IMAGE CALIBRATION OF QHY8L-----------------------------------------------29
20) CAPTURE BIAS IMAGE-------------------------------------------------------------------------30
21) CAPTURE DARK IMAGE-----------------------------------------------------------------------31
22) CAPTURE FLAT IMAGE------------------------------------------------------------------------32
23) CAPTURE DARK FLAT IMAGE---------------------------------------------------------------32
24) Guiding with QHY8L in MAXim DL---------------------------------------------------------32
QHY8L CCD Camera User Guide
Congratulations on your new QHYCCD series purchase!
Make sure you read this guide carefully before operating your
new camera! Time spent reading this guide will save you frustration
and maximize the enjoyment of your new QHY8L CCD Camera.
Precautions
1
The larger surface area of the Large format CCD chip and cooling
system are more fragile than a small or medium sized CCD. Take
extra care when transporting and storing the device. Any significant
impacts may damage your equipment.
Connection Sequence:
2
1. Connect USB cable from camera to PC
2. Connect 9-pin cable from camera to DC201
3. Connect 12V power to DC201.
Disconnect Sequence
3
1. Disconnect 12V input power from DC201
2. Disconnect 9-pin cable from Camera
3. Disconnect USB cable from PC
Power to the DC201 needs to be:
4
1. 4A/5A regulated DC power supply.
2. Internal diameter of connection to DC201 is 2.1mm.
3. Tip-positive*
*Please note the reverse polarity will cause damage for camera
and a plug with a different internal diameter won’t work.
1 2
Page 3

STANDARD EQUIPMENT
Make sure that the following items are included in your camera
package. If anything is missing, contact the retailer from which you
purchased the camera.
1
QHY8L Camera
Center and Tilt
2
Adjustment Ring
3
USB cable
4
5
6
DC102 DC adapter
9 PIN power cable
Silicon gel tube
(one)
3 4
Page 4

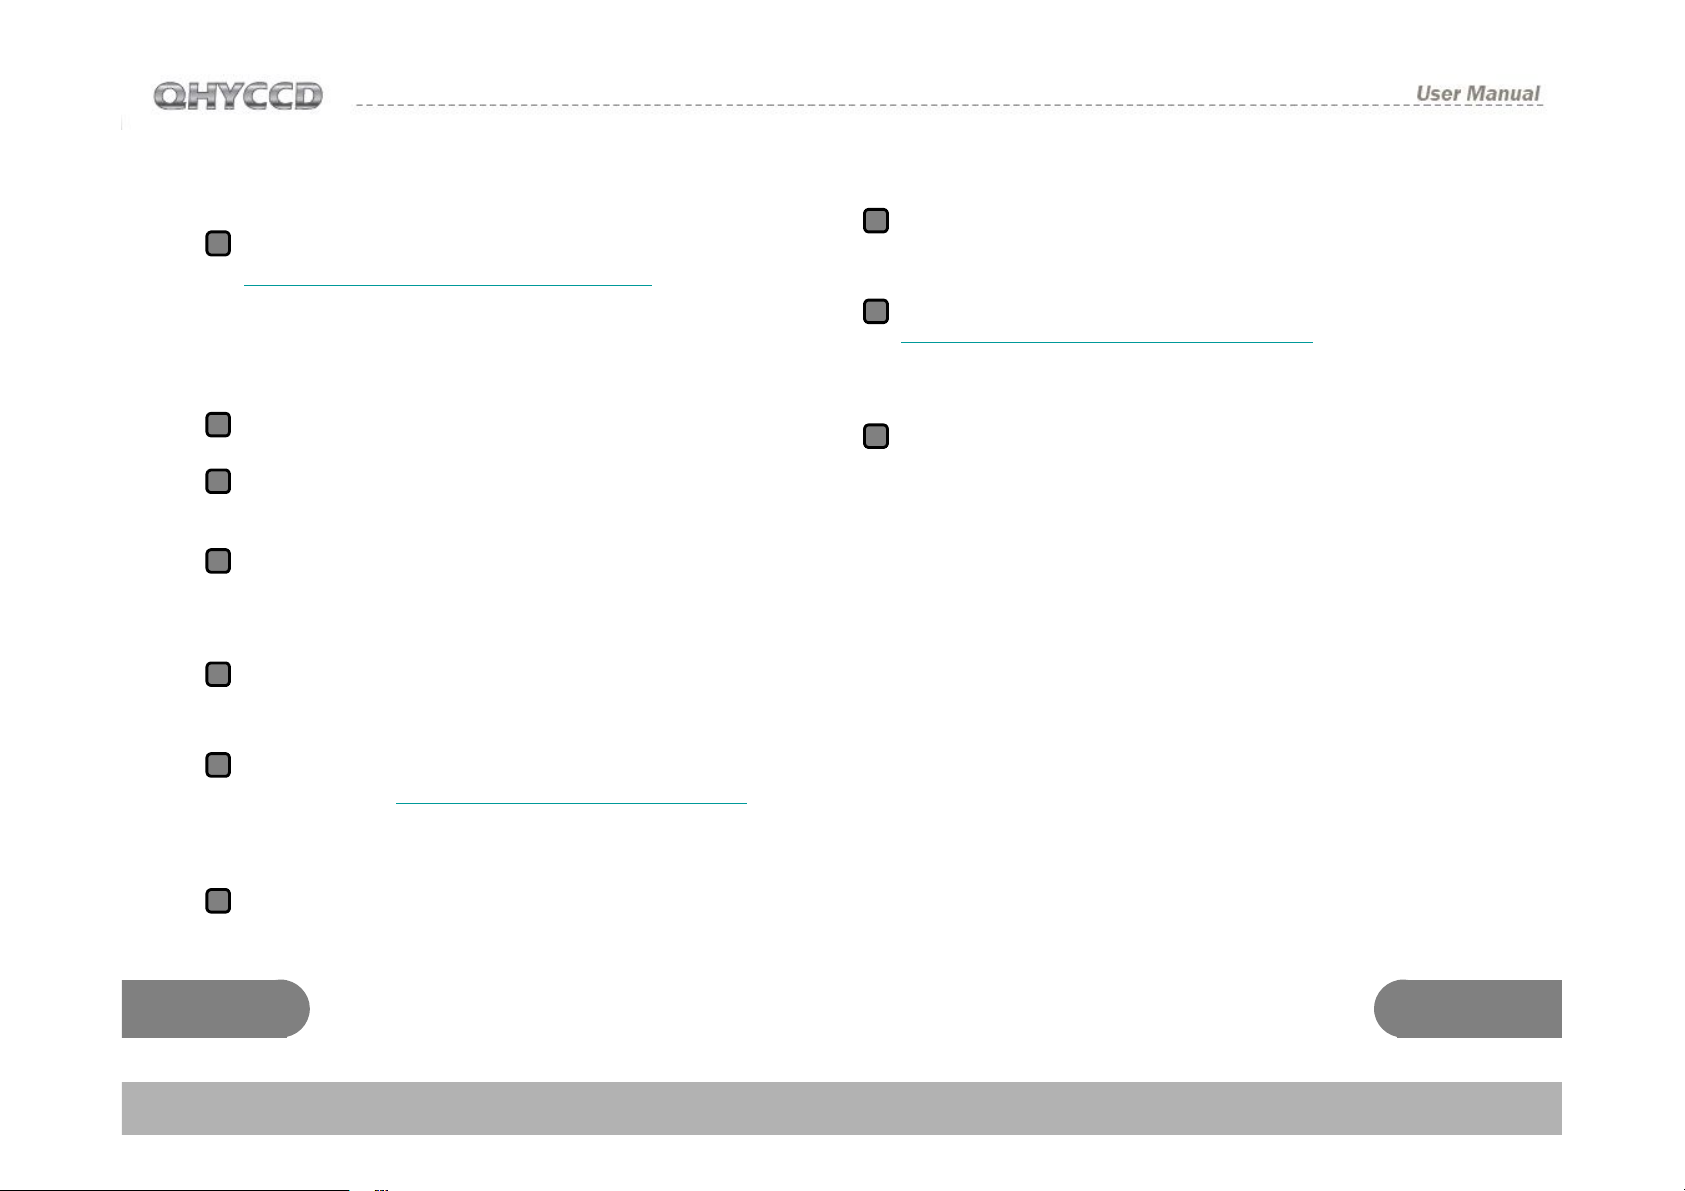
Accessories Sold Separately
(Contact your dealer for pricing and ordering
information)
1
100-240V TO 12V
AC adapter
Full Air proof box with
2
electric heating
silicon gel
Camera Interface
1:Camera Front Part
2:CCD Chamber Air socket
3:M42/0.75 Inner screw
(Depth:3mm)
4:IR block optic window
5: Heat Sink Exhaust
7 6
8
3 4
2
6: 9pin power socket
7:USB socket
8:Guiding/Control
signal socket RJ11
9:Heat sink air intake
1
5
9
5 6
Page 5
Camera Software Installation
Please download last QHY8L system driver from
1
http://www.qhyccd.com/download.html (WINUSB
64/32version) This version support
windowsXP,windowsVista and windows 7, 64 and
32bit version.
Run installer。
2
Connect the camera to computer with USB calbe.
3
Do not connect 9pin power cable this time
System will find new device. Wait till installation
4
finished(In XP select “No”->”Next Step”->”Install
automaticly”
After successfully installed, the LED of camera will
5
flash.
Download and run the the driver version detector
6
software from www.qhyccd.com/download.Html
Click QHY8L button.Check if it the installed driver
the lastest version
Connect DC201 with 12V input. The LED of
8
DC201(+15,-15.+5) should be on
Download EZCAP software from
9
http://www.qhyccd.com/download.Html Click “scan
camera” from main menu. The QHY8L will be
highlight. Check it on.
10
Check if DC201’s FAN and TEC LED on and check
if the fan of QHY8L running.
7
Use 9pin power cable connect DC201 and QHY8L.
Please note the side with EMC ring should connect
to DC201
7 8
Page 6
DC201 Input Voltage Range
The DC201 requires a regulated 12V input. The
normal input range is 11V-13V. If you exceed
13V- common when you are using an external
battery, the higher voltage will reduce the life of
the TEC and Fan. If you exceed 13V, please limit
the maximum power of your Cooling Settings. This
can be controlled via“TEC PROTECT” in
the“Favorite” menu of EZCAP. Please select it. If
you are using the ASCOM driver, this has been
set automatically.
QHY8L’s power is from 3.6W to 30W, which is
depended on the TEC’s PWM power. So the
power supply should be larger than 4A.
QHY8L use the one-stage TEC, the temperature
can be cooled below 30 degree centigrade by the
surroundings. It should be used the special
DC201 for QHY8L.
Service Temperature and Humidity of Camera
Service Temperature of this camera is from -20C/4F to +30C/86F.
Relative Humidity amount is from 0% to 90%.
9 10
How to avoid CCD sensor moisture in high
humidity environments
In certain environments, when the
temperature of the camera drop below the
dew-point, dew or ice may form on the camera.
This is simply a law of nature. However, ice
and/or dew which form on the surface of CCD
chip or optic window will impact your images.
If dew or ice forms on the surface of CCD, the
water can flow onto the electric board, which
leads to short circuit or data corruption. It is
critical that you avoid dew or ice formation
during operation on the CCD chip.
What if dew forms on the surface of CCD chip?
The internal space of CCD camera is relatively
airtight. If dew forms on the surface of CCD
chip, this indicates that there is higher relative
humidity in the CCD chamber. You must dry
the chamber using the following method:
1. Screw off the air socket screw on front part
of CCD sealed chamber
2. Put fresh silica gel in silica gel tube. Before
putting silica gel, a small piece of cotton is
needed to create a barrier between the hole in
the tube and the chamber
Page 7
3. Screw silica gel tube into the connection of the
sealed chamber. Make sure the rubber O-Ring
is present to ensure an airtight connection.
4. In about 24 hours, the proper relative humidity
should be restored in the CCD sealed
chamber
If you need to dry the chamber faster, you can use
the following method:
Dew is formed on the IR cut glass
If the cooling temperature is too low in a high
humidity environment, the CCD optic window may
collect dew. This is because the temperature of
the window is too low.
The QHY8L uses 3mm thick optic glass. Although
this glass should prevent dew, follow this
procedure if you run into problems:
Using compressed air or a hand pump with dry air,
make dry air go through the silicon gel tube.
Meanwhile, slightly unscrew the front cover of
CCD. The air current will flow over the CCD
sealed chamber through the air connection of the
CCD. Then air will flow out from the gap between
the unscrewed front cover of CCD and the body of
CCD. After a few minutes, the relative humidity in
the CCD sealed chamber will get lower. Please
note, too high of a pressure can damage the CCD
chip and the cooling system.
1. Install M42 to M42 heater produced by QHYCCD,
The heater will raise the temperature to avoid dew
forming. Consult your area dealer to purchase.
2. Reduce the cooling power. The best
temperature range for QHY8L is from -15℃ to 20℃. Please adjust cooling temperature according
to the ambient temperature.
3. Don’t put the glass window of the CCD upside
down. Cold air will focus on the optic windows if it
is upside down. It will cause lower temperature of
optic windows.
11 12
Page 8

You should shut off all power after you are
finished using your CCD. If the camera is still on
(via USB), any ice crystals around CCD chip will
melt which can corrupt or short-circuit the PCB
board.
Notes about Long term use camera and
Remote Observatory
If you have to keep the camera working for a long time
or the camera is working in a remote observatory,
please follow the following procedures, and we
recommend that you consult your area dealer for
more details.
1. Before using the camera, always check that the
CCD chamber is sealed and dry. If there is a lot ice
crystals around the chip-this indicates a high relative
humidity in the CCD chamber. You must dry the CCD
chamber.
2. Check the air tightness of CCD sealed chamber.
You can check this by increasing the internal pressure
of the CCD sealed chamber with a hand pump(do not
exceed 1.01MP). Then watch if the pressure drops. If
the pressure drops quickly, this indicates a lack of air
tightness. You need to check if the front cover is
screwed on well.
3. Put effective desiccant in the dry tube and connect
continually with CCD for a long term drying.
4. Don’t supply power to the CCD for several days or
even weeks if possible. Use a power controller to
control 12V input or AC input.
13 14
Page 9

QHY8L CCD Chip Read-out Mode and
Image Calibration.
QHY8L CCD has a 2 channels / 2 frames chip.
There are several things you need to pay
attention to during the shooting and image
process.
The first frame read out the B&Gb pixels, the
second frame read out the R&Gr pixels. When
the 1st frame has exposed done, and it is
reading out, the 2nd frame is keep exposing.
Thus the 2 frames will get a different expose
time. QHY8L uses 2 modes to get the solution.
When the expose time is short (less than 1.45s
for high speed download / 3.47s for low speed
download) , QHY8L will expose twice, and the
expose time are the same. QHY8L will read out
the 1st frame after the 1st expose, and read
out the 2nd frame after the 2nd expose.
However, this mode is not suit for long expose
time. At this time, QHY8L will use another
mode. It take only once expose, and the
special hardware in the QHY8L will compute
the data, for keeping the same expose time
with the 2 frames.
The issue is, when QHY8L use the long expose time
mode, after the 1st frame exposes over and it is
reading out, the 2nd frame is exposing. When the 1st
frame is reading out, the AMP light will show, but the
2nd frame is exposing all the same. So the AMP light
will be photoed on the 2nd frame. The AMP light’s
time is about 1.45s(high speed download) , or
3.47s(low speed download) . The AMP light is yellow.
It can be calibrated by taking dark frames.
When using 2*2 or 4*4 mode, QHY8L use the
progressive, so there is no AMP light problem occur.
15 16
Page 10

About controlling for BLOOMING
QHY8L CCD chip have the -100dB antioverflow foundation. Anti-overflow capacity is
slightly lower than QHY8L of-100dB. So there is
possible to overflow for shooting very bright target.
For the overflow problem of SONY CCD chip,
please install mechanical shutter to solve. If
mechanical shutter is indeed necessary, please
consult QHYCCD or your area dealer.
Protection of Cooler
The double cooler of QHY8L can reach to 33-35
Centigrade difference in environmental
temperature. So need to avoid thermal shock.
Thermal shock means internal stress of cooler
happen to change due to expansion or
contraction caused by the rapid changes in
temperature of cooler. Strong thermal shock will
shorten use age of cooler or even irreparable
defect of cooler.
The method of avoiding thermal shock is this: To
avoid reaching maximum power of cooler when
booting machine. Ensure to increase gradually
power of cooler. When stopping machine work ,
after reduce gradually power of cooler shutdown
and turn off the power of machine.
17 18
Page 11

Clean the surface of CCD chip
If dust coats the surface of the CCD-it will impact
the your images and possible create “dust donuts”
and other artifacts.
If there is only a small amount of dust, we suggest
just using flat fields calibration to remove them.
Cleaning tips
You can open the front cover of CCD to clean the
surface of chip. You don't have to open the front
cover of CCD( this can be delete because ccd front
cover can not be open)
Screw the front cover of CCD counterclockwise,
and clean the dust off of the surface of CCD with a
manual air pump. If there is dirt that doesn’t come
off with the air pump, you can use lens paper or a
commercially available SLR camera cleaning kit.
Here is the correct procedure to follow with the lens
paper:
1. Wash your hands with soap.
2. Take a piece of lens paper,
and fold it once or twice
(do not fold too many times as
the lens paper will get very
sharp and the edges may
19 20
scratch the CCD glass surface)
3. Blow at CCD in a breath and use lens paper to
clean the CCD surface. Make sure to maintain an
appropriate pressure for CCD with your hand.
4. Finish cleaning and reinstall the front cover of
CCD. If there is higher relative humidity in your
environment- it is necessary to dry the inside of the
CCD sealed chamber.
Page 12

Setting the GAIN and OFFSET
6. Open the lens cover and increase the exposure
Unlike many other manufacturers, QHYCCD leaves
the the internal settings of the camera ADC GAIN
and OFFSET settings so that you can get the
absolute best performance out of your CCD.
GAIN is the pre-ADC programmable gain amplifier
gain setting, the range is from 0 to 63.
OFFSET is the ADC voltage offset setting.
The correct setting of OFFSET and GAIN can
change the CCD camera system gain, which match
CCD output signal range and scope of the
quantitative ADC to get the best dynamic range.
Usual Calibration Method:
1. Set the Gain=0
2. Set the exposure time to 0 and cover the lens-this
is a BIAS frame .
3. Watch the local average of the captured images
(can use the Noise Analyze function of EZCAP)
4. The ideal average value is around 500 to 1000. If
the value is higher, then you should reduce the
OFFSET. If the value is lower then you should
increase the OFFSET.
21 22
5. Repeat steps 2-4 to obtain the ideal OFFSET
value.
time. Use a uniform light source, such as light
boxes or an LCD screen, and take a saturated
exposure of the image.
7. Watch the local average value of the captured
images if the value is is less than 60,000, you need
to increase the value of GAIN, if the value is 65535,
then reduce the GAIN .
8.Repeat steps 6-7 to obtain the appropriate GAIN
value.
9.Under the GAIN, repeat steps 2-4, and obtain
more accurate OFFSET。
Note A: For some QHYCCD products when you
use bin modes of 2x2,3x3,4x4, images may
reach 65535 even with gain set to 0.
Page 13

QHY8L mechanical dimensions QHY8L back focus distance
The back focus length of QHY8L is 20mm, as shown
without the center and angle adjustment ring.
If you connect the center and angle adjustment ringthe rear cut-off distance will increase by about 3mm.
23 24
Page 14

Using the Center and Angle Adjustment Ring
There is a M42/0.75 thread on the QHY8L, which can
1
connect directly with the telescope. If it needs
adjustment, then the center and angle adjustment
ring should be used.
Center adjustment---- unscrew the three screws
2
around the ring. The adjustment ring will sets into
the dovetail slot of QHY8L. By adjusting the location
of the three screws, you can achieve about 1mm
center adjustment.
3
Angle adjustment-----slightly unscrew the three
screws. There is a small screw on the slide side of
the ring, which adjusts the size of inclination angle. If
you rotate QHY8L relative to the adjustment ring,
you can obtain the correct angle.
4
After finishing the adjustment you should lock up the
three screws.
Simple first light
Although QHY8L is supported by many 3rdparty
software, we still suggest you strongly to use the
software distributed with the CCD----EZCAP.
Especially when you are first using the QHY8L.
EZCAP will be able to correctly verify your camera
being able to work regularly or not.
EZCAP
1
Run EZCAP.exe
Choose [Scan Camera] in Camera menu
2
If computer system find the hardware, EZCAP will
3
show [QHY8L], click [QHY8L]. At the same time
the Preview group which is located on the left of
4
EZCAP will open automatically.
5
Set GAIN to 0, OFFSET 125
6
Setting Exposure time
7
Click the button 【Snap】, the camera will start to
exposure and show image.
To stretch the【Histogram】, select the
appropriate range. The Histogram intensity
usually can be observed, stretch at the different
section, make this area is just the scope of
Histogram.
25 26
Page 15

8
Click the Live Preview option. This lets you
achieve a continuous preview. We recommend
select the shorter exposure time (100-500ms) for
obtaining faster preview speeds.
9
Adjust the lens or the telescope focus and get the
a shape image.
10
Stop Live Preview
11
Select a good star point or target in the image
area using the left click of the mouse.
12
Open the FOCUS column. Click the FOCUS
button to get a focus image.
13
Adjust Histogram of gray column to choose the
appropriate range.
14
Click Live Focus option again. Click the area of
image to get a more precise target. At this point, it
will show the analytic curve in the Screen View
column and a 5x zoom focus image. While it’s
exposing, the FWHM column will show the width
of stars and the intensity of the star point peak.
Generally, smaller FWHM and bigger peak
intensity indicate the better focus.
15
When you finish Focusing, open the Capture
column and start shooting.
Set the appropriate value of Gain, Offset and
16
exposure time
17
Select 1x1 Binning mode, select the low read-out
speed. Click Capture to shoot.
27 28
Page 16

EZCAP can control temperature manually or
automatically for the QHY8L camera.
Choose Temperature Control from the Setup
menu. There are three temperature control
options in the window. TEC OFF, Manual and
Auto Control. TEC OFF will turn the cooler of the
camera off immediately. Manual will adjust the
power % of the cooler. It can be adjusted by the
PWM regulation section on the left. The range of
regulation is from 0% to 100%. Auto Control will
adjust the power % of the cooler dynamically to
maintain a constant sensor temperature set by the
user.
Images which are produced by EZCAP will cover
the area of Overscan and Optic black as shown in
the reference image on the right of this page.
Data from these regions can be used for CCD
image preprocessing. But not all software capture
produce this kinds of area.
29 30
Page 17

MAXIMDL ASCOM Connection Mode
Steps
Please download the latest version of the ASCOM
1
Platform from http://ascom-standards.org/. Install
ASCOM and ALSO download any UPDATE that is
available.
http://www.qhyccd.com/download.html download
2
and install the ASCOM driver of QHY8L。
3
Run MAXIMDL software. Select the camera icon
in the toolbar. The Camera Control window should
appear. Press Setup Camera button inside this
window.
4
Select ASCOM from the menu of Camera Mode.
Click the button of Advanced button .Select types
of QHY8L CCD from the window of ASCOM
Camera Choose. and then click the button of
Properties to set some usual value of parameters,
like the value of GAIN ,OFFSET and the speed of
read-out. Click the button of OK and back to the
window Camera Control, click the button of
CONNECT.
5
Select the tab of Exposure from the window of
Camera Control.
6
Select option of Find Star and set the exposure
time
Click to select the "No Calibration" from the popup
7
menu of OPTION.
8
Set the merge mode with X and Y ,like choose
X=4,Y=same.
9
Press the button of Start to exposure and shoot .
When finished shooting, images will be showed.
10
You can use the tool of Screen Stretch to adjust
the stretching of image.
Color Image Taken
The Binning modes of QHY8L include 2x2,4x4.
These two modes only output grayscale image.
So these two modes are only useful for focusing
and previewing. If you want to get a color image,
please select the combine mode 1x1.
31 32
Page 18

Changes from the above steps number 8:
Set the merge mode with X and Y ,like choose
8
X=1,Y=same.
9
Press the button of Start to exposure and shoot .
Soon image will be showed in form of RAW which
are still grayscale image. Select Convert Color
from Color menu belong to MAXIMDL,set
OFFSET,X=0,Y=0 On Convert Color menu.
Choose Generic RGB from the dropdowns box of
Select Camera. On the window of Preview check if
the color is right. And then click OK .You can
obtain the color image after a while.
If the color is not right ,please try to change the
value of OFFSET,X ,Y on Convert Color
10
menu ,include the type of camera on Select
Camera menu.
Note:In order to improve the focus function
and the speed of preview, There is a Button
In Fast Setting window. You can click it and
Select high download speed for preview and
focus
AstroART ASCOM Connection Mode
1
Please download the latest version of the ASCOM
from http://ascom-standards.org/ If there is the
latest UPDATE of ASCOM,do it together.
Install ASCOM and its UPDATE
2
According to the instructions about driver
connection of ASCOM from
http://www.qhyccd.com/download.html download
and install the ASCOM driver of QHY8L。
3
Install AART3.0 and AART4.0 updates. You will
copy AART's CCD-link library (piccdgui.dll,
download from the AART website ) to AATR
installation directory. Then install the driver
AstroART of ASCOM.
Run AstroART software ,select CCD Camera
4
from the ithe Plug-in menu bar, which wll be
appeared the window of CCD Camera Control
Panel. Select types of Imaging/Guide Camera for
ASCOM from the columns of Setup. Click the
button of SETUP, select QHY8L CCD Camera
and set appropriate value of GAIN and OFFSET in
menu bar of Properties, then Click OK.
33 34
Page 19

5
If the camera of QHY8L is connected successfully,
AART will show the window of temperature control.
Please set Target as what you want to be required
value of temperature.
6
There has a Setting column which is located the
window of CCD. Please select pixel merge mode.
Set the exposure time under the window of CCD.
7
8
Click the button of START and shoot a image.
9
If you want to get a color image in the state of
mode 1*1,you need to use the color
transformative function of CCD Color Synthesis
belong to the menu bar of COLOR. Select RGE
image and the advisable value of X,Y and
OFFSET ,so click OK.
Note:In order to improve the focus function
and the speed of preview, There is a Button
In Fast Setting window. You can click it and
Select high download speed for preview and
focus
Image Calibration of QHY8L
Image calibration means to calibrate the CCD with
a BIAS field, a DARK field and a FLAT field. You
can completely remove thermal noise of the CCD
through proper calibration. Additionally ,you can
obtain better image highlights. You can remove
dark spots which are caused by dust on the
surface of the CCD. Image calibration is a critical
step for serious astronomical photography.
In order to obtain accurate calibration information,
you need to use the QHY8L temperature
controller. CCD should be set in fixed temperature
state. And temperature should remain the same
when shooting .
The temperature control of EZCAP is located in
Temp Control of the menu bar of Setup. You can
stretch the temperature control section on the right
of the window of Temperature Control to set the
temperature what you want .And then select Auto
Control ,that means CCD has been the
homoeothermic control.
It will take some time to achieve the target
temperature for CCD. You have to wait a moment
until the temperature of CCD has been stable ,you
can start to shoot and calibrate image.
35 36
WWW.QHYCCD.COM
Page 20

The Calibration Principle of CCD Image
Calibrated image=[(L-B)-(D-B)]/(F-B)=(L-D)/(F-B)
There, L is the actual shooting image, D represents
the Dark Frame images, B represents BIAS image
and F means the FLAT image.
Note: In most cases, there maybe appear some
Vertical stripes in the image which is formed
by lots of BIAS or DARK image stacked.
This is normal. There will not appear such
Vertical stripes after this image is calibrated.
Partial Cropped BIAS Image(B)
Capture BIAS Image
BIAS image means exposure time of images is Zero.
You need avoiding any light to enter into CCD
Sensor when you shoot image. So you have to
cover the lens cap of camera.
Set Exposure Time to 0, and then use the low
speed to shoot many (10 -50 sheets) BIAS image.
Save and overlap them .Use the function of average
overlapping, do not match with position to get one
BIAS Master image. Save this image.
Capture DARK Image
DARK Image means the image which of the
exposure time is the same as the time it took
officially. You have to avoid any light enter into
CCD sensor. Therefore you have to cover the lens
lid.
The exposure time should be set the same with
shooting time .and then use the low speed
and mode 1 * 1 to shoot about (10 -50 sheets)
BIAS image. Save and overlay these images to
form a Dark Master image. Save the image.
37 38
WWW.QHYCCD.COM
Page 21

Partial Cropped DARK Image (D)
DARK image which be calibrated by BIAS Field (D-B)
Capture FLAT Image
FLAT image can be used to rectify the problem of
the center light but the edge dark which caused by
the vignette of optical system. It also can be
corrected the problem due to some small dust on
the CCD sensor glass surface.
Flat-field calibration method is this: you need
uniform luminous lightbox. The lightbox will be
placed in front of the telescope. You would set the
appropriate exposure time, then continuous shoot
10-50 frame flat-field images. Save and overlay
these images to form a FLAT Master image, save
the image.
To obtain an accurate flat-field calibration, Please
note the following matters:
You have to take immediately flat-field images
before the shooting or after finishing shooting.
Like do this in order to avoid dismantling the
device, dust on CCD surface and vibration of CCD
cause the change of location. The scope of
exposure is better for 30% of the maximum
dynamic range , which means you have gotten
20000-30000 pixel of flat-field image.
Images of BIAS Master, DARK Master and FLAT
Master will be calibration data as image postprocessing of the captured images .
39 40
WWW.QHYCCD.COM
Page 22

Guiding by using QHY8L in MAXim DL
QHY8L contains a guiding spot, it can be used as
a guiding ccd with ASCOM. QHY8L uses 1*1 bin
and normal download speed default. It can use
subframe mode to guide.
1. Connect the QHY8L and the equatorial
mount’s guide spot.
2. Run MAXim DL, choose View-Camera
Control Window, choose Setup-Setup
Camera-Camera Model-ASCOM-Advanced,
in the ASCOM Camera Choose window,
choose the QHY8L-StarSenseSci, and click
the Properties button, set Gain and Offset
and so on. After setting, click the Connect
button.
3. Choose the Guide table in the Camera
Control window.
4. Set expose time.
5. Click Settings, open the Guide Settings
window. Click the Reset button in the Expose
Setting area, the subframe will use the full
frame, click OK to save it.
6. Choose Expose, click Start, QHY8L will take
a photo.
7. After the photo show, adjust the Screen
Stretch to watch the suitable image.
8. Click the Settings button again, open the
Guider Settings windows. Use the mouse to
select an area on the image, this is the
subframe, click OK. Generally, it contains a
star which will be used as the guided star.
9. Choose Expose, click Start to take a photo,
the photo is the subframe which was
selected.
10. Choose Calibrate.
11. After calibration, click Options, choose No
Calibration.
12. Choose Track. Click Start to begin guiding.
13. Click Graph, to show the guiding graph.
Note:
QHY8L could use the False BIN11 Mode to guide.
This mode uses the 2*2bin, but the image is
zoomed in to the size of 1*1bin. Because the
2*2bin mode get a higher sensitivity, it is suit
for guiding.
41 42
WWW.QHYCCD.COM
 Loading...