

QHYCCD QHY10, QHY12 User Manual
User Manual
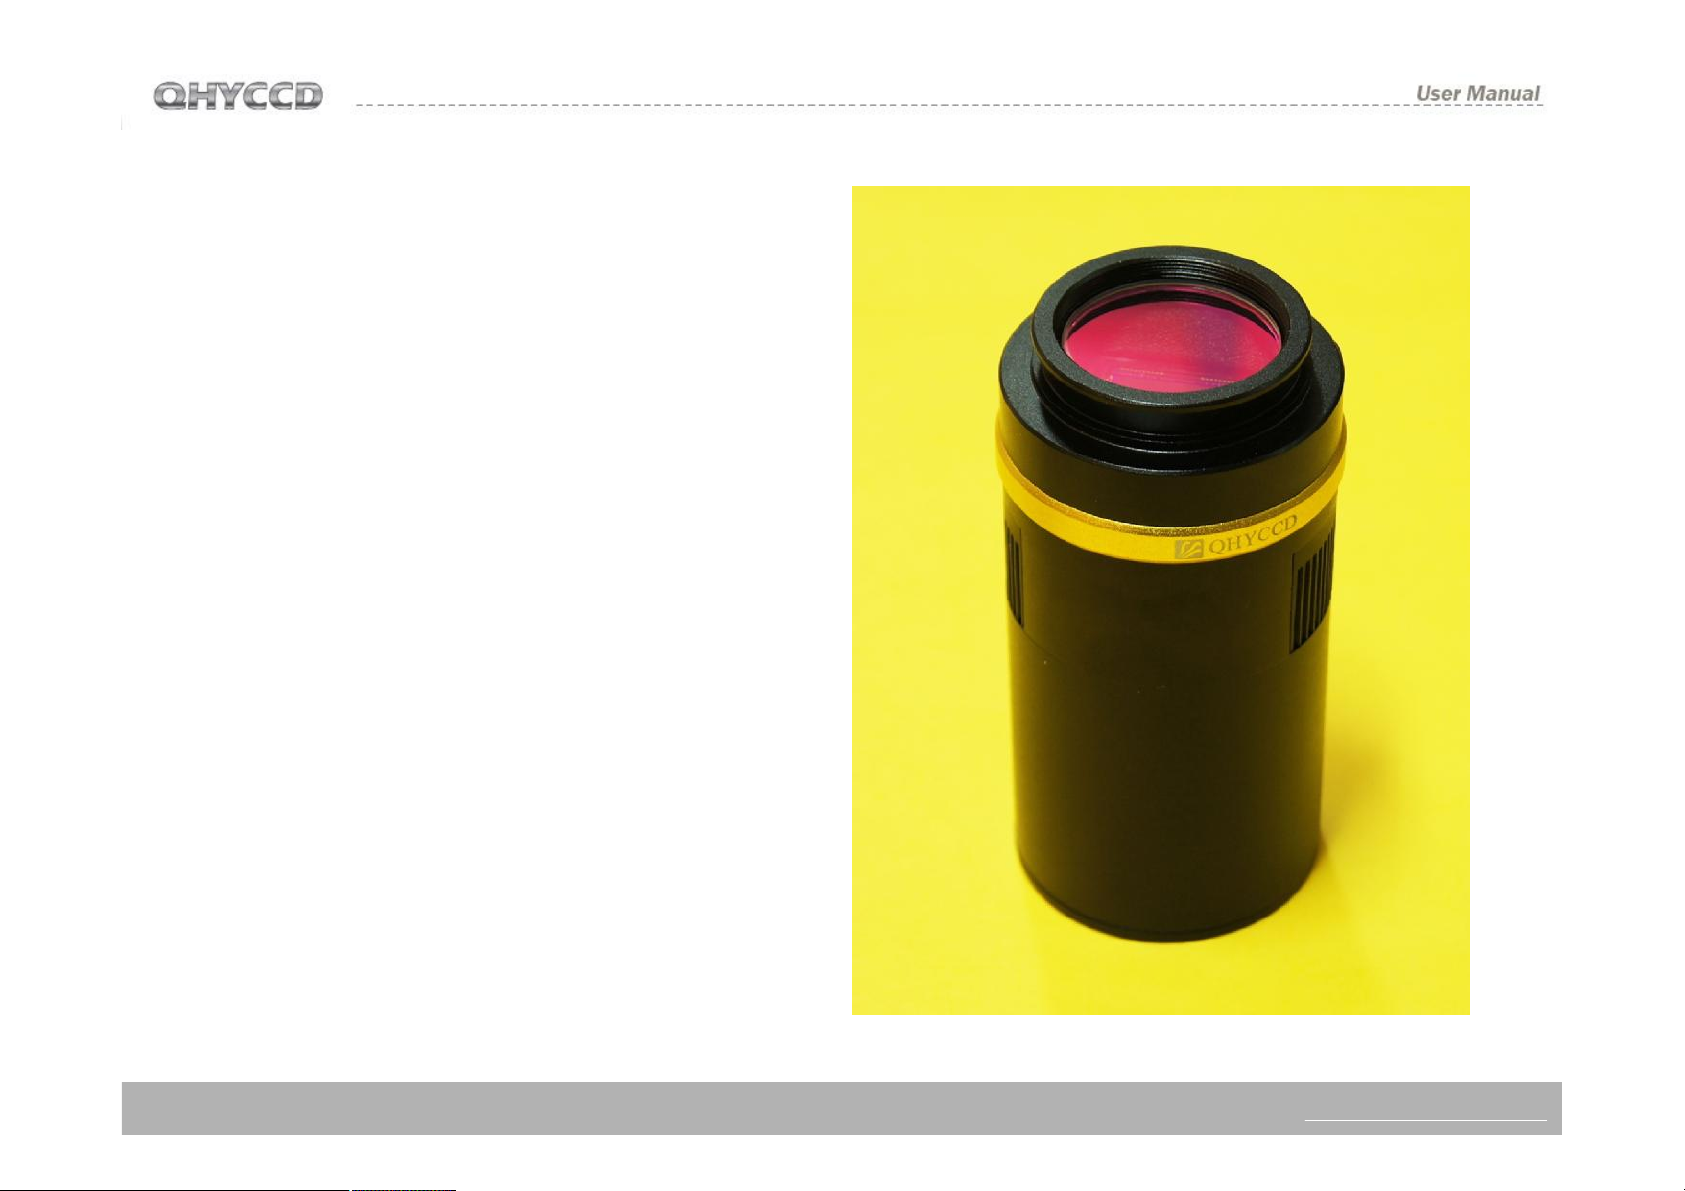
QHY10/QHY12
Color Astronomy Cooled Camera
QHY10/QHY12 User Manual V1.0
WWW.QHYCCD.COM
CONTENTS
1) SAFETY PRECAUTIONS--------------------------------------------------------------------------2
2) STANDARD EQUIPMENT-----------------------------------------------------------------------3
3) SEPARATELY SOLD ACCESSORIES---------------------------------------------------------5
4)CAMERA STRUCTURE AND INTERFACE CONNECTION------------------------------6
5)CAMERA DRIVERS INSTALLATION AND QUICKLY MASTERING -------------------7
6) DC201 IINPUT VOLTAGE RANGE--------------------------------------------------------------9
7)SERVICE TEMPERATURE AND HUMIDITY OF CAMERA--------------------------------9
8) HOW TO AVOID CCD SENSOR MOIST IN HIGH HUMIDITY--------------------------10
9)NOTES ABOUT LONG TERM USING AND REMOTE OBSERVATORY-----------12
10)QHY10/12 CCD CHIP READ OUT MODE AND IMAGE CALIBRATION------------13
11) ABOUT CONTROLLING FOR BLOOMING----------------------------------------------15
12) PROTECTION OF COOLER-------------------------------------------------------------------15
13) CLEAN THE SURFACE OF CCD CHIP-----------------------------------------------------16
14) SET ON THE GAIN and OFFSET ------------------------------------------------------------17
15) QHY10/12MECHANICAL DIMENSIONS --------------------------------------------------18
16) QHY10/12 REAR CUT-OFF DISTANCE-----------------------------------------------------19
17)THE METHOD OF THE CENTER AND ANGLE ADJUSTMENT RING -------------20
18) SOFTWARE ABC COURSE -------------------------------------------------------------------21
19) IMAGE CALIBRATION OF QHY10/12 CCD -----------------------------------------------29
20) CAPTURE BIAS IMAGE-------------------------------------------------------------------------30
21) CAPTURE DARK IMAGE-----------------------------------------------------------------------31
22) CAPTURE FLAT IMAGE------------------------------------------------------------------------32
QHY10/12 CCD Camera User Guide
Congratulations on your new QHYCCD series purchase!
Make sure you read this guide carefully before operating your
new camera! Time spent reading this guide will save you frustration
and maximize the enjoyment of your new QHY10/12 CCD Camera.
Precautions
1
The larger surface area of the Large format CCD chip and cooling
system are more fragile than a small or medium sized CCD. Take
extra care when transporting and storing the device. Any significant
impacts may damage your equipment.
2
Connection Sequence:
1. Connect USB cable from camera to PC
2. Connect 9-pin cable from camera to DC201
3. Connect 12V power to DC201.
Disconnect Sequence
3
1. Disconnect 12V input power from DC201
2. Disconnect 9-pin cable from Camera
3. Disconnect USB cable from PC
Power to the DC201 needs to be:
4
1. 4A/5A regulated DC power supply.
2. Internal diameter of connection to DC201 is 2.1mm.
3. Tip-positive*
*Please note the reverse polarity will cause damage for camera
and a plug with a different internal diameter won’t work.
1 2
WWW.QHYCCD.COM
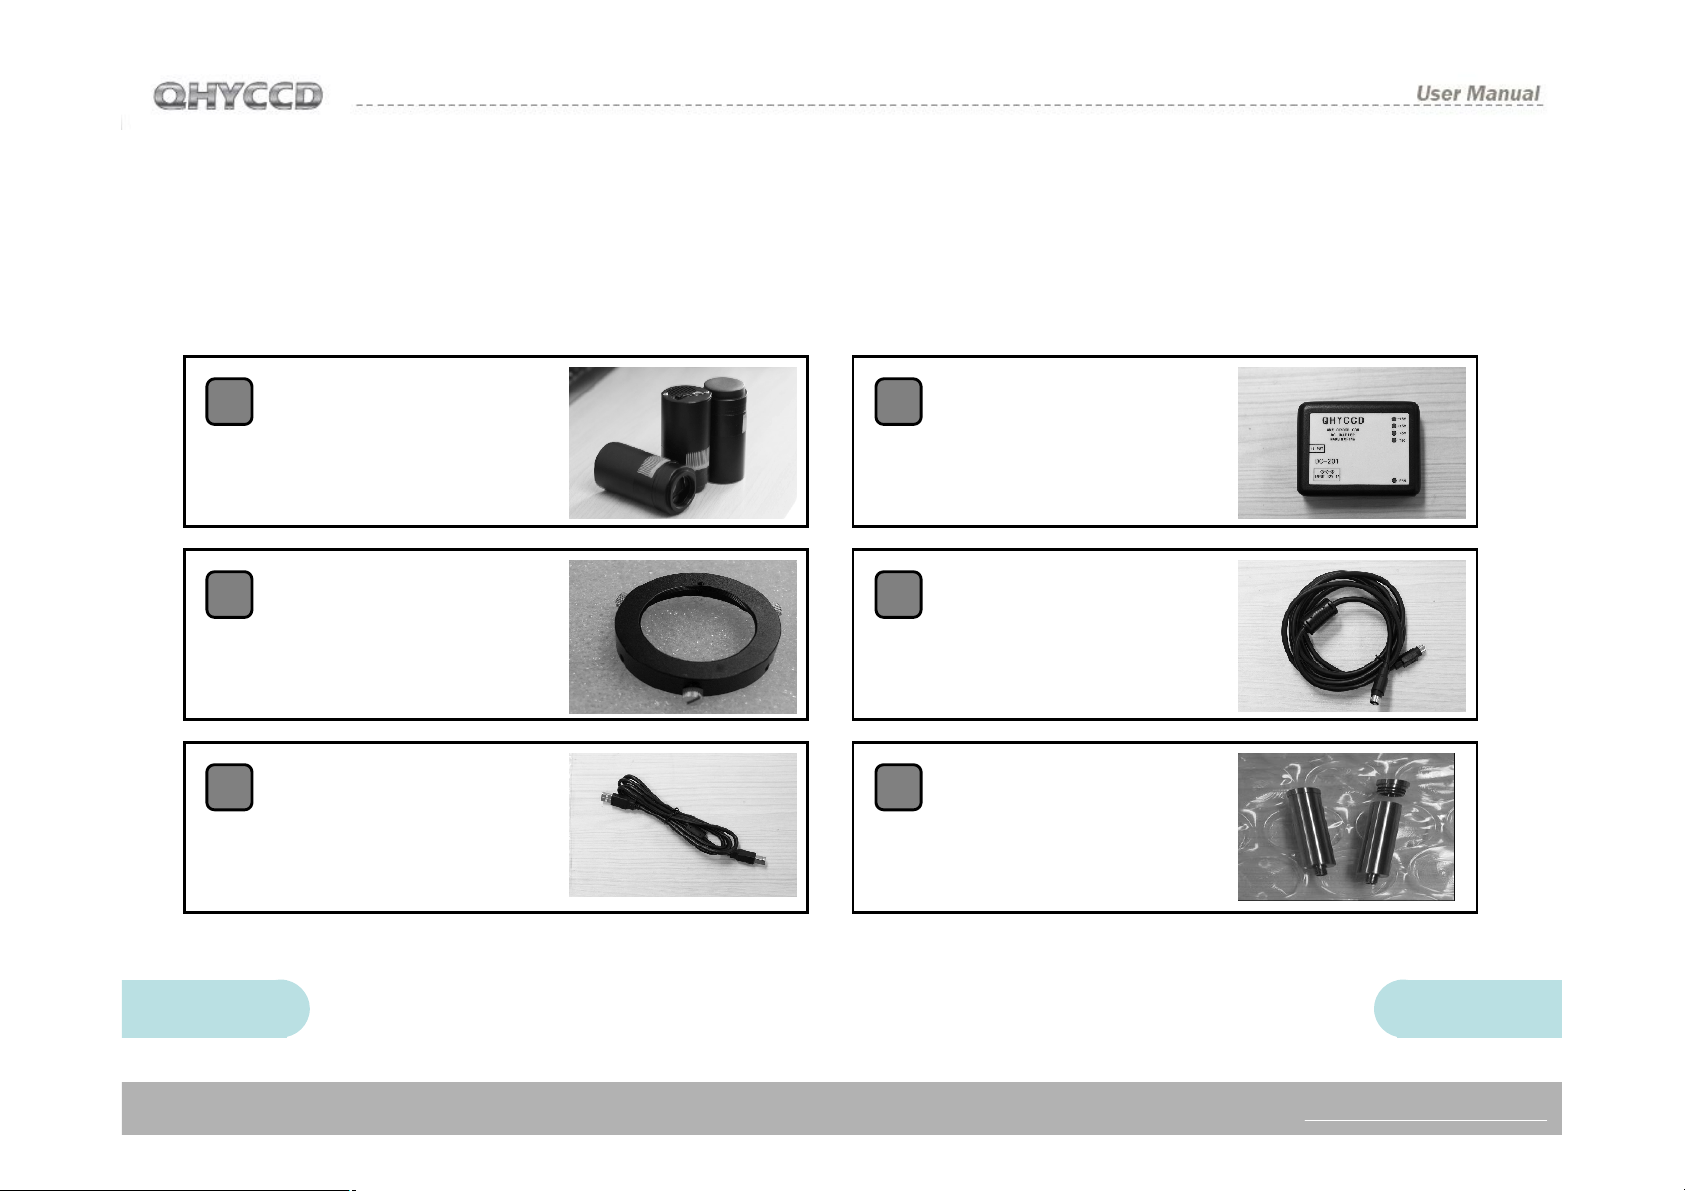
STANDARD EQUIPMENT
Make sure that the following items are included in
your camera package. If anything is missing,
contact the retailer from which you purchased the
camera.
1
2
3
QHY10(or QHY12)
Camera
Center and Tilt
Adjustment Ring
USB Cable
4
DC201 DC Power
Supply
5
6
9pin Power Cable
Desiccator /
Silicon Gel Tube
(only one)
3 4
WWW.QHYCCD.COM

Accessories Sold Separately
(Contact your dealer for pricing and ordering
information)
Optional 12V 4A AC
1
Power Supply Adapter
Input Voltage Range 100-240V
Optional Air Sealed Box
2
with Electrically Heated
Silica Gel
相机接口及说明
3 4
1:Camera Front Part
2:Air Hole for CCD chamber
3:M42/0.75 Inner Thread
(Depth=3mm)
4:IR Cut Optic Window
5 : Heat Sink Exhaust
7 6
2
1
5
6: 9pin Power Socket
7: USB Socket
8: Guiding/Control Port
9: Heat Sink Air Intake
8
9
5
WWW.QHYCCD.COM
6
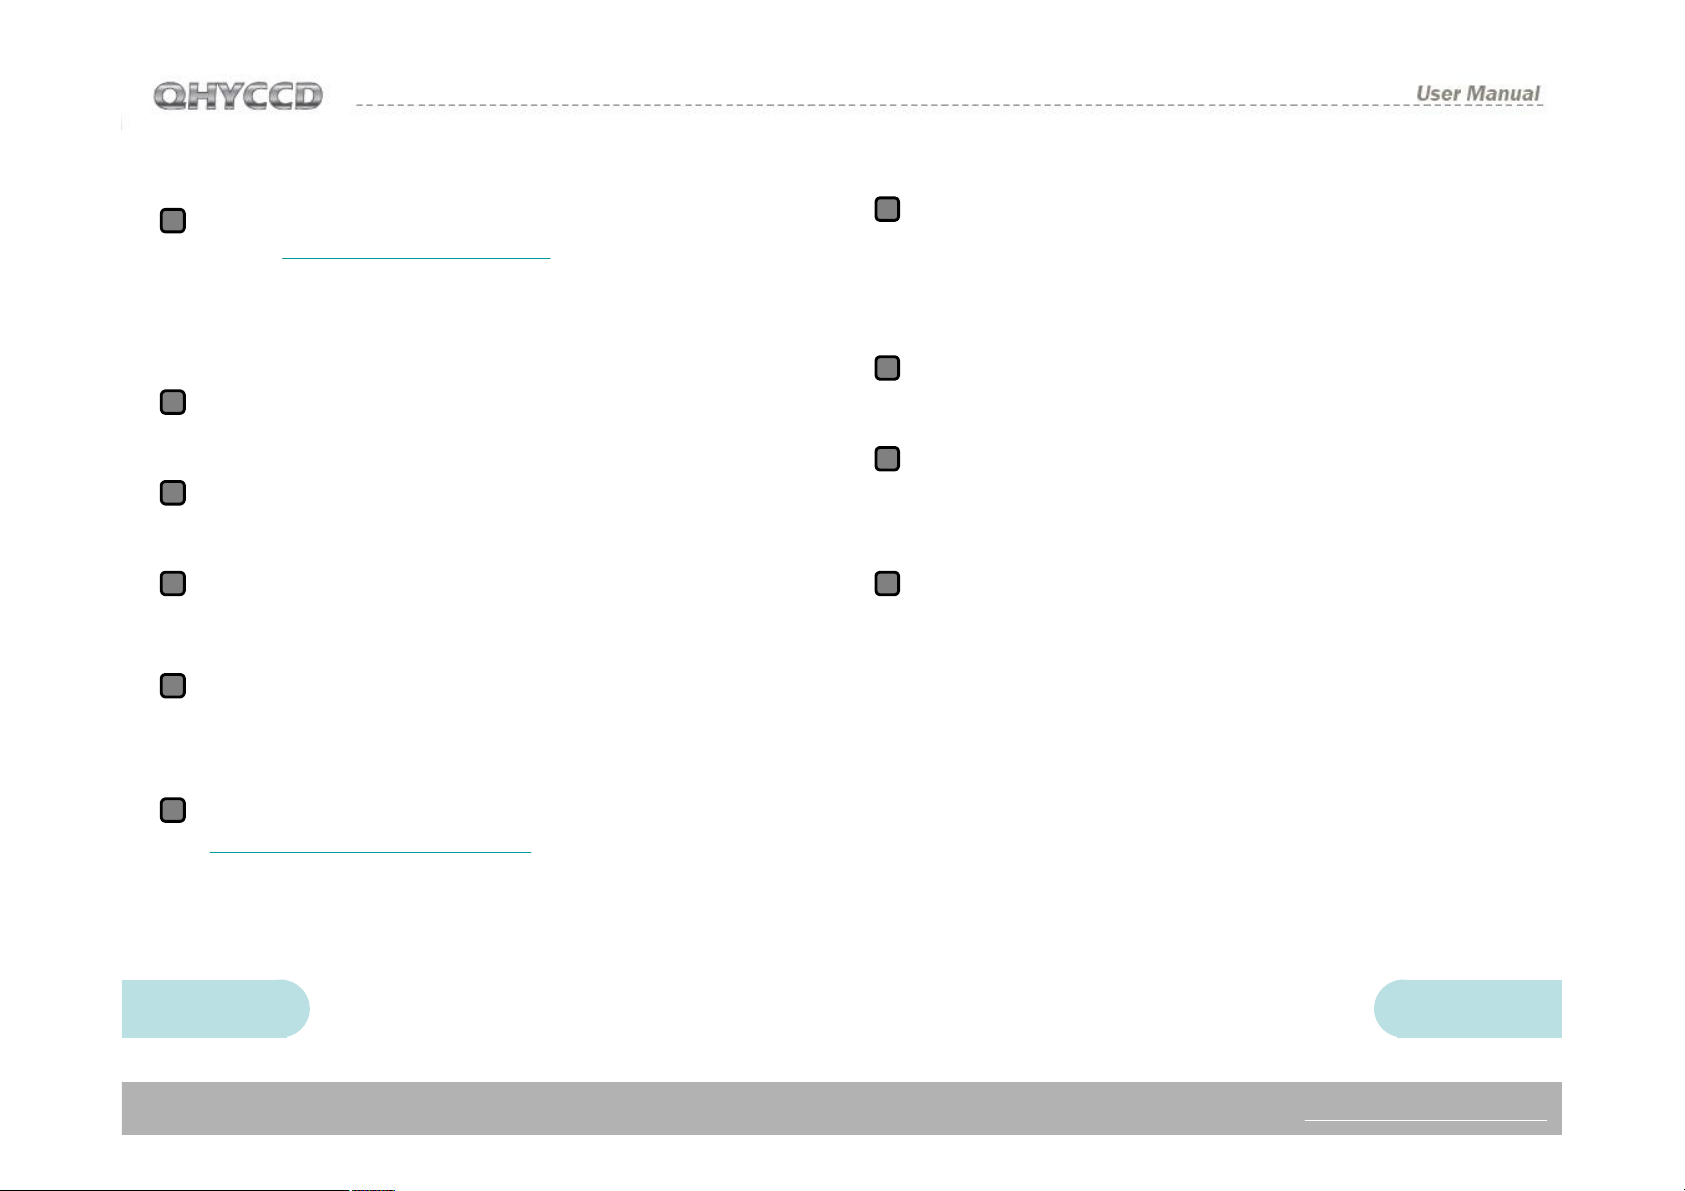
Camera Software Installation
Please download the latest QHY10/12 drivers
1
at the http://www.qhyccd.com(win64/32
version). This version also supports 64/32 bit
versions of Windows XP, Windows Vista, and
Windows 7
Install the driver by executing the downloaded
2
file.
3
Connect Camera following the connection
sequence outlined on Page 2.
Use the 9-pin cable to connect DC201 and
7
QHY10/12. Please note: the 9-pin cable has
one end with EMC ring. This end should be
connected to the DC201 and not the Camera.
DC201 requires a regular 12V input ,the LED of
8
+15,-15 +5 on the DC would be ON
Run EZCAP software, select “scan camera” in
9
camera menu, It should show the QHY10/12
camera. Select the QHY10/12.
4
The computer should recognize the camera at
this point.
The LED on the camera will flash once the
5
camera has successfully connected with the
computer.
Download driver version detector from
6
www.qhyccd.com/download. Unpack it and
run cameraversion.exe, click QHY10 or
QHY12, and ensure that the driver version
matches what you’ve downloaded.
Make sure that the DC201 FAN and TED LED
10
are on and that the fan is blowing.
7 8
WWW.QHYCCD.COM

DC201 Input Voltage Range
The DC201 requires a regulated 12V input. The
normal input range is 11V-13V. If you exceed
13V-common when you are using an external
battery, the higher voltage will reduce the life of
the TEC and Fan. If you exceed 13V, please limit
the maximum power of your Cooling Settings. This
can be controlled via “ TEC PROTECT ” in
the“Favorite” menu of EZCAP. Please select it. If
you are using the ASCOM driver, this has been
set automatically.
Service Temperature and Humidity of Camera
Service Temperature of QHY10/12 is from -20C/4F to +30C/86F.
Relative Humidity amount is from 0% to 90%.
How to avoid CCD sensor moisture in high
humidity environments
In certain environments, when the temperature of the
camera drop below the dew-point, dew or ice may
form on the camera. This is simply a law of nature.
However, ice and/or dew which form on the surface of
CCD chip or optic window will impact your images. If
dew or ice forms on the surface of CCD, the water can
flow onto the electric board, which leads to short
circuit or data corruption. It is critical that you avoid
dew or ice formation during operation on the CCD
chip.
What if dew forms on the surface of CCD chip?
The internal space of CCD camera is relatively airtight.
If dew forms on the surface of CCD chip, this indicates
that there is higher relative humidity in the CCD
chamber. You must dry the chamber using the
following method:
1. Screw off the air socket screw on front part of CCD
sealed chamber
2. Put fresh silica gel in silica gel tube. Before putting
silica gel, a small piece of cotton is needed to create a
barrier between the hole in the tube and the
chamber.*
9 10
* Desiccatormust be effective.
WWW.QHYCCD.COM

3. Screw silica gel tube into the connection of the
sealed chamber. Make sure the rubber O-Ring
is present to ensure an airtight connection.
4. In about 24 hours, the proper relative humidity
should be restored in the CCD sealed
chamber
If you need to dry the chamber faster, you can use
the following method:
Using compressed air or a hand pump with dry air,
make dry air go through the silicon gel tube.
Meanwhile, slightly unscrew the front cover of
CCD. The air current will flow over the CCD
sealed chamber through the air connection of the
CCD. Then air will flow out from the gap between
the unscrewed front cover of CCD and the body of
CCD. After a few minutes, the relative humidity in
the CCD sealed chamber will get lower. Please
note, too high of a pressure can damage the CCD
chip and the cooling system.
Dew is formed on the IR cut glass
If the cooling temperature is too low in a high
humidity environment, the CCD optic window may
collect dew. This is because the temperature of
the window is too low.
The QHY10/12 uses 3mm thick optic glass.
Although this glass should prevent dew, follow this
procedure if you run into problems:
1. Install M42 to M42 heater produced by QHYCCD,
The heater will raise the temperature to avoid dew
forming. Consult your area dealer to purchase.
2. Reduce the cooling power. The best
temperature range for QHY10/12 is from -15℃ to 20℃. Please adjust cooling temperature according
to the ambient temperature.
3. Don’t put the glass window of the CCD upside
down. Cold air will focus on the optic windows if it
is upside down. It will cause lower temperature of
optic windows.
11 12
WWW.QHYCCD.COM
 Loading...