

Page 1
SIZE:100*140mm
材质:105g铜版纸黑白印刷
PBX-108
ALTAVOZ DE BATERÍA PROFESIONAL
Page 2
厂
Ι
Before using this machine, please read all the safety and operating instructions. Please adhere to all the instructions herein,
and save this information in a safe place for future use.
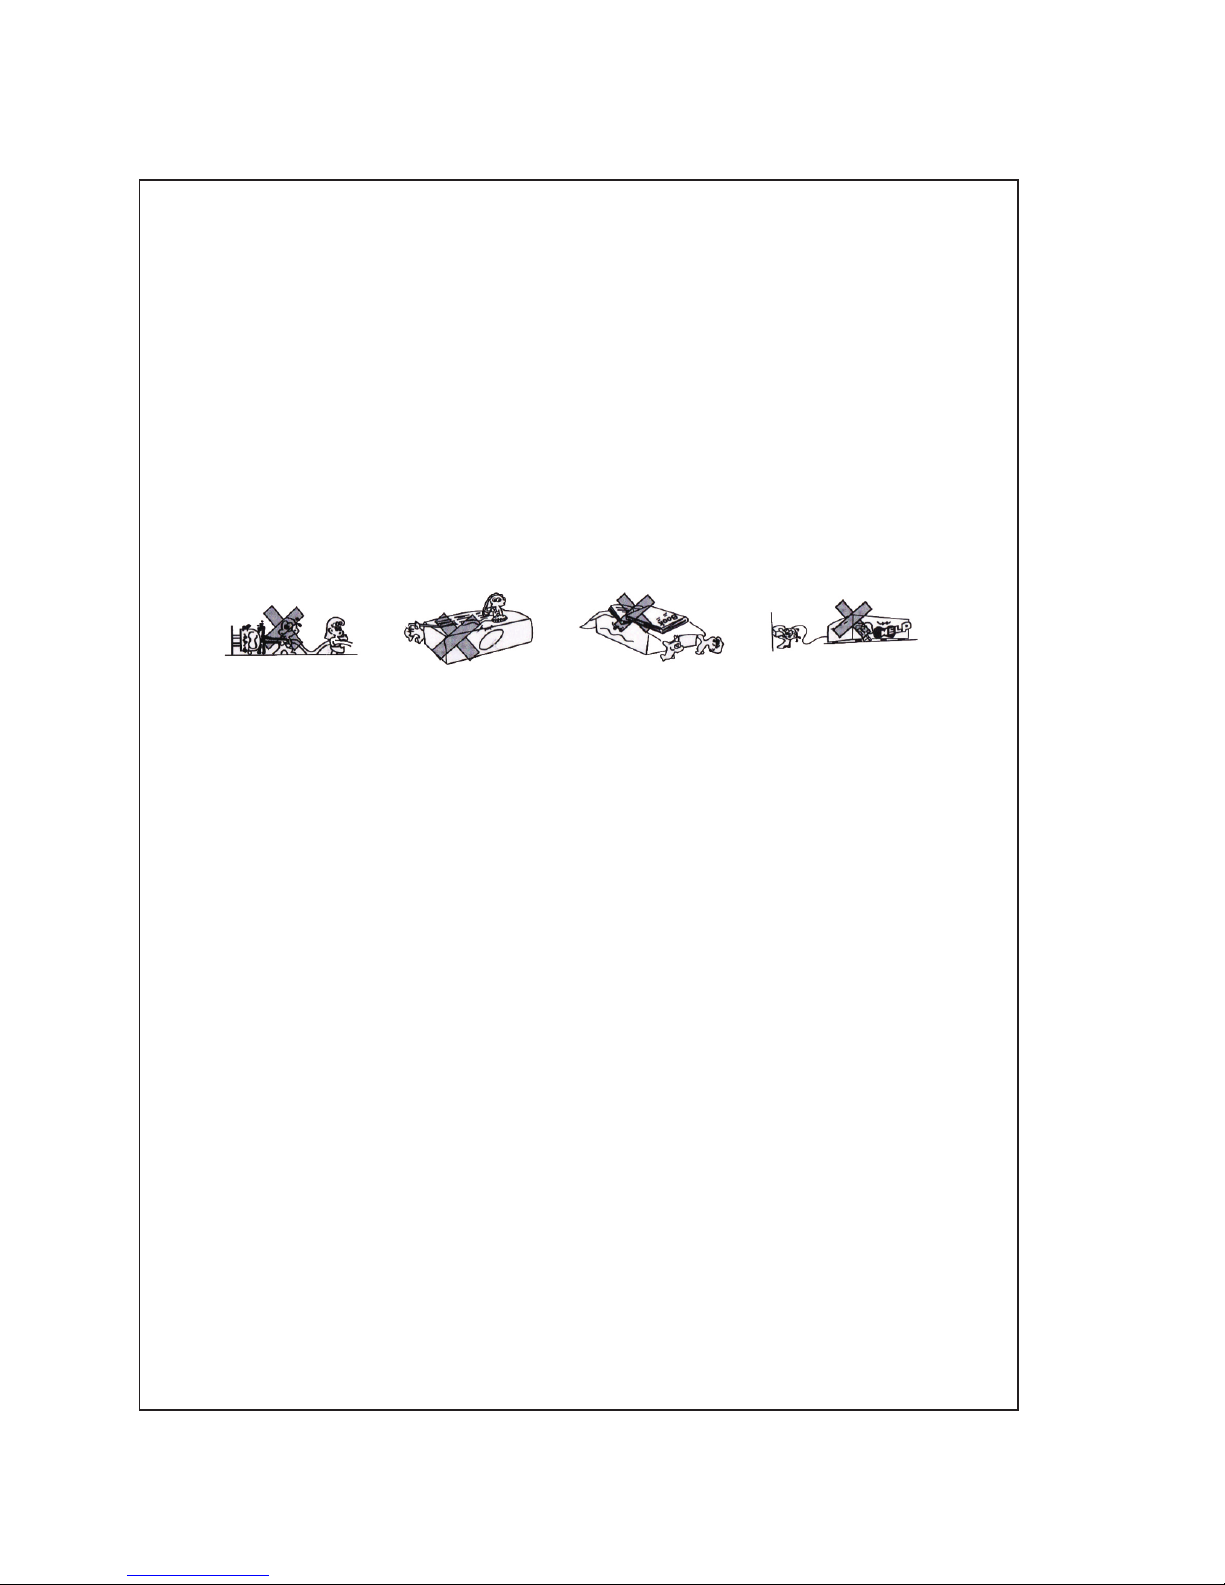
1. Please ensure the power cord for this unit is out of the path
of foot traffic. Do not place heavy objects on the power cord
as it will cause damage to the cord. Always firmly grasp the
plug and pull the plug from the power supply, never yank the
cable in order to pull out the plug. Avoid the use of an exten sion cable.
2. Ventilation: This unit should be placed in a well ventilated sp ace where it has no less than 10cm ventilation space on eith er side of it. Do not cover the unit with a cloth or blanket. Do
not put it on a bed, sofa, or carpet as this will stifle the ventil ation of the unit.
3. Casing Dismantling: DO NOT dismantle the casing . There
are no usable parts inside the unit. Make use of a service
center in order to have your unit repaired.
4. Should the unit emit any smell or smoke, immediately turn
off the power supply. Take the unit to the service center from
which you bought it for repairs.
IMPORTANT SAFETY MEAS URES
THANK YOU FOR PURCHASING OUR SPEAKER. PLEASE
READ THE MANUAL CAREFULLY BEFORE OPERATING.
1
厂
Ι
1
Page 3

22
FEATURES
●Bluetooth Function
● / / .
●FM radio
●Microphone input
Aux input
●Remote control
●Built-in rechargeable battery
CONNECT ING
1. This set applies to AC 110V-240V, 50/60Hz
2. AC power: battery can be charged when connected to AC power.
Red light on battery is charging, it will change to green once bat-
tery complete charge.
3. Internal battery will be charged even device switch off when plu gged in to AC power
4
BLUETOOTH INSTRUCTION
Change the mode into"BLUE", the bluetooth sign light twinkles,
and speaker will give an alarm. Ensure you enable the Bluetooth
function on your Bluetooth device. Search for Bluetooth connection
until you find device model and pair.
Plays Mp3 files stored in SD card USB drive external audio device
●
. Adjust function keys to your personal audio preference.
Page 4

Standby
USB/SD/LINE/BLUETOOTH (Audio input)
Prev/FM CH-
Play/pause/FM tuner
Next/FM CH+
Repeat
Stop
Volume up
Volume down
Mute
Equalizer
Number
REMOTE CON TROL
3
BATTERY & CHARGING
1. The units takes approximately 8 hours to fully charge. It will
automatically begin charging once the power cord is connected.
2. If the battery power is low may caused sound distortion or stop
play, pls charging the battery ontime.
3. To maximize the battery's lifespan, please charging the battery
immediately. When the unit is not used for prolonged periods of
time,the battery will gradually lose its power. It is recommended
to fully charge the battery at least every 30days.
4. To saving battery, please power off once stop using.
3
EQ
RPT
RPT
EQ
Page 5

4
PAN EL FUNCTI O N
① PO W ER: POWER ON/OFF
② LE D L IGHT : LED LIGHT ON/OFF
③ MI C I N: WIRED MICROPHONE INPUT
④ DC 9 V IN: DC 9V CHARGING INPUT
⑤ MI C V OL: MICROPHONE VOLUME ADJUST
⑥ TR E BLE: ECHO ADJUST
⑦ BA S S: MASTER VOLUME ADJUST
⑧ VO L UME: MASTER VOLUME CONTROL
⑨ AU X INPUT
11 DI SPLAY PANE L FUNCTION:
REC: RECORDING; INSERT USB/SD CARD PRESS THIS
BUTTON FOR RECORDING, PRESS AGAIN TO STOP AND
PLAY RECORDING SOUND.
:PLAY/PAUSE; FM STATION AUTO SEARCHING
:PREVIOUS
:NEXT
MO DE : MODE SELECT
⑩ US B /SD CARD INPUT
①
②
③
④
⑤
⑥
⑦
⑧
⑨
⑩
11
PREV
Page 6

GRACIAS POR COMPRAR NUESTRO ALTAVOZ. POR FAVOR LEA
CUIDADOSAMENTE EL MANUAL ANTES DE OPERAR.MEDIDAS DE
SEGURIDAD IMPORTANTES
Antes de usar esta máquina, por favor lea todas las instrucciones de
funcionamiento y seguridad. Por favor, siga las instrucciones en este
documento y guardar esta información en un lugar seguro para uso futuro.
Asegúrese de que el cable de alimentación para esta unidad está fuera
de la ruta de tráfico de pie. No coloque objetos pesados sobre el cable
de alimentación ya que esto haría daño a la médula. Sujete siempre
firmemente el enchufe y la clavija de la alimentación, Nunca tire del
cable para sacar el enchufe. Evitar el uso de un cable de extensión.
Ventilación: Este aparato debe colocarse en un lugar bien ventilado
donde tiene no menos de espacio de ventilación de 10cm a cada lado
de él. No cubra la unidad con un paño o manta. No lo ponga en una cama,
sofá o alfombra como esta será sofocar la ventilación de la unidad.
Desmontaje de la cubierta: Desmontar la carcasa. Hay no hay partes
utilizables dentro de la unidad. Asegúrese de que un centro de servicio
para tener su unidad reparada.
Si la unidad emite cualquier olor o humo, apague inmediatamente la
fuente de alimentación. Lleve la unidad al centro de servicio de que
rama usted para reparaciones.
5
Page 7

CARACTERÍSTICAS
* Bluetooth
* Reproduce archivos MP3 almacenados en la unidad de SD card/USB /
externo dispositivo de audio.
* Radio del FM
* Entrada de micrófono
* Batería de litio 7V/1800mAh incorporada
* Prioridad micrófono encendido/apagado
CONEXIÓN
1. Este sistema se aplica a CA 110V-240V, 50 / 60Hz
2. Alimentación: batería se puede cargar cuando está conectado a la
corriente alterna. Luz roja de batería se está cargando, cambiará a
verde una vez la carga completa de batería.
3. Batería interna se cargará incluso dispositivo interruptor cuando está
enchufado a la corriente alterna.
4. Ajustar las teclas de función a sus preferencias personales de audio.
BLUETOOTH INSTRUCCIONES
Cambiar el modo de "Azul", el signo de bluetooth luz twinkles y altavoz
dará una alarma. Asegúrese de que activar la función Bluetooth en su
dispositivo Bluetooth. Buscar conexión Bluetooth hasta encontrar
pareja y modelo del dispositivo.
6
Page 8

BATERÍA Y CARGA
1. Las unidades de toma aproximadamente 8 horas en cargarse
completamente. Se iniciará automáticamente una vez conectado el
cable de alimentación de carga.
2. Nivel de batería baja puede resultar en sonido distorsionado, para
mejor rendimiento acústico por favor vigile el nivel de carga de batería.
3. Para maximizar la vida útil de la batería, por favor, cargar la batería
inmediatamente. Cuando la unidad no se utiliza por períodos
prolongados de tiempo, la batería perderá gradualmente su poder.
Se recomienda para cargar completamente la batería al menos cada
30 días.
4. Apagado de la unidad cuando no esté en uso para ahorrar batería.
7
Standby
USB/SD/LINE/BLUETOOTH (Audio input)
Prev/FM CH-
Play/pause/FM tuner
Next/FM CH+
Repeat
Stop
Volume up
Volume down
Mute
Equalizer
Number
RE M OTE CONT R OL
EQ
RPT
RPT
EQ
Page 9

①
②
③
④
⑤
⑥
⑦
⑧
⑨
⑩
11
PREV
8
PANEL D E CONT ROL
PANEL DE FUNCIÓN
① POTENCIA DE ENCENDIDO/APAGADO
② LUZ: LED LUZ DE ENCENDIDO/APAGADO
③ MICRÓFONO: ENTRADA DE MICRÓFONO CON CABLE
④ DC 9V EN: ENTRADA DE CARGA DE DC 9V
⑤ AJUSTAR EL VOLUMEN DEL VOL:MICROPHONE MIC
⑥ AJUSTE DE AGUDOS: ECHO
VOLUTA: VOLUMEN BAJO AJUSTE
VOLUMEN DE LA VOLUTA: CONTROL DE VOLUMEN MAESTRO
⑨ ENTRADA DE AUX DE
FUNCIÓN DE PANEL DE PANTALLA 11:
REC: REGISTRO: INTRODUZCA LA MENORY DE USB/SD Y PRESIONE ESTE
BOTÓN PARA INICIAR LA GRABACIÓN. PRESIONE EL BOTÓN OTRA VEZ PARA
DETENER GRABACIÓN
REPRODUCIR/PAUSA; FM ESTACIÓN AUTO BÚSQUEDA
ANTERIOR
SIGUIENTE
MODO DE: SELECCIÓN DEL MODO
⑦
⑧
:
:
:
.
Page 10

FCC Notice
This device complies with Part 15 of the FCC Rules. Operation is
subject to the following two conditions:
(1) This device may not cause harmful interference, and (2) this device must accept any
interference received, including interference that may cause undesired operation.
NOTE 1: This equipment has been tested and found to comply with the limits for a Class B digital
device, pursuant to part 15 of the FCC Rules. These limits are designed to provide reasonable
protection against harmful interference in a residential installation. This equipment generates, uses
and can radiate radio frequency energy and, if not installed and used in accordance with the
instructions, may cause harmful interference to radio communications. However, there is no
guarantee that interference will not occur in a particular installation. If this equipment does cause
harmful interference to radio or television reception, which can be determined by turning the
equipment off and on, the user is encouraged to try to correct the interference by one or more of
the following measures:
- Reorient or relocate the receiving antenna.
- Increase the separation between the equipment and receiver.
-Connect the equipment into an outlet on a circuit different from that to which the receiver is
connected.
-Consult the dealer or an experienced radio/TV technician for help.
NOTE 2: Any changes or modifications to this unit not expressly approved by the party
responsible for compliance could void the user's authority to operate the equipment.
 Loading...