

Pyser PNP-MC Operator's Manual
PYSER-SGI LIMITED
PNP-MC Pocket Scope
Operator’s Manual
560 - 007- 51
100/03/09
NSN: 5855-99-855-1401
YSER-SGI LIMITED
Fircroft Way, Edenbridge, Kent United Kingdom, TN8 6HA
Telephone: +44 (0) 1732 864111
Facsimile: +44 (0) 1732 865544
Email: sales@pyser-sgi.com
www.pyser-sgi.com
LIMITED WARRANTY
The manufacturer of this
POCKET SCOPE, has provided a limited
warranty to the original purchaser. It was
attached to the manufacturer’s terms and
conditions of sale.
WARNING
This product contains an image
intensifier tube.
Permanent damage to the tube may result if
the product is used in normal room
illumination or bright ambient light. Do not
direct it at a bright light source such as the
sun, street or vehicle lights or over an
extended period toward another bright light
source or stationary scene which could lead
to permanent damage to the image
intensifier tube.
PNP-M - Operator’s Manual 21
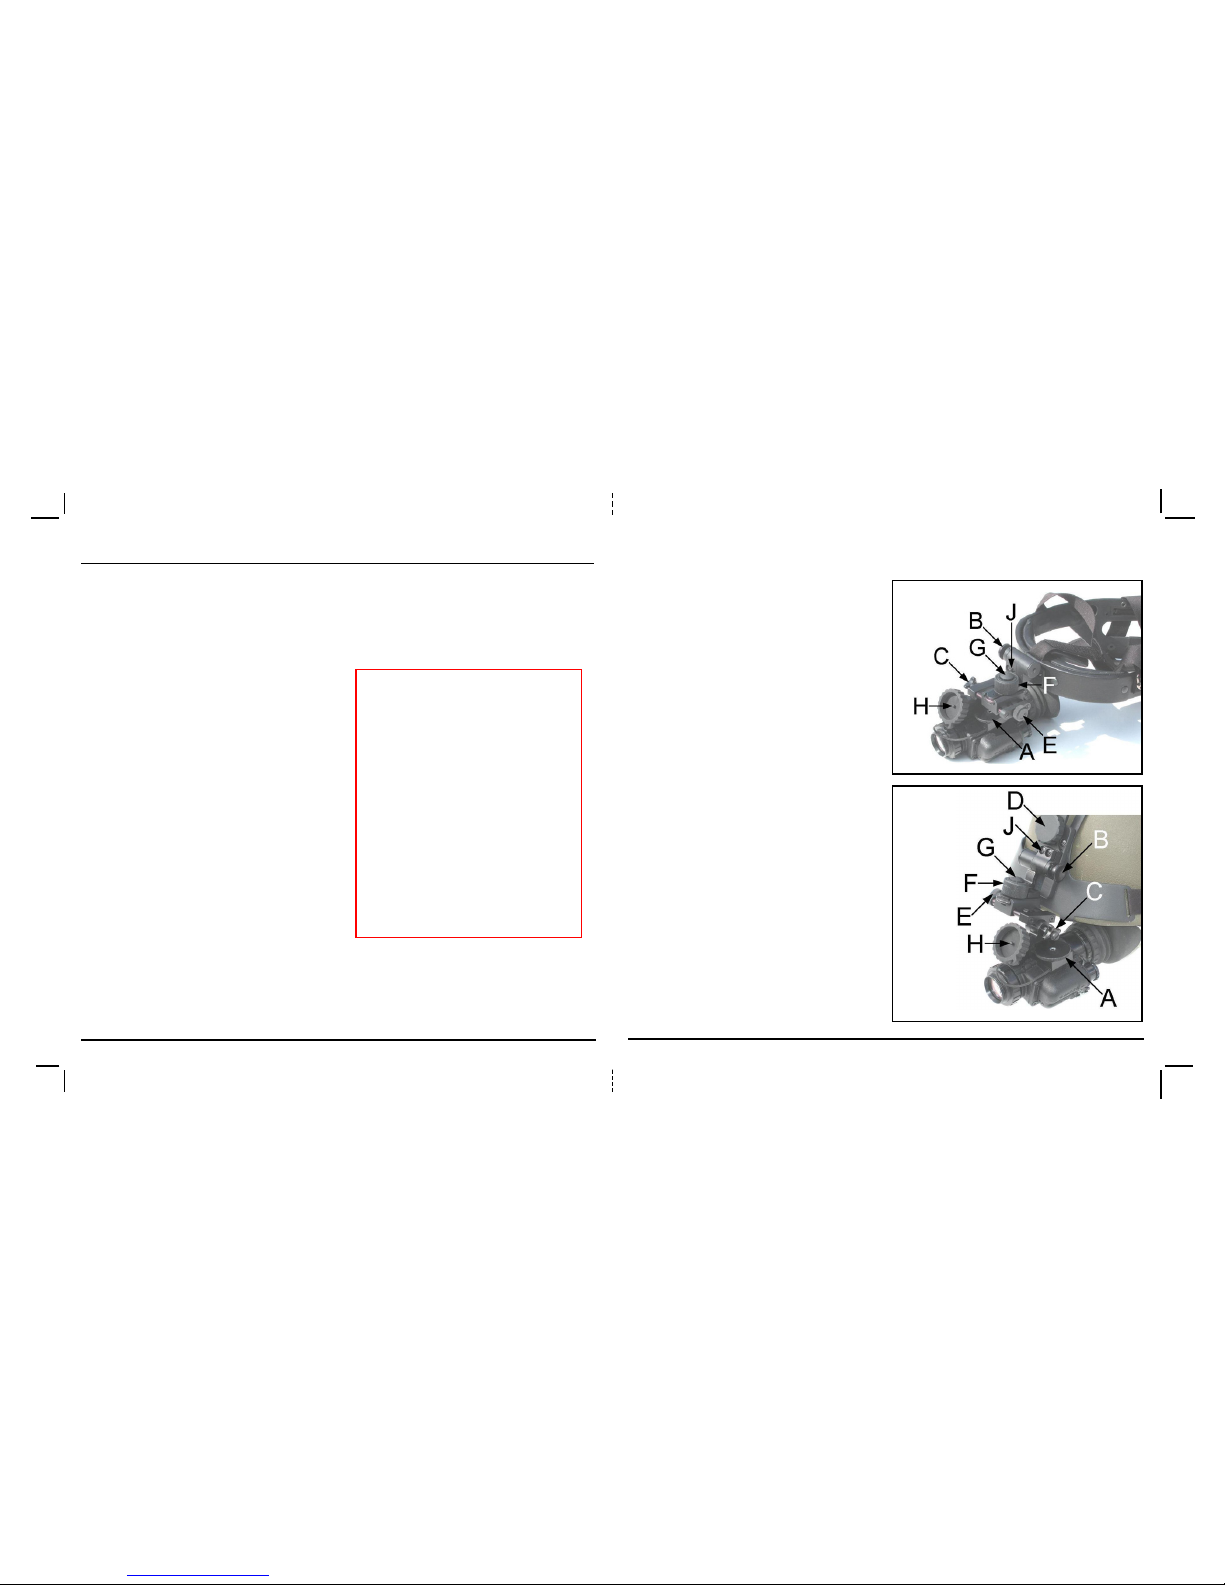
Chapter 5. Accessorie Mounting
5.3 PNP-MC with head mount / helmet
mount fitting guide
1. Attach monocular to the mount with
thumbscrew A
2. Depress plunger B to lift monocular
into the vertical position (where it will
automatically shut off)
3. Adjust pitch setting of the monocular
with thumbscrew C
4. Adjust height setting of the monocular
with thumbscrew D
5. Adjust lateral setting of the monocular
with thumbscrew E
6. Adjust forward/backward setting of the
monocular with thumbscrew F
7. For rapid removal of the monocular,
fully loosen thumbscrew F, depress
plunger G and slide the assembly off
its mounting slide away from the face.
8. For safe stowage, press the lens cap,
when not in use, onto pin H.
9. For fine adjustment of pitch slacken
screws J move monocular to desired
attitude and re-tighten screws.
Chapter 5. Accessorie Mounting
20 PNP-MC - Operator’s Manual
PNP-MC - Operator’s Manual 1
TABLE OF CONTENTS
Page
Chapter 1 Description
1.1 System description 2
1.2 Specifications 3
1.3 PNP-MC standard equipment
and accessories 4-5
1.4 PNP-MC main parts 5-6
Chapter 2 Operating Instructions 7
2.1 Battery installation 7
2.2 Operation 7
2.3 PNP-MC applications 8
2.4 PNP-MC operation with DSLR
and SLR cameras 10
2.5 PNP-MC operation with
video cameras / camcorders 11
2.6 PNP-MC operation with CCTV
cameras 11
Chapter 3 Troubleshooting 13
3.1 General 14
Chapter 4 Accessories 15
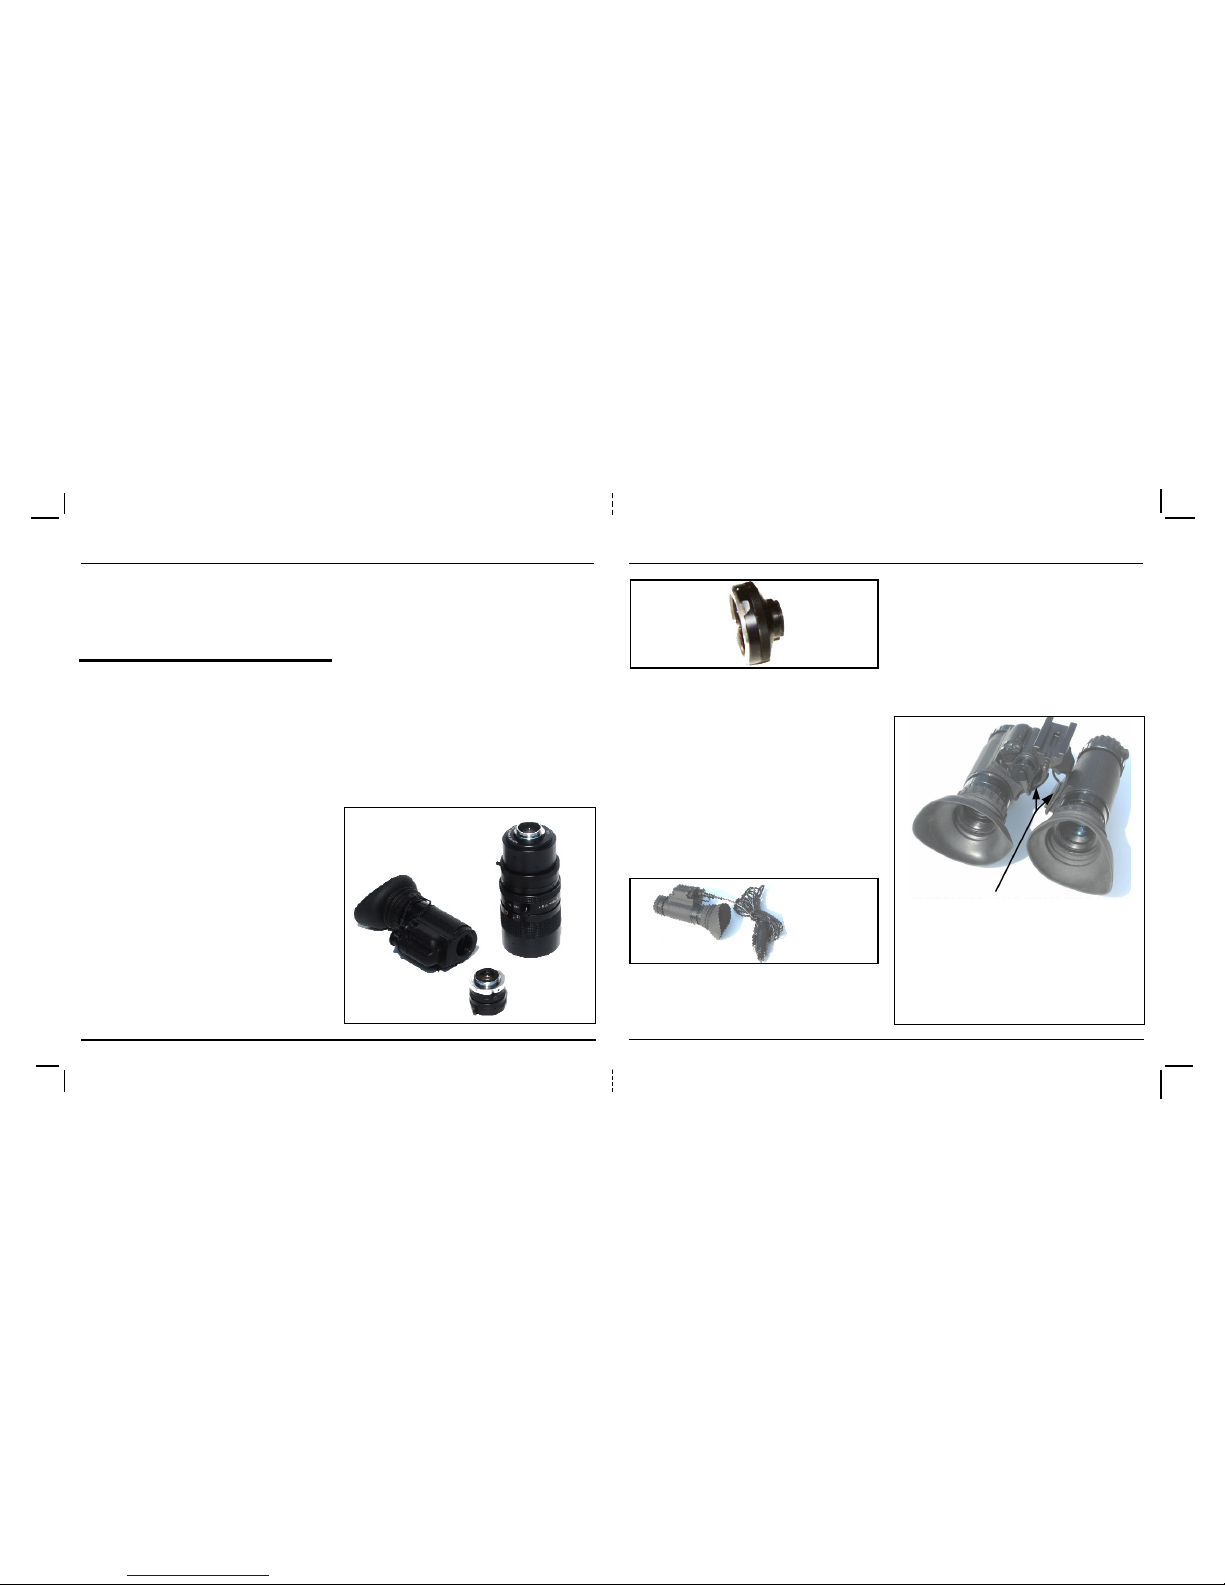
4.1 Accessories for PNP-MC 15
Relay Lens 15
Shuttered Eyeguard 15
HeadHarness 16
Helmet Mount 16
Bridge Kit 16
Weapon Mount 17
Anti-Mist 18
150mw Illuminator, IR LED 18
Lanyard 18
Camcorder/Camera Adaptor 18
Optical Module 18
Camera lens to C-mount Adaptor 19
12v Car Cigarette Plug/Lead 19
Chapter 5 Accessorie(s) Mounting
Instructions 19
5.1 Dual Monocular Mounting 19
5.2 PNP-MC with Switching Mount 20
5.3 PNP-MC with Head Mount/ Helmet
mount fitting guide 21
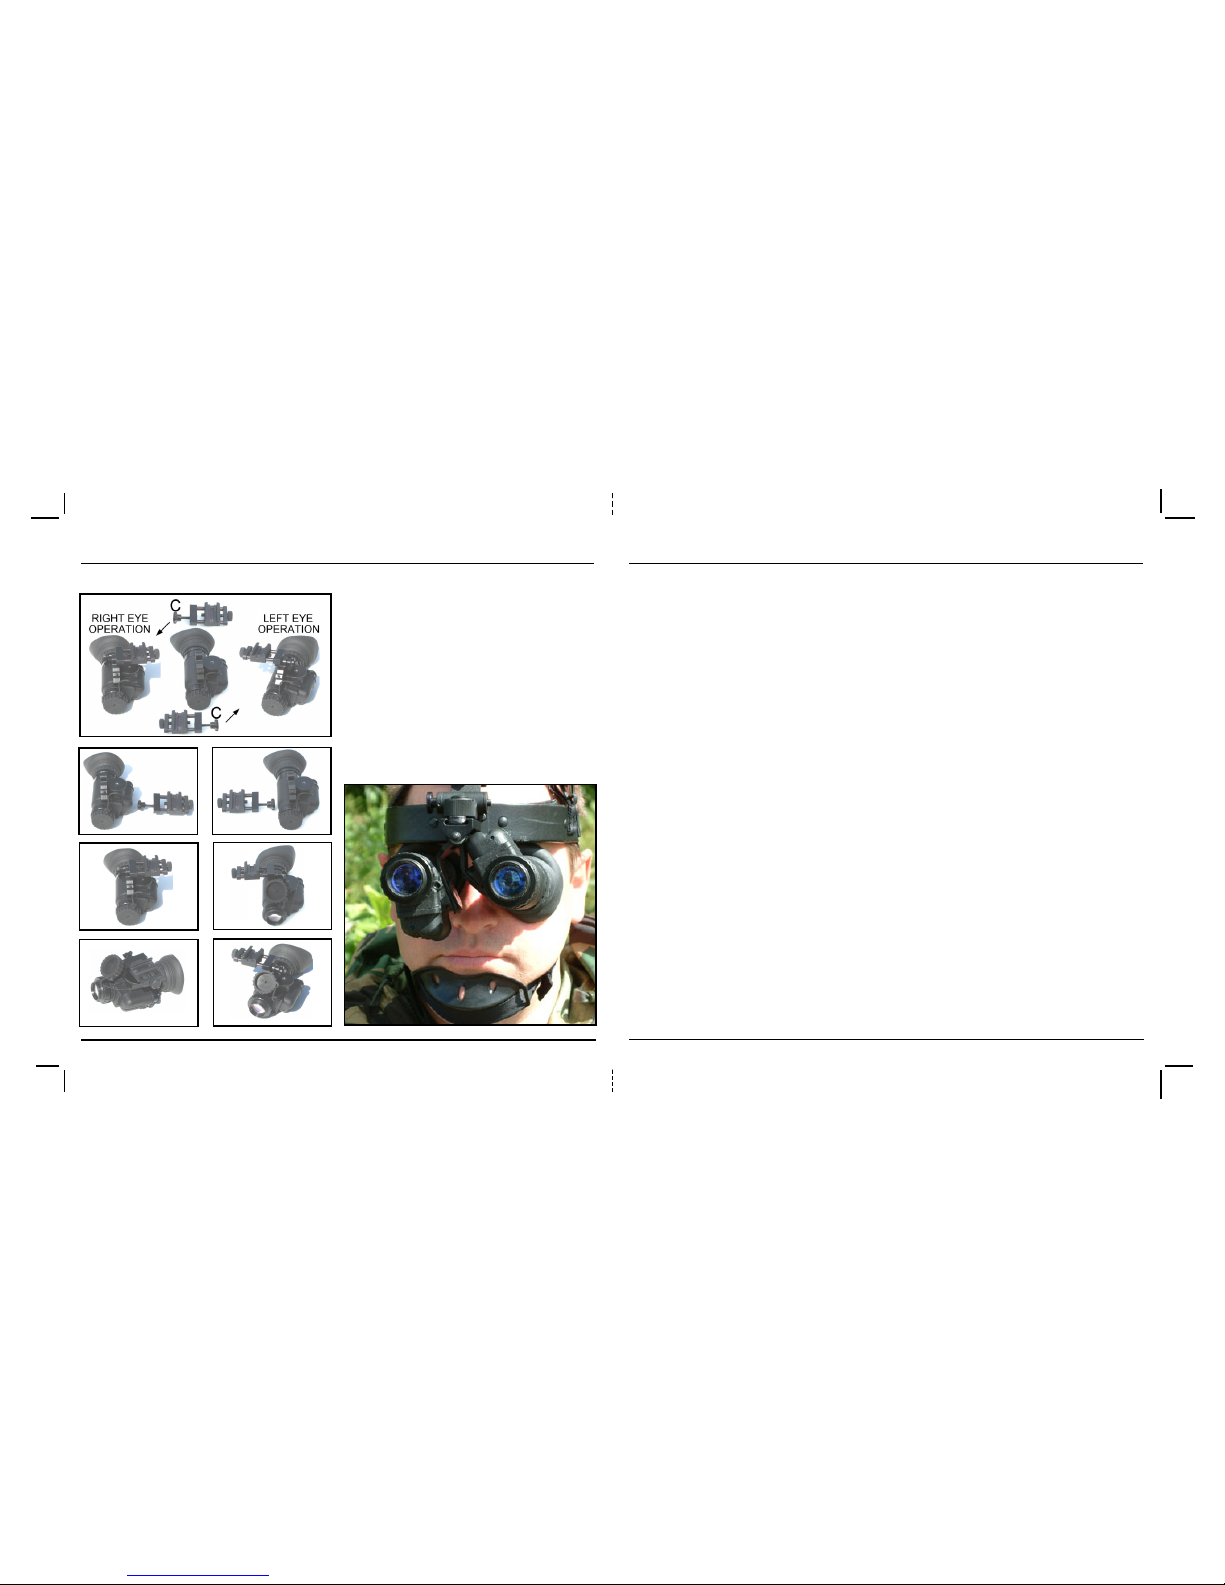
5.2 PNP-MC with switching mount
1. Fully unscrew thumb knob C to the
end stop
2. Remove the slider block assembly,
rotate its orientation accordingly
3. Re attach and tighten thumbscrew C
4. TIP to get maximum tightness, tighten
thumbscrew C whilst monocular is at
its maximum pitch travel (UP for R/H
& DOWN for L/H) then complete
tightening whilst turning knob C and
simultaneously rotating the monocular
into the desired pitch setting.
Chapter 5. Accessorie MountingChapter 1. Description
2 PNP-MC - Operator’s Manual
PNP-MC - Operator’s Manual 19
Chapter 1
DESCRIPTION
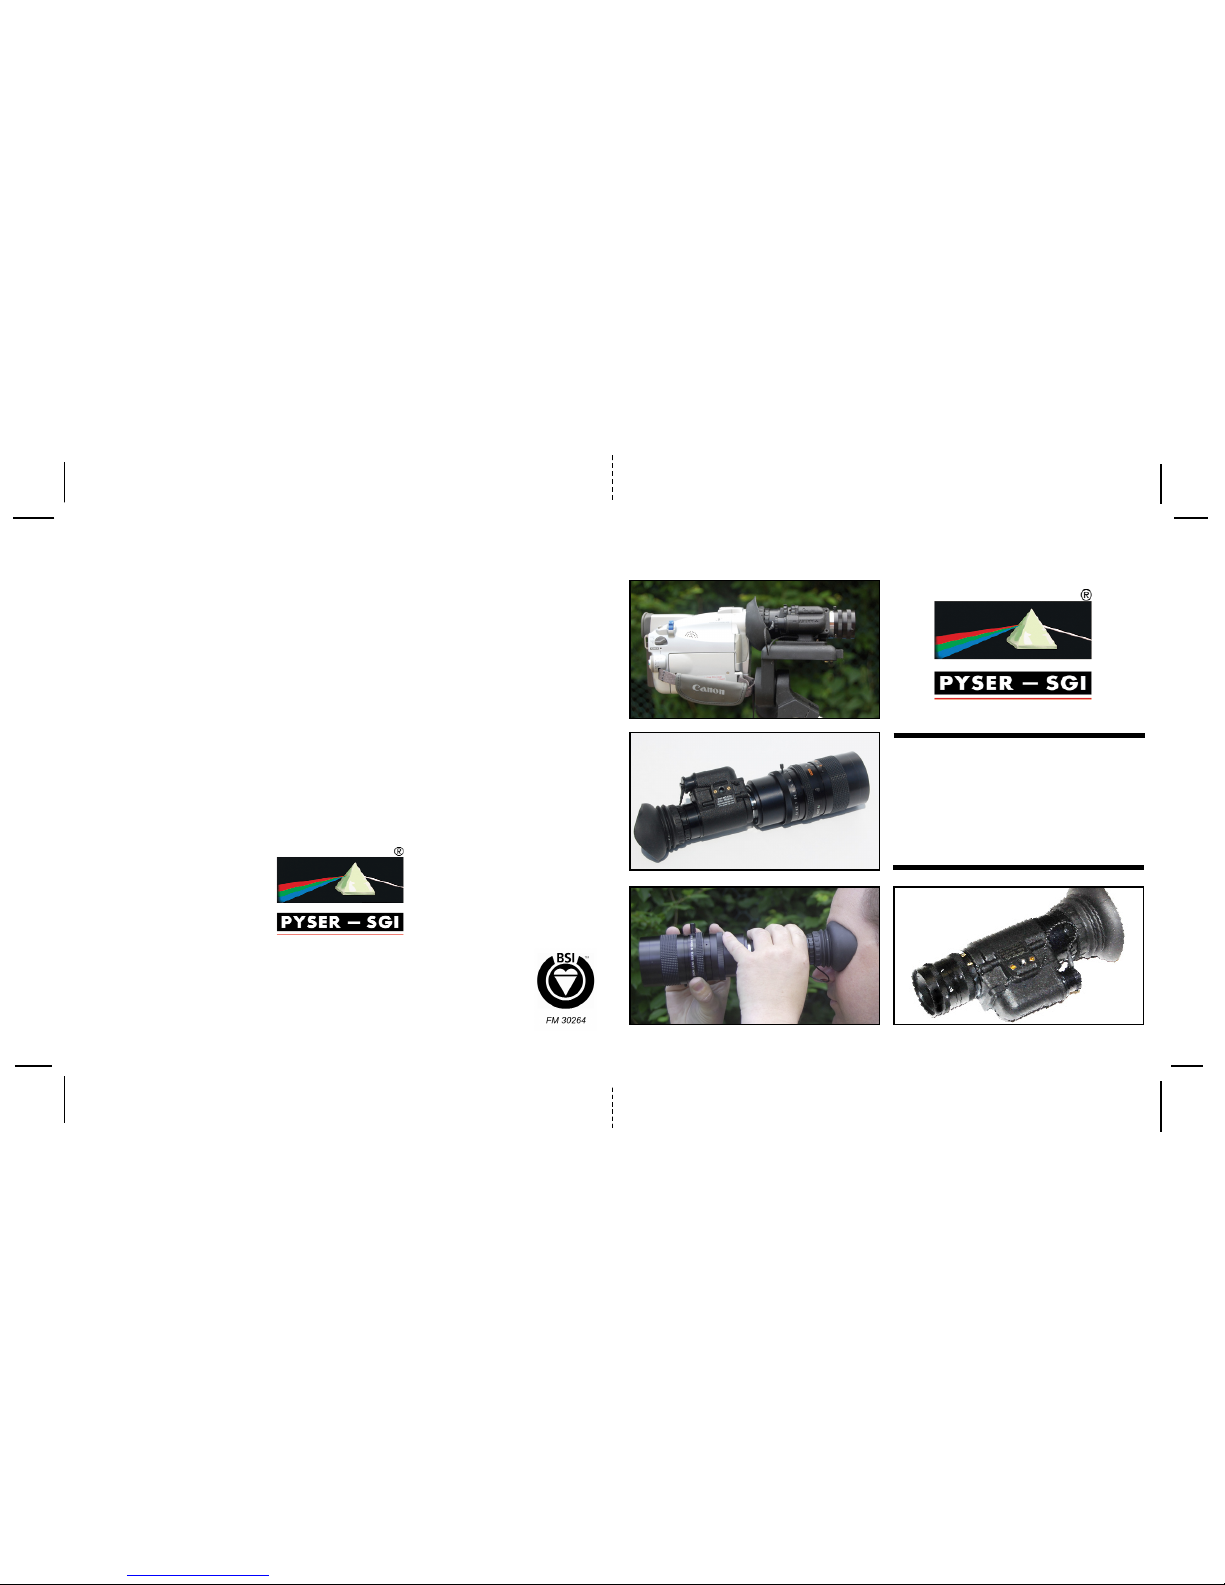
1.1 System description
PNP-MC is a powerful, multi-purpose,
lightweight, pocket-sized monocular night
scope utilising C-mount CCTV lenses for
extra flexibility.
The pocket scope is designed to be used
either as a stand-alone night vision device
or in combination with a wide variety of
standard video, still-photo or CCTV
equipment.
The PNP-MC is a powerful tool for covert
night-time observation and intelligencegathering purposes using standard
photographic media, as well as an
effective aid to night-time field missions.
PNP-MC employs an image intensifier
tube characterized by high resolution and
a clear, bright image. It is equipped with its
own IR LED - type illuminator, which
provides additional, close-range covert
illumination, when ambient light is
insufficient - especially effective inside
buildings etc.
Special purpose adaptors enable the
PNP-MC to be mounted onto a wide
variety of SLR and video cameras
(including CCTV cameras). Thus,
standard photographic equipment can be
quickly turned into powerful, effective
night-time devices, dramatically
enhancing your intelligence gathering and
observation capability.
As a stand-alone night scope, PNP-MC is
small and lightweight enough to be
unintrusive. It may be easily hand-held.
Chapter 5
ACCESSORIE(S)
MOUNTING
INSTRUCTIONS
5.1 Dual monocular mounting
12v Car Cigarette Plug/Lead
2 outputs (needs 560-012),
powers PNP-MC from vehicle
Part No: 560-011
ATTACH THE TWO MONOCULARS TO
THE BINOCULAR MOUNT USING THE
TWO THUMBSCREWS. THE
BINOCULAR CAN ATTACH TO THE
HEAD & HELMET MOUNTS IN THE
SAME WAY AS A SINGLE
MONOCULAR ON ITS SWITCHING
MOUNT.
Camera lens to C-mount adaptor
(see # 2 of 2.4.3)
Attaches original camera lens directly to
PNP-MC body in place of CCTV lens
T2 lenses Part No: 589-840-403
M4 lenses Part No: 589-840-404
Canon FD lenses Part No: 589-840-405
Pentax K lenses Part No: 589-840-406
Nikon lenses Part No: 589-840-407
Minolta MD lenses Part No: 589-840-409
Olympus OM lenses Part No: 589-840-410
Others available on request
 Loading...