

Pyroclassic Fires PYROCLASSIC IV Installation Instructions Manual
INSTALLATION INSTRUCTIONS
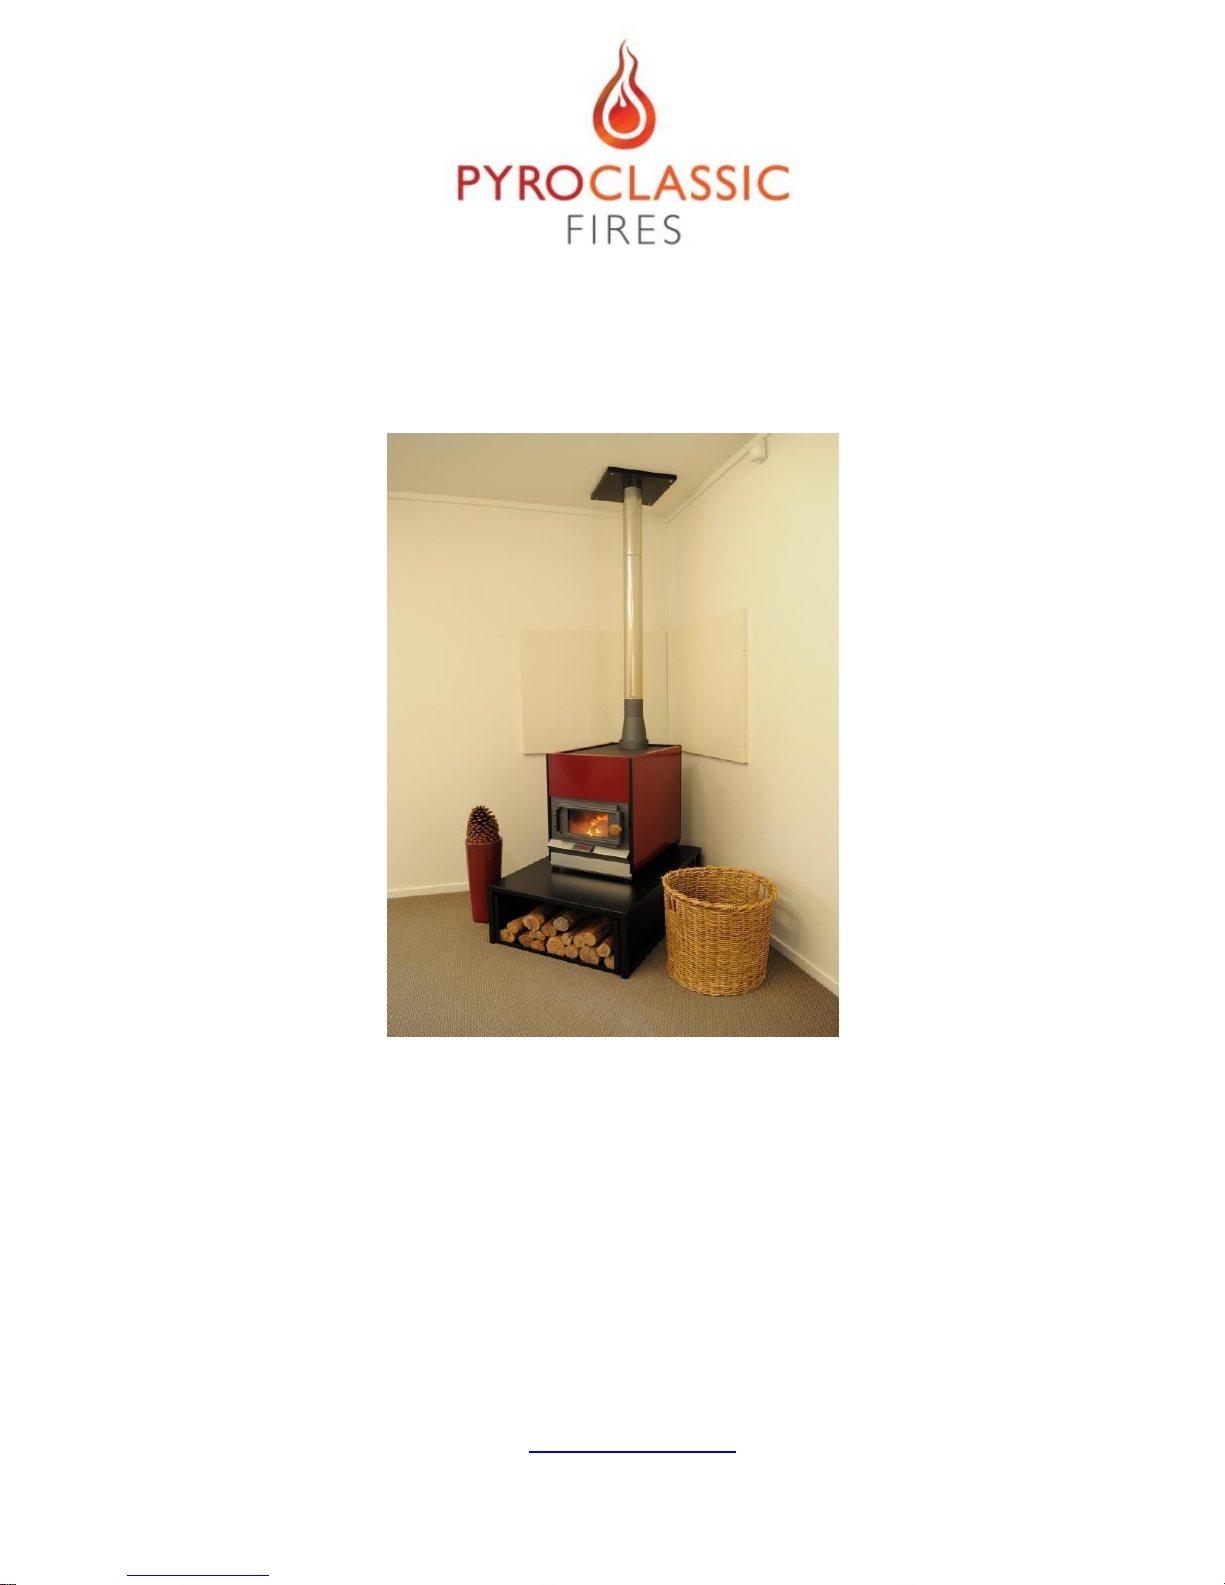
For PYROCLASSIC IV
PLEASE ENSURE THIS SET OF INSTRUCTIONS REMAINS WITH THE OWNER TO READ
IMPORTANT NOTE
The Pyroclassic IV fire is tested to and should be installed in accordance to AS/NZS 4012:1999, AS/NZS
4013:1999 and AS/NZS 2918:2001
We strongly recommend that an approved qualified installer is used to install your Pyroclassic IV fire.
Under no circumstances should any modification be made, or parts removed. If such were to happen,
this would void the warranty of the fire.
Pyroclassic Fires Ltd
PO Box 28-150, Havelock North, 4157
Showroom: 8 St Andrews Rd, Havelock North, 4130
Ph: (06) 877 0175 Fax: (06) 877 7501 www.pyroclassic.co.nz

TIPS ON INSTALLATION
POSITION THE FIRE
Using the previous technical specification sheets identify where the Pyroclassic IV fire is to be situated.
Note: We have supplied 2 x 10mm steel rods (attached to the outside of palletized box). Push the rods
through the two 11mm holes located in the front plate and engage the corresponding 11mm holes in
the rear plate. The projecting ends of both rods can now be used as carry rods. To make the whole unit
lighter, the top cooking plate can also be carefully removed-make sure that the insulating Kaowool in
the top chamber is not disturbed. Replace the cook top when fire is in position.
LOWER HEAT SHIELD
The lower heat shield should be placed on top of the feet when the fire is in its final position. If you are
installing the fire angled into a corner, make sure the lower heat shield is already in place before
finishing the flue and earthquake restraints etc, otherwise the angle of the wall may make it impossible
to slip into place.
INSULATING HEARTH (NOT SUPPLIED BY PYROCLASSIC)
The Pyroclassic IV must sit on an insulating hearth with a minimum distance of 369mm in front of the
heater when the hearth is installed flush with the surrounding combustible floor. The width of the
floor protector shall be no less than the width of the Pyroclassic and shall extend not less than 200mm
each side of any ash-removal or fuel loading openings unless the floor protector forms an abutment
with a wall or heat shield at a lesser distance
.
PYROCLASSIC RAISED HEARTH
Using the raised hearth allows the above mentioned 369mm distance at the front of the fuel loading
and ash removal opening to be reduced. The Pyroclassic Hearth is raised 250mm from the floor thus
reducing the distance at the front of the door opening to 300mm
.
The Pyroclassic Hearth measures 250mm (h) x 680mm (w) x 950mm (d). NOTE: A marking hole is
located on top of the hearth that indicates the exact centre of the inner 100mm flue used with the
Pyroclassic IV, you can use the measurements shown on our specifications pages to help position the
hearth prior to installing the fire. Place the hearth into position and bolt or screw into floor in 4 places,
(Fixings not supplied, installer to decide what to use) using the mounting holes provided in the hearth
.
Please use the provided black caps to cover the fixing holes once the hearth has been installed.
Also note that there are 4 cups on the top of the hearth, these cups are used to receive the adjustable
feet on the fire. Split pins are provided for the rear feet only to allow the fire to be anchored to the
hearth, these act as the earthquake restraints meaning you don’t need to use the fixing slots in the
back plate.
 Loading...