

Page 1
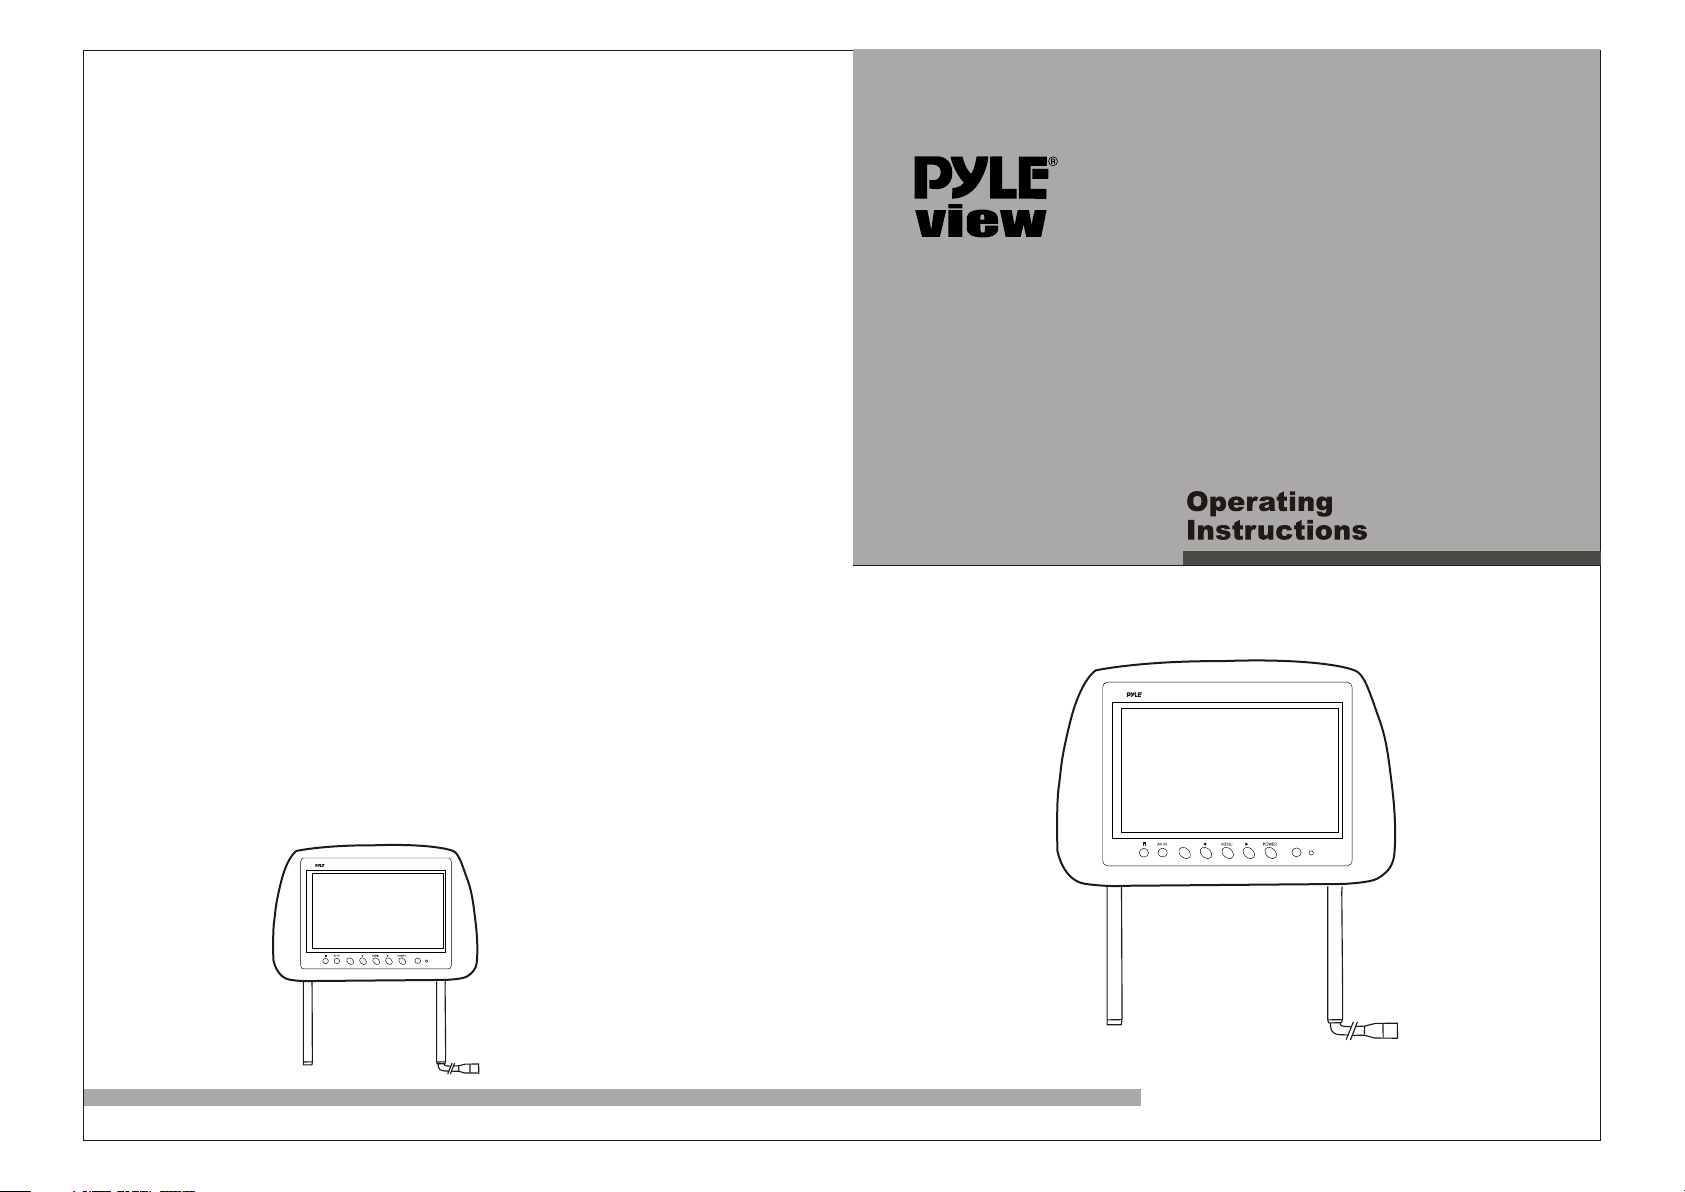
PL71PHB
PL71PHB
V1/V2
PL71PHB
V1/V2
HTTP://WWW. P Y L E AU D I O.COM
Page 2

It is pl eas ed that y ou use the LCD p roducts. To ensu re a long term l ife of th e pro duct
and yo ur co mplet e use in the pro duct, you sh all rea d the i nstru ction care fully a nd
save i t in go od cond ition for de mand in the fu ture.
APP E ARANCE AND FUN C TION
PL71PHB
PL71PHB
V1/V2
3
5
4
789
2
1
6
10
11
ATTENTI ON
To receive the IR sign al f or t he
wireless hea dp ho ne ,please u se
A channel (right 2. 3 MHz,
left 2.8MHz) on the monitor.
1.Wi reles s He adpho ne Trans mi tter
2.Au dio out (h eadph ones)
3.Au dio/v id eo in
4.Co lor LCD S cr een
5.V1 /V2 (Video1 ,Video2 )
6.Re duce Bu tt on
7.Me nu(br ig htnes s.
Colo r.cont ra st)bu ttons
8.In creas e Bu tton
9.Po wer on/ off
10.R emote c on troll er receiv er
11.Powe r indicat or ligh t
12.R emova bl e tube sp acer
13.M onito r Co nnect or
V1/V2
21
20
1
2
4
3
678
5
22
21
12
23
13
20
9
10
11
12
1.Au dio out (h eadph ones)
2.Au dio/v id eo in
3.Co lor LCD S cr een
4.V1 /V2 (Video1 ,Video2 )
5.Re duce Bu tt on
6.Me nu(br ig htnes s.
14
15
17
16
18
19
Colo r.cont ra st)bu ttons
7.In creas e Bu tton
8.Po wer on/ off
9.Re mote co nt rolle r receive r
.
14 AV1 Audio ri ght input
15.
AV1 Audio le ft input
16.
AV1 Vi deo inp ut
.
17 AV2 Audio ri ght input
18.
AV2 Audio le ft input
19.
AV2 Vi deo inp ut
20.
Video ou tput
.
21 Audi o left ou tp ut
.
22 Audi o right o ut put
.
23 12V po wer inp ut
10.P ower in di cator l ight
11.Remo vable tub e space r
12.M onito r Co nnect or
22
16
17
18
.
13 AV1 Audio ri ght input
14.
AV1 Audio le ft input
15.
AV1 Vi deo inp ut
.
16 AV2 Audio ri ght input
17.
AV2 Audio le ft input
18.
AV2 Vi deo inp ut
19.
Video ou tput
.
20 Audi o left ou tp ut
.
21 Audi o right o ut put
.
22 12V po wer inp ut
4.
75 T
19
14
15
13
o 7.
5
You ma y adjus t th e stain less st ee l by adju sting t he
tube u ntil th e he adres t indicat or can fi t on the back s eat (Ma xi mum
adju stmen t wi dth is 7C M)
1
2
Page 3

AV Display Mode:
Operating m ethod: Press th e button“AV1/ AV2” on the remote
control uni t to choose AV display mod e. If the VCD or DVD
signal is con nected, there s hould be displa y normally pict ures
signal ;If th e VCD or DVD signal i sn't connecte d, AV character
should be app ear top the left co rner and the scre en is blue..
the system wi ll display “NO SI GNAL”.
1. BRIGHTNESS
COLOR
2.
CONTRAST
3.
4. TINT(on ly NTSC system)
LANGUAGE
5.
6
. SCALING(16: 9/4:3)
The above functions can be executed by ME NU on the display
or remote cont rol unit.
1. Brightne ss: Press the MEN U button on the dis play or MENU on
the remote co ntrol unit, the n press: “ ” “ ” button o n the
display or “ ”” ” k eys on the remote c ontrol unit to ch oose
what you need .
2. COLOR: Pre ss the MENU button on the display or M ENU on the
remote cont rol unit thrice , t hen press: “ ” “ ” button on the
display or “ ” “ ” ke ys on the remote co ntrol unit to cho ose
what you need .
3. Contrast R atio: Press the M ENU button on the d isplay or MENU
on the remote c ontrol unit twi ce, then press: “ ” “ ” b utton on
the display o r “ ” “ ” keys on the remot e control unit to c hoose what
you need.
4. TINT:Press t he MENU button on t he display or MEN U on the
remote cont rol unit four tim es , then press: “ ” “ ” bu tton on
the display o r “ ” “ ” keys on the remot e control unit to
choose what y ou need0
.
Language : please pre ss the manual of un it or the remote co ntrol six
5
times, then p ress on the unit or on the remote
control to se lect you need.
6. scaling: P ress the MENU but ton on the displa y five times , then
press: “ ” “ ” button on the display t o choose .
“ ”“ ” “ ”“ ”
.
Rem o te Contr o l
3
4
Page 4

5
 Loading...