

Page 1
H T T P : / / W W W . P Y L E A U D I O . C O M
Instruction Manual
1 x Remote control
1 x Instruction manual
1 x Cables
Accessories
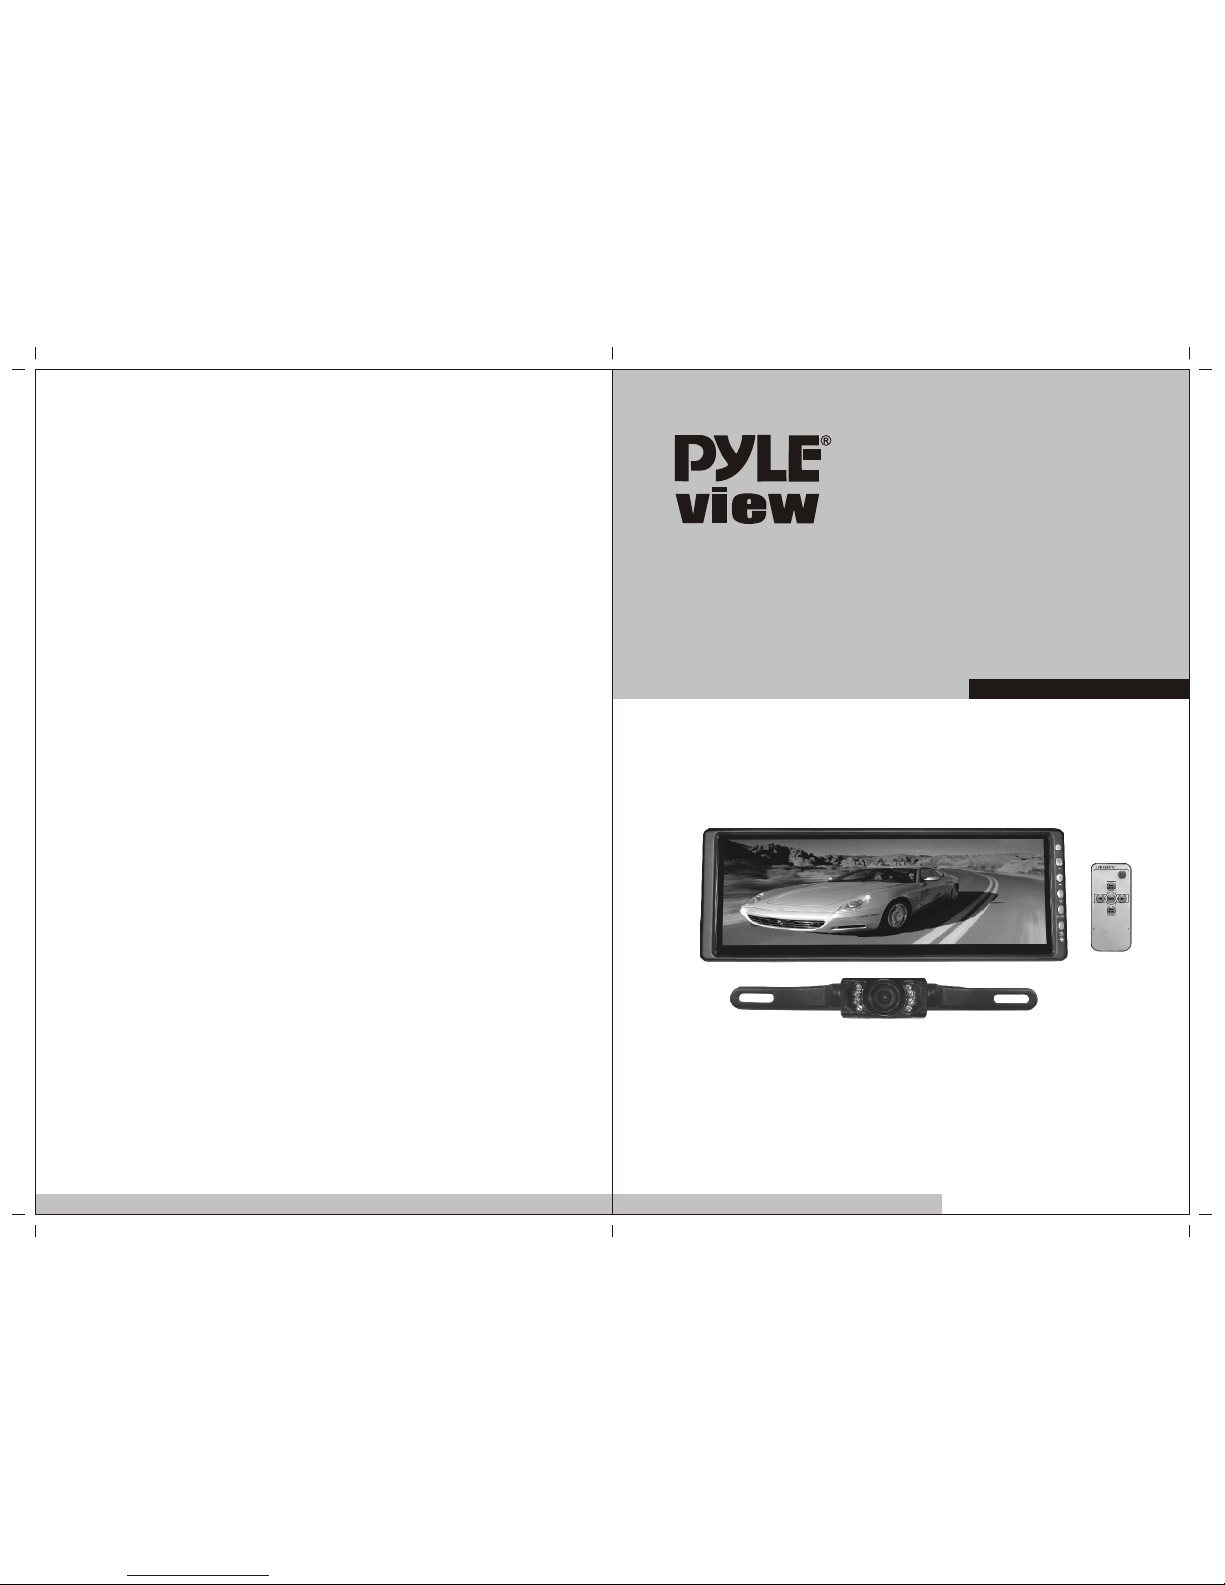
PLCM103
10.2" Selectable Size 4.5'' or 5.6'' or 7'' or 8.5'' Rearview Mirror Monitor with License
Plate Mount Rear View Camera w/ Night Vision
Specification
MONITOR
* Selectable Display Sizes: 10.2'', 8.5'', 7'', 5.6'', 4.5''
* Universal Clip on Latch to Existing Mirrors
* Dual Video Inputs Side Aux Input
* PAL/NTSC Auto Switching Color Systems
* Reverse Wire Trigger
* OSD Menu
* Remote Control
* 25:9 / 23:9 / 16:9 / 4:3 /1:1 Adjustable Viewing Ratio
* Full Mirror when Powered Off
* Wide Viewing Angle
* Blue Screen Function When No Signal
* Anti Glare Mirror
* Wireless Remote Control
* Power Supply: DC 12V
* Dimensions: 11"W x 3.9"H x 1"D
CAMERA
* Output Standard: PAL/NTSC
* High Resolution: 380TV Lines x 60 Fields
* Image Sensor: Ov 7910 Color CMOS
* Lens: 6mm 92
* Low Light Illumination: 1.5 Lux/F1.2
* Video Output: RCA 1.0 Vpp Composite Video @ 75 Ohm
* Power Supply: DC 12V >75 Ohm
* Temperature: -10~50 Celcius
* Unit Dimensions: 8"W x 1.3"H x 1.26"D
Page 2
Thank you for purchasing the TFT LCD color monitor. To enjoy the features
of this device and to ensure years of trouble-free operation, please read
this manual carefully and follow the instructions.
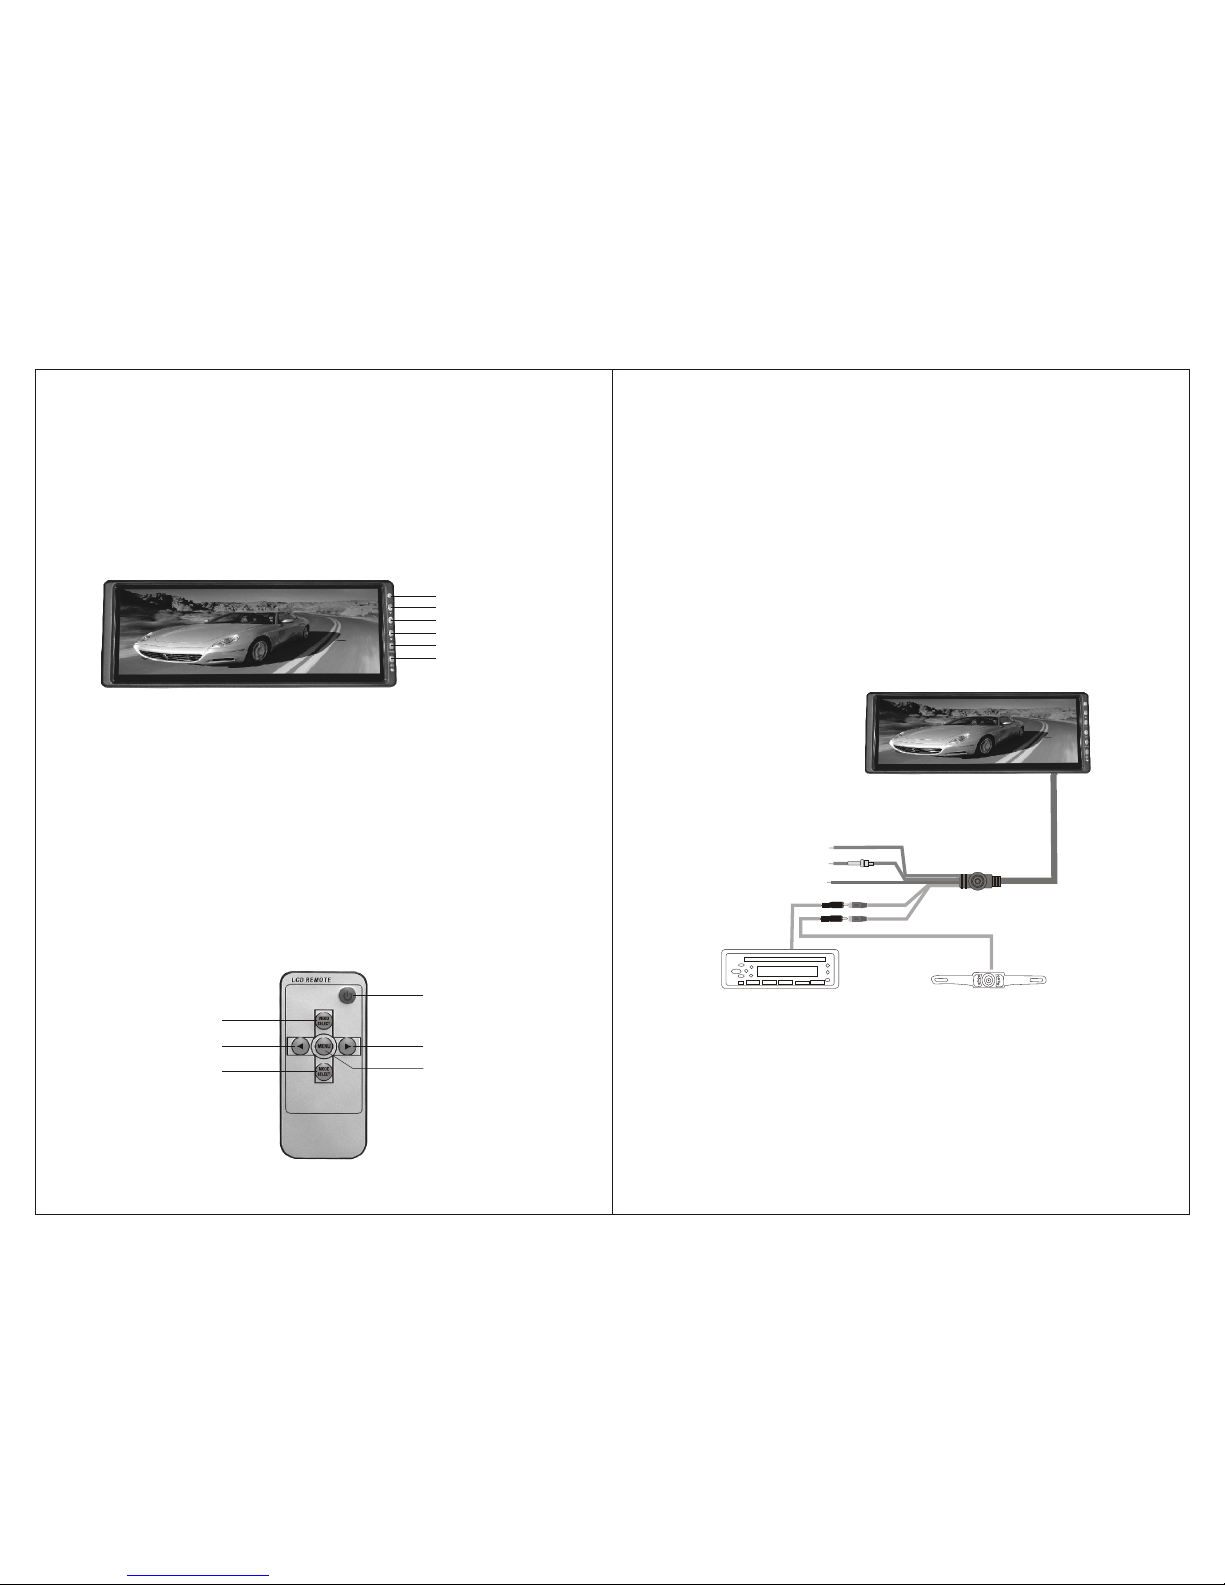
Front Panel
Remote control
1
2
3
4
5
Power ON/OFF
Analog variable increase
Menu button
V1/V2 conversion
Analog variable decrease
Switch for mode
Installation Diagram
(Green ) reverse car
PLAYER
CAME RA
(Red) ba ttery+12v
(Black ) grounding
(Yellow)v id eo 1 i np ut
(Yellow)v id eo 2 i np ut
Read all wiring precautions, if you are not sure of the connections,
contract your authorized dealer.
1. Disconnect the negative lead of the battery before making any power
connections.
2. When creating passage holes for the power wires, use grommets to
eliminate any sharp edges created during drilling. This will protect the wire
from being nicked and causing a short circuit.
3. When connecting the ground lead, fasten the ground lead (black)
securely to a clean metal plate on the vehicle.
6
1. Remote sensor
2. Positive adjustment
3. Negative adjustment
4. Activation of menu indicator
5. V1/V2 switch
6. Power ON/OFF
 Loading...