

Page 1
Page 2

TABLE OF CONTENTS
NOTE ON USE...................................................................................2
FOR SAFE AND EFFICIENT OPERATION.................................2
DESCRIPTION OF THE FUNCTIONS..........................................3
FUNCTION OF THE MAIN UNIT..................................................3
FUNCTION OF THE CONTROL UNIT.........................................4
CONNECTIONS................................................................................6
BASIC OPERATION.........................................................................7
TRACK SKIP......................................................................................8
OPERATION OF THE PLAY PAUSE & CUE................................8
SEARCHING AND SPEED CONTROL..........................................9
MATCHING THE BEATS PER MINUTE......................................10
BEAT MATCHING USING PITCH BEND.....................................10
BEFORE SWITCHING OFF THE POWER...................................11
TROUBLESHOOTING GUIDE.......................................................11
1
Page 3
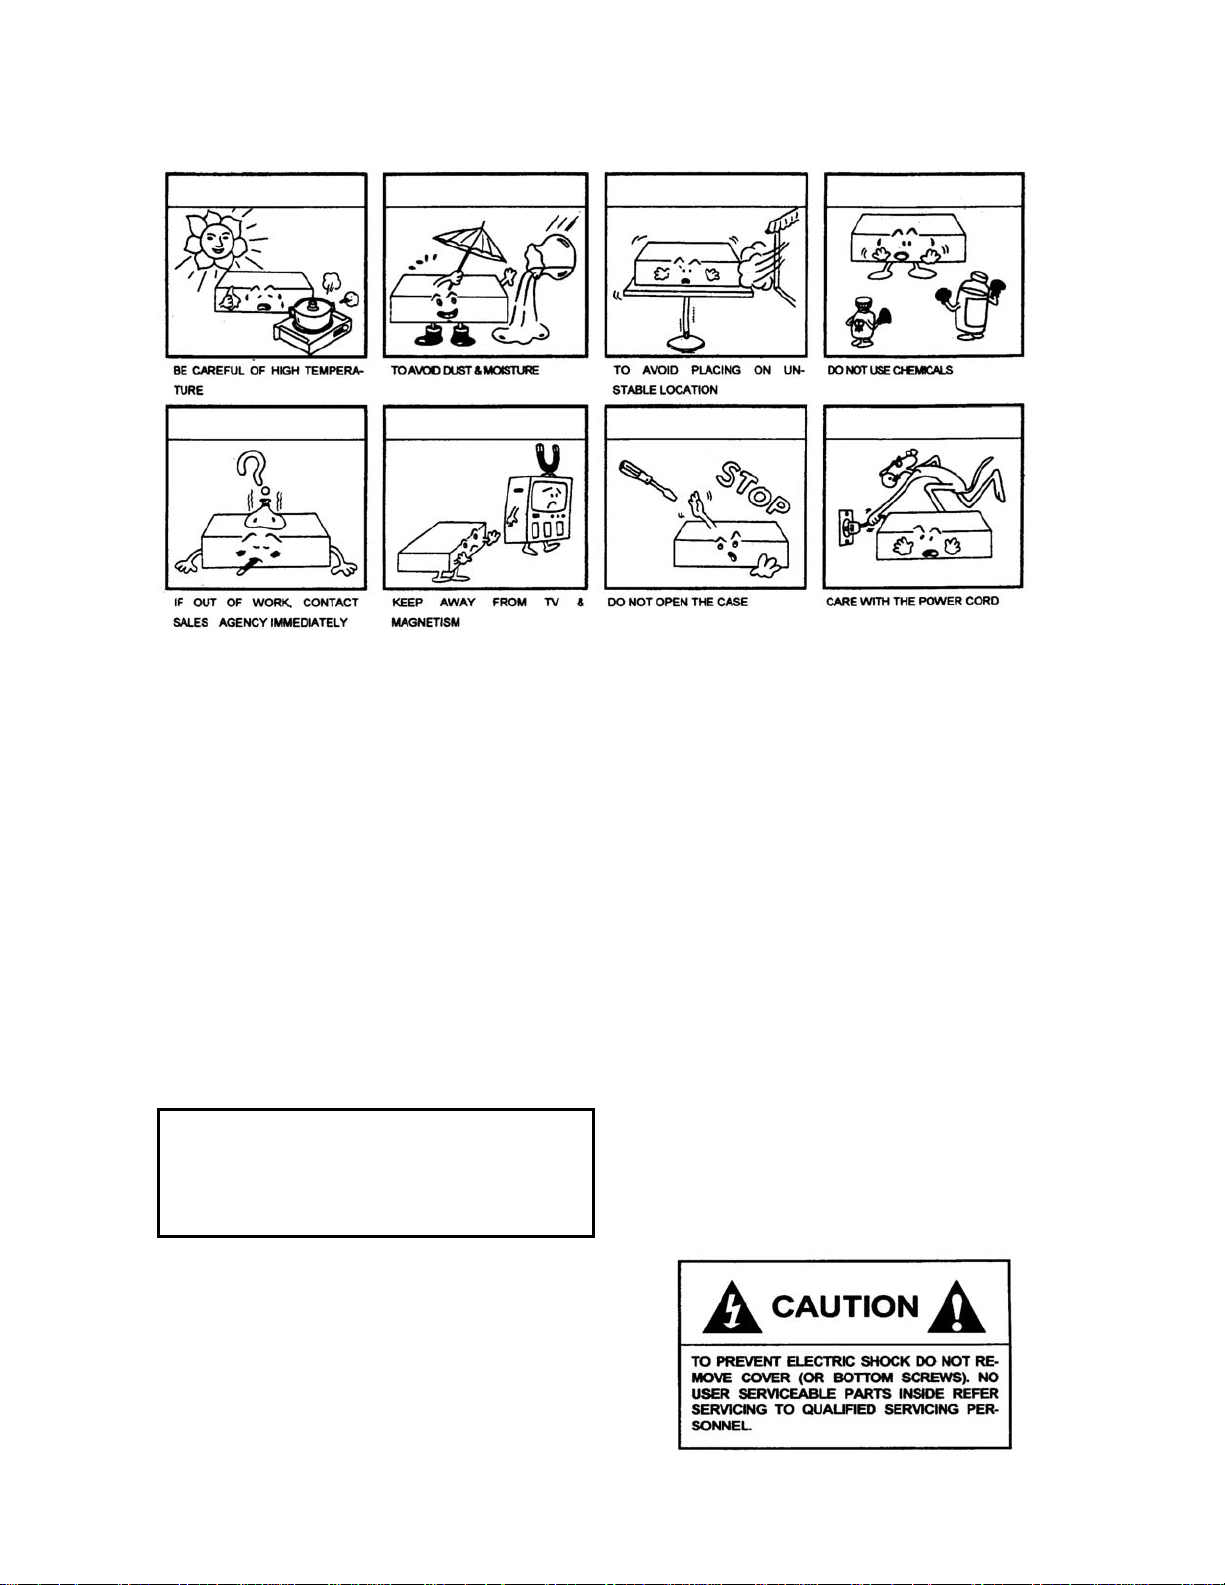
NOTE ON USE
p
For Safe and Efficient Operation
·Select the installation location of your unit carefully. Avoid placing it in direct sunlight. Also avoid locations
subject to vibration and excessive dust, heat, cold or moisture. Keep away from sources of hum such as
transformers or motors
·Do not use this compact disc player where there are extremes in temperature(below 41° F/5° C or exceeding 95°
F/35° C).
·Do not open the cabinet as this might result in damage to the set or electrical shock.
·Be sure your hands are clean when handing discs. Never insert a disc which has a crack on its surface.
·When disconnecting the power cord from the AC outlet, always grasp it by the plug. Never pull the cord.
·Do not use force when operating the switches and buttons.
·Before moving the set, be sure to disconnect the power cord and all connecting cables.
·To keep the laser pickup clean, do not forget to close the disc tray.
·Do not attempt to clean the unit with chemical solvents as this might damage the finish. Use a clean, dry cloth.
·Keep this manual in a safe place for future reference.
SAFETY CERTIFICATION
Laser Diode Properties
Material: Ga-AI-As
Wavelength:755-815nm(25
Laser Out
ut: Continuous Wave max.0.5mW
o
C)
CAUTION:
USE OF CONTROLS OR ADJUSTMENTS OR
PERFORMANCE OF PROCEDURES OTHER
THAN THOSE SPECIFIED HEREIN MAY
RESULT IN HAZARDOUS RADIATION EXPOSURE.
2
Page 4

DESCRIPTION OF THE FUNCTIONS
Function of the Main Unit:
1.
2.
3.
4.
5.
6.
7.
8.
9.
1.POWER(Power Switch)
Press the power switch to turn the unit on. To switch the POWER off press the POWER switch again.
2.Disc T ray
The disc is placed on this tray. Pressing the disc tray OPEN/CLOSE buttons will open or close the tray.
3.OPEN/CLOSE(Disc Tray Open/Close Button)
Press to load or eject the disc. Each press will open or close the disc tray.
The remote control is also equipped with similar buttons.
NOTE: Tray will not open unless stop or pause button has been pushed first.
4.AC INPUT
Connect the supplied power cord into an AC wall outlet with the proper AC voltage.
5.LINE OUT(Output Jacks)
The audio from each CD player is output from these jacks. Connect to the line input of the mixer
6.CONNECTOR PORTS
The 9-pin termination permit the connection of the main unit to the contr ol unit.
3
Page 5

Function of the Control Unit
UNIT:mm
1. UNIT 1-Control Operation Panel
This operation panel remotely controls the main unit 1.
2. Unit 2-Control Operation Panel
This operation panel remotely controls the main unit 2
3. OPEN/CLOSE(Disc Tray OPEN/CLOSE Tray)
Press to load or eject the disc. Each press will open or close the disc tray.
NOTE: Tray will not ope n unl ess PAUSE button has be en push ed first.
4. LCD
These liquid crystal displays (LCD) indicate the track numbers, time (minutes, seconds, frames), etc.
5. PLAY/PAUSE(Play/Pause Button)
Each press of the PLAY/PAUSE button cause the operation to change from play to pause or pause to play.
6. TRACK(Skip button)
This button selects the track to be played.
+10:press this button to forward 10 tracks.
7. JOG DIAL(+FWD&-REV)
*Speed Control
Rotating this dial in play mode will change playback spe ed accordingly. Rotate clockwise, the player speeds up;
rotate counter-clockwise, the playback slows down.
*Searching
Rotating this dial in pause mode, the player will forward or backward to the desired point for start. The
searching speed changes according to the dialing speed. It can be carried out by 1 frame increments.
8. CUE(Cue button)
Pressing the CUE button d uring p lay prov ides a return to the position at whic h play was started. To memorize a
4
Page 6

cue point, play then pause the disc (LED on PLAY/PAUSE blinks). Press CUE button to memorize that
point(CUE LED glows). Play the disc. Pressing the CUE button will then return play to cue point. Holding
down on the CUE button changes the CUE function to preview. Releasing the CUE button returns you to the
preset cue point.
9. BPM
You can press this button once to turn function on. Y ou c an tap this b utton to the rhythm of the music to get the
BPM(beats per minute) value. Press for 3 seconds, it changes back to PITCH value.
10. TIME/OUTRO(Time button)
This button switches the time display between elapsed playing time, track remaining time and total rem ain time,
and also switches on off the “Outro” function. When the display shows OUTRO, the player only plays the last
30 seconds of each track.
11. PITCH(Pitch button)
When the PITCH button is pressed (PITCH LED glows),moving the fader will change the play speed up to
+-16%.When it is off, m oving the fader will indicate the exp ected play speed on the LCD, but wi thout aff ecting
the actual speed.
12. PITCH BEND(Pitch Bend Button)
When each of the 2 CD players is playing a CD, the pitch bend function allows the positioning of the bass beats
to be matched after the pitch has been matched. The pitch will automatically rise when the + button is pressed
and return to the original pitch when it is released.
The pitch will drop whi le th e – bu tt on is pr essed. By changin g t he pi tc h in this w ay, the positionin g of the beats
can be matched.
13. CONT./SINGLE(Cont./Single Buttons)
Press these to switch between the SINGLE AUT O CUE and CONTINUOUS play m odes. The selec ted m ode is
indicated on the LCD in SINGLE mode, after each track, the unit auto cues the point at which the song starts.
When SINGLE AUTO CUE or CONTINUE is blinking, the unit is in relay mode.
14. SEARCHING(Search Buttons)
These buttons are used to accurately change the positions where disc play will start.
15. STOP
Pressing this button stops operation of the player.
16. CONNECTOR PORTS
The 9-pin termination permits the connection of the control unit to the main unit.
5
Page 7

Connections
Typical connections with a mixer is illustrated below. Please use it for reference.
·Connect the connection cords to the line inputs of your mixer.
·The connection cords and the remote control connection cable are supplied with the main
unit.
·Be sure to use the remote control connection cable which has been supplied. Use
of another cable might cause damage.
6
Page 8

BASIC OPERATION
Loading and Ejecting the Disc
Open the tray
When the disc tray is closed, press the
OPEN/CLOSE button to open the disc tray(This may
be done on either the player or the remote control
side.)
Place a disc in the disc tray
Press the OPEN/CLOSE button to close the disc tray.
The disc tray will close and the preparation for disc
play will begin.
When preparation is completed, the total tracks number
& total playing time will display.
To the desired track
7
Page 9

TRACK SKIP
To go back through the tracks To advance through the tracks
Tracks change as follows Tracks change as follows
This is for a disc containing 4 tracks
When this button is pressed once ,the CD player will When this button is pressed once, the CD player w ill
skip backward to the beginning of the track. Pressing twice advance to the beginning of the next track.
will skip backward to the previous track.
Operation of Play, Pause and CUE
1. Press the PLAY/PAUSE button to switch the operation between PLAY and PAUSE. The indicator LED is
illuminated during play, and blinking when in pause.
2. Press the CUE button while in pause mode to memorize the point. The CUE LED will light after being
memorized.
3. When CUE LED is illuminated and in Play mode, pressing the CUE button goes back to the memorized point
and is in pause mode.
4. Press PLAY button again to perform from the cue point.
5. If a cue point is not memorized, pressing the CUE button will return back to the beginning of the track.
8
Page 10

SEARCHING
·Scanning is used to accurately locate the point where you wish to start.
·Dial the jog while in Pause mode to sear ch forward or backward. Once the jog is dialed, the disc
output stutters.
·Dial the jog to move the disc frame by frame.
·Dial the jog clockwise to search forward, dial counter-clockwise to search backward.
SPEED CONTROL
·Speed control is used to change the bass beats of playback.
·Dial the jog while in Play mode to raise or lower the playback speed.
·The faster it is dialed, the more will the speed change.
·Dial the jog clockwise to raise the speed, counter-clockwise to reduce it.
MATCHING THE BEATS PER MINUTE
Match the pitch by monitoring the music of both UNIT 1 and UNIT 2 by ear. When the tempo of the music of the
9
Page 11

selected CD player is slow compared to the tempo of the other player, move the slider to the + side and match the
tempo. When faster ,move to the – side.
The following example is for matching the pitch of UNIT 2 to the pitch of the music being played on UNIT 1.
UNIT 1 is playing. Press PLAY/PAUSE to start UNIT 2.
Both CD players are playing discs.
Listen to UNIT 2 in your headphones.
When UNIT 2 is slow When UNIT 2 is fast compared
compared to UNIT 1 to UNIT 1
Beat Matching Using Pitch Bend
A description of the procedure for matching the beat of UNIT 1 and UNIT 2 using the PITCH BEND stick is given
below.
This example is for matching the beat of UNIT 2 to the beat of the music being player on UNIT 1.(This procedure
can be done on either Unit.)
After Matching the BPM’s
BPM (Beat Per Minute) is the
same, however the bass beats
are not matched.
When UNIT 2 is ahead. When UNIT 2 is behead.
BEFORE SWITCHING OFF THE POWER
When you have finished using the CD player, before switching off the power be sure that the disc tray has
10
Page 12

been closed with the OPEN/CLOSE button.
Do not switch off the power when the Switch off the power after the disc
disc holder is open. holder has been closed with the
POWER OFF OPEN/CLOSE button.
POWER OFF
TROUBLESHOOTING GUIDE
If difficulties arise with your compact disc player, locate the apparent problem in the left-hand column of the table
and follow the corrective action suggested in the right-hand column.
1. Is the compact disc player properly connected to the amplifier?
2. Is the amplifier set for the proper operation?
3. Have the operating instructions for the compact disc player been followed?
Symptom Possible Cause Corrective Action
The power fails to switch on
when the POWER switch is
set to ON
Disc play does not start The disc is loaded upside down
No sound Improper output cable connections.
Sound skips The CD player is subject to vibration or
Hum Loose cable connections Firmly connect all audio plugs
Poor power plug connection at the AC
outlet
The disc is too dirty.
Improper amplifier operation
physical shock
Insert the power plug firmly into the
AC outlet
Reload the disc with the label side
up.
Clean the disc.
Connect the output cable properly.
Make sure that the amplifier controls
are set properly.
Change the installation location
11
 Loading...