

Pure Design Fitness VR2 Owner's Manual
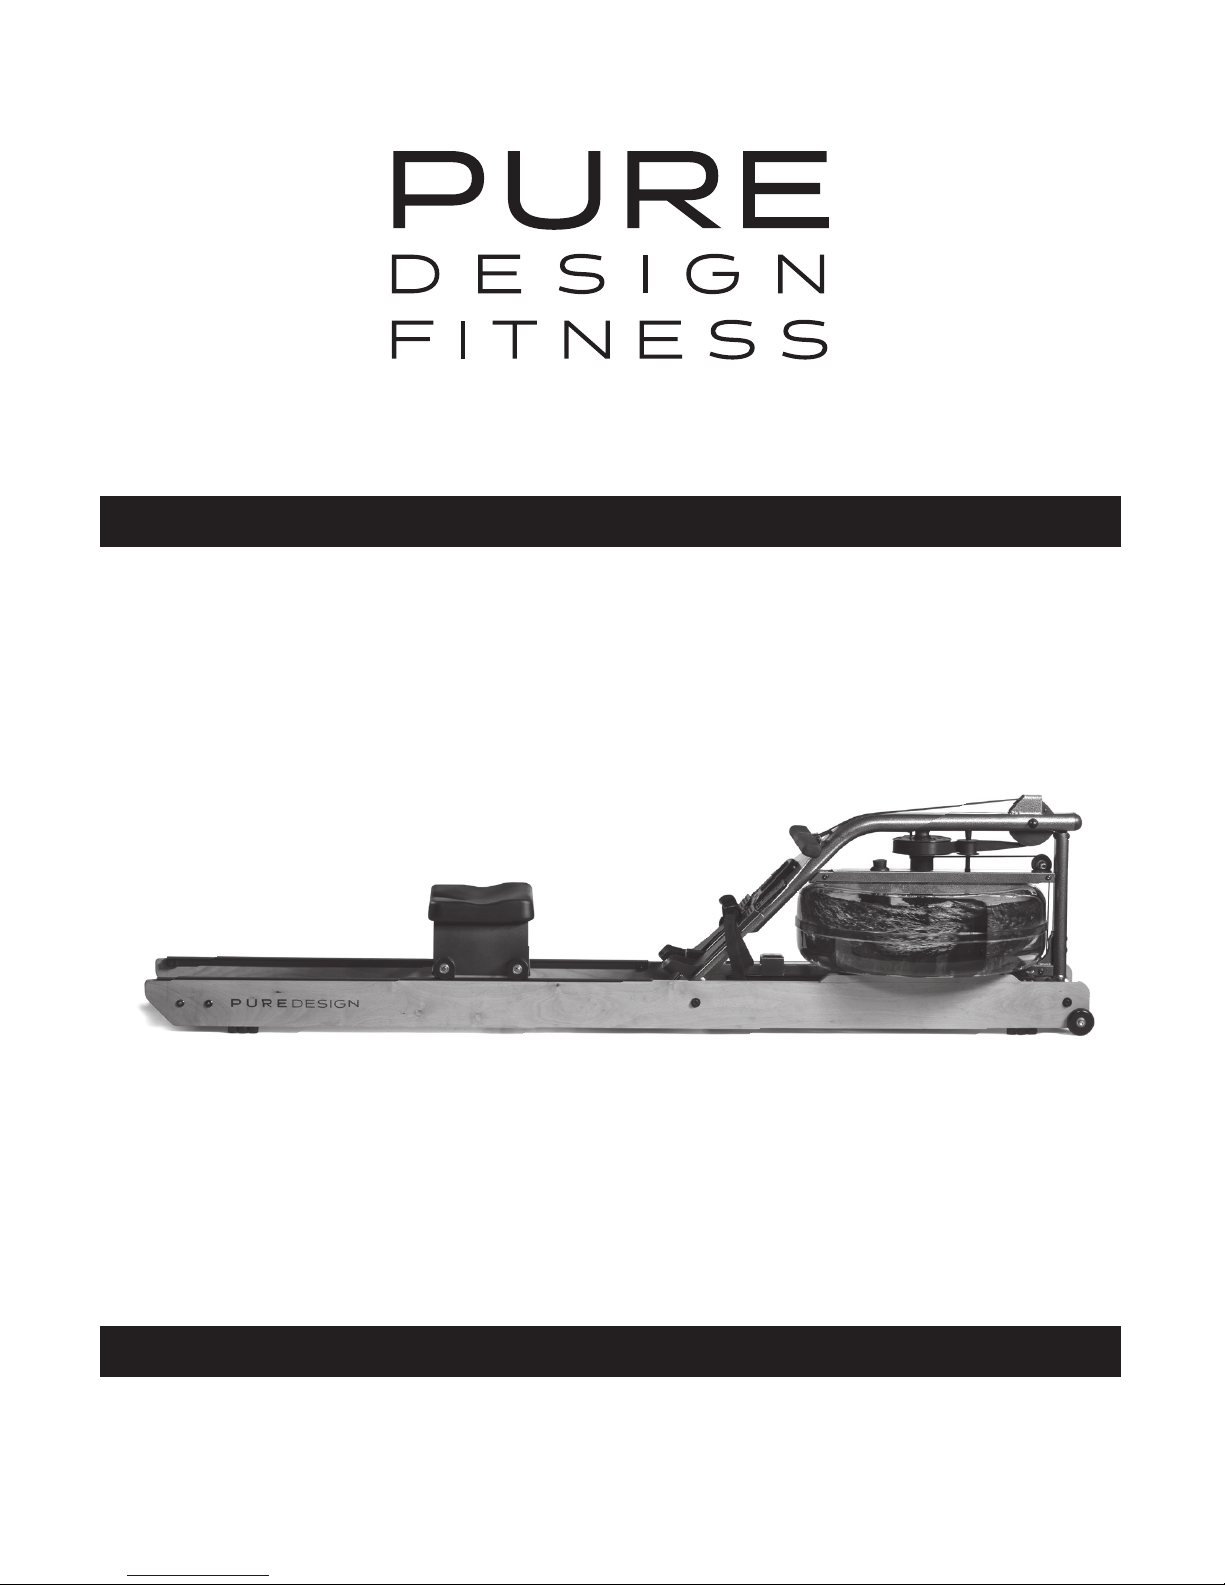
OWNER’S MANUAL
VR2

2
3
ASSEMBLY
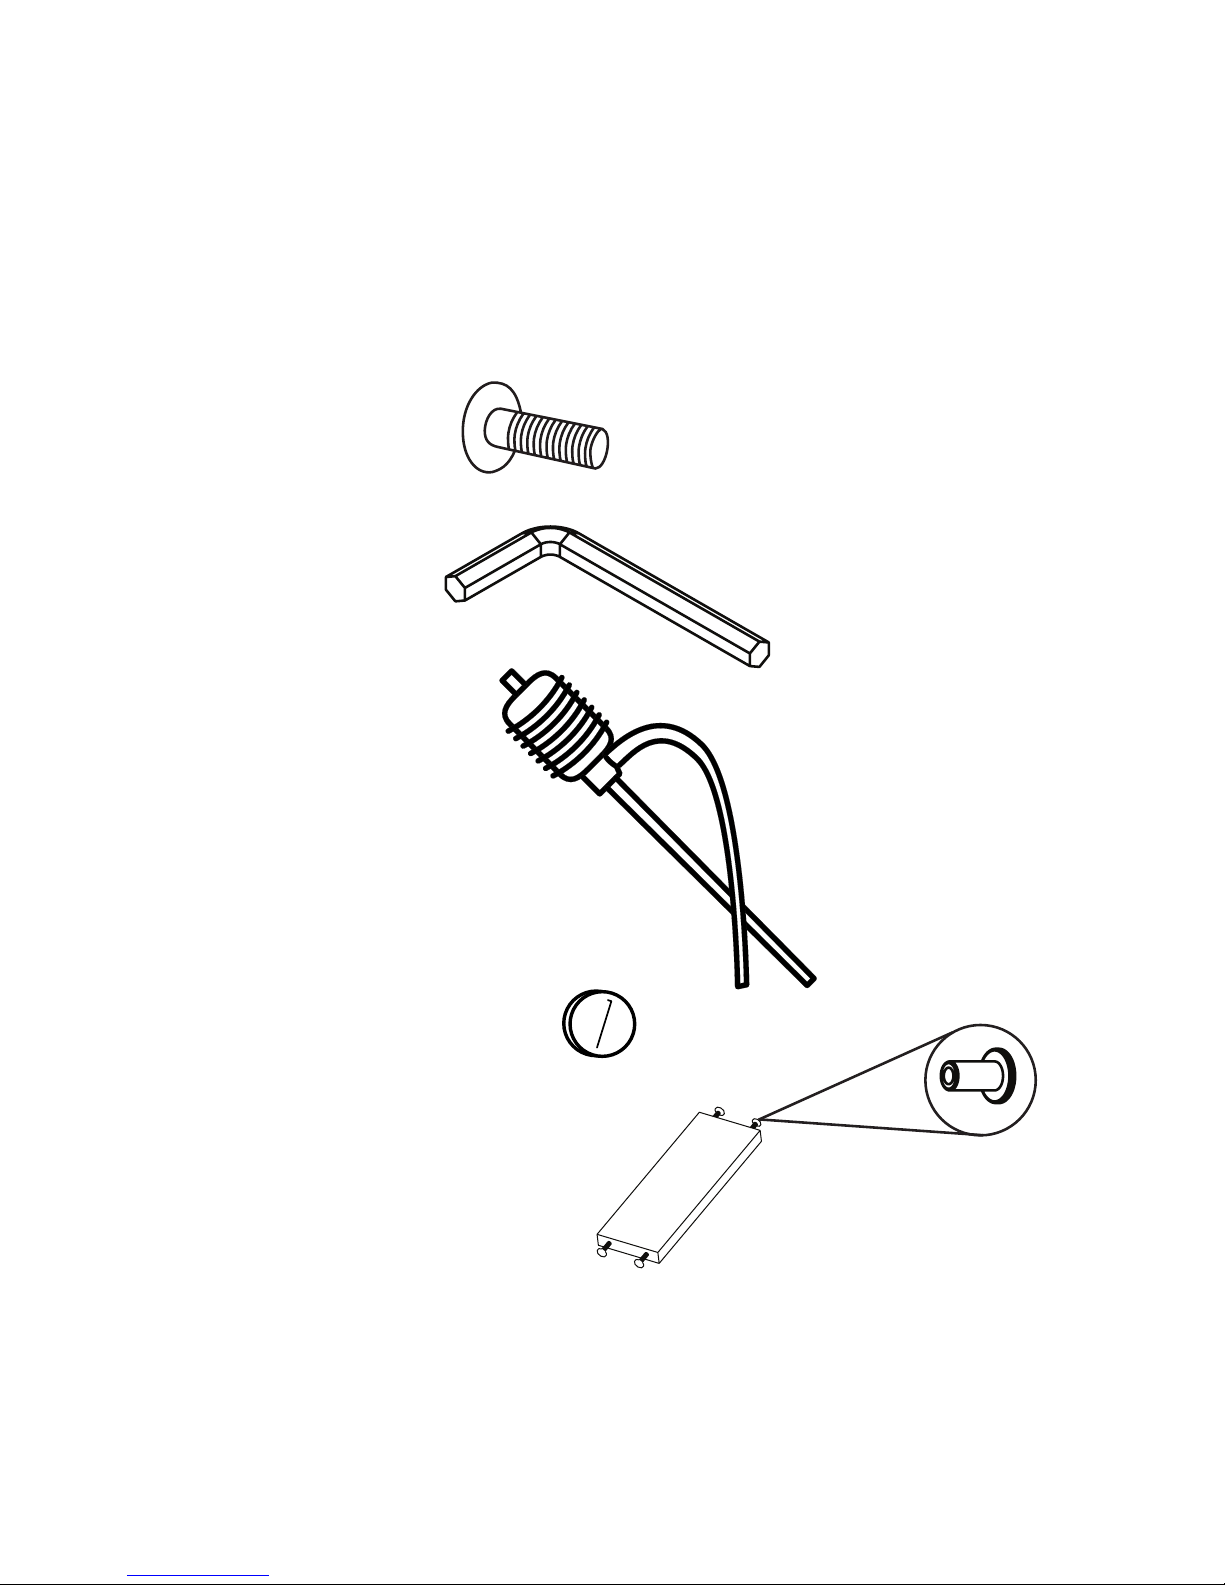
PARTS:
A. Rail Bolt (x4)
B. 5mm Allen Key
C. Syphon Pump
D. Water Purication Tablets
E. Rear Spacer (x1) w/ Bolts (x4) attached
Congratulations on purchasing the Pure Design Fitness VR2!
Please see the following pages for instructions on assembling your VR2.
4
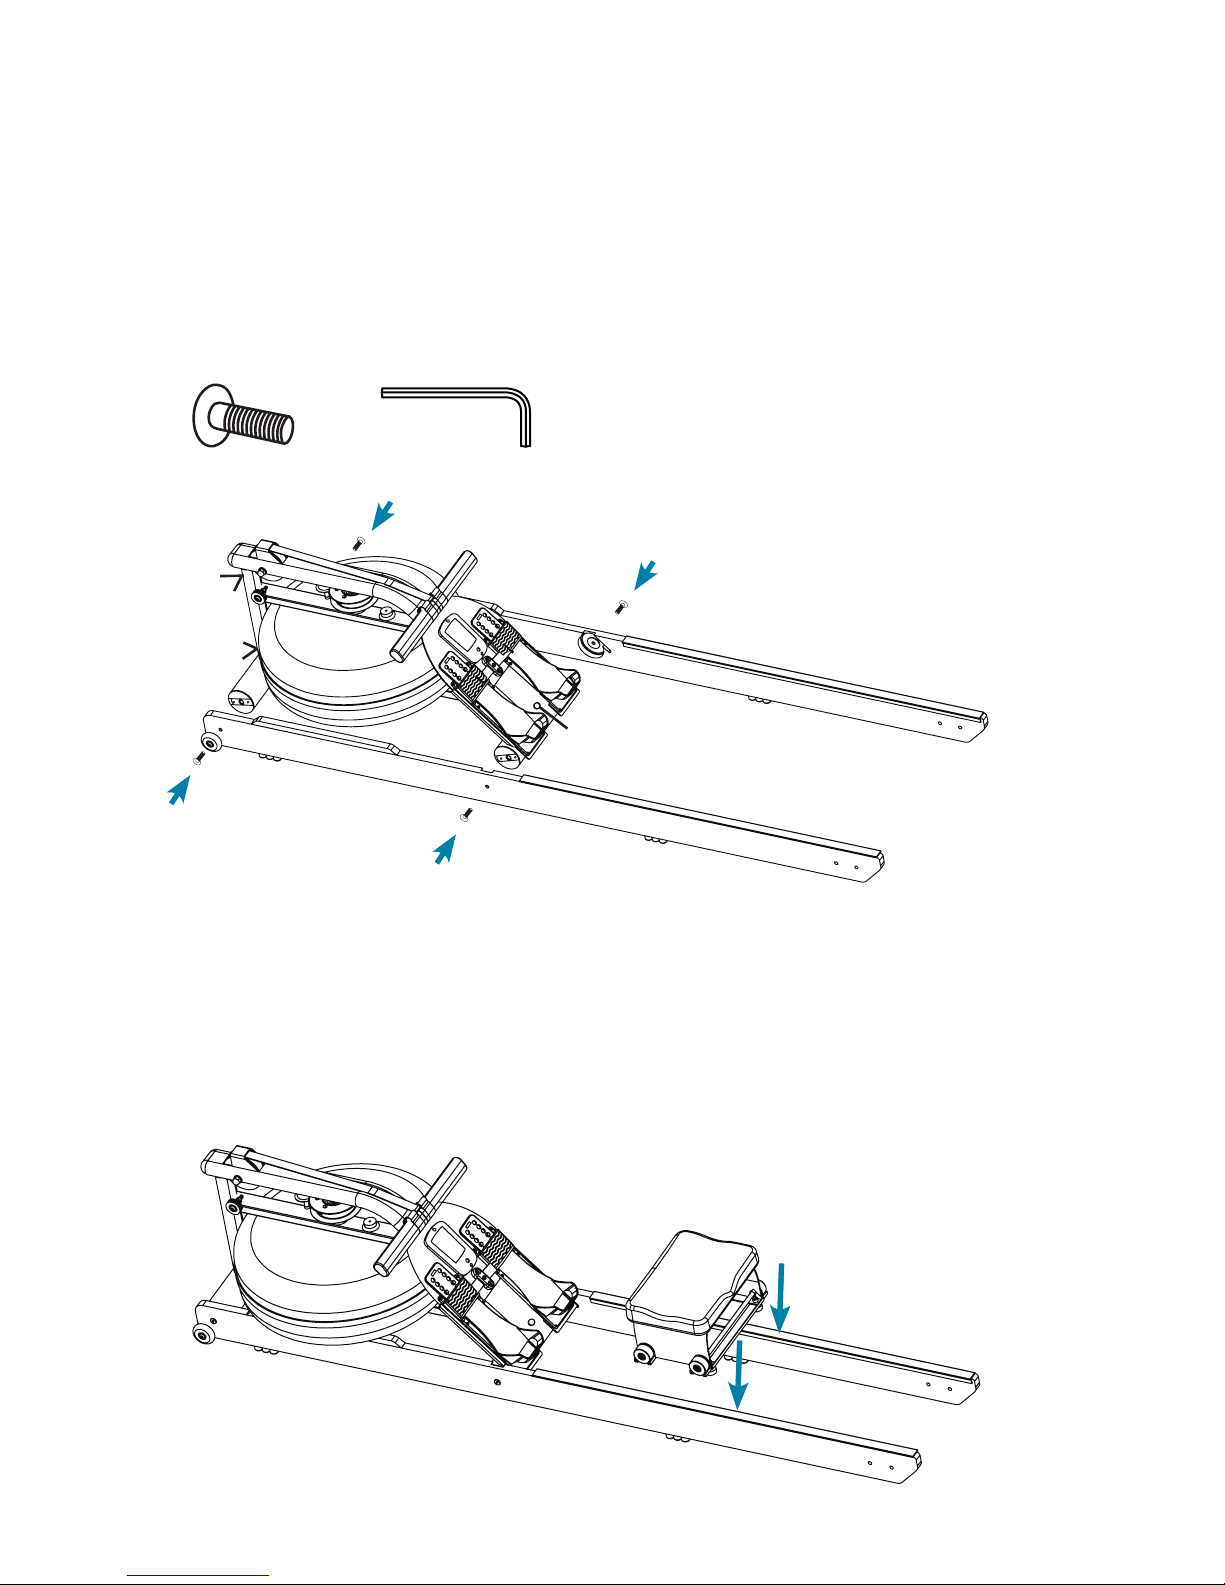
1. Remove the bits bag, seat, tank assembly, rear spacer and rails from the boxes.
2. With the Allen key, attach the tank assembly to the wood rails.
Ensure bolts are snug, but do not overtighten. *May need to loosen front four bolts and bolt at
the bottom of the footboard to align rails. Once aligned tighten the bolts.
x4
3. Rest the seat on top of the rails with the indentation facing the rear of the rower.
Ensure guide wheels (the smaller wheels on the bottom of the seat) are under the lip on the
rails.
Please read all assembly instructions before assembling.
*
*
*
*
*

5
4. Remove four bolts from the rear spacer.
5. Place the rear spacer between the rails. You may need to pull the rails apart slightly to t
the spacer into the pre-drilled holes.
6. With the Allen key, secure the rear spacer onto the wood rails.
x4
 Loading...